
How to put a horizontal line in Microsoft Excel Spreadsheet
 By
SpreadCheaters
By
SpreadCheaters
Page last updated:
12/04/2023 |
Next review date:
12/04/2025
In Excel, a horizontal line is a formatting element that can be added to a spreadsheet to separate or distinguish one section of data from another. Horizontal lines are useful for visually organizing and presenting data, as they create clear boundaries between different sections of a spreadsheet.
In this tutorial, we will learn how to put a horizontal line in Microsoft Excel Spreadsheet. In Excel, there are multiple methods to add a horizontal line. A horizontal line can be added by inserting a line from the illustrations or we can simply add a horizontal border using the Format Cells option.
Method 1: Put a Horizontal Line from the Illustrations
Step 1 – Go to the Insert Tab
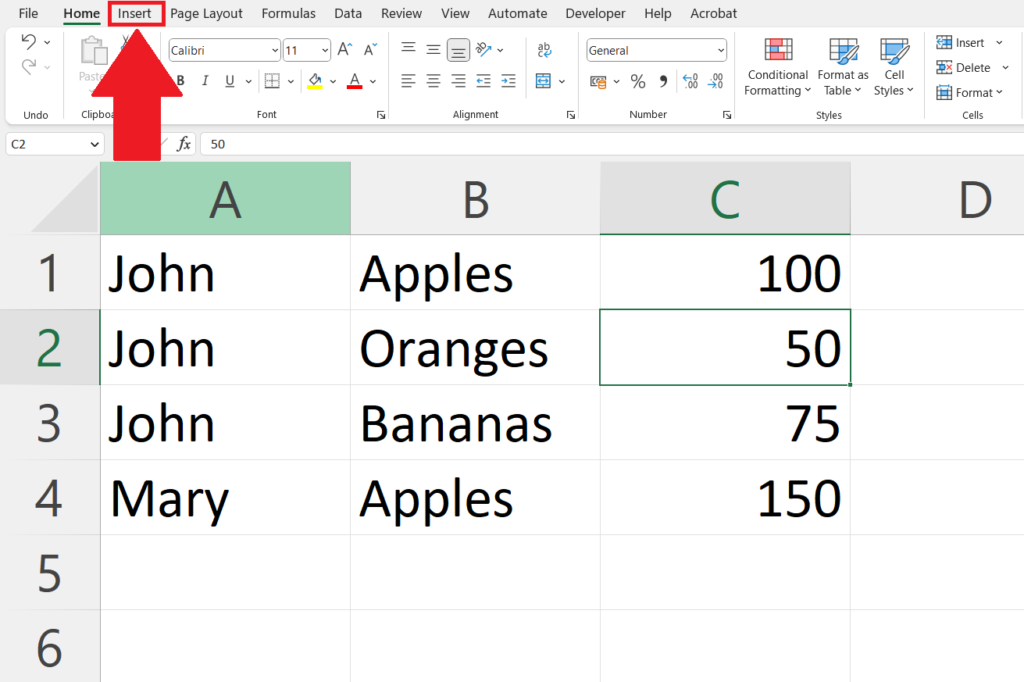
- Go to the Insert tab in the menu bar.
Step 2 – Click on the Shapes Button
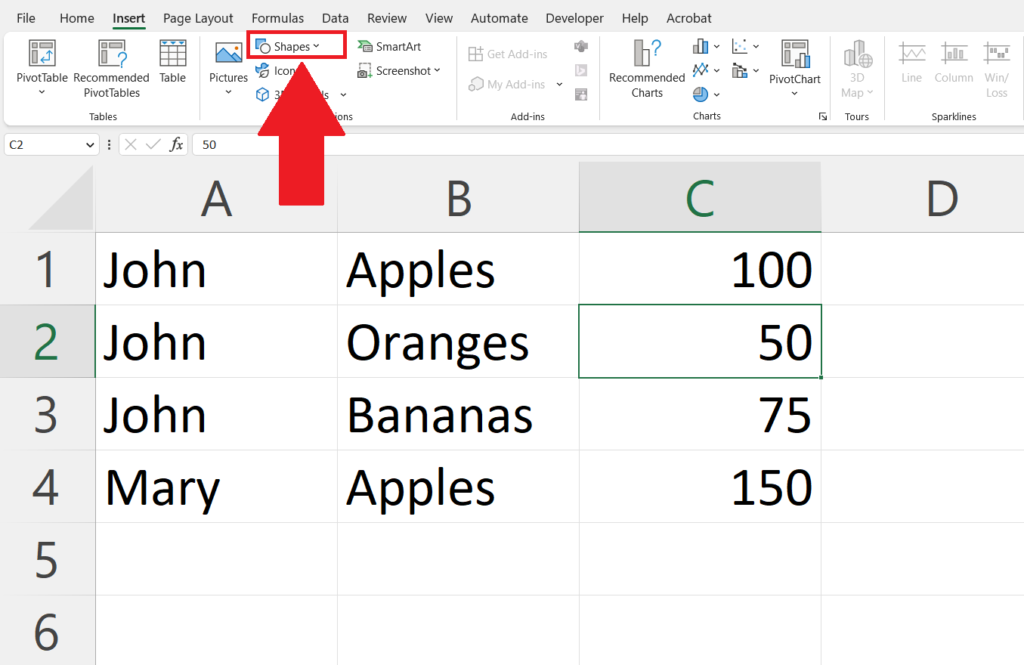
- Click on the Shapes button in the Illustrations section.
Step 3 – Select the Line
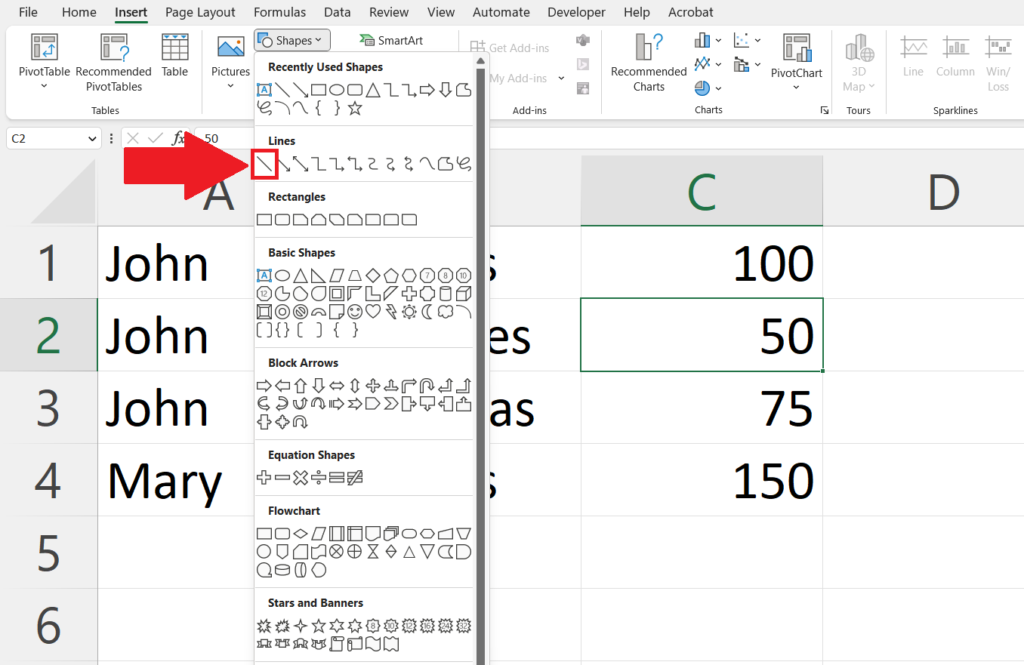
- Select the type of line you want to put.
Step 4 – Draw the Line Horizontally
- Click where you want the line to start and drag and drop till where you want the line to end.
Method 2: Put a Horizontal Line Using the Format Cells Option
Step 1 – Select the Cells
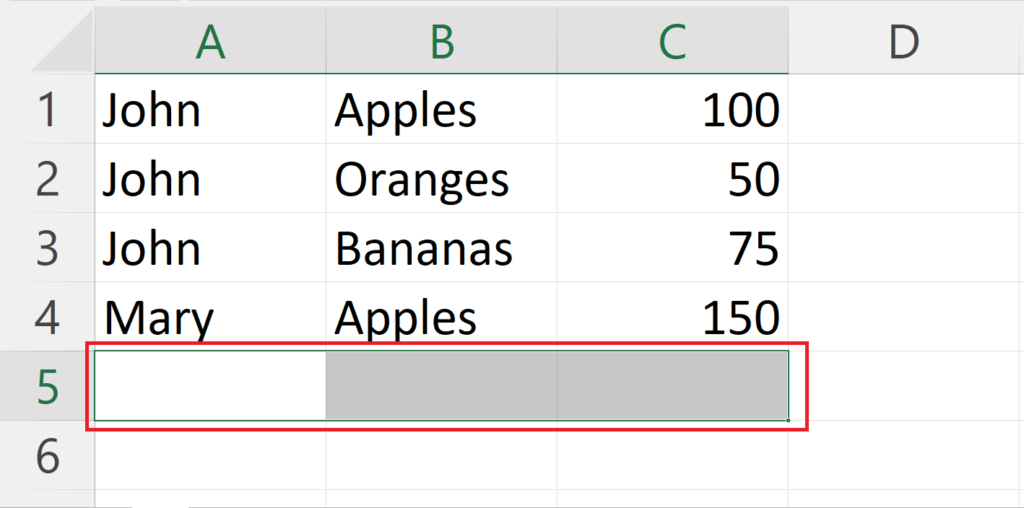
- Select the cells in which you want to put the horizontal line.
Step 2 – Right Click
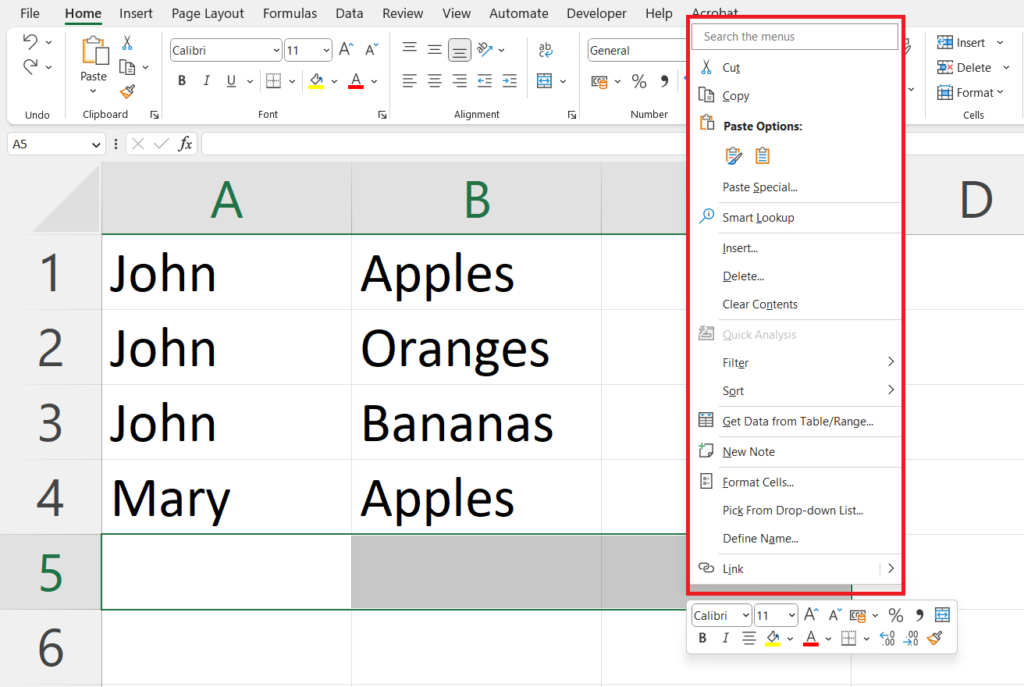
- Right-click on the selected cells.
- A context menu will appear.
Step 3 – Click on the Format Cells Option
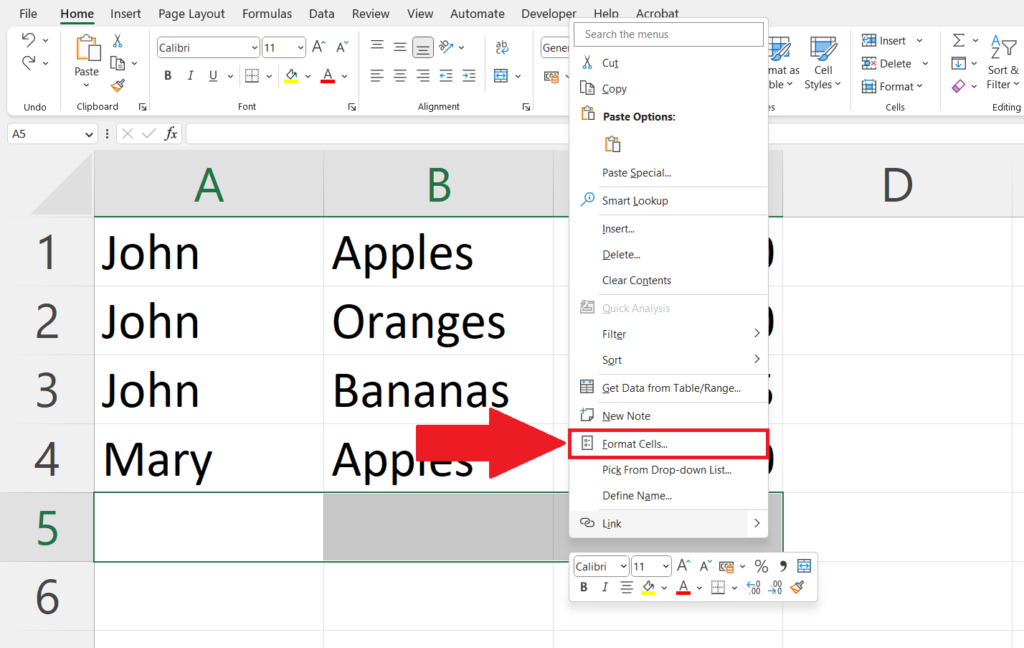
- Click on the Format Cells option in the context menu.
Step 4 – Go to the Border Tab
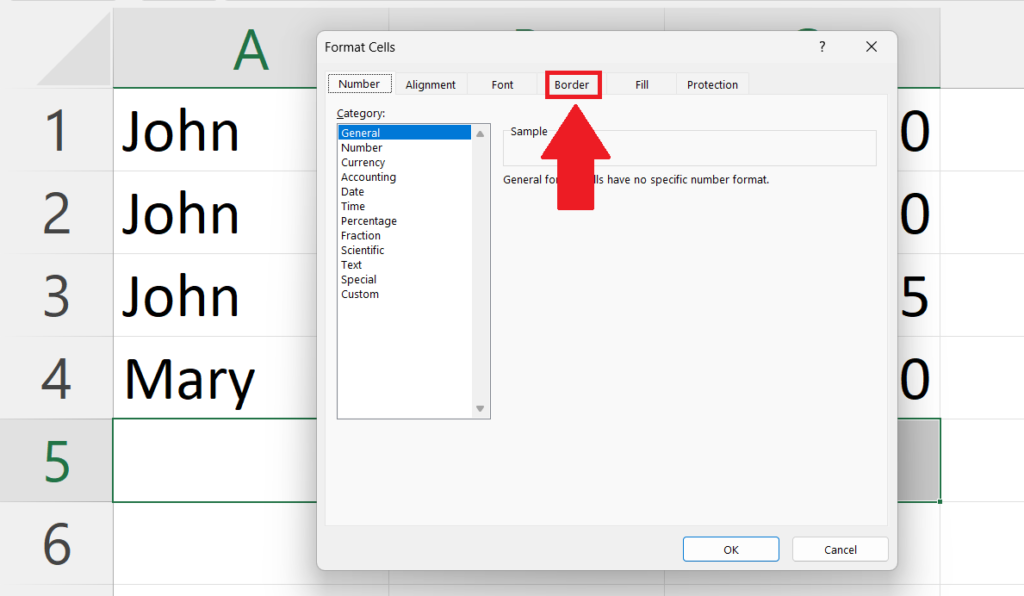
- Go to the Border tab in the Format Cells dialog box.
Step 5 – Select a Horizontal Border and Style of the Border
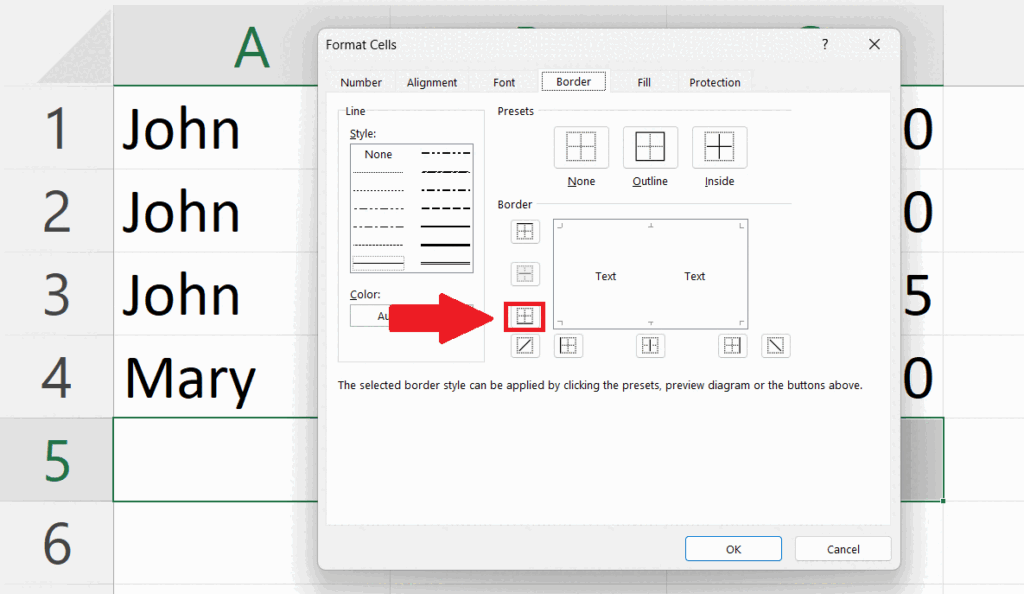
- Select a Horizontal border from the Border section.
- Select the style or color of the border in the style and color sections.
Step 6 – Click on OK
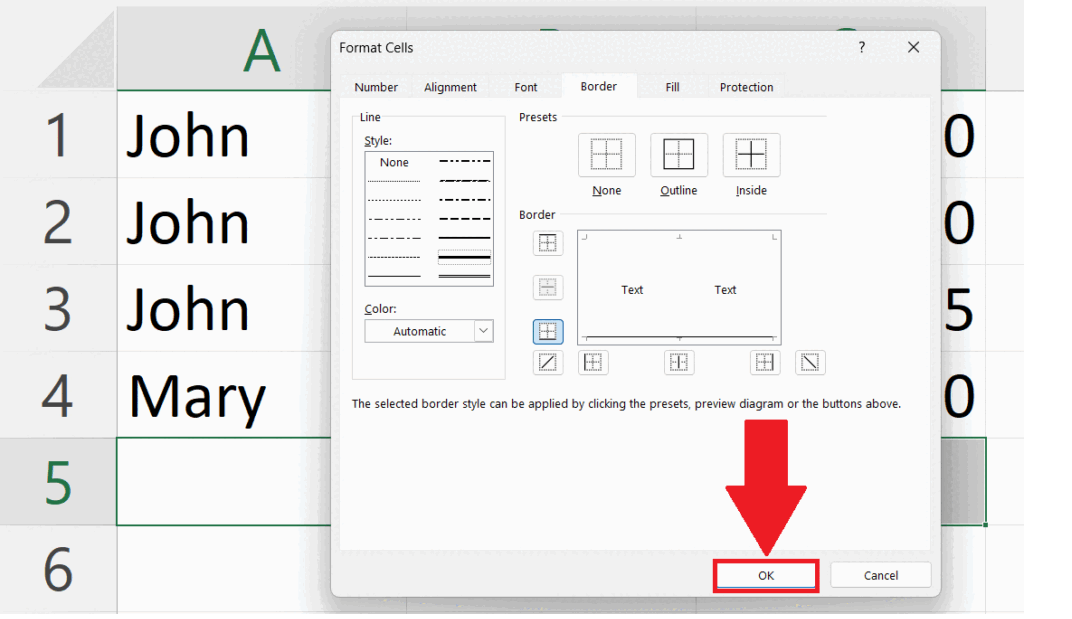
- Click on OK in the Format Cells dialog box.
- The horizontal line will appear.


