
How to print certain cells in Excel
 By
SpreadCheaters
By
SpreadCheaters
Page last updated:
24/11/2022 |
Next review date:
24/11/2024
You can watch a video tutorial here.
Excel offers many options when it comes to printing worksheets. As the layout is in the form of a spreadsheet and not a document, it is not immediately apparent how the printout will appear. There may be a situation where you want to print only a section of a worksheet and not the entire worksheet. Since Excel is used for calculations, you may want to print only the result of the calculation and not the data used for the calculations. There are 2 ways of doing this.
Option 1 – Print the selection
Step 1 – Select the data
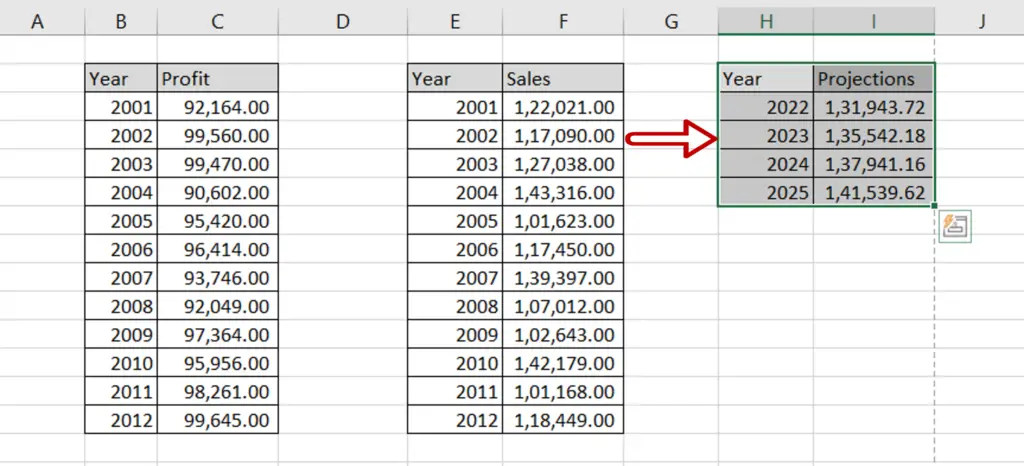
- Select the cells to be printed
Step 2 – Open the Print window
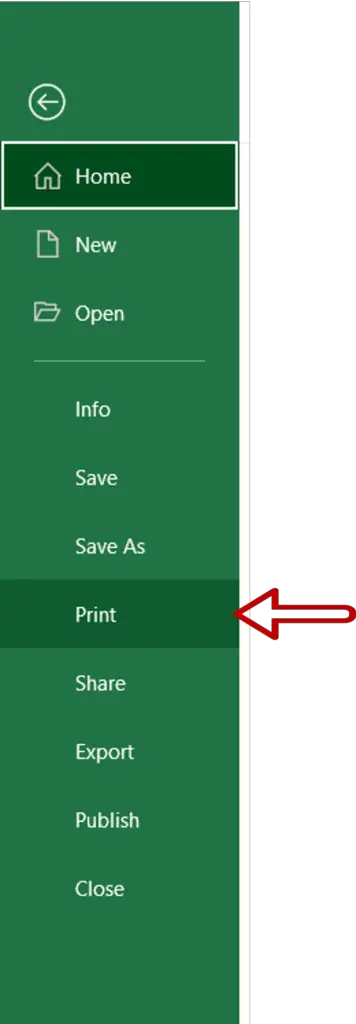
- Go to File > Print
OR
Press Ctrl+P
Step 3 – Choose the print option

- Under Settings expand the print menu
- Choose Print Selection
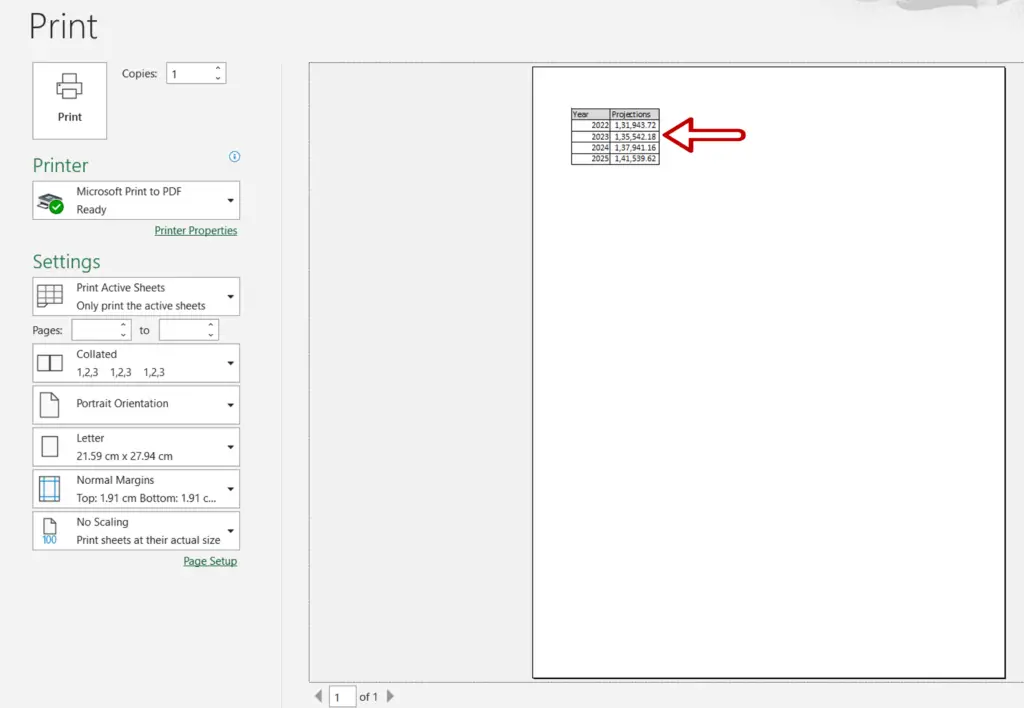
Step 4 – Check the result
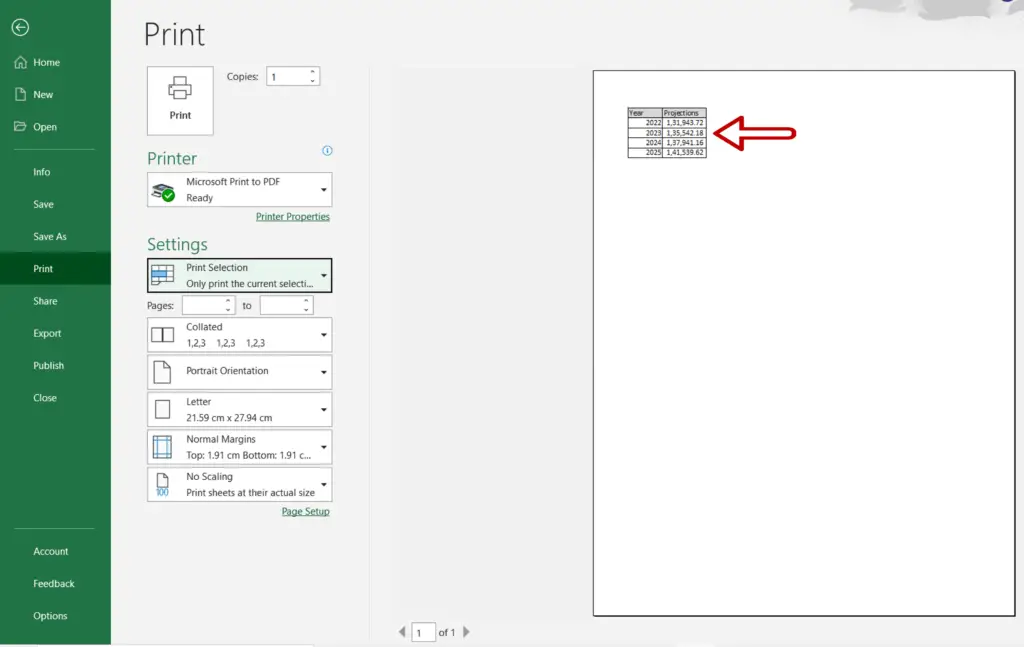
- Only the selection appears in the Print preview
- Click Print
Option 2 – Set the print area
Step 1 – Select the data

- Select the cells to be printed
Step 2 – Set the print area
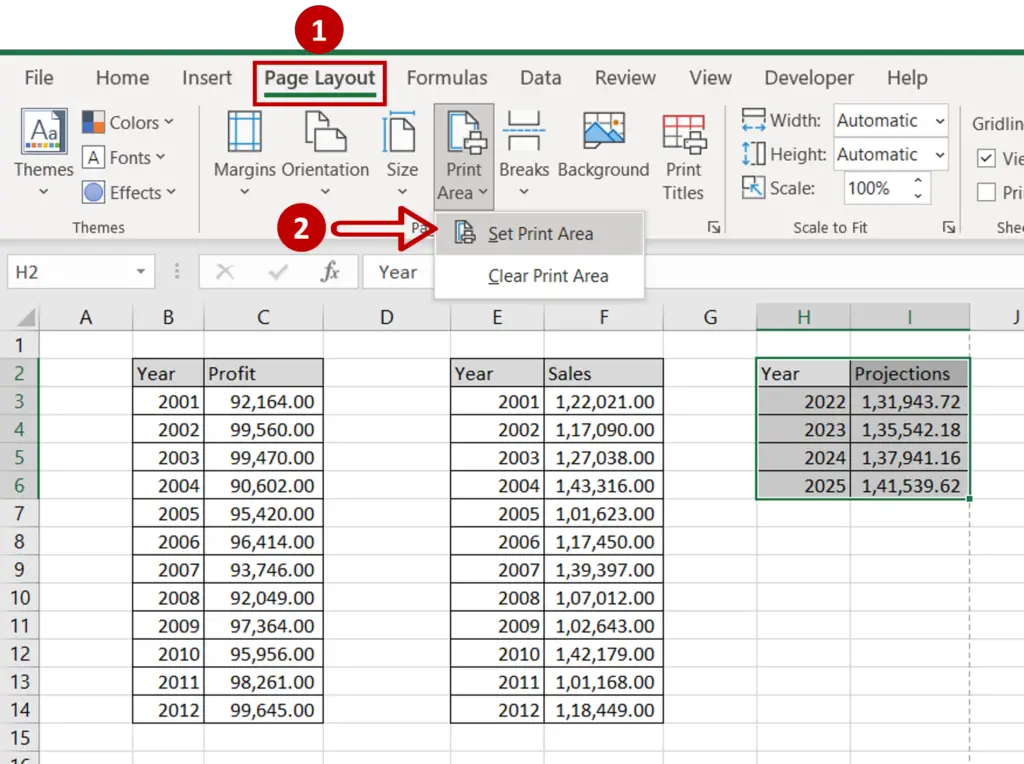
- Go to Page Layout > Page Setup
- Expand the Print Area dropdown
- Select Set Print Area
Step 3 – Open the Print window

- Go to File > Print
OR
Press Ctrl+P
Step 4 – Check the result
- Only the cells set as the print area appear in the Print preview
- Click Print


