
How to name X-axis and Y-axis in Microsoft Excel
 By
SpreadCheaters
By
SpreadCheaters
Page last updated:
04/04/2023 |
Next review date:
04/04/2025
Naming the X and Y axes in Microsoft Excel means giving a descriptive label to each axis on a chart. The X axis is typically used to represent the independent variable or the variable that is being measured or tracked over time, while the Y axis is used to represent the dependent variable or the variable that is affected by changes in the independent variable.
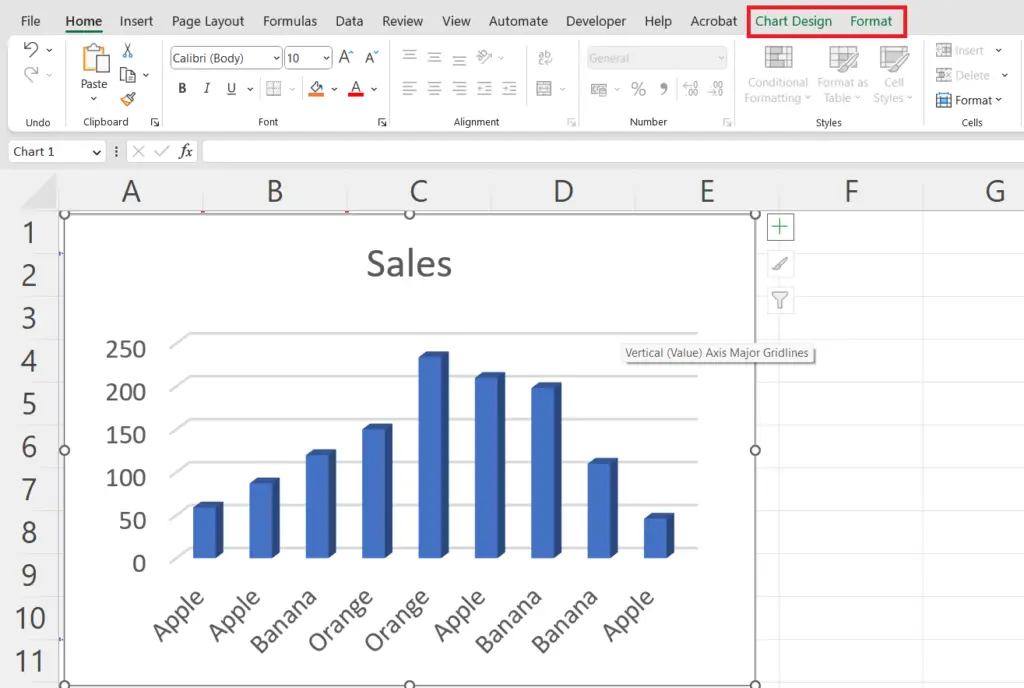
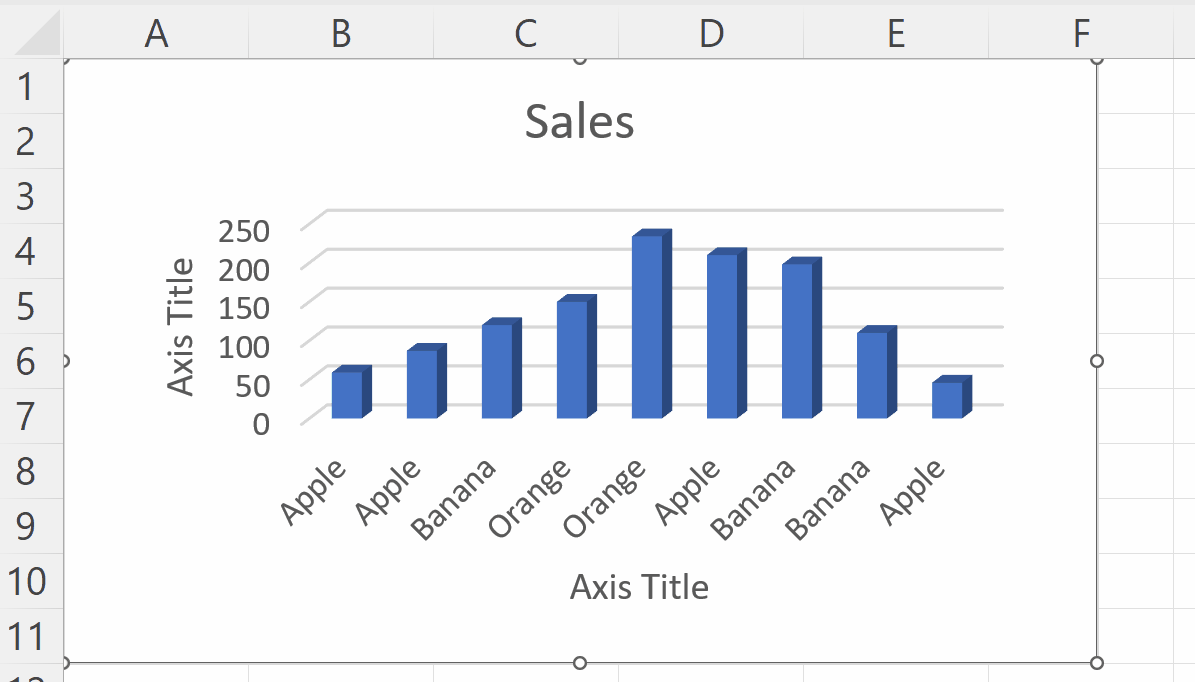
In this tutorial, we will learn how to name X-axis and Y-axis in Microsoft Excel. In Microsoft Excel, there is more than one method to name X-axis and Y-axis in Excel Chart. We can name them using the “Add Chart Elements” in the Design tab. At present we have an Excel Chart representing the sales figures for some fruits. We want to name the X-axis as Fruits and Y-axis as Sales.
Method 1: Using the Chart Design Tab
Step 1 – Click on the Chart
- Click anywhere on the Chart in which you want to name the axis.
- The Chart Design tab will appear in the menu bar.
Step 2 – Locate the Design Tab
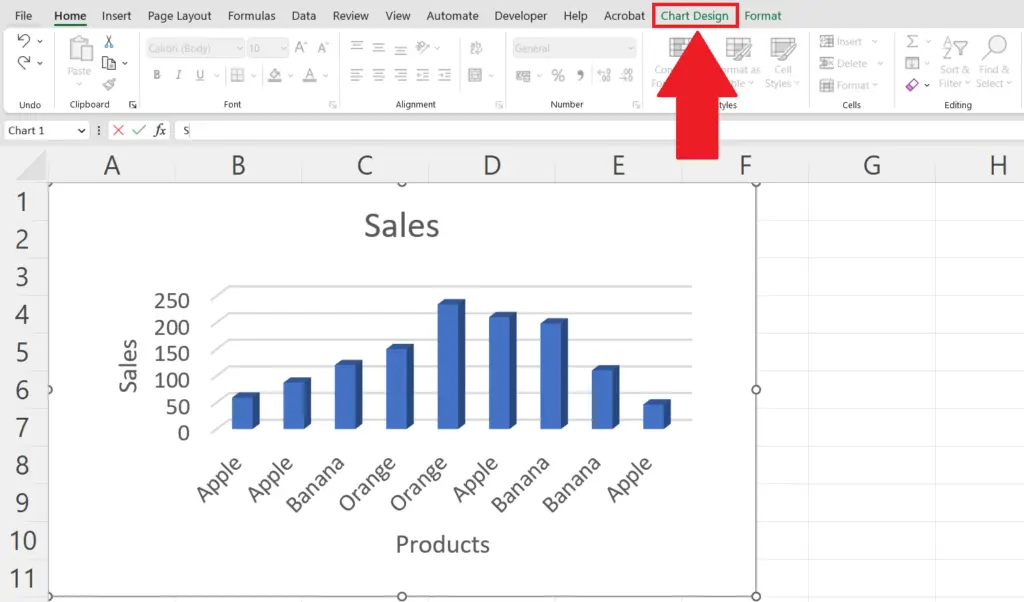
- Go to the Chart Design tab in the menu bar.
Step 3 – Click on the Add Chart Elements Button
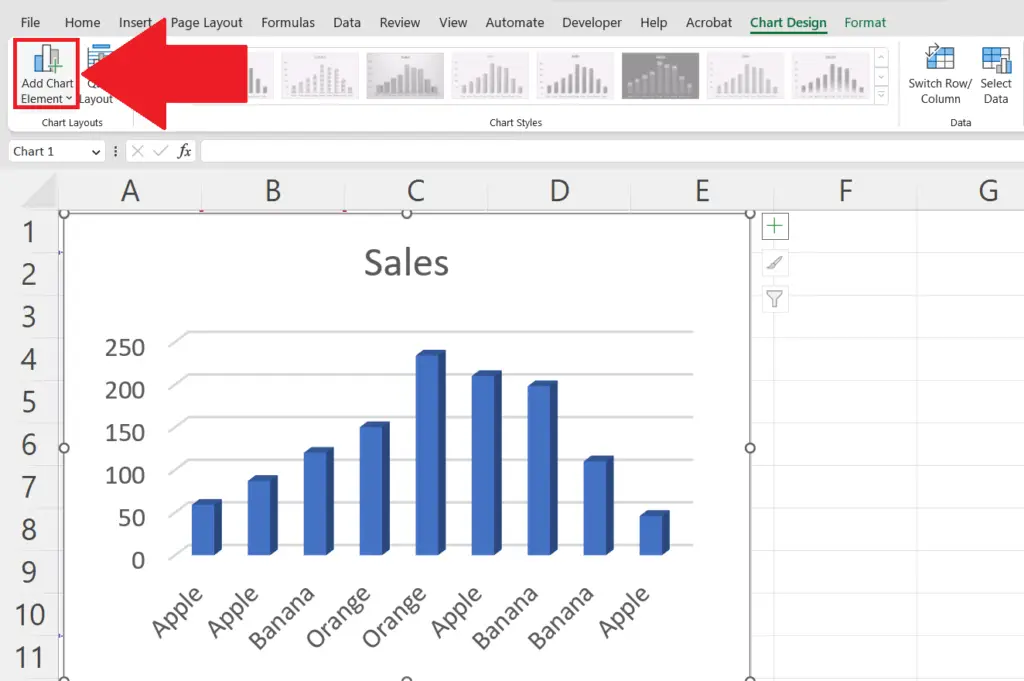
- Click on the Add Chart Elements button in the ribbon.
- A drop-down menu will appear.
Step 4 – Click on the Axis Titles Option
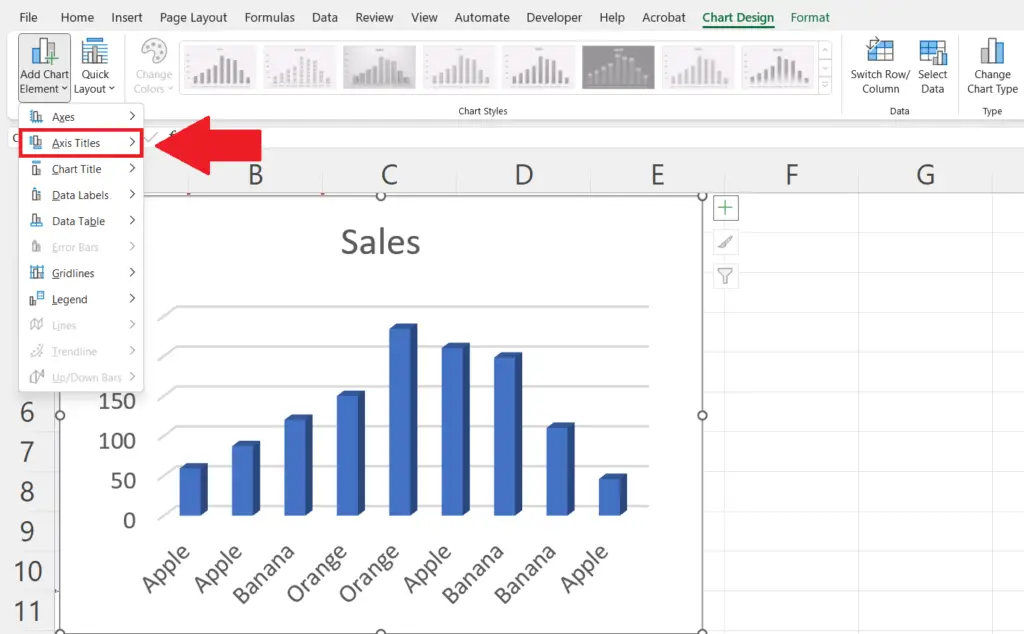
- Click on the Axis Titles option in the drop-down menu.
Step 5 – Select the Axis
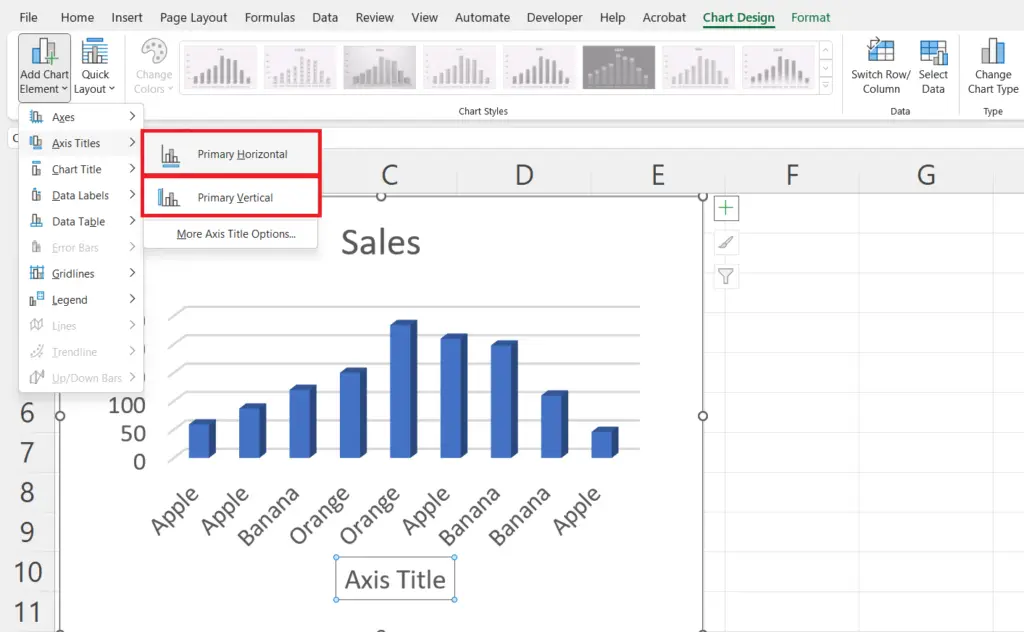
- Select the Axis to be added i.e. Primary Horizontal for X-axis and Primary Vertical for Y-axis.
- The Axis titles will appear in the Chart.
Step 6 – Name the X and Y Axis

- Right-click on the axis.
- A context menu will appear.
- Click on the Edit Text option in the context menu and name the axis.
- Repeat the same for both the X and Y axis.
Method 2: Using the Chart Elements option
Step 1 – Select the Chart

- Select the chart by clicking anywhere on the chart.
- A Plus sign ( + ) will appear on the top right of the chart.
Step 2 – Click on the Chart Elements Plus Sign
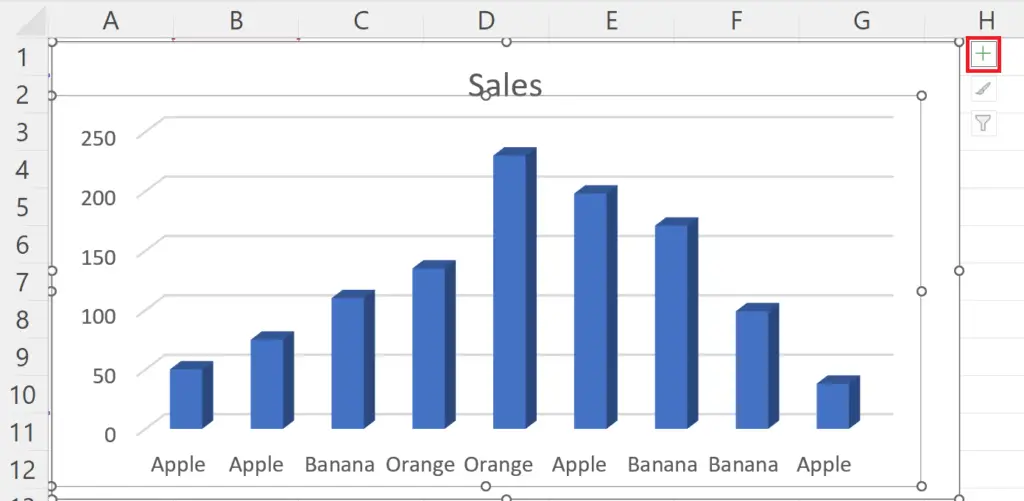
- Click on the Plus sign in the top right of the chart.
- A side menu will appear.
Step 3 – Click on the Axis Titles Option
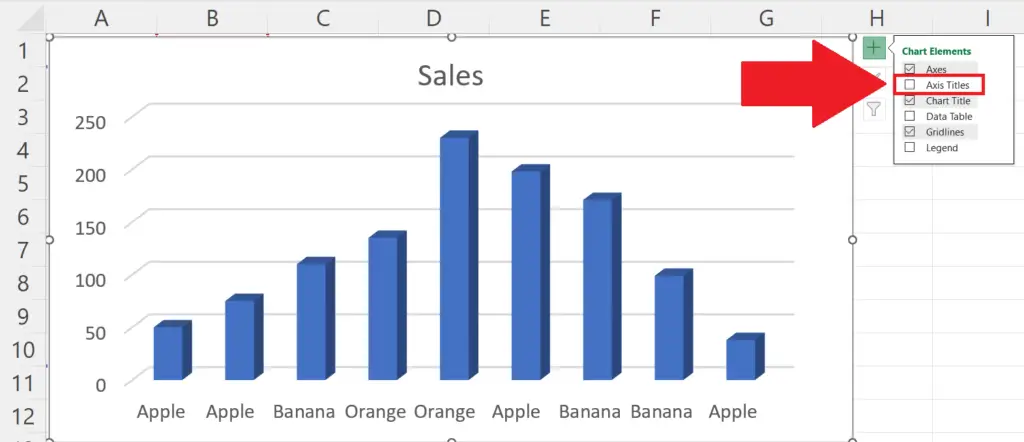
- Click on the Axis Titles option in the side menu.
Step 4 – Select the Axis
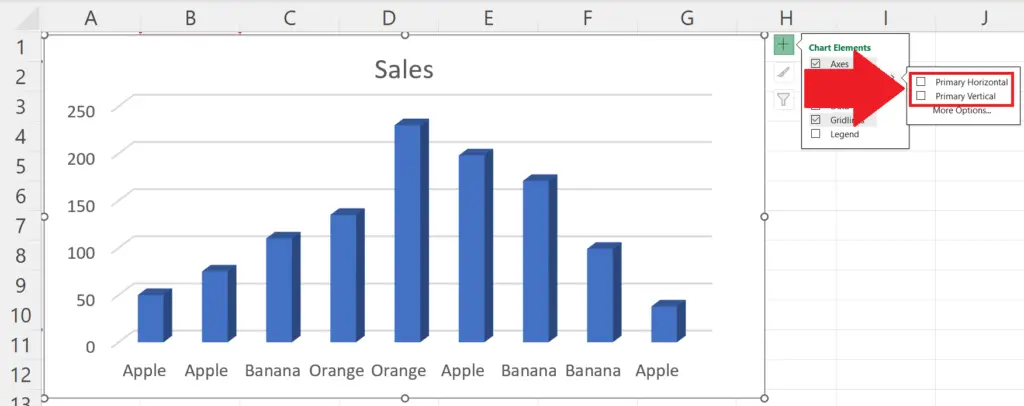
- Select the Axis to be added i.e. Primary Horizontal for X-axis and Primary Vertical for Y-axis.
- The Axis titles will appear in the Chart.
Step 5 – Name the X and Y Axis
- Right-click on the axis.
- A context menu will appear.
- Click on the Edit Text option in the context menu and name the axis.
- Repeat the same for both the X and Y axis.


