
How to Name a Group Of Cells in Excel
 By
SpreadCheaters
By
SpreadCheaters
Naming a group of cells in Excel can be useful for several reasons which are as follows;
Easy reference: By giving a meaningful name to a group of cells, you can easily refer to them in formulas and functions instead of using cell references. This can make your formulas easier to read and understand.
Data validation: You can use named ranges to set up data validation rules that restrict the type of data that can be entered into a cell or a group of cells.
Conditional formatting: You can use named ranges to apply conditional formatting rules to a group of cells based on certain criteria.
Charting: Named ranges can be used as the data source for charts and graphs, which can make it easier to create and update charts.
Overall, naming a group of cells can make it easier to work with Excel and can help you save time and reduce errors in your spreadsheets.
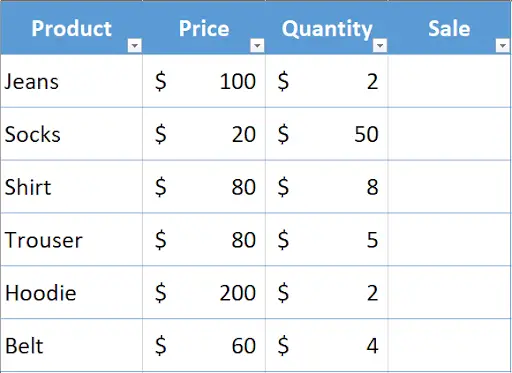
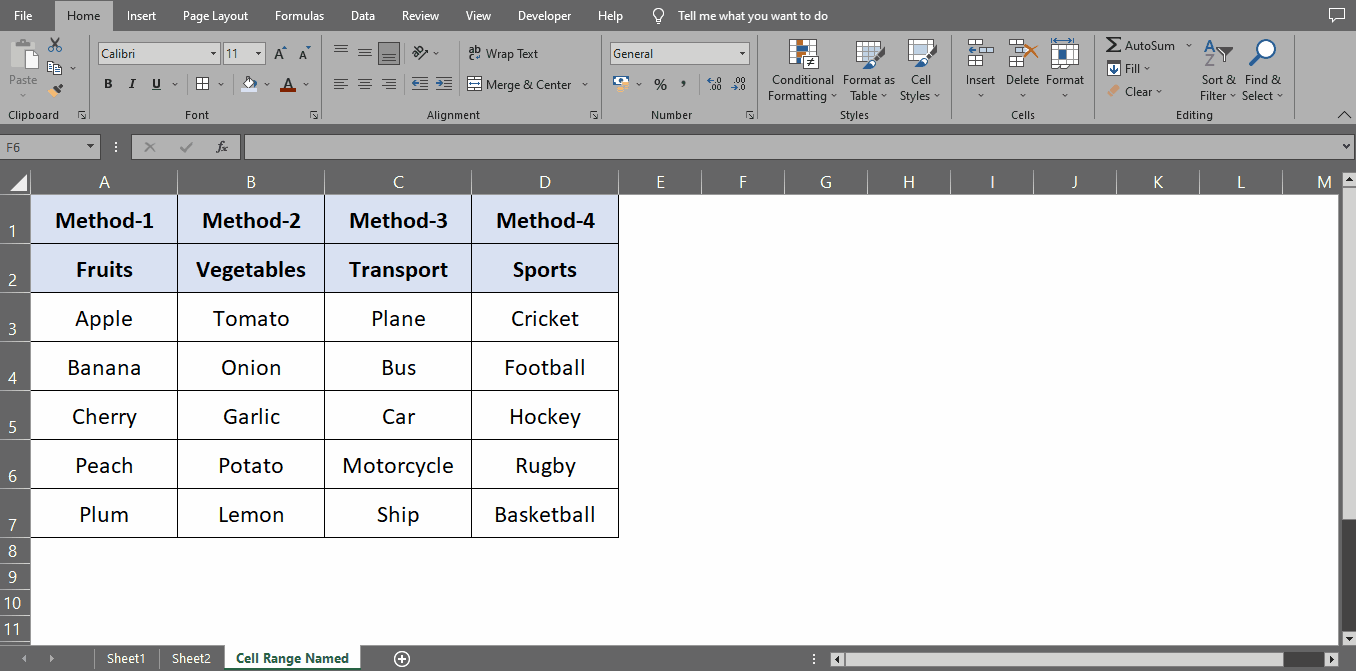
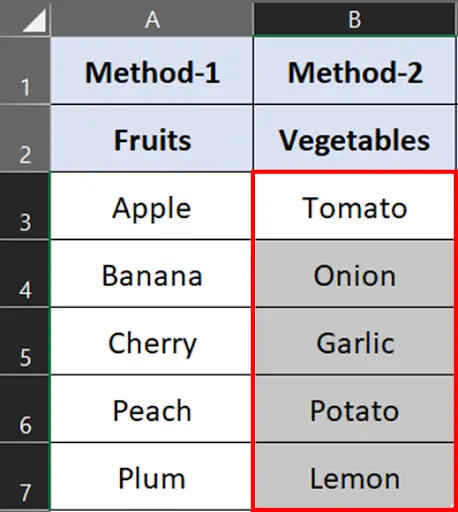
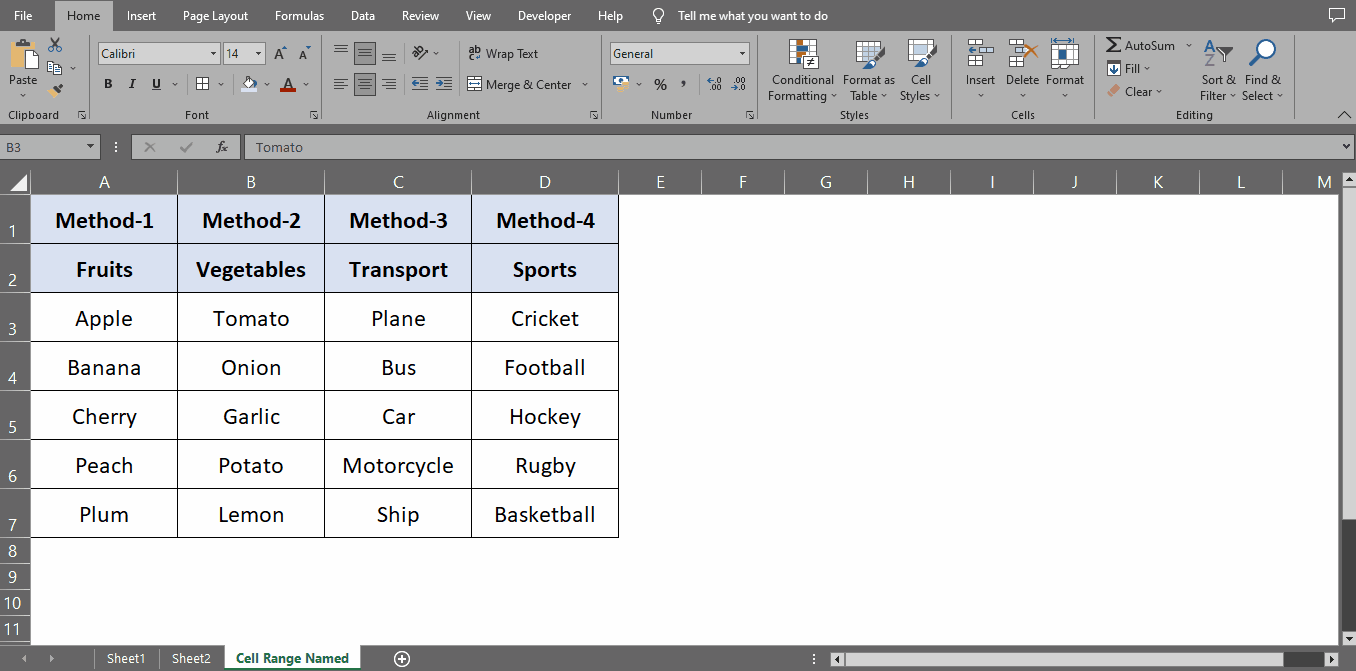
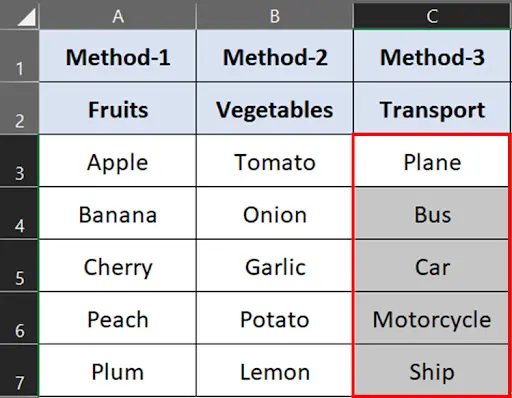
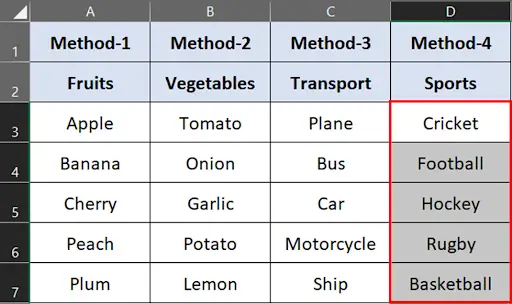
There are several ways of naming groups of cells in excel, let’s understand them one by one with the help of the following dataset above.
Method 1 – Define Name In Name Box
Step 1 – Select Range / Group of Cells
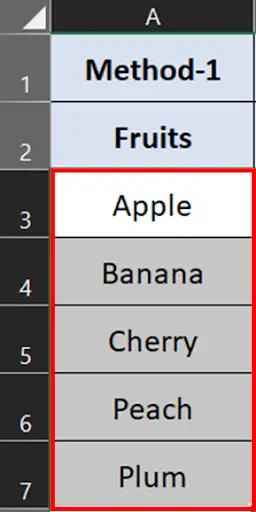
- Select the cells or range of cells that you want to name.
Step 2 – Type Name In The Name Box
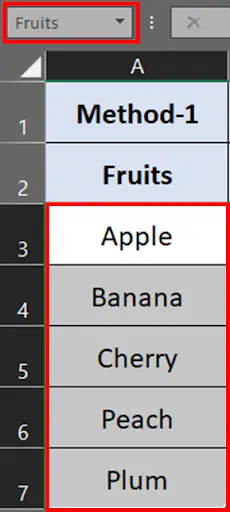
- Type name of the range in the name box located at the top left corner of the worksheet.
- Press enter.
Step 3 – Name Assigned To The Cells
- Cell range can be named through this method.
Method 2 – Define Name Through Right Click Options
Step 1 – Select the desired range
- Select the cells or range of cells that you want to name.
Step 2 – Press Right Mouse Button
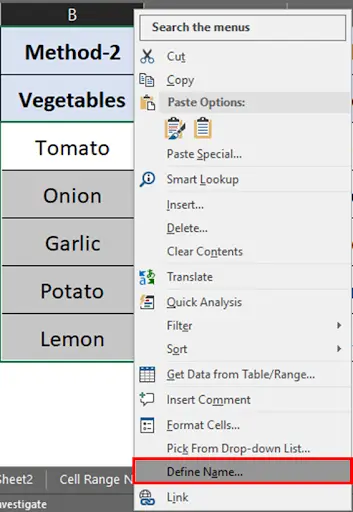
- After selection, press the right mouse button to open up the context menu.
- Select “Define Name”.
Step 3 – New Name Dialog Box
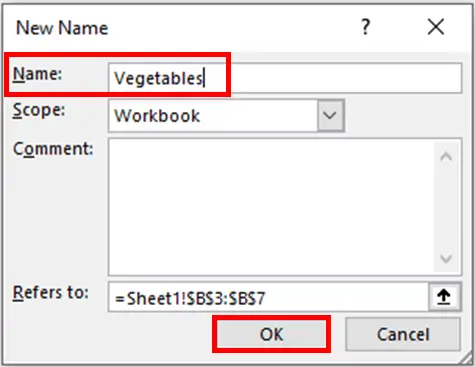
- New name dialog box will appear on your screen.
- Type name of your range & click OK button.
Step 4 – Cells Name Assigned
- Name will be assigned to the selected cells.
Method 3 – Define Name Through Name Manager
Step 1 – Select Range
- Select the cells or range of cells that you want to name.
Step 2 – Click On Formula Tab

- Click on the formula tab & select Name Manager in the Defined Names group.
Step 3 – Name Manager Dialog Box
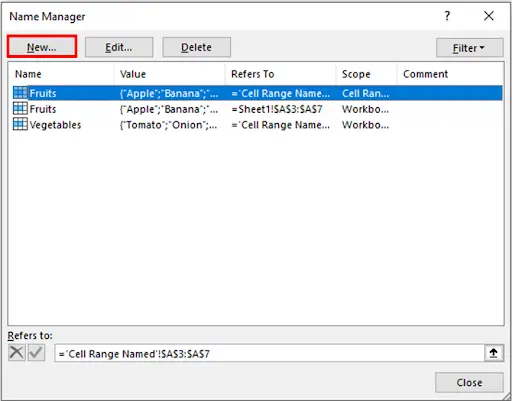
- When you click on that, the Name Manager dialog box will appear on your screen.
- Click on the New button.
Step 4 – New Name Dialog box
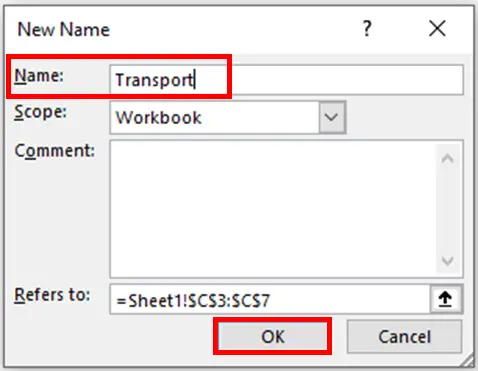
- New name dialog box will appear on your screen.
- Type name of your range & click OK button.
Step 5 – New Name Range Included
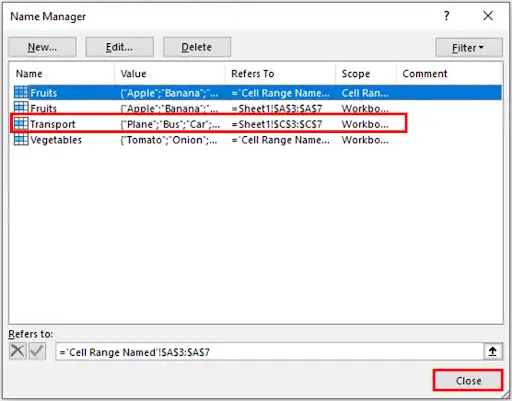
- New name range will be included in the Name Manager list.
- Click on the close button to close the dialog box.
Step 6 – Name Assigned

- Name assigned to the cell range.
Method 4 – Name Range Thru Define Name Button
Step 1 – Select Range
- Select the cells or range of cells that you want to name.
Step 2 – Click On Formula Tab

- Click on the formula tab & select Define Name from the drop down button in the Defined Names group.
Step 3 – New Name Dialog Box
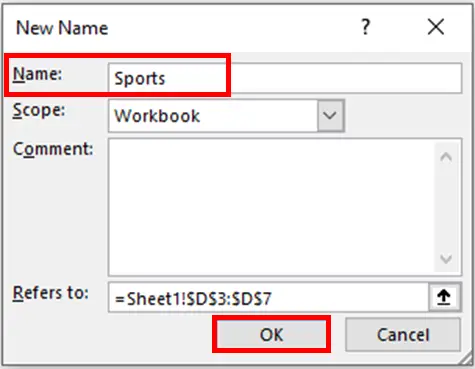
- New Name dialog box will appear on your screen.
- Type name of your range & click OK button.
Step 4 – Cells Name Assigned
- Name will be assigned to the selected cells.


