
How to move lines in Excel
 By
SpreadCheaters
By
SpreadCheaters
Page last updated:
24/11/2022 |
Next review date:
24/11/2024
You can watch a video tutorial here.
When working in Excel, you may need to move lines to change the order of the data or to make the sheet easier for the readers to understand. Here we describe 2 ways of doing this.
Option 1 – Drag and drop the lines
Step 1 – Select the rows
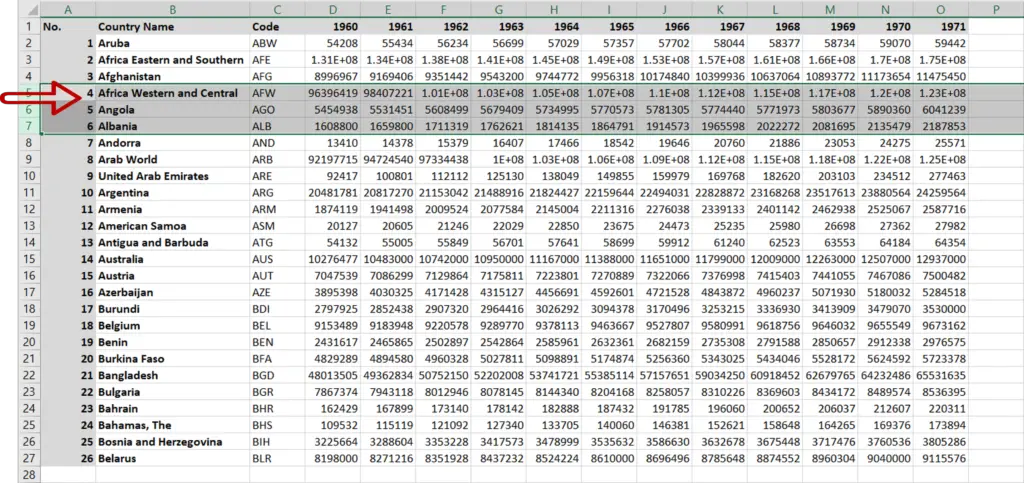
- Select the lines
Step 2 – Drag and drop the rows
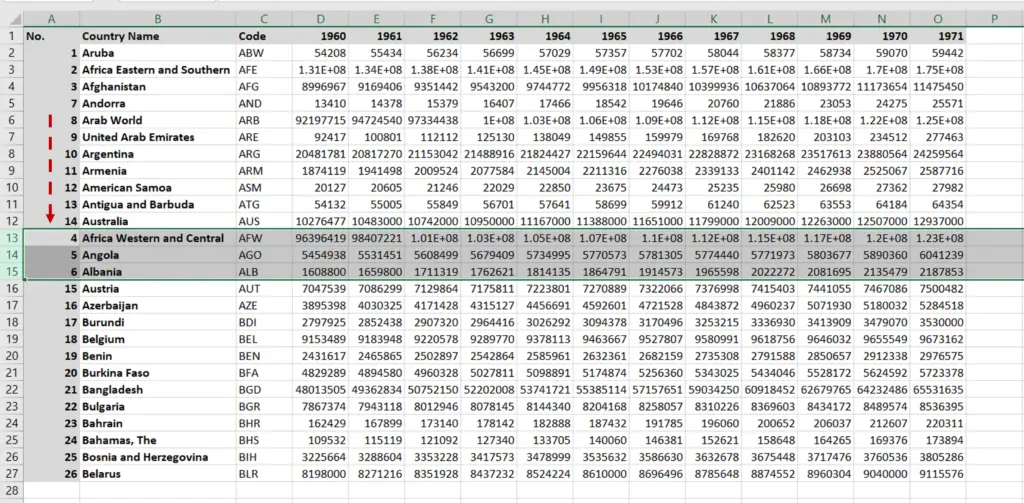
- Move the pointer over the selected rows till it changes to a move pointer
- Left-click and press the Shift key
- Drag the row to the new position
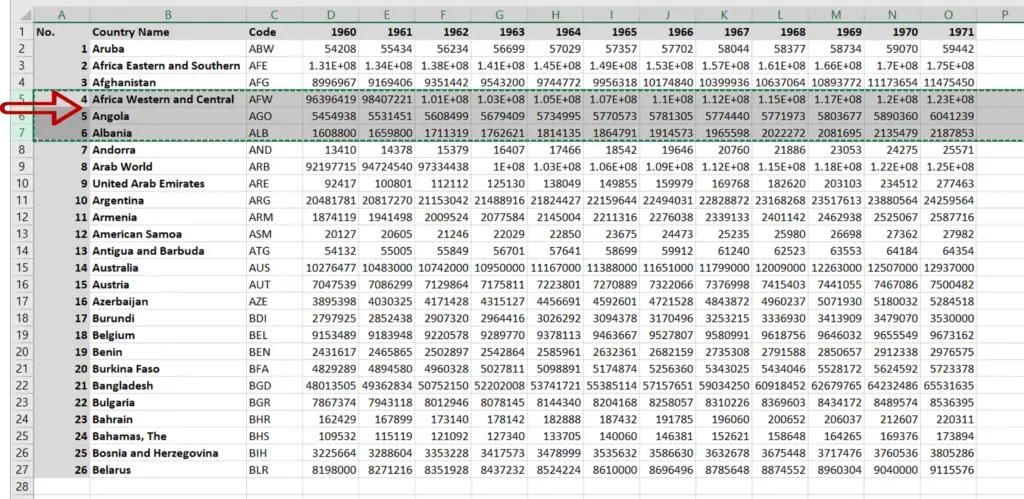
- The new position of the row will be indicated by a green line
- Release the mouse button and the Shift key
Note: If you do not hold the Shift key while moving the row, it will overwrite the destination row instead of moving it
Option 2 – Use Cut and Insert
Step 1 – Cut the row
- Select the lines
- Right-click and select Cut from the context menu or press Ctrl+X
Step 2 – Insert the cut cells
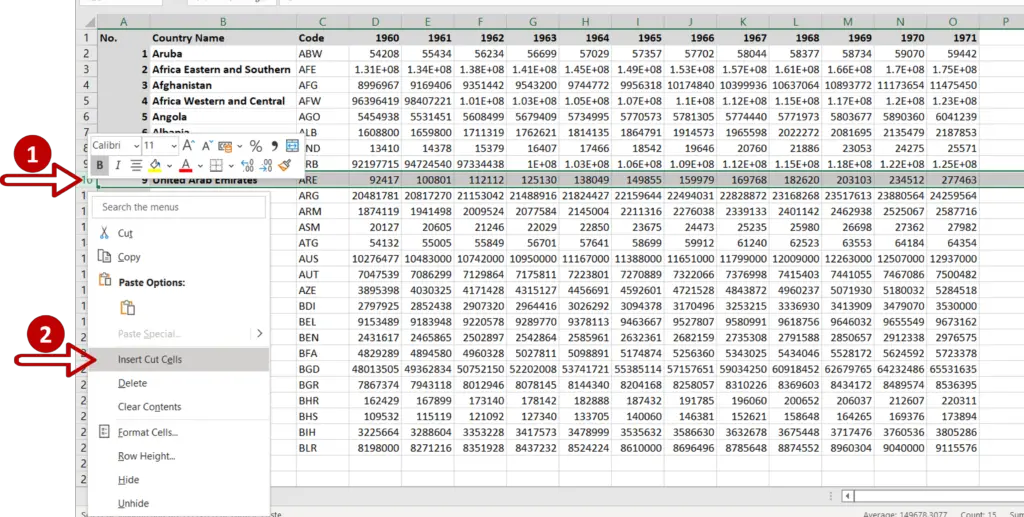
- Select the row at the new location
- Right-click and select Insert cut cells from the context menu


