
How to make text wrap in Excel
 By
SpreadCheaters
By
SpreadCheaters
Page last updated:
06/12/2022 |
Next review date:
06/12/2024
You can watch a video tutorial here.
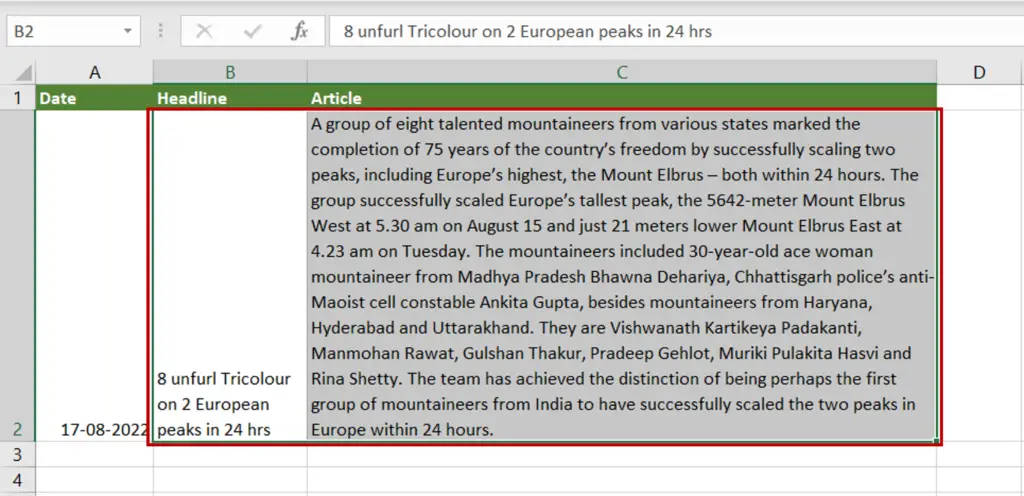
Excel is well suited for calculations and for creating and maintaining databases. Unlike word-processing applications where text is organized according to pages, Excel organizes data in cells. As each cell has a default size, sometimes the text is too large for the cell and is not displayed in its entirety. To make the text fit in the cell, you can use a feature called Wrap Text. Wrapping text is a way of organizing text into rows to fit a given space.
Option 1 – Use the button on the ribbon
Step 1 – Select the cells

- Select the cells in which the text is to be wrapped
Step 2 – Wrap the text
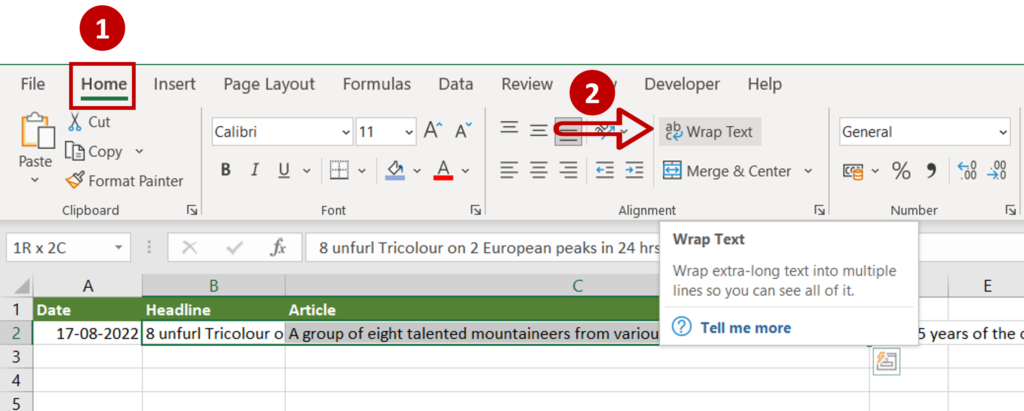
- Go to Home > Alignment
- Click the Wrap Text button
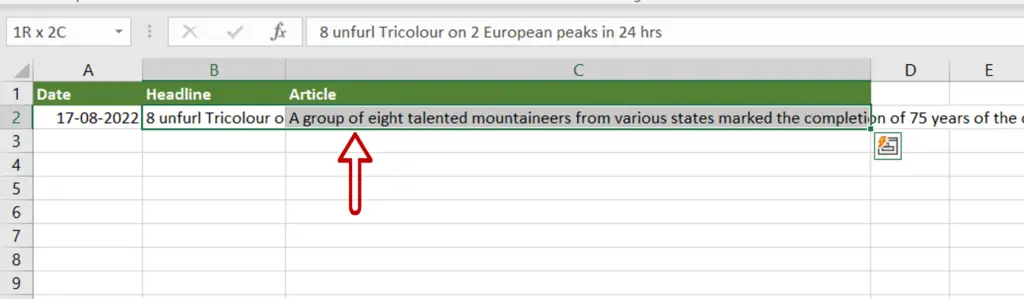
Step 3 – Check the result

- The height of the row increases
- The text is wrapped within the cell
Option 2 – Use the Format Cells window
Step 1 – Select the cells
- Select the cells in which the text is to be wrapped
Step 2 – Open the Format Cells window
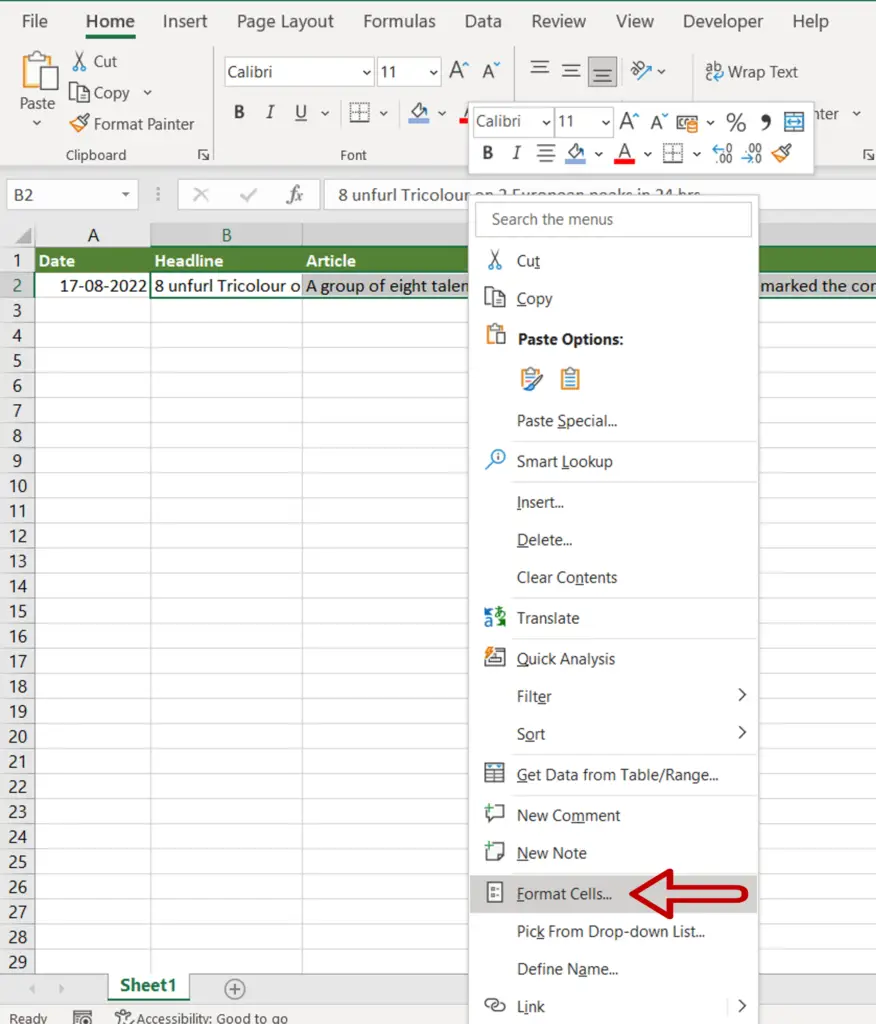
- Right-click and select Format Cells from the context menu
OR
Go to Home > Number and click on the arrow to expand the menu
OR
Go to Home > Cells > Format > Format Cells
OR
Press Ctrl+1
Step 3 – Choose the Wrap text option
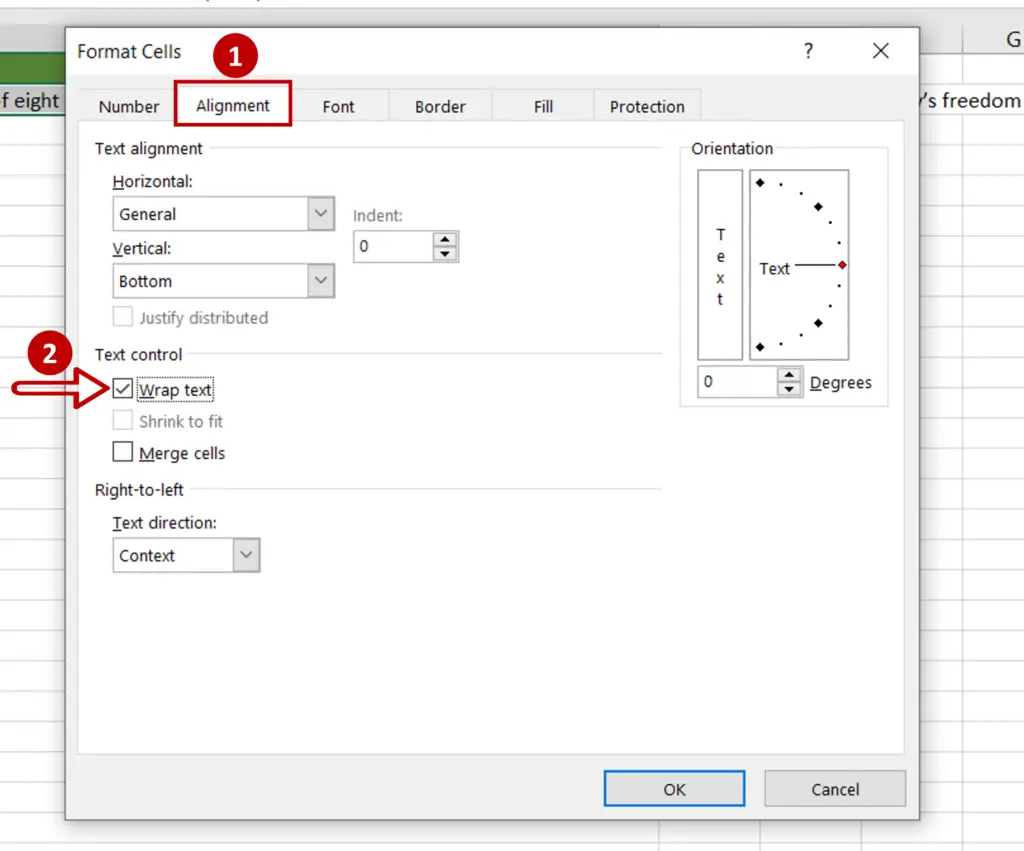
- Go to the Alignment tab
- Select Wrap text from the Text Control options
- Click OK
Step 4 – Check the result
- The height of the row increases
- The text is wrapped within the cell


