
How to make text in Excel Stack
 By
SpreadCheaters
By
SpreadCheaters
Page last updated:
04/04/2023 |
Next review date:
04/04/2025
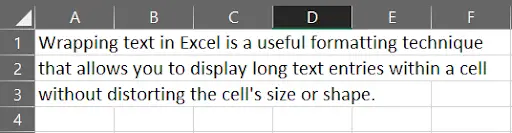
Wrapping text in Excel is a useful formatting technique that allows you to display long text entries within a cell without distorting the cell’s size or shape. This is particularly useful when you’re working with large datasets and need to fit as much information as possible into a limited space. By wrapping text, you can ensure that all of your text is visible and easily readable, even if it’s too long to fit in a single cell. In this article, we’ll explore how to wrap text in Excel.
Suppose we have the following text which needs to be wrapped or stacked.
Method 1 – Shortcut Key
Step 1 – Select Desired Cells
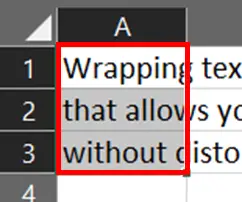
- Select your desired cells or range of cells.
Step 2 – Press Shortcut Key
- Press the shortcut key CTRL + 1 on your keyboard.
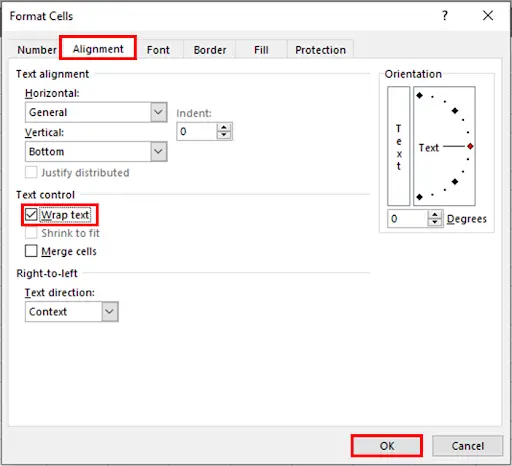
- Format Cells dialog box will appear on your screen.
- Go to Alignment Tab, check mark Wrap text & press OK button.
Step 3 – Text Stacked
- All the text will be stacked / wrapped.
Method 2 – Wrap Text Button
Step 1 – Select Data Range

- With the help of handle, select the data range.
Step 2 – Go To Home Tab
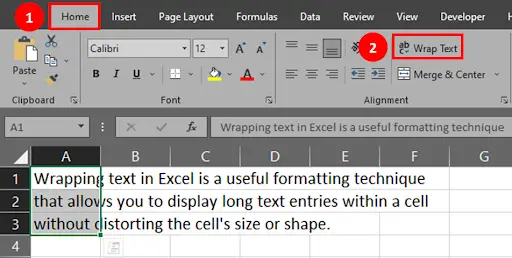
- Click on Home Tab.
- In the Alignment group, click on the Wrap Text button.
Step 3 – Get The Text Wrapped
- Text will be stacked this way.
Method 3 – Cell Formatting
Step 1 – Select Desired Cells

- Select your desired cells or range of cells.
Step 2 – Go To Cell Formatting
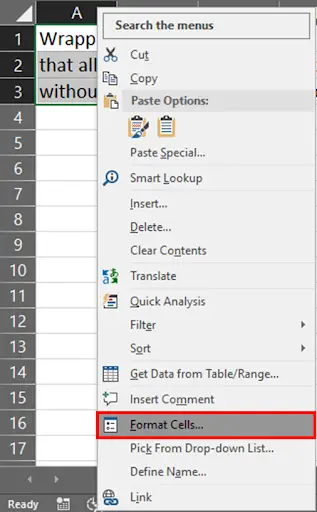
- Right mouse click on the selection.
Step 3 – Format Cell Dialog Box
- Format cell dialog box will appear on your screen.
- Switch to Alignment Tab. Select Wrap Text & click OK button.


