
How to make gridlines darker in Excel
 By
SpreadCheaters
By
SpreadCheaters
You can watch a video tutorial here.
Excel is a powerful spreadsheet application in which the layout is in the form of a grid of cells created by rows and columns. By default, the color of the grid is an unobtrusive gray so that it does not overpower the values that you type into the cell. There may be a situation when you want to make the gridlines darker. For example, you may be using Excel to create graph paper and need the gridlines to be more visible when the sheet is printed. You can either change the color of the gridlines or create a darker border around each of the cells in the grid.
Option 1 – Change the color of the grid
Step 1 – Open the Excel Options window
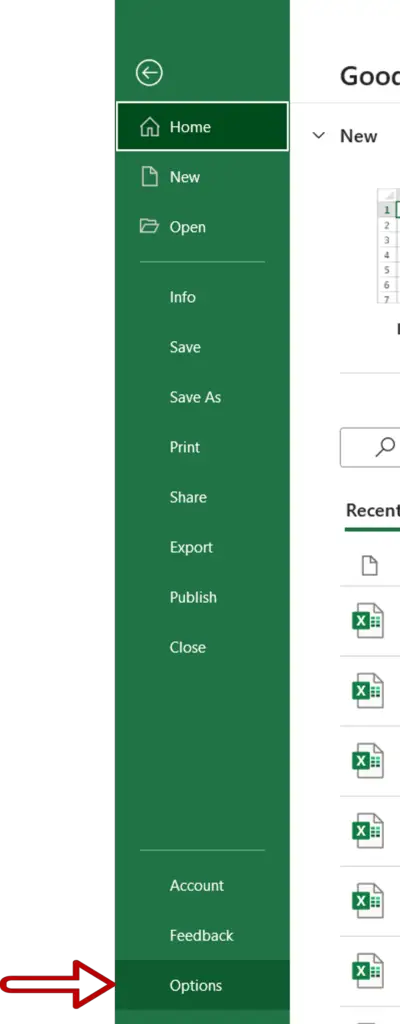
- Go to File > Options
Step 2 – Change the color of the grid
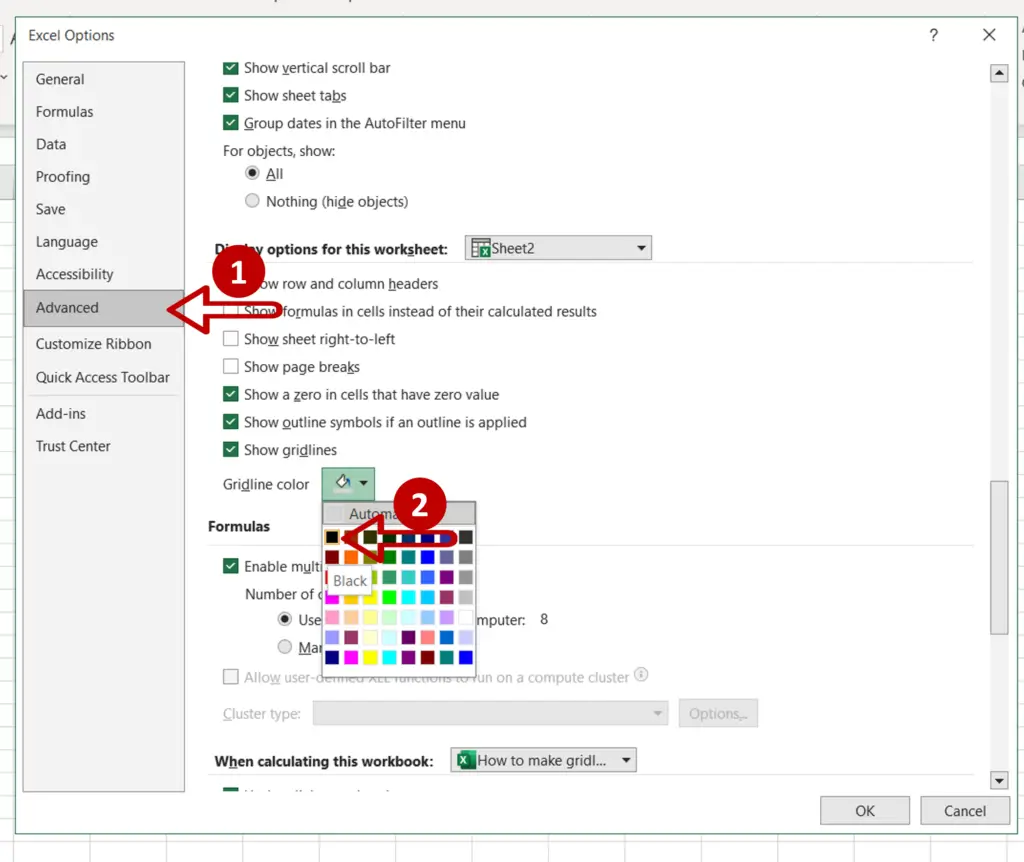
- Select the Advanced section
- Go to Display options for this worksheet
- Expand the dropdown list for the Gridline color
- Choose Black
- Click OK
Step 3 – Check the result
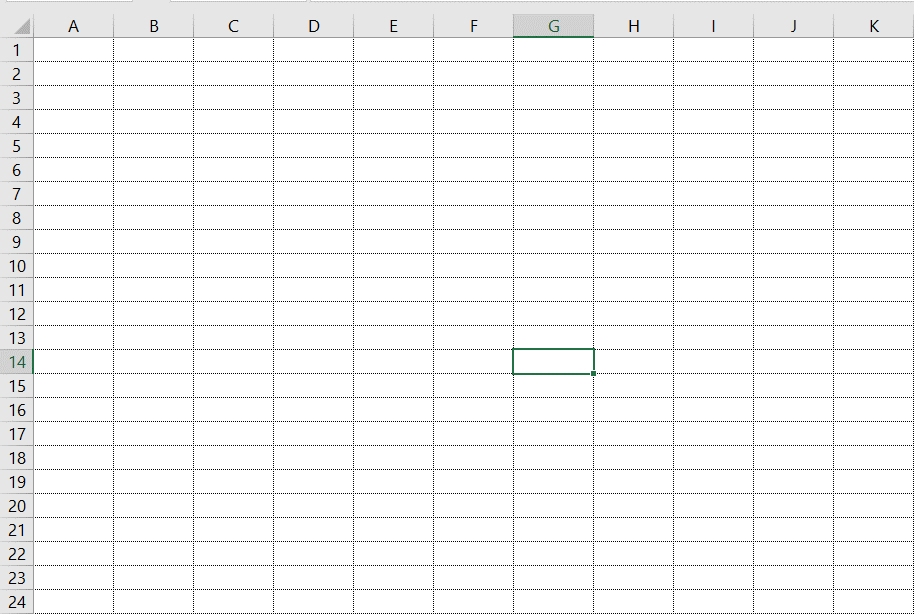
- The color of the gridlines is changed to black which is darker than the gray
Option 2 – Create darker cell borders
Step 1 – Select the sheet

- Select the entire sheet by clicking in the top left corner
Step 2 – Open the Format Cells window
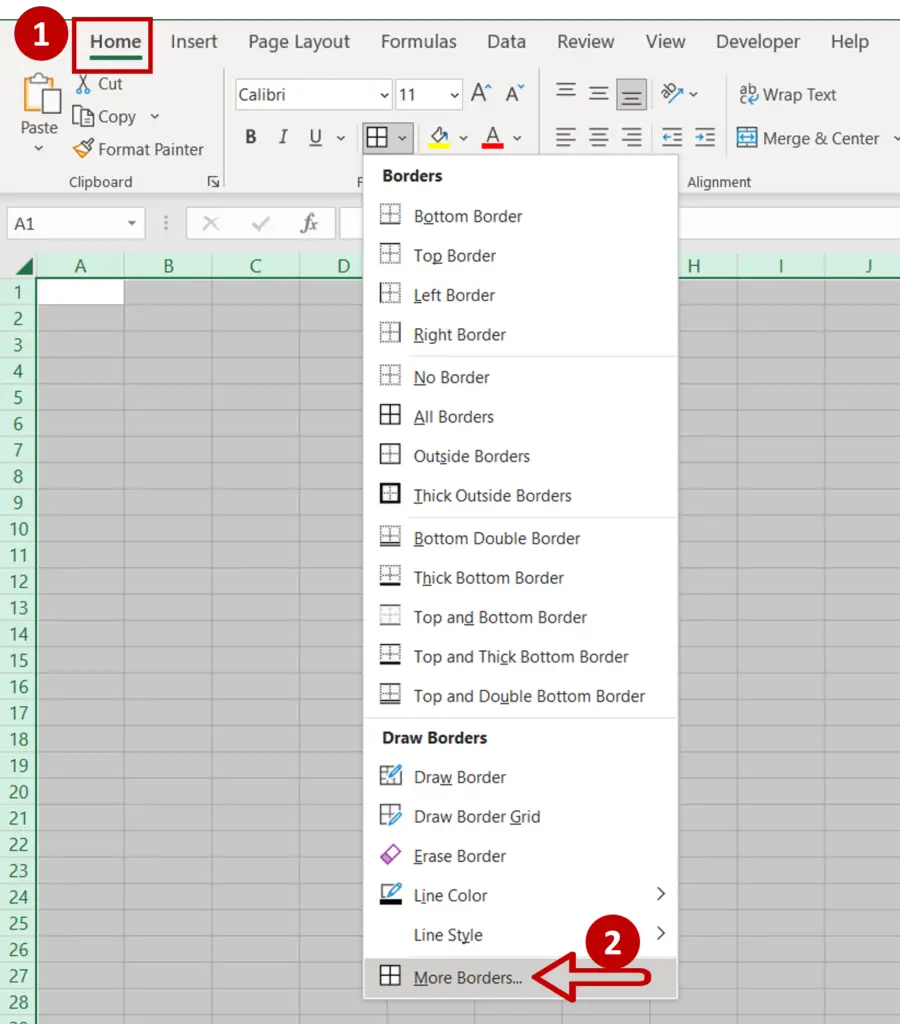
- Go to Home > Font > More Borders
OR
Right-click and select Format Cells from the context menu
OR
Go to Home > Number and click on the arrow to expand the menu
OR
Go to Home > Cells > Format > Format Cells
OR
Press Ctrl+1
Step 3 – Create the borders
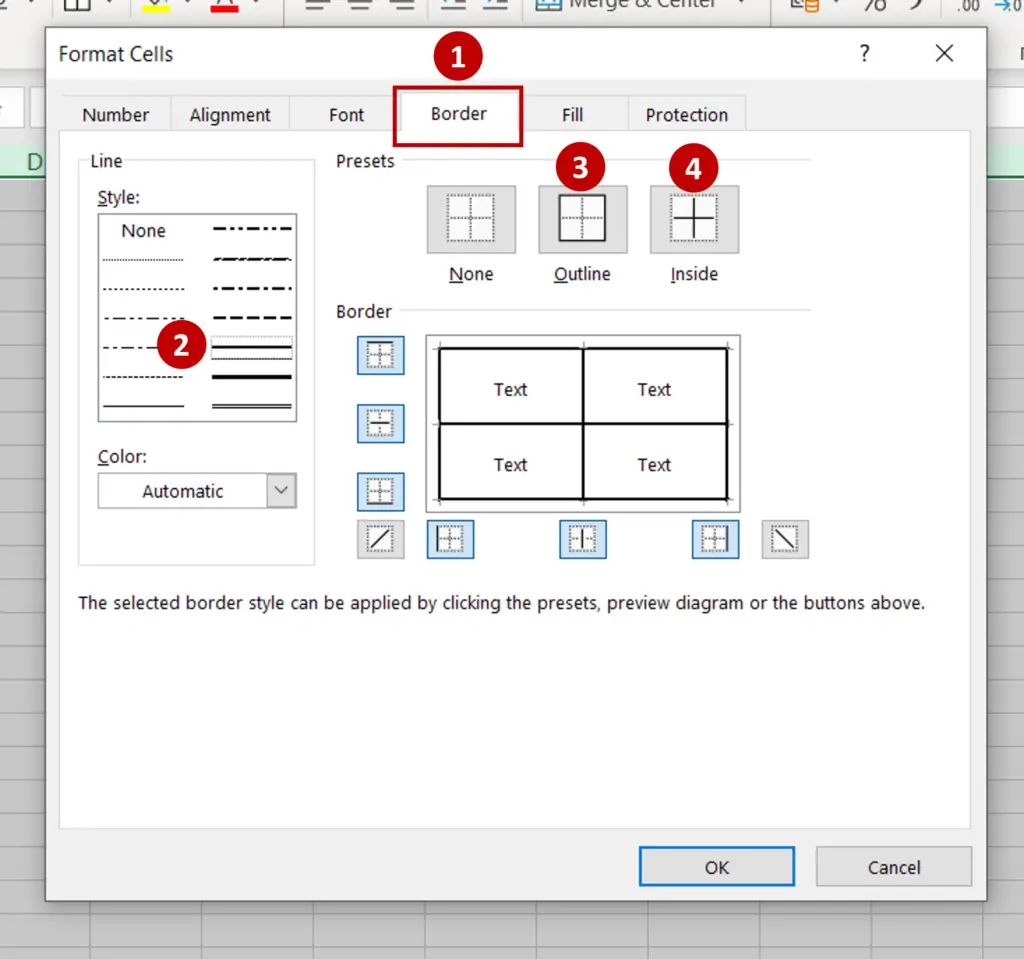
- Go to the Border tab
- Select a bold line style
- Click on the Outline and Inside preset options
- Check the preview to see that the borders are correct
- Click OK
Step 4 – Check the result
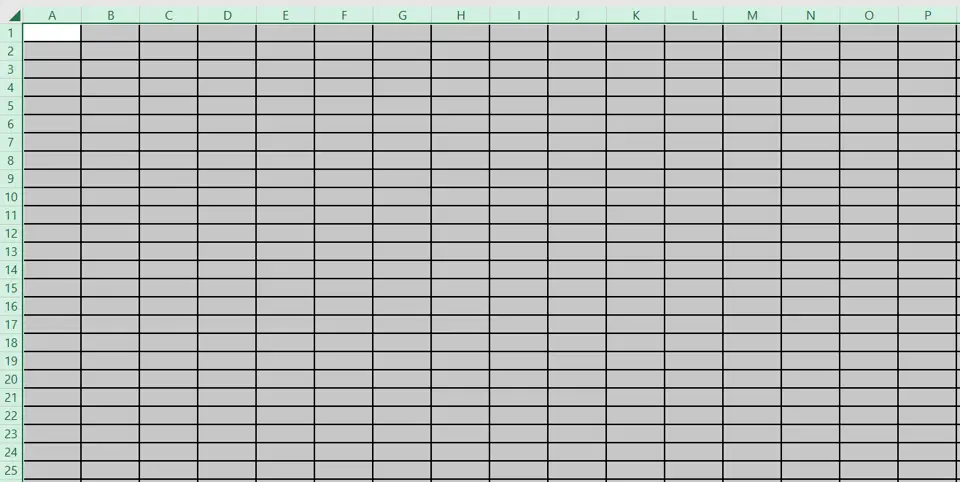
- The gridlines are now bold


