
How to make Excel in dark mode
 By
SpreadCheaters
By
SpreadCheaters
Microsoft Excel is a very powerful and handy tool with many great features just like creating pivot tables, charts and performing data analysis. Excel also offers a lot of built in options to personalize our copy of Excel. For example, when we are working at night time, the total white background becomes very stressful for our eyes and creates a lot of strain on our eyesight.
Fortunately, Excel has a built-in Dark Mode. In this tutorial we’ll learn how to enable dark mode in excel. Below are the steps to follow.
Step -1 Open Excel file
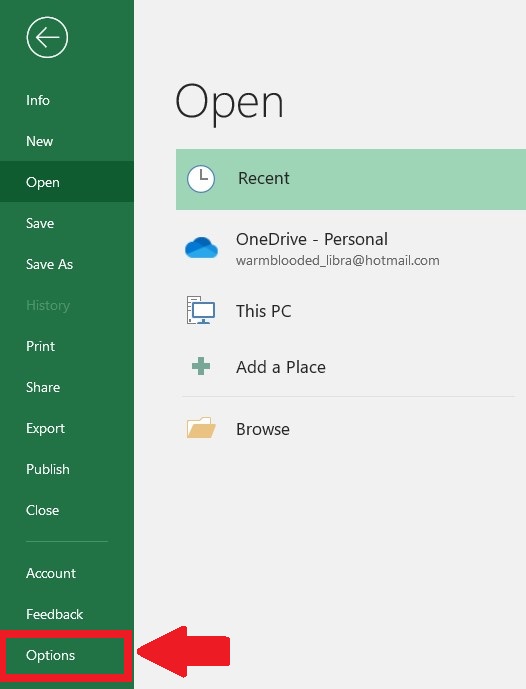
– Select a blank Excel worksheet. Click on the File tab.
– Select the Options at the left bottom corner.
Step 2 – Select the theme of office
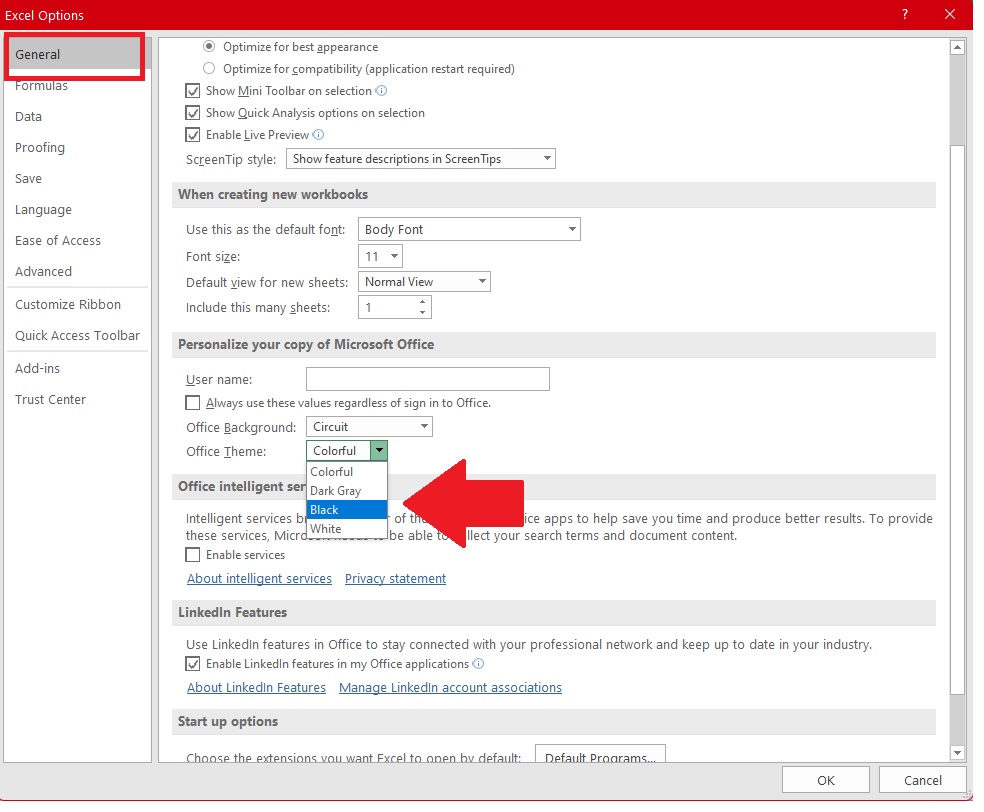
Above is a picture as an example.
– A dialogue box will appear click on the first option at the left upper corner General.
– In the middle of the dialogue box there is a group Personalize your copy of the office.
– Click on the office theme, a drop down menu will appear, click on black.
– Click on OK.
Step 3 – Change background of worksheet
Above is an animated example.
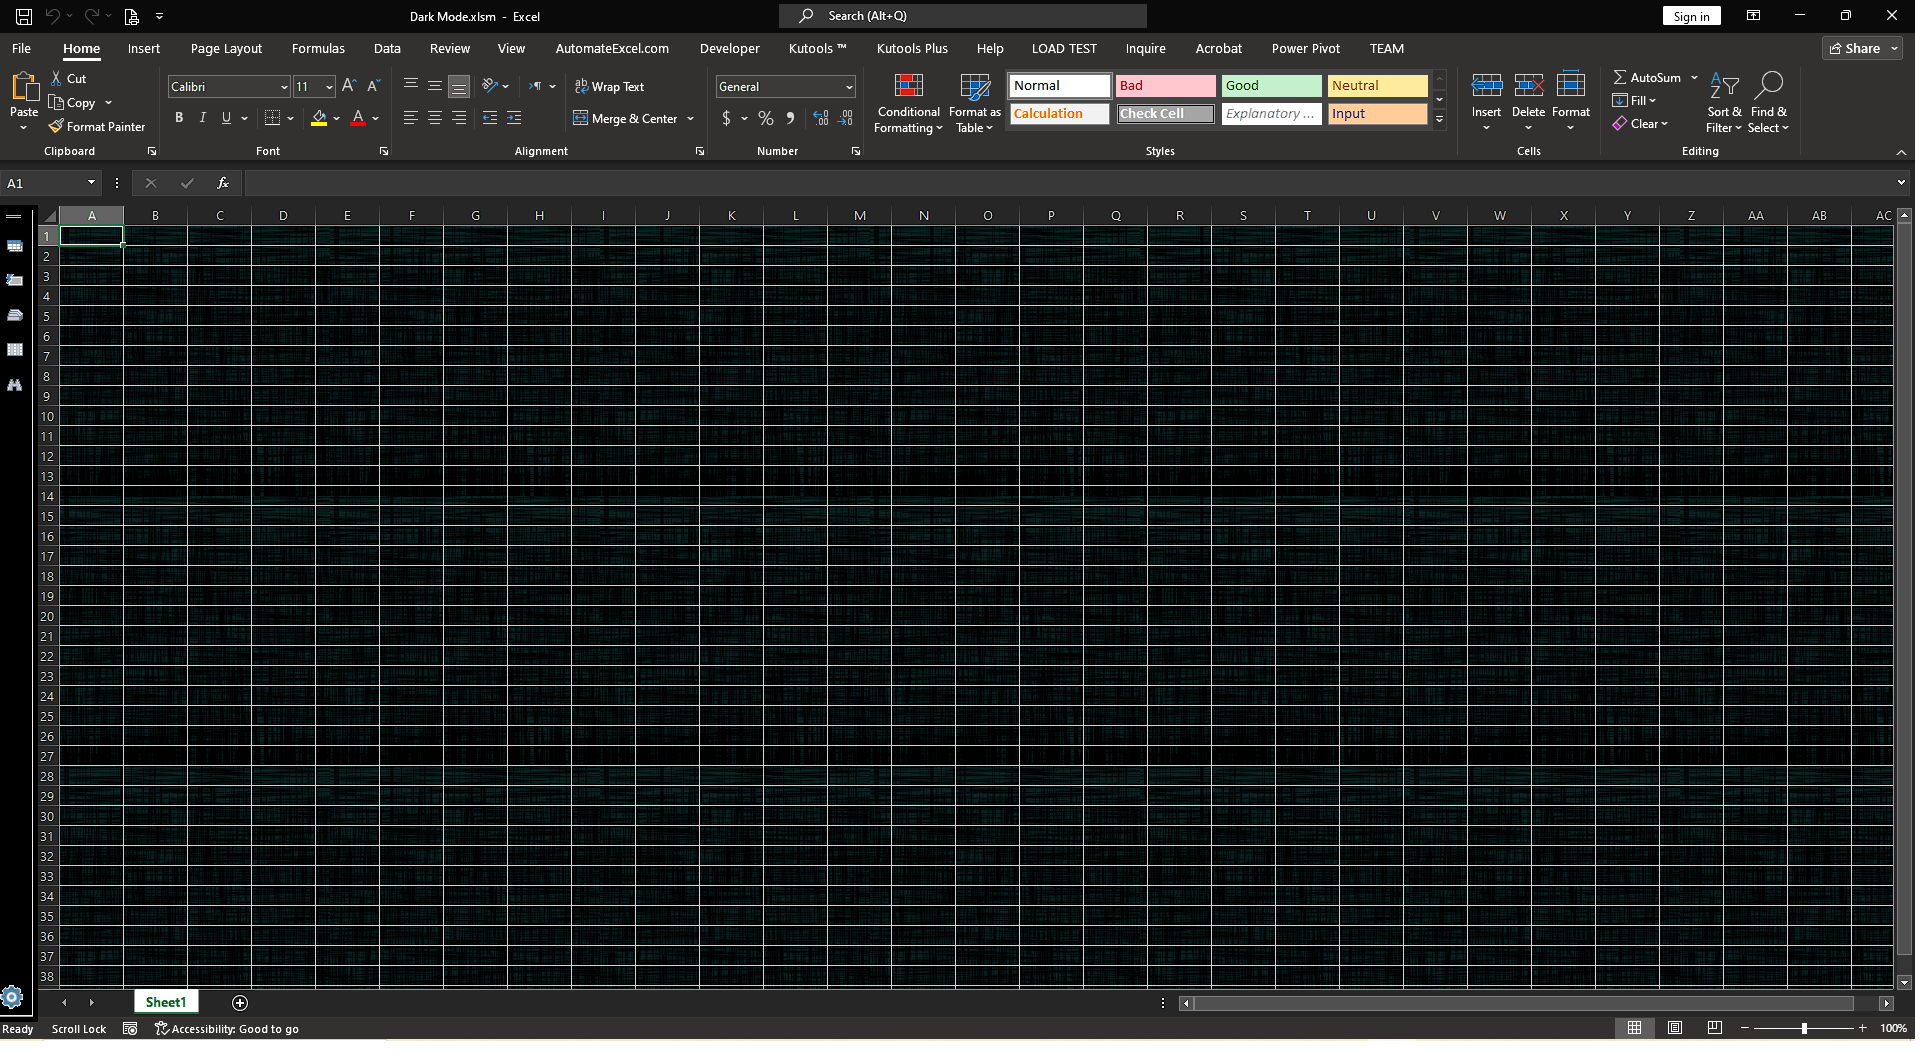
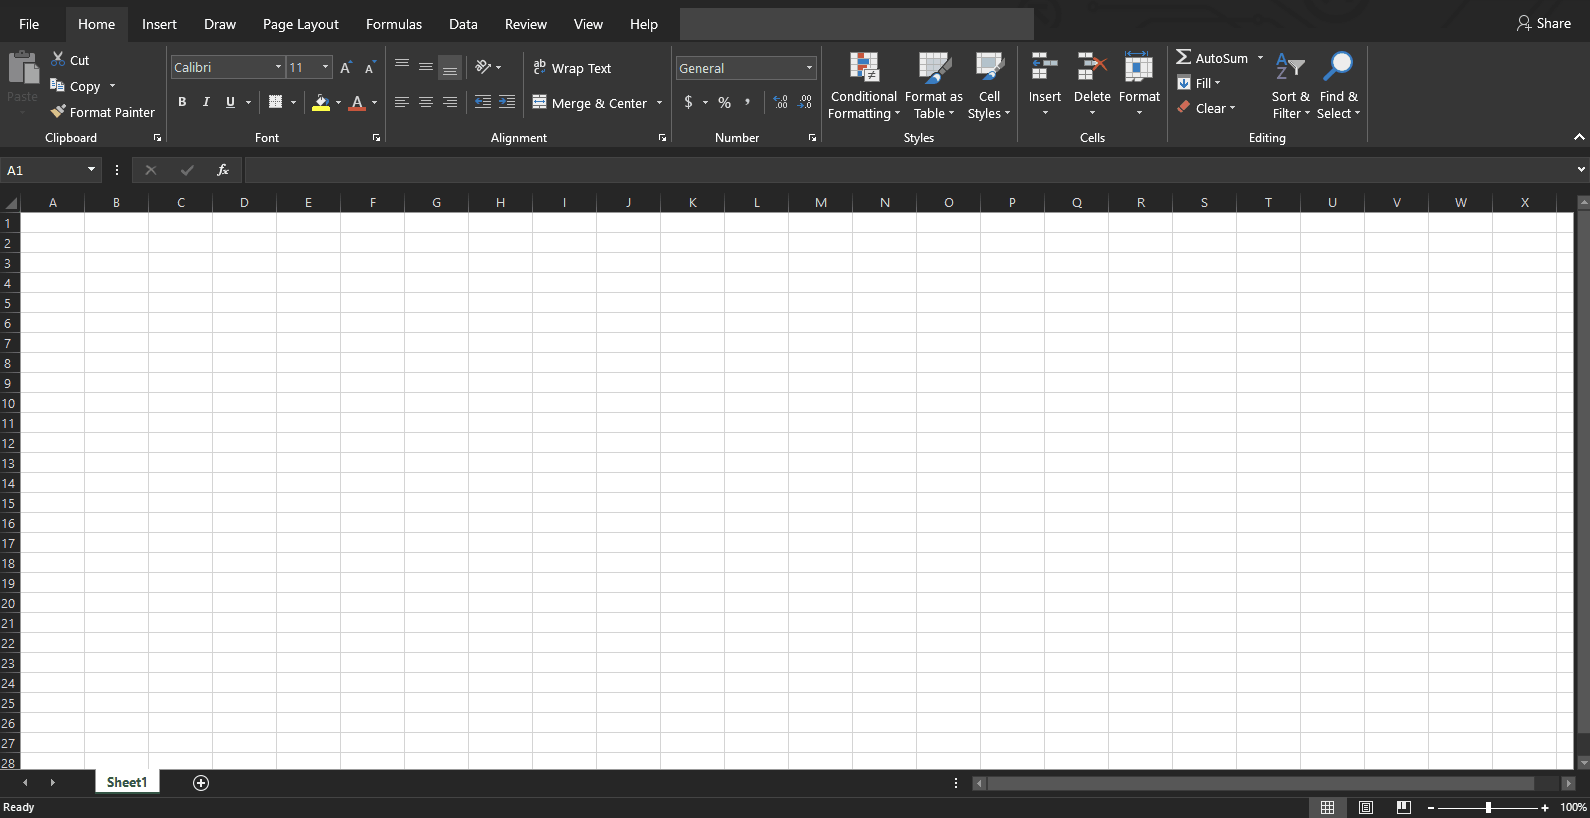
– By using the option in the previous step, the partial dark mode will be enabled i.e. the ribbons and all other menus will turn into black except the sheet background. The sheet background will remain white as normal.
– Click on the page layout tab.
– Click on the background icon in the toolbar.
– A dialogue box will appear, search from Bing, or navigate any dark picture from your computer.
– Click on the insert button this picture will be added in the background.
If you want to change the writing color from black to white, press hotkey CTRL + A. The entire area in the spreadsheet will be selected. Click on the home tab click on font color and change it to white.
So this is how you can enable Excel dark mode.


