
How To Make Excel Cell Expand With Text
 By
SpreadCheaters
By
SpreadCheaters
Page last updated:
24/06/2023 |
Next review date:
24/06/2025
In Excel, cells are typically designed to display a certain amount of text within a fixed width. However, when dealing with longer text entries, such as detailed descriptions, notes, or lengthy data points, the default cell size can pose a challenge. Luckily, Excel provides options to adjust the cell formatting and make it expand with text, allowing you to view and work with the complete information without compromising clarity or data accuracy.
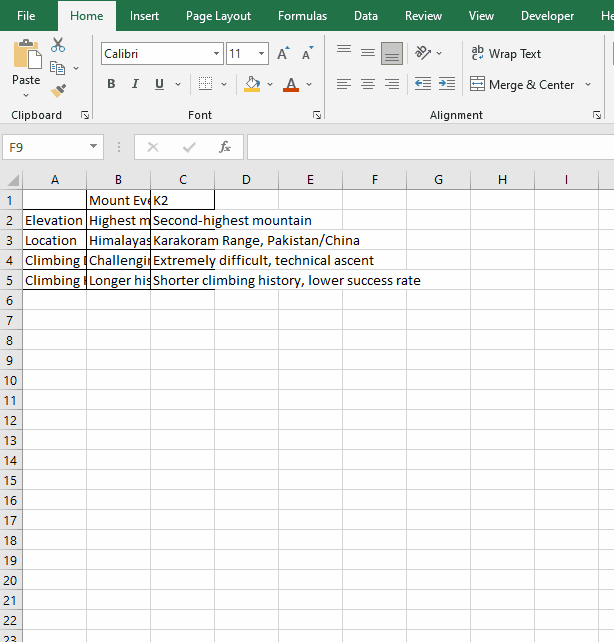
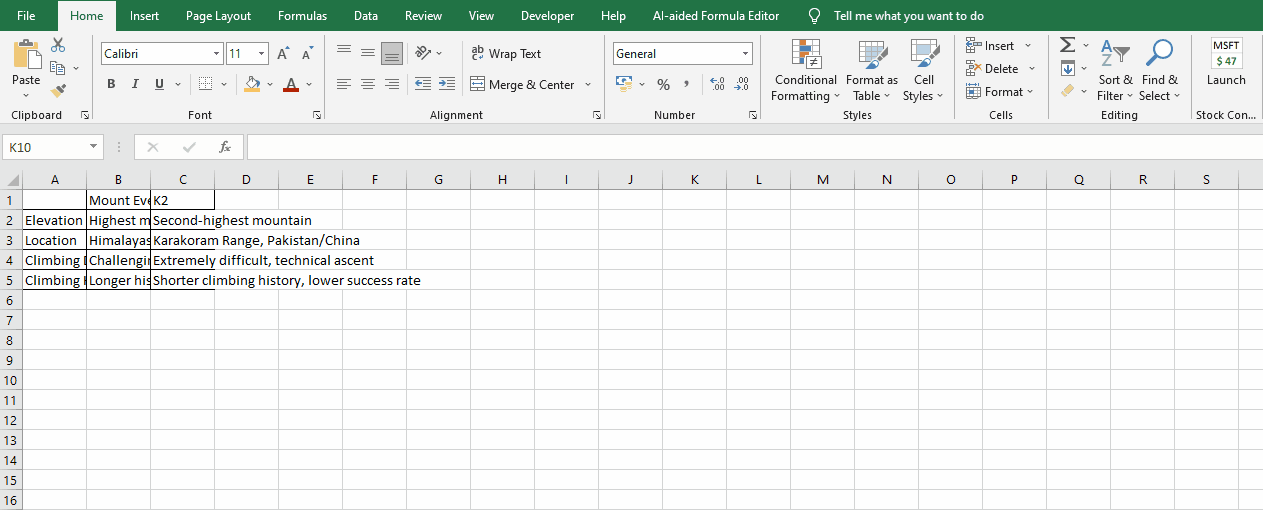
Let’s learn it with the help of the following dataset.

Method 1 – Using Text Wrap Feature
This method will expand the cells vertically and fit the text automatically without changing the column width.
Step 1 – Select Data

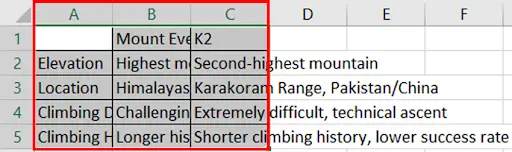
- Select the data which you want to wrap.
Step 2 – Go To The Home Tab
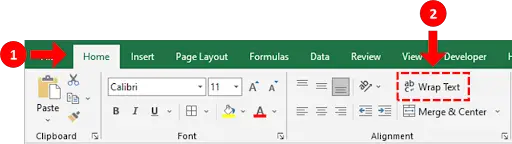
- Go to the home tab, under the alignment group click on the Wrap Text button.
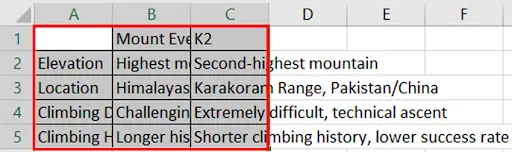
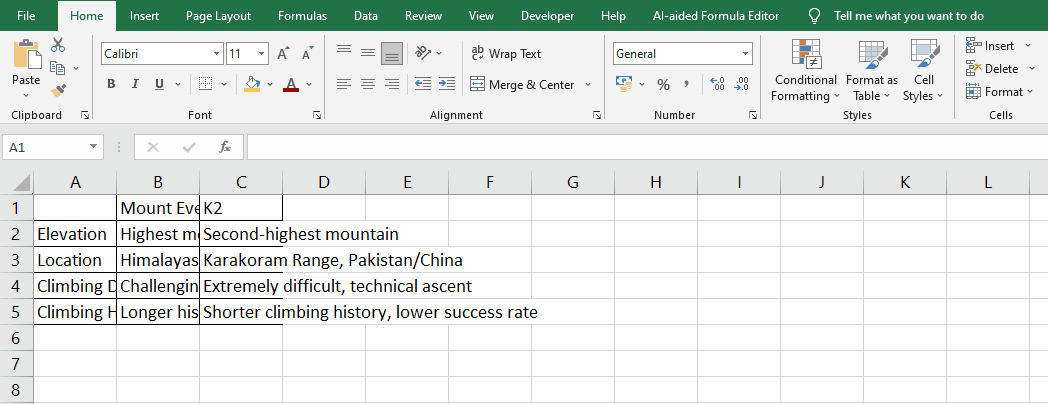
Step 3 – Text Wraped Vertically
- The text will be wraped vertically without changing the column width.
Method 2 – Using Autofit Column Width
This method will expand the cells horizontally and fit the text automatically.
Step 1 – Select Data
- Select the data by dragging the mouse over text.
Step 2 – Go To The Home Tab
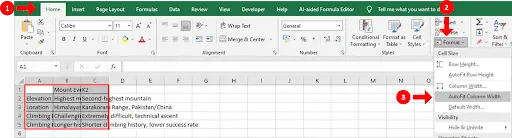
- Go to the home tab, under cells group click on the Format button. A drop down menu will be displayed.
- Select AutoFit column width option.
Step 3 – Column Width Expanded
- All the selected cells will be expanded.
Method 3 – Using Double Click On Column headers
Step 1 – Select Columns
- Select the columns by dragging the mouse over column headers.
Step 2 – Double Click On The Column Edge

- Move your mouse over the column header until the mouse changes to two sided arrow like plus sign.
Method 4 – Using Shortcut Key
Step 1 – Select Columns

- Select the columns by dragging the mouse over column headers.
Step 2 – Press The Shortcut Key
- Now press the shortcut key ALT + H + O + I.
- All the columns will be expanded.


