
How to make bingo cards in Microsoft Excel
 By
SpreadCheaters
By
SpreadCheaters
This tutorial will teach us how to make bingo cards in Microsoft Excel. To create Bingo cards in Excel, you need to create a grid of cells containing the appropriate letters and numbers, and then customize the appearance of the cards. After creating the cards, It’s simple to print them out and utilize them for playing Bingo with your loved ones, acquaintances, or coworkers.

Bingo cards are used in the game of Bingo, which is a popular game of chance played by people of all ages. Bingo cards typically consist grid of squares measuring 5 by 5 forming the structure, with each square containing a number. Excel is a popular tool for creating Bingo cards because it allows you to easily manipulate the cells, change the font styles and colors, and randomize the numbers in each column.
Step 1 – Enter the Header Text
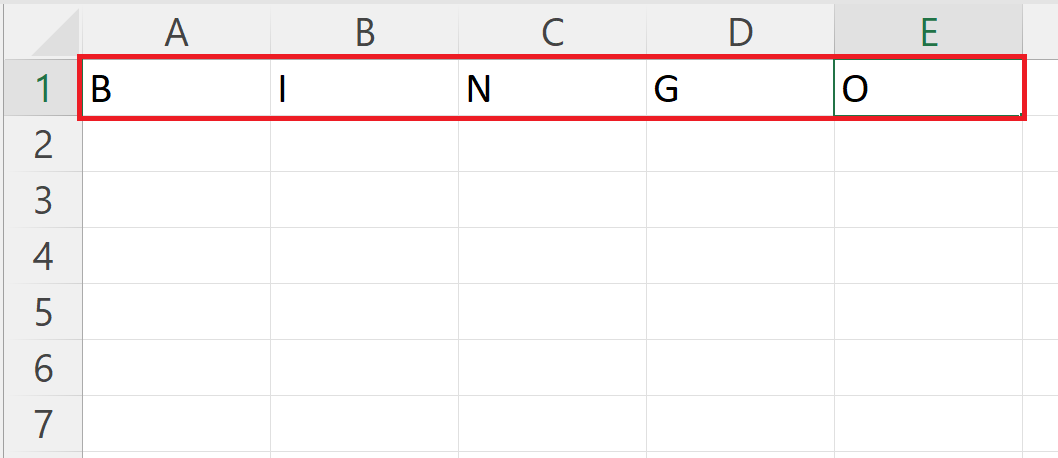
– Enter the Header text for the Bingo card.
– Input 1 letter in one column of the first row to create the header.
Step 2 – Format the Header Text
– Format the header by selecting the entered header.
– Apply a dark color using the Fill Color option.
– Modify the color of the font to a shade that is lighter.
– Bold the Header text and increase the font size, this will make the header more prominent.
Step 3 – Select the Initial Cell Located in the Primary Column

– Select the initial cell located in the primary column.
Step 4 – Utilize the RANDBETWEEN Function to Produce a Number in a Random Manner.
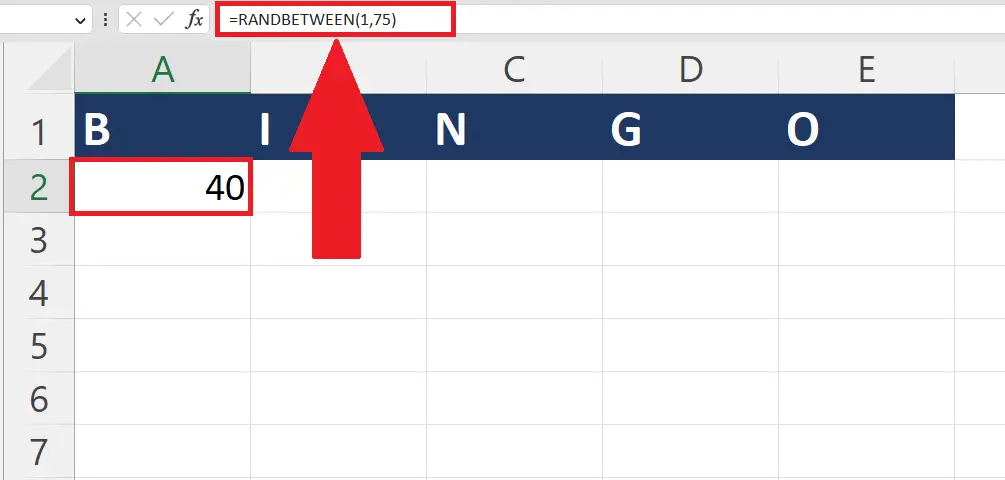
– Utilize the RANDBETWEEN function in the cell to produce a number in a random manner.
– The structure of the function will be:
RANDBETWEEN(1,75)
– In typical Bingo cards where the numbers range between 1 and 75, the parameter “1” represents the lower range, and “75” represents the upper range.
– Strike the Enter key.
Step 5 – Use the Autofill Feature to Generate Random Numbers for All of the Cells
– A Bingo card consists of 25 entries arranged in a 5×5 grid format, with 5 rows and 5 columns.
– Utilize Autofill to generate random numbers for each.
Step 6 – Choose all the Cells
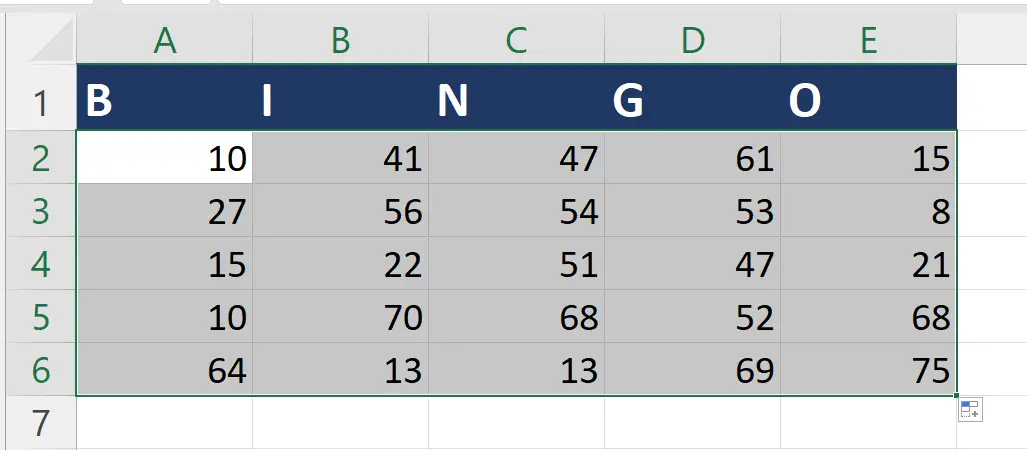
– Choose all the cells including the header, for this press the CTRL+A keys.
Step 7 – Apply Center Horizontal Alignment
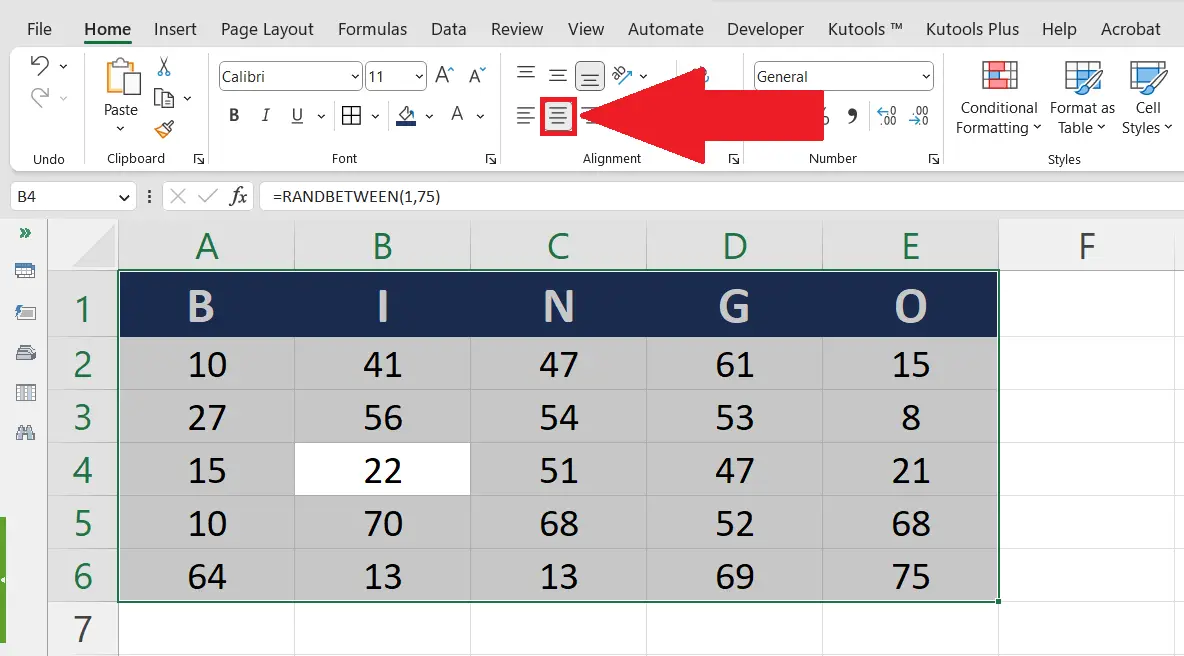
– Apply center horizontal alignment to the header text located in the “Alignment” section of the Home tab.
Step 8 – Darker the Gridlines
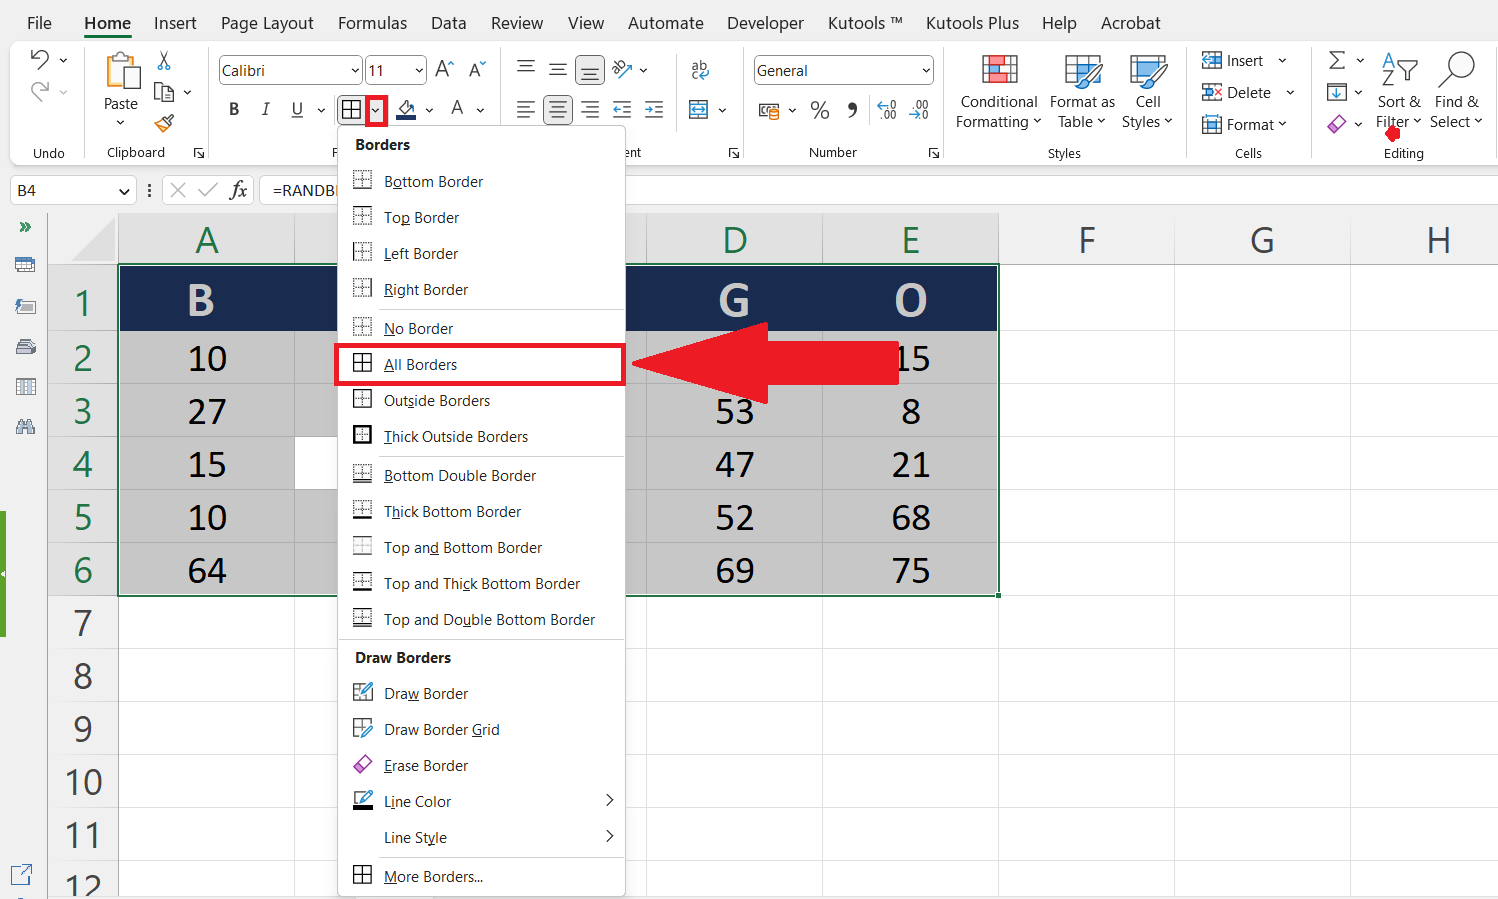
– Choose all the cells.
– Perform a mouse click on the arrow pointing down to the Border menu.
– Choose the “All Borders” option from the drop-down menu.
– Your Bingo card will be formed.
Step 9 – Delete the Cell Located at the Center of the Card
– Delete the cell located at the center of the card, in this case, it is cell C4.
– You may customize the cell as required, we have entered “Free Space” in the cell.
Step 10 – Making Multiple Bingo Cards
– Choose all the cells of the first Bingo card.
– Copy the cells utilzing CTRL+C keys.
– Paste them on another destination by pressing the CTRL+V keys.
– This will create a new Bingo card with distinct entries. You can create more than two using the same method.


