
How to Make an Excel Sheet Read Only
 By
SpreadCheaters
By
SpreadCheaters
Page last updated:
04/04/2023 |
Next review date:
04/04/2025
Excel spreadsheets are great for sharing data with others, but sometimes you just want the recipient to view the file, not alter it. Normally when you send an Excel file, the viewer is free to make edits, whether they are intentional or not. This can result in confusion and inaccurate data should the sender be unaware of the changes.
Fortunately, there is a solution, and this is to make an Excel file read-only. This can be done in multiple ways, including changing the properties of the file to read-only, as well as restricting formatting and editing. These changes can also be easily removed when you wish to allow viewers to make changes.
Here is how to make these changes.
Method 1 – File Tab -> Info Menu
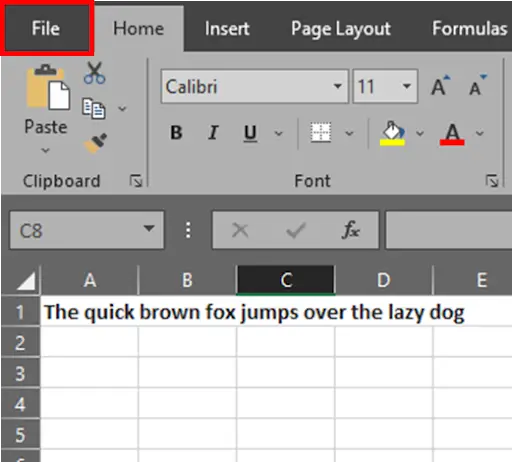
Step 1 – Go To File Tab

- On your worksheet click on the File tab.
Step 2 – Click On Info Menu
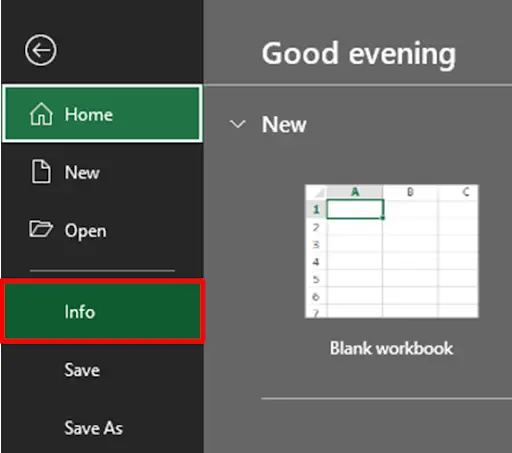
- Click on the Info menu.
Step 3 – Protect Worksheet Menu
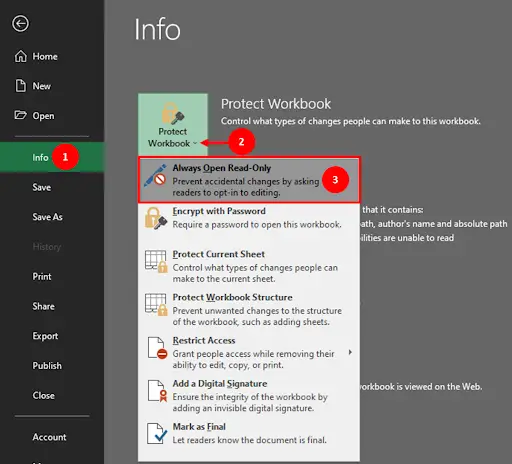
- Inside the info menu, click on the protect worksheet dropdown button & select “Always Open Read-Only” option.
Step 4 – Worksheet Set As Read-Only
- When you select the read-only option, the button turns yellow, meaning the sheet is now read-only to other users.
- Click the back button & save it.
- Reopen it to check the changes.
Method 2 – Using Save As option from File Menu
Step 1 – Go To File Tab
- On your worksheet click on the File tab.
Step 2 – Click On Save As Menu
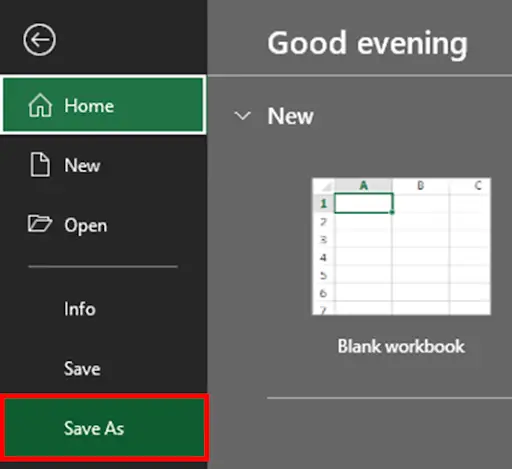
- Click on the save as menu.
Step 3 – Select File Save As Location
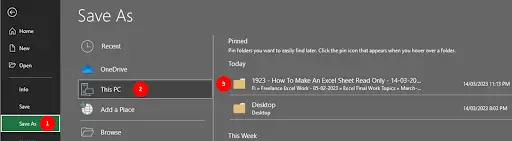
- Select the location where you want to save the file.
Step 4 – Save As General Options
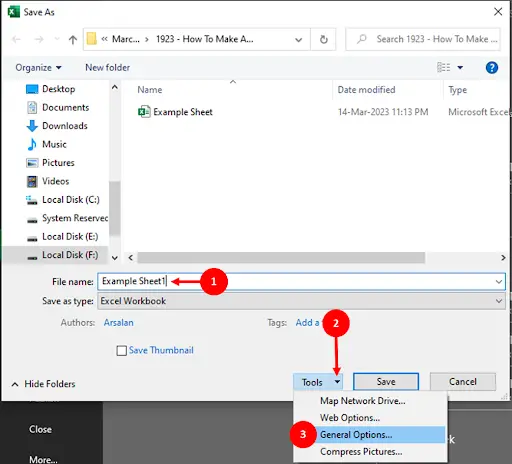
- In the file save as screen, type the file name.
- Click on the tools button & select “general options”.
Step 5 – General Options Screen
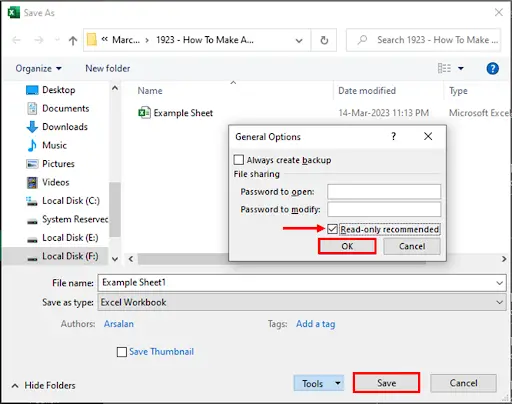
- When you click on the general options, a screen will appear asking you to set a password or tick mark the read-only option.
- Tick mark the read-only option, click OK & save the file.
Step 6 – Excel Sheet Becomes Read-Only
- After following the above steps, your worksheet will become read-only for other users.
Method 3 – File Properties
Step 1 – Go To File Properties
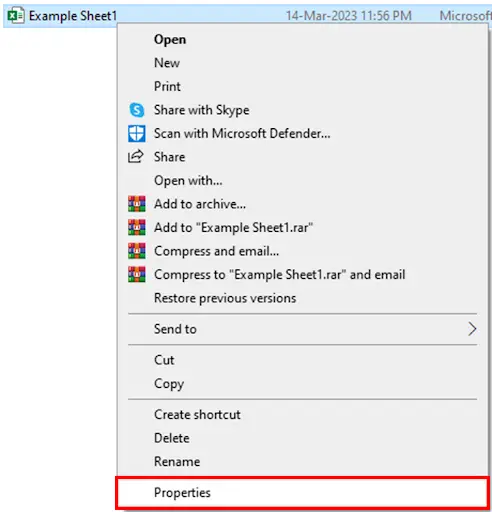
- Right click on the Excel file & select properties.
Step 2 – Check Read-Only Box
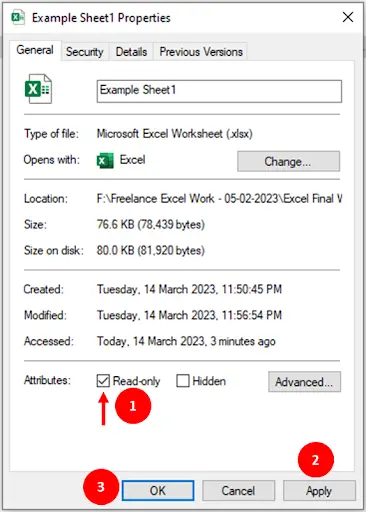
- Tick mark the read-only check box, press apply & save button.
Step 3 – File Converted As Read-Only
- File converted as read-only for other users.


