
How to make a row a header in Excel
 By
SpreadCheaters
By
SpreadCheaters
Page last updated:
16/11/2022 |
Next review date:
16/11/2024
You can watch a video tutorial here.

Excel has the provision to convert a set of data into a table. When converting the data into a table, you have the option of making the top row the header for the table. Creating a header makes the table more presentable and easier to understand.
Step 1 – Choose the menu option

– Go to the Insert menu option and choose Table
Step 2 – Define the table
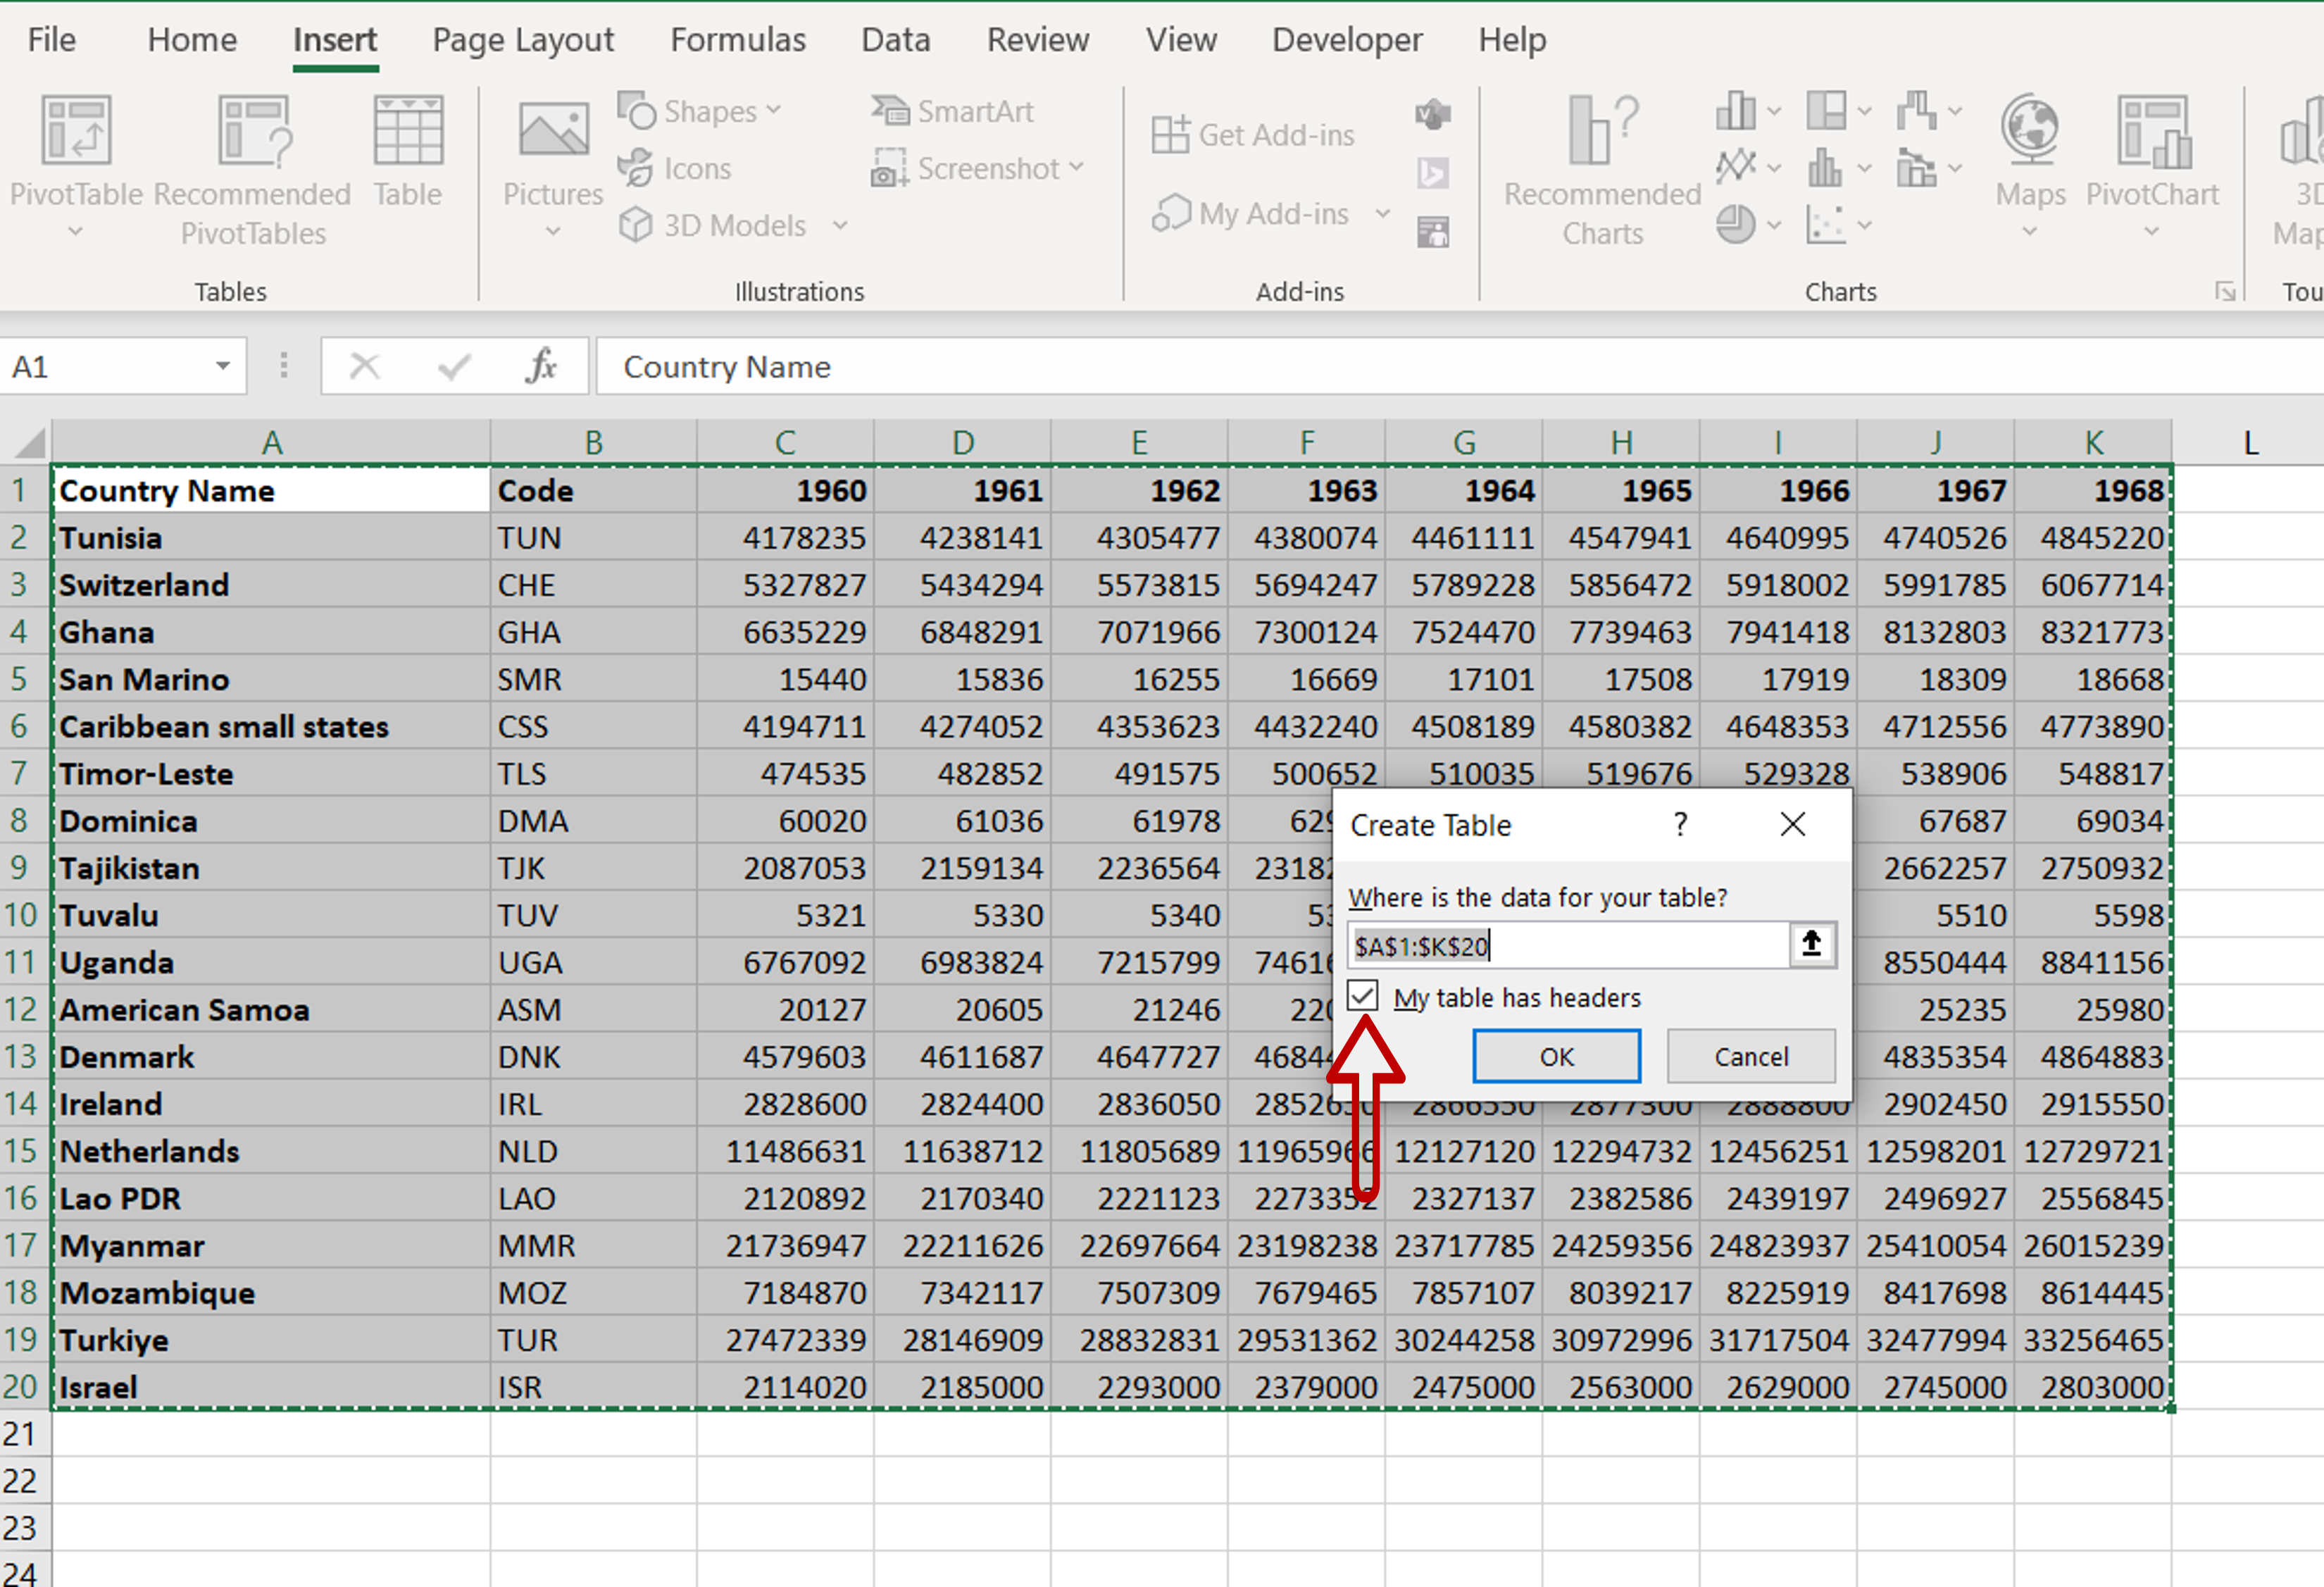
– In the pop-up window, change the range, if needed
– Tick the My table has headers box
– Click OK
Step 3 – Check the result
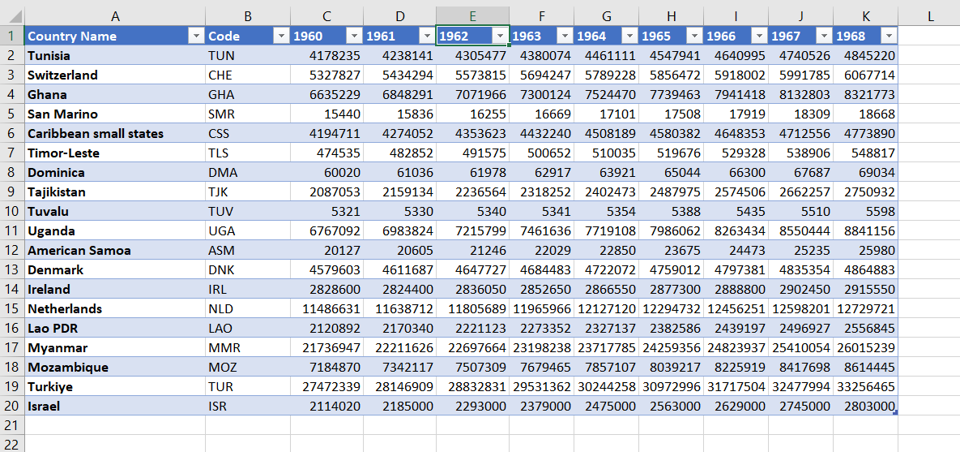
– The data will be converted into a table with the top row as a header


