
How to make a family tree in Excel
 By
SpreadCheaters
By
SpreadCheaters
Page last updated:
12/12/2022 |
Next review date:
12/12/2024
You can watch a video tutorial here.
Excel is a versatile application and can be used for many types of documents, not just for its spreadsheet capabilities. To create a family tree in Excel, you can explore using a template from Microsoft Office or you can create your own using the SmartArt suite of tools.
Option 1 – Use a template
Step 1 – Open the new file options

- Open the File menu
- Click on More templates
Step 2 – Search for the template
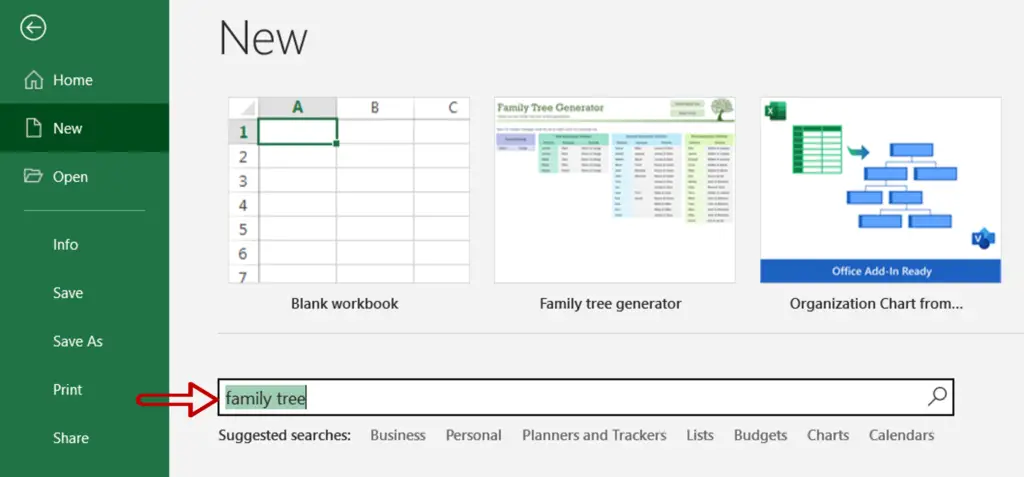
- In the search box, type ‘family tree’
- Press Enter
Step 3 – Select the template

- Click on the ‘Family tree generator’ template
Step 4 – Create a new file
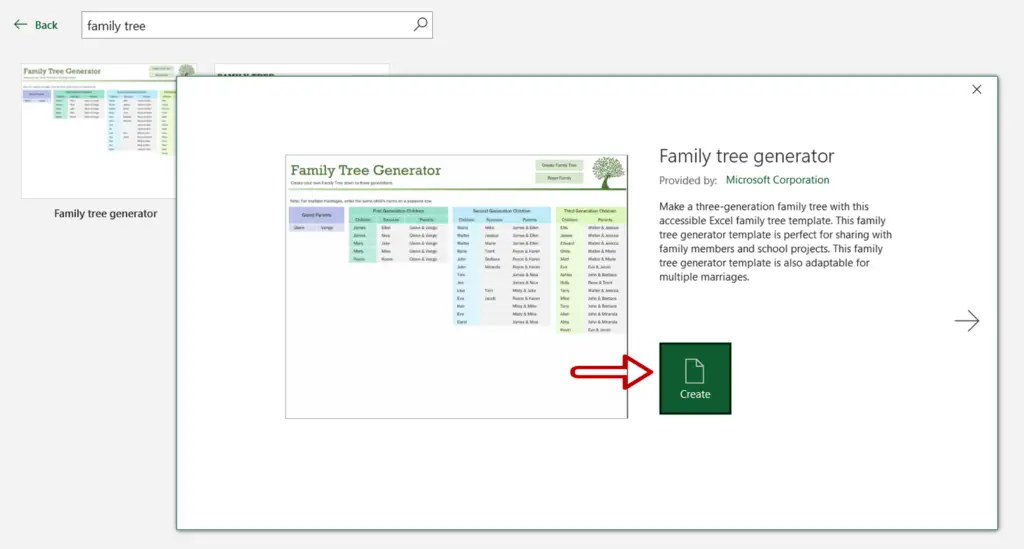
- Click Create Family Tree
Step 5 – Enter the values
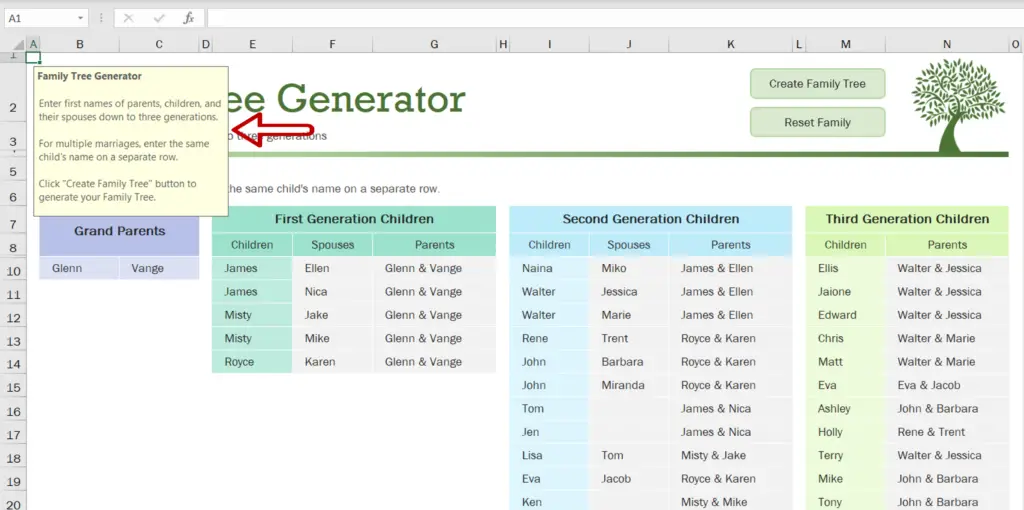
- Follow the instructions to enter the data for the family tree
Step 6 – Check the result
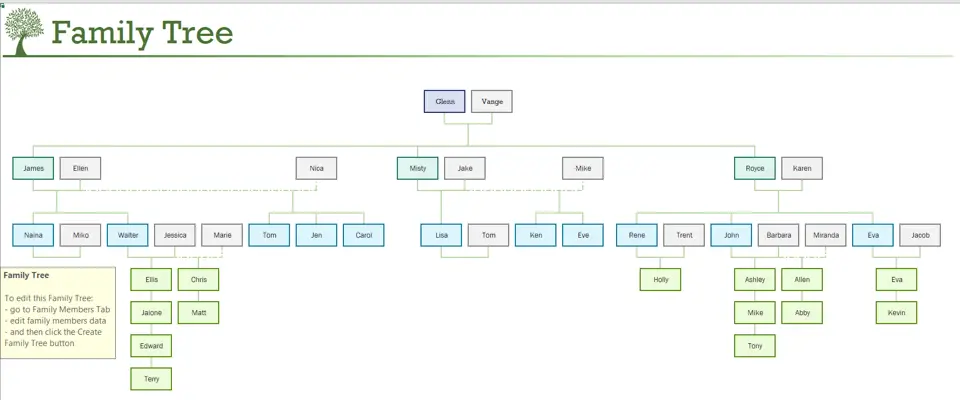
- The family tree is created
Option 2 – Use SmartArt
Step 1 – Open the Choose a SmartArt graphic dialog box
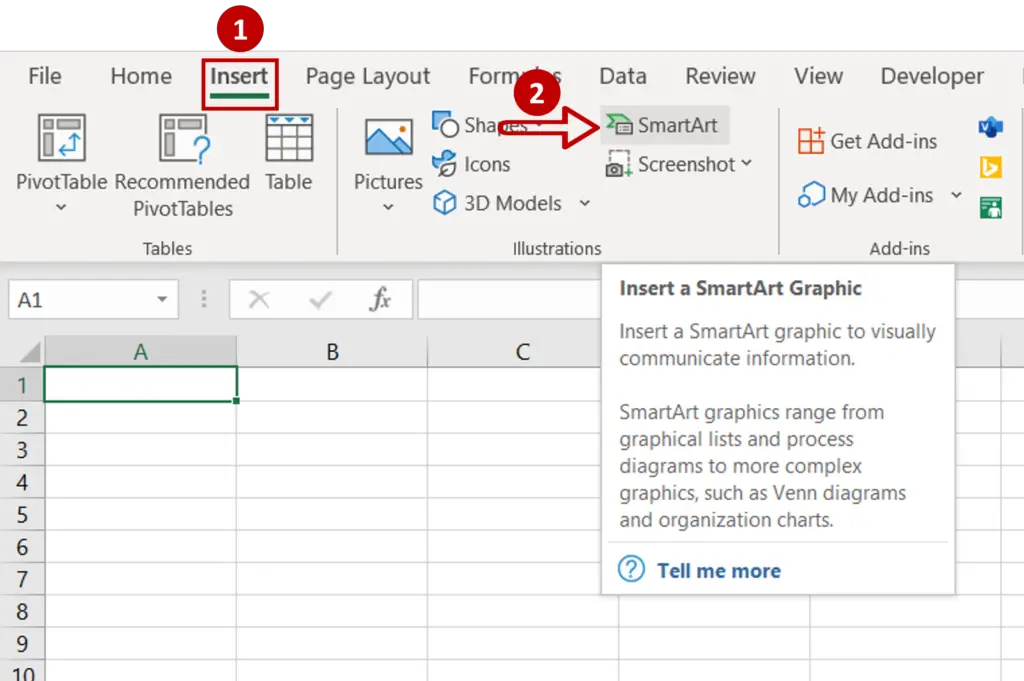
- Go to Insert > Illustrations
- Click the SmartArt button
Step 2 – Select a hierarchy
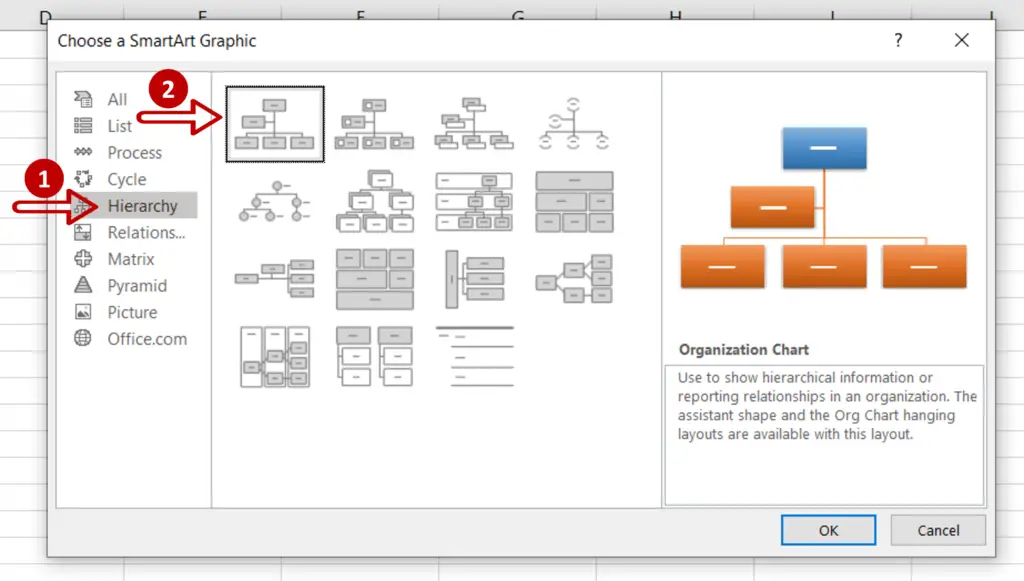
- Go to Hierarchy
- Pick any one of the options displayed
- Click OK
Step 3 – Open the text pane

- In the chart that is inserted into the worksheet, click on the arrow on the left border
- This opens the text pane
Step 4 – Enter the names

- In the text pane, add the names of people, starting with the first generation
- Press TAB to indent to the next level of the hierarchy
- Press ENTER to enter names in the same level of the hierarchy
- To bring a name to the previous level (unindent) press SHIFT+TAB
Step 5 – Check and format the result

- Format the family tree using one of the preset designs under SmartArt Design or customize the chart using the Format options


