
How to insert rows in Excel automatically
 By
SpreadCheaters
By
SpreadCheaters
Page last updated:
13/01/2023 |
Next review date:
13/01/2025
You can watch a video tutorial here.
Excel provides several shortcuts and tools for actions that are performed frequently. Inserting rows is an action that you will need to do often when working with Excel. Apart from the menu options, Excel provides a variety of keyboard shortcuts that you can use to insert rows quickly.
Option 1 – Use the context menu
Step 1 – Select the cells

- Select the cells where the rows are to be inserted
- Right-click to display the context menu
- Select Insert
Step 2 – Choose the insert option
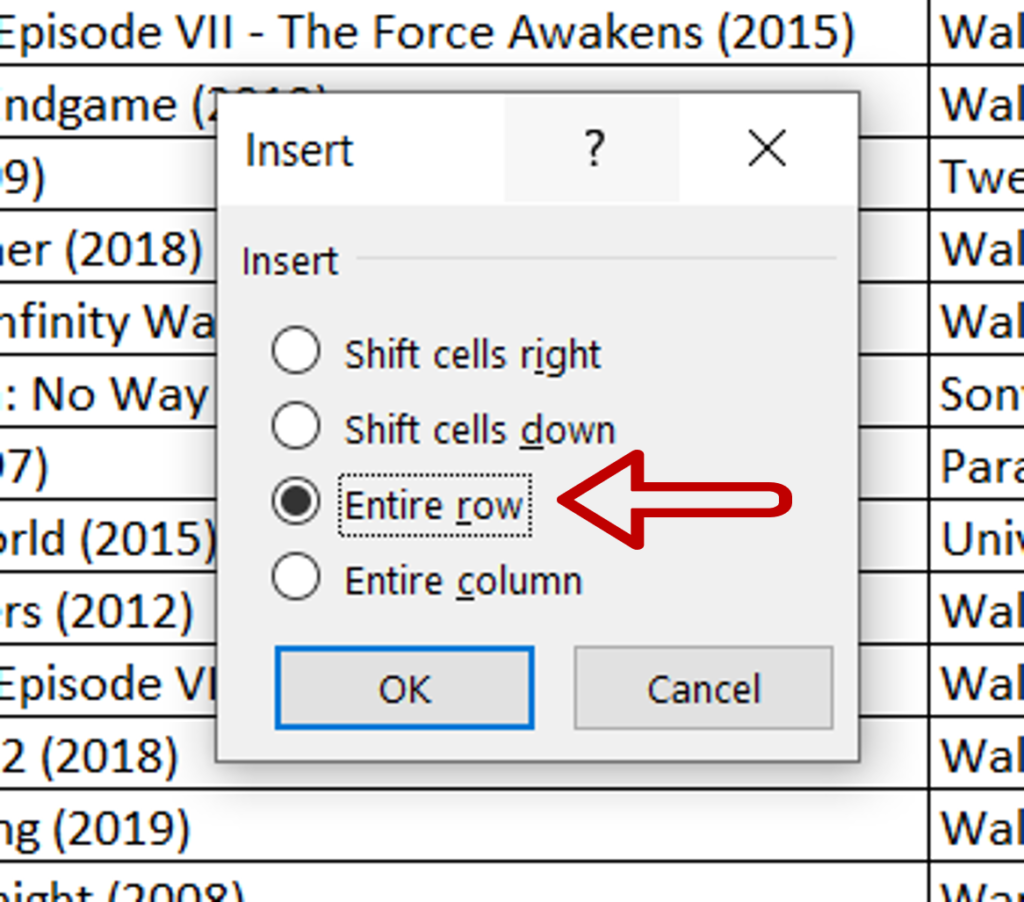
- Select Entire row
- Click OK
Step 3 – View the result

- Blank rows are inserted above the selected cells
- 3 rows are inserted as 3 cells were selected
Option 2 – Use the menu option
Step 1 – Select the cells
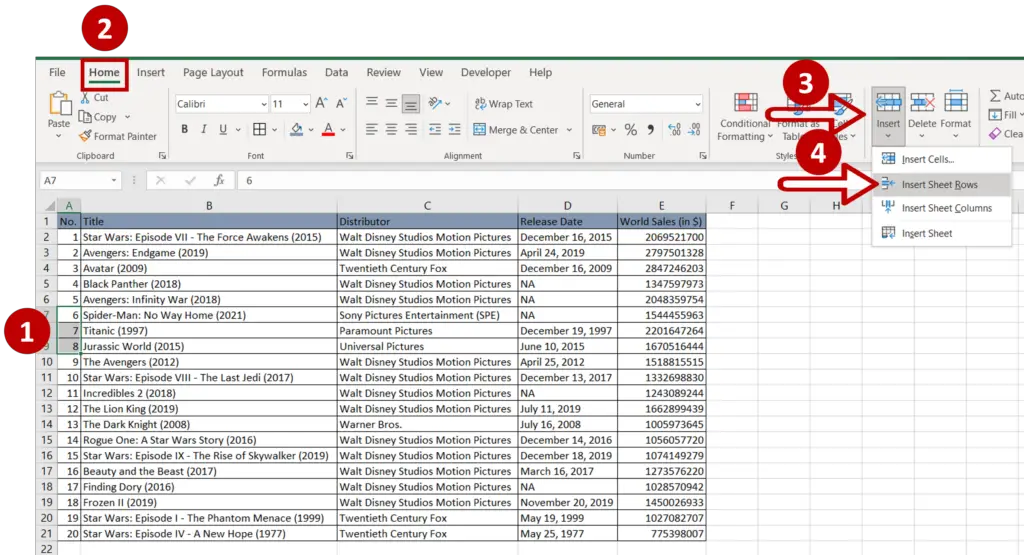
- Select the cells above which rows are to be inserted
- The number of cells selected should correspond to the number of rows to be inserted
- Go to Home > Cells
- Expand the Insert dropdown
- Select Insert Sheet Rows
Step 2 – Check the result
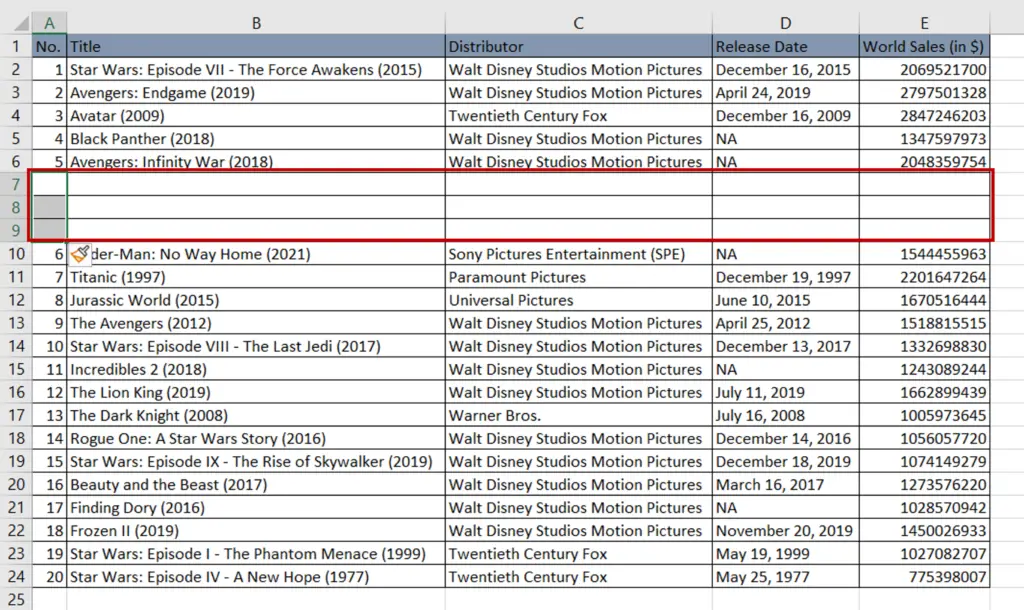
- Blank rows are inserted above the selected cells
- 3 rows are inserted as 3 cells were selected
Option 3 – Use keyboard shortcuts
Step 1 – Select the rows
- Select the rows above which rows are to be inserted
- The number of rows selected should correspond to the number of rows to be inserted
- Use any of the following keyboard shortcuts
- Alt+I+R
- Ctrl+Shift+=
- Alt+H+I+R
Step 2 – Check the result
- Blank rows are inserted above the selected rows
- The number of blank rows corresponds to the number of rows selected


