
How to insert an Excel File in PowerPoint
 By
SpreadCheaters
By
SpreadCheaters
In this tutorial we’ll learn how to import an Excel file into a PowerPoint presentation by following the steps mentioned below. The steps to insert an Excel workbook in a PowerPoint presentation are similar for all versions of PowerPoint, such as 2010, 2013, 2016, or 2019.
Microsoft Office provides a wide range of applications e.g. Word, PowerPoint and Excel for increasing productivity and these applications are interconnected to each other.
Step 1 – In the Insert Menu locate Object in Text Group
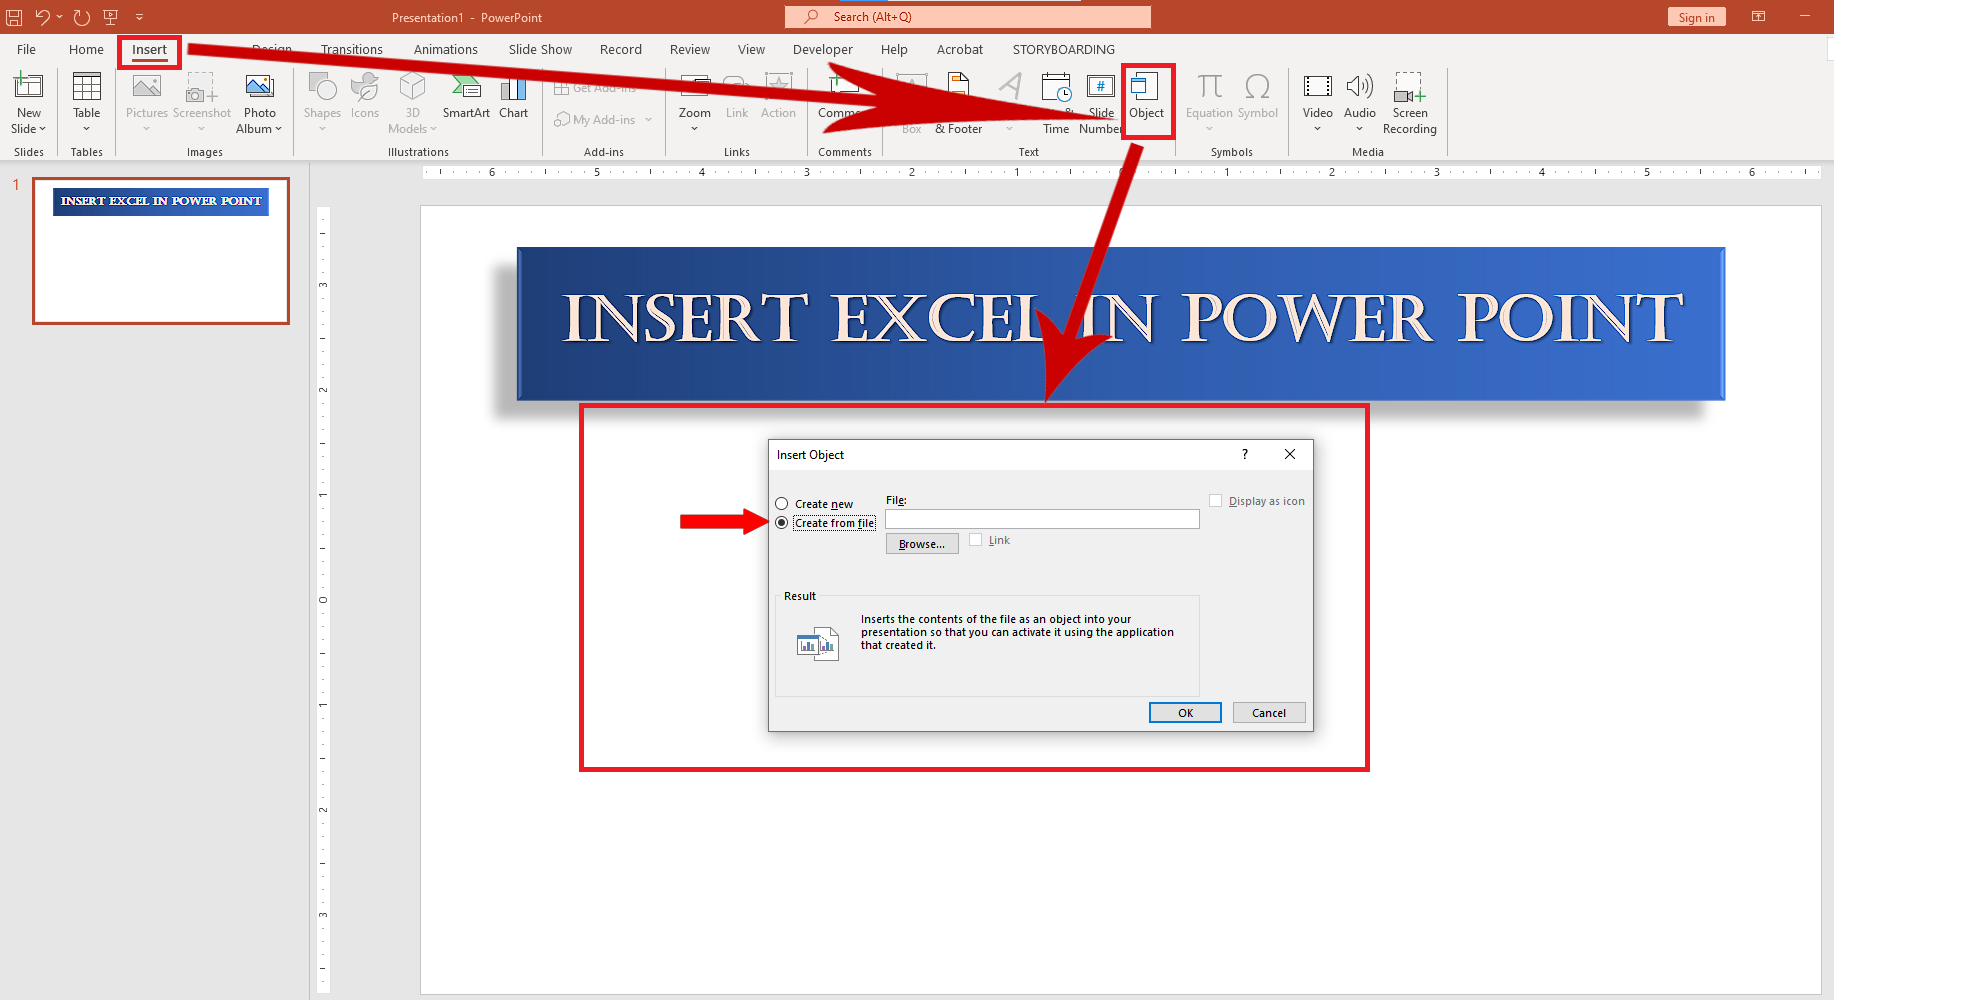
– In a PowerPoint presentation click Insert menu —> Object —> Create from file.
– Leave other options unchecked.
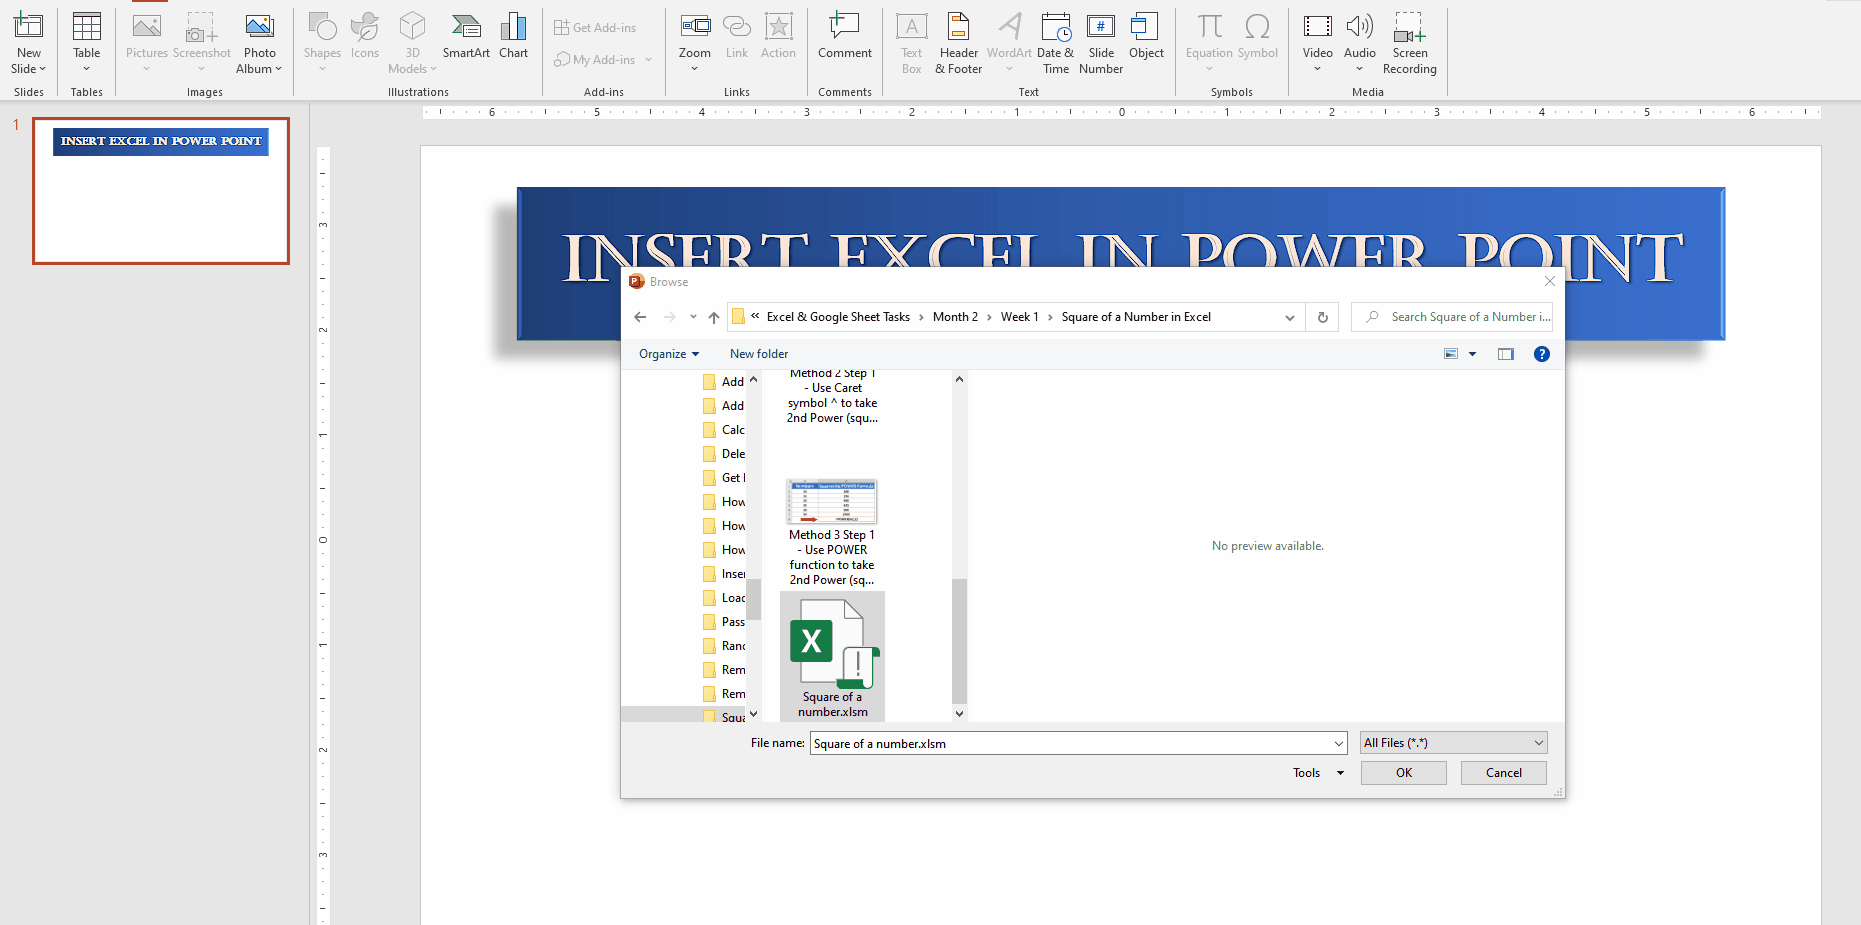
Step 2 – Locate the Excel file
– Now locate the Excel file by clicking on the Browse button and then select the destination folder.
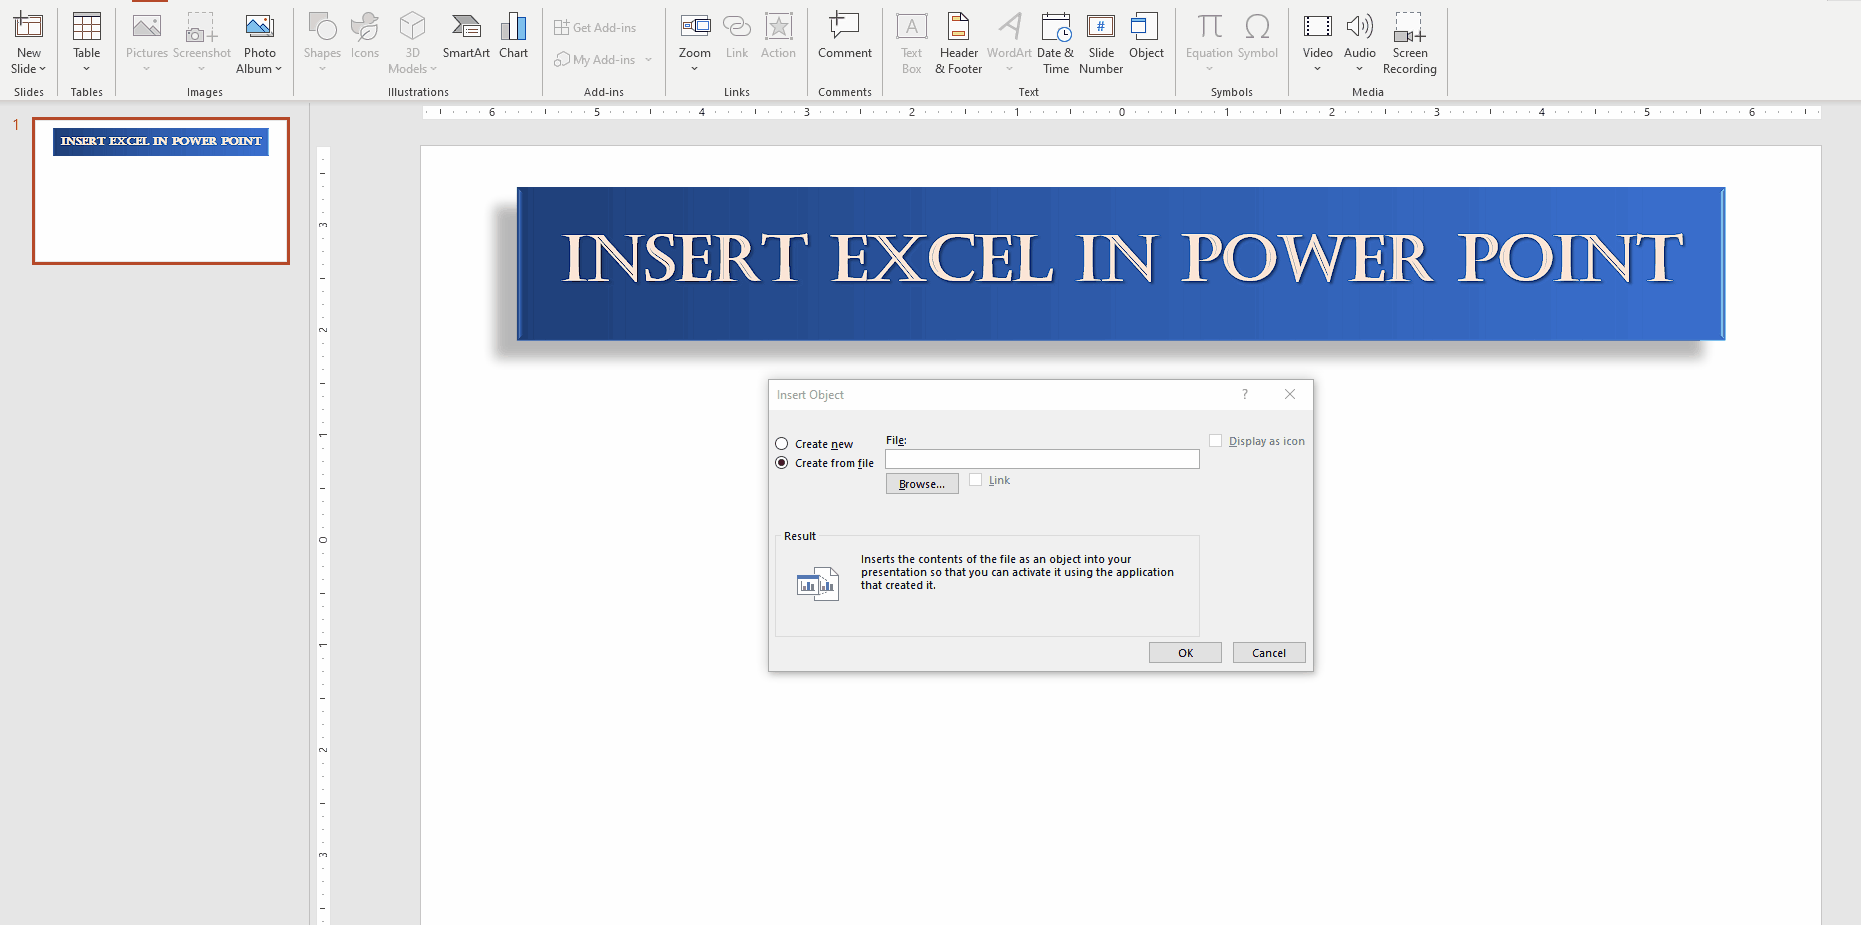
Step 3 – Import the Excel file in PowerPoint

– In the destination folder select the Excel file then click Open. This will load the Excel file into PowerPoint presentation and then you can edit, resize or re-locate the Excel file as per your requirements.


