
How to insert a macro in Excel
 By
SpreadCheaters
By
SpreadCheaters
Page last updated:
17/11/2022 |
Next review date:
17/11/2024
You can watch a video tutorial here.
Macros in Excel are programs that are written in a language called VBA (Visual Basic for Applications). These programs are written to automate tasks in Excel, particularly those that are performed repeatedly. Macros are usually saved with a workbook and if the workbook has the extension .xlsm, then it has a macro associated with it. A macro in a workbook can be run from an option on the Developer menu, but it can also be assigned to a button in the worksheet or on the ribbon.
Option 1 – Insert a macro into a worksheet
Step 1 – Select the form control
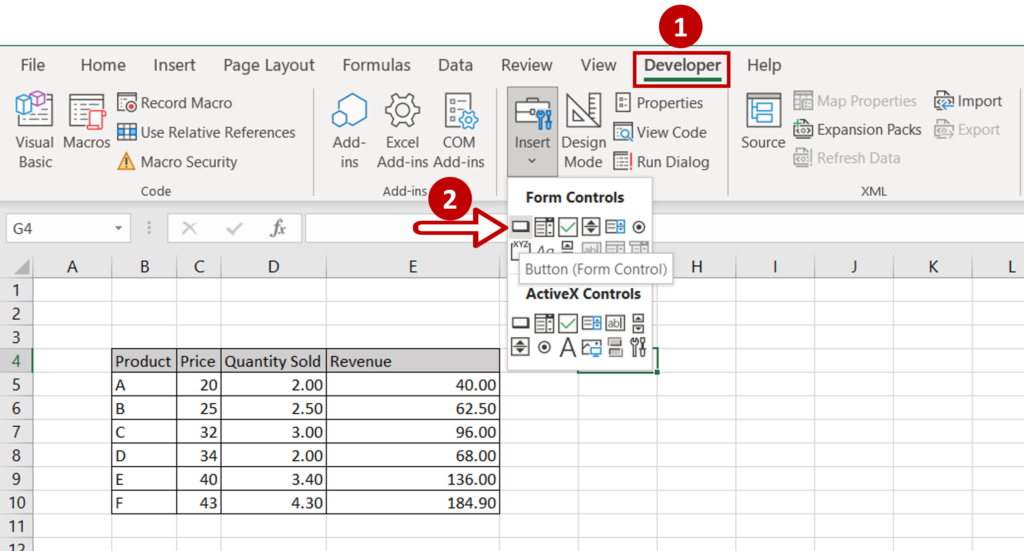
- Go to Developer > Controls
- Expand the Insert menu
- Select the Button (Form Control)
Step 2 – Draw the button
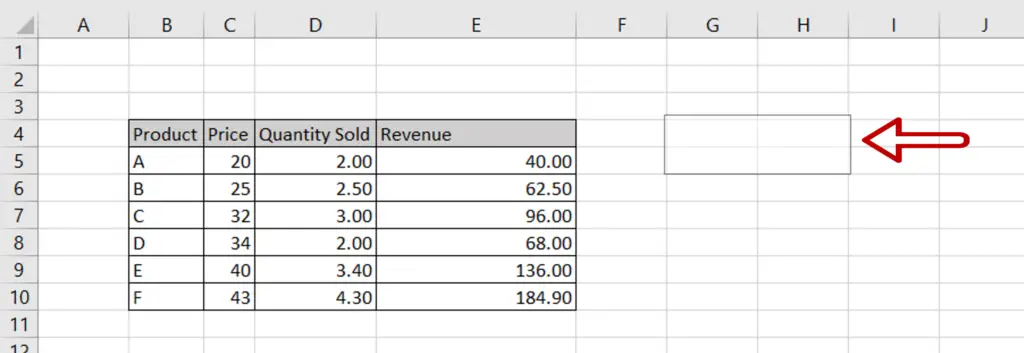
- The cursor changes into a drawing tool
- Draw a box on the worksheet
Step 3 – Assign the macro
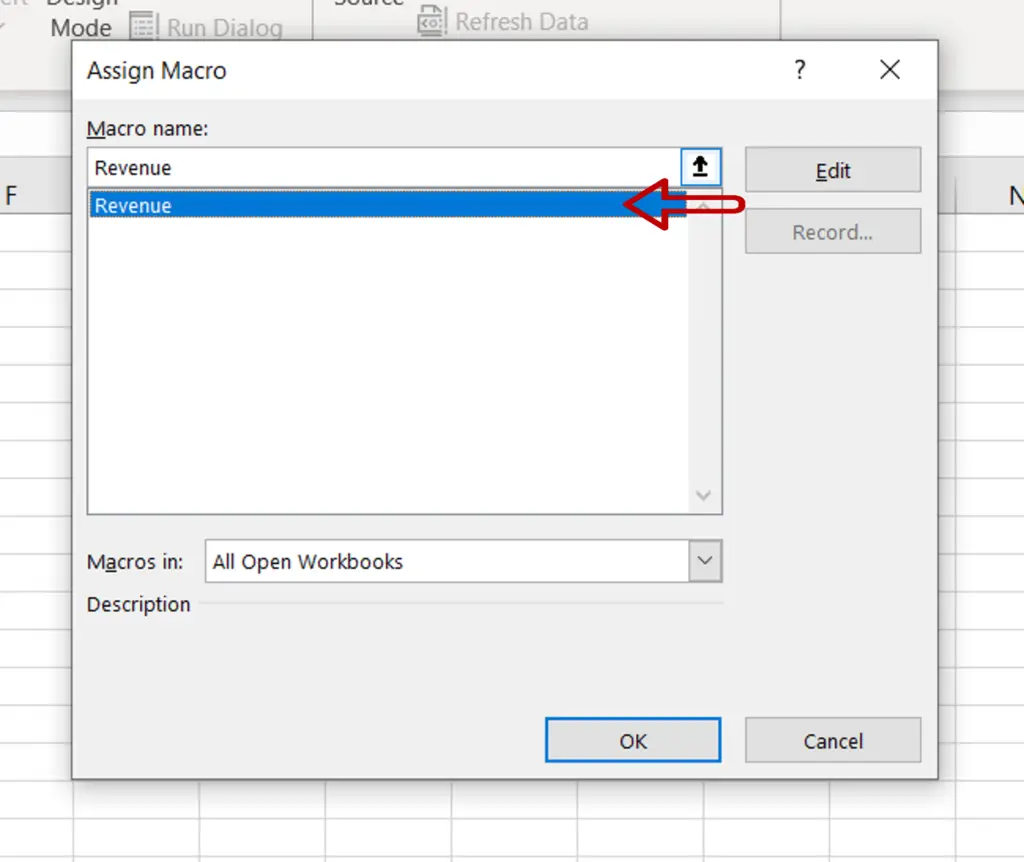
- The Assign macro box opens
- Select the ‘Revenue’ macro
- Click OK
Step 4 – Name the button
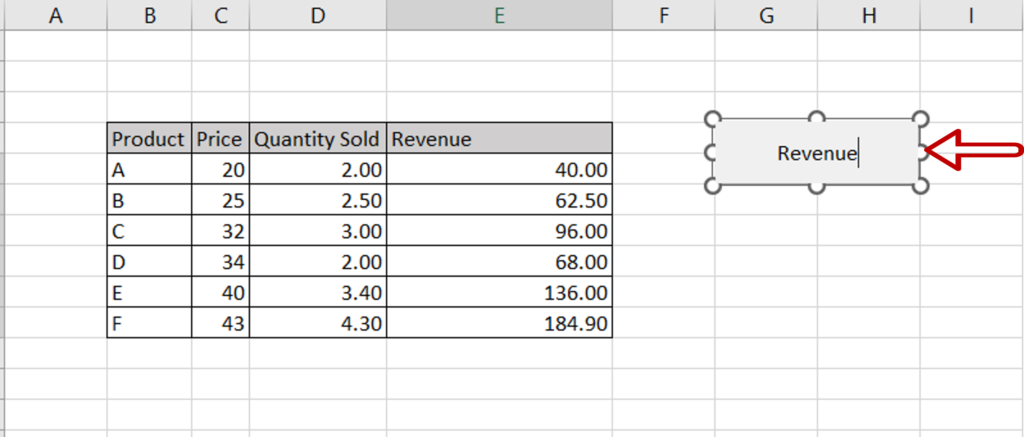
- Double-click on the name on the button
- Type the new name
Step 5 – Check the result
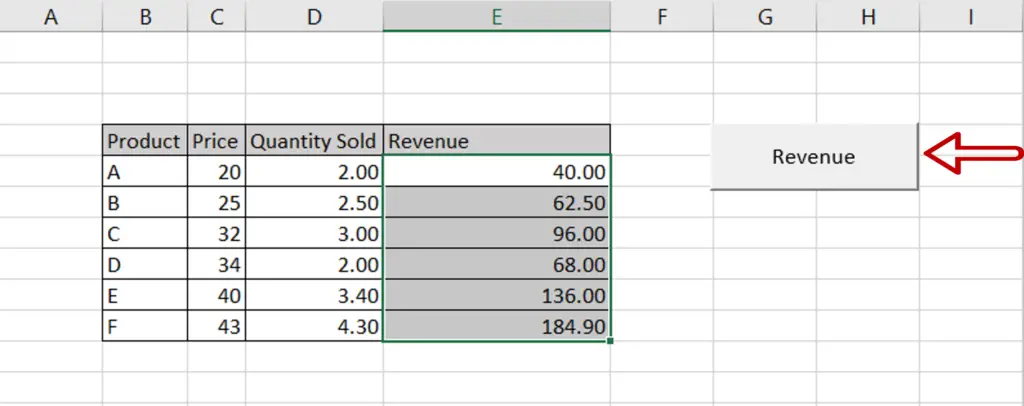
- The button is displayed on the worksheet
- Click the button to run the macro
Option 2 – Add it to a custom group on the ribbon
Step 1 – Open the Excel Options box
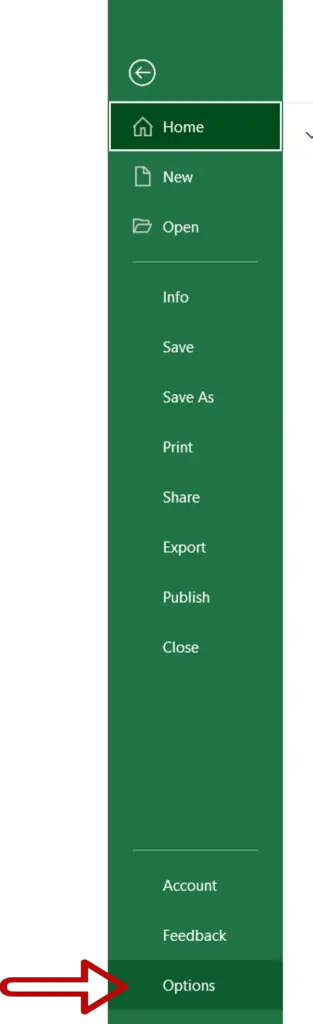
- Go to File > Options
Step 2 – Create a new group
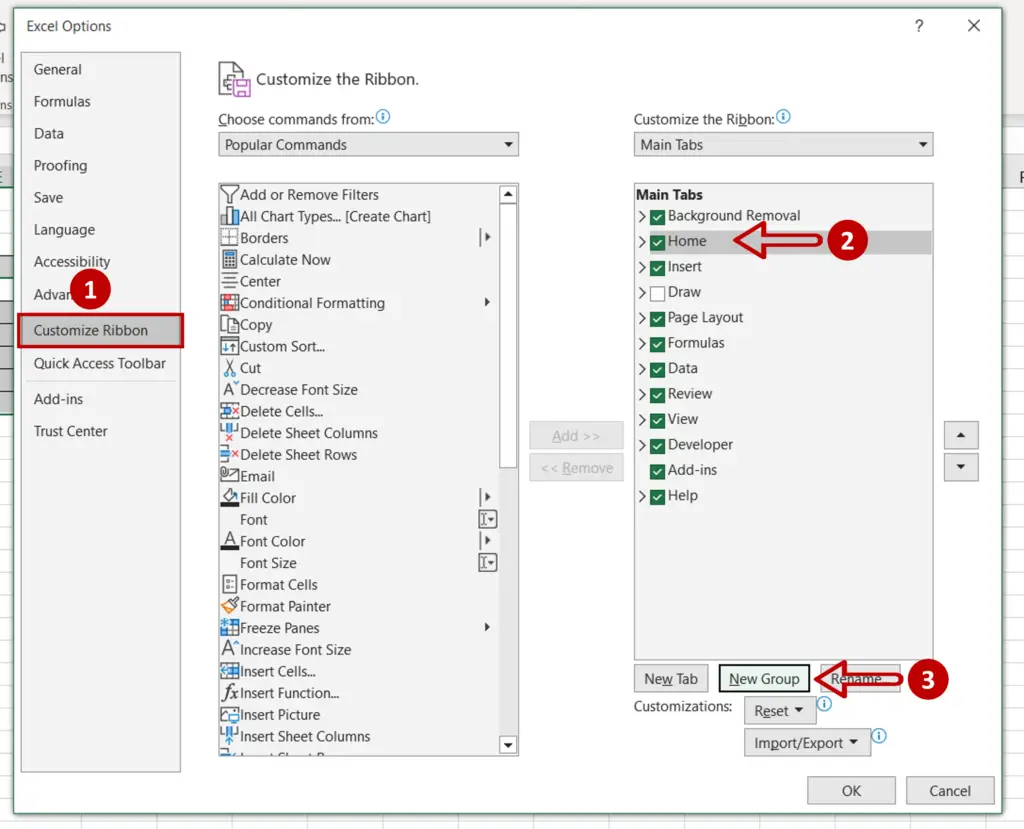
- Select Customize Ribbon
- Select the Home option
- Click on New Group
Step 3 – Open the Rename box
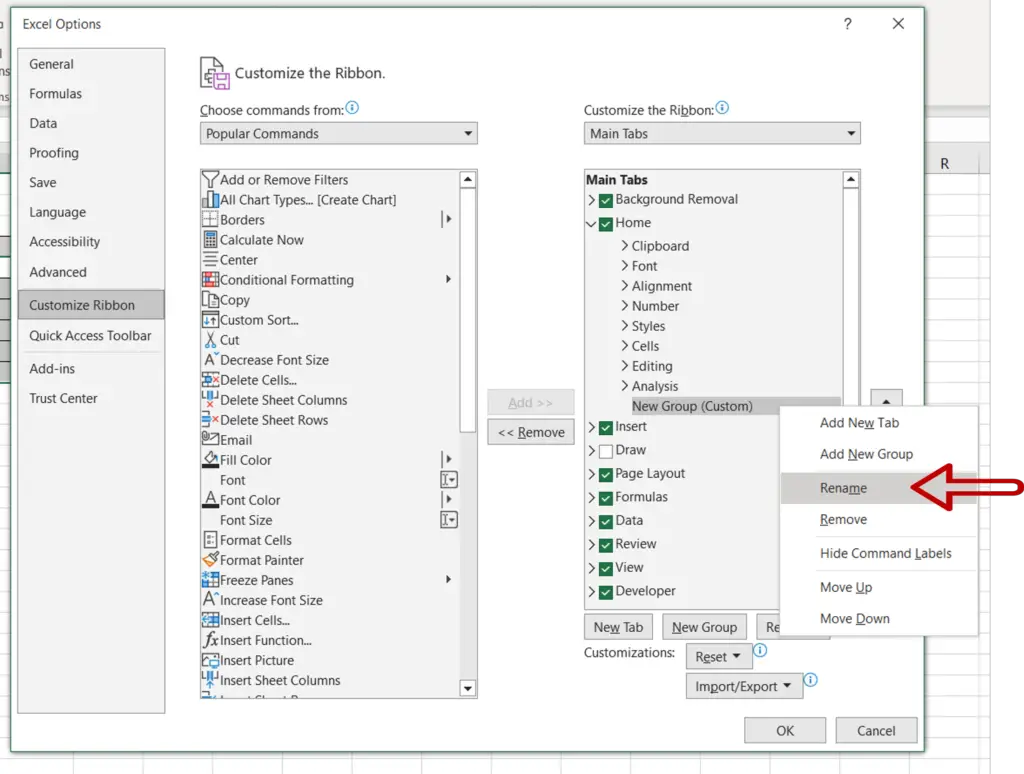
- Select the new group
- Right-click and select Rename from the context menu
Step 4 – Name the group
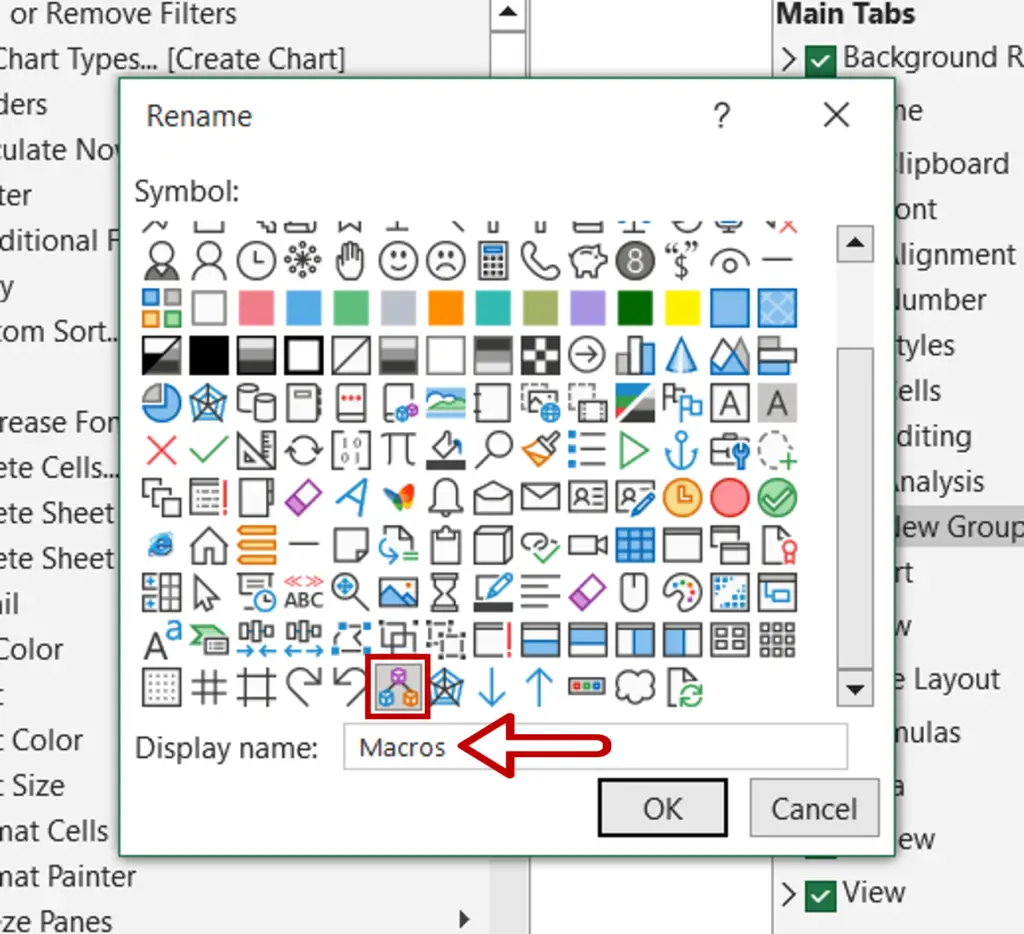
- Select a symbol for the group
- Type the name ‘Macros’
- Press OK
Step 5 – Choose the Macros list
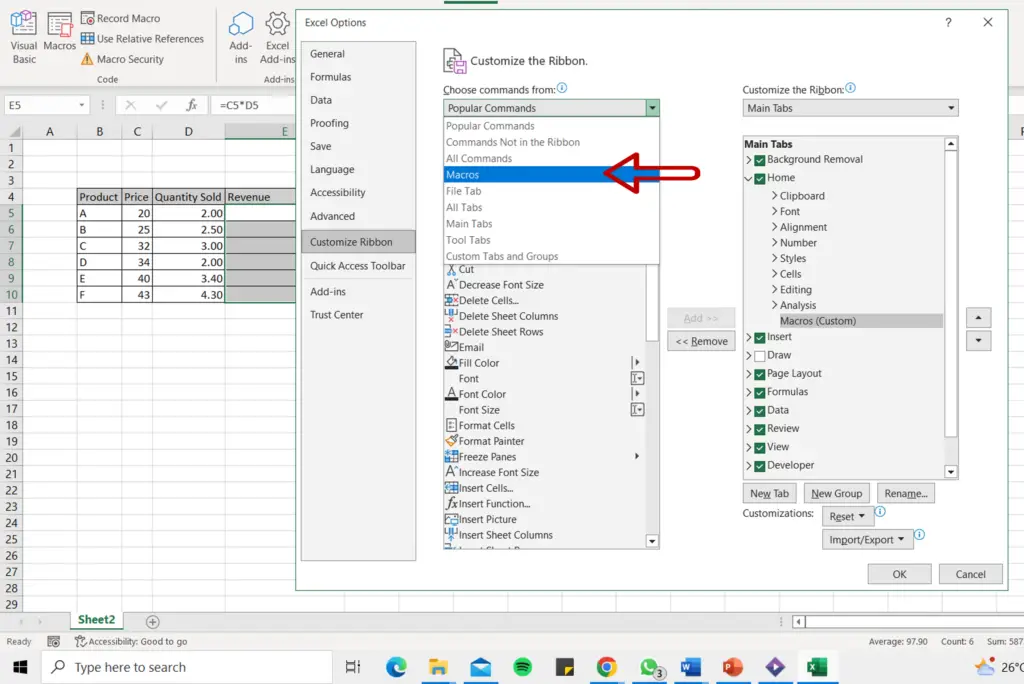
- Under Choose commands from select Macros
Step 6 – Assign the macro
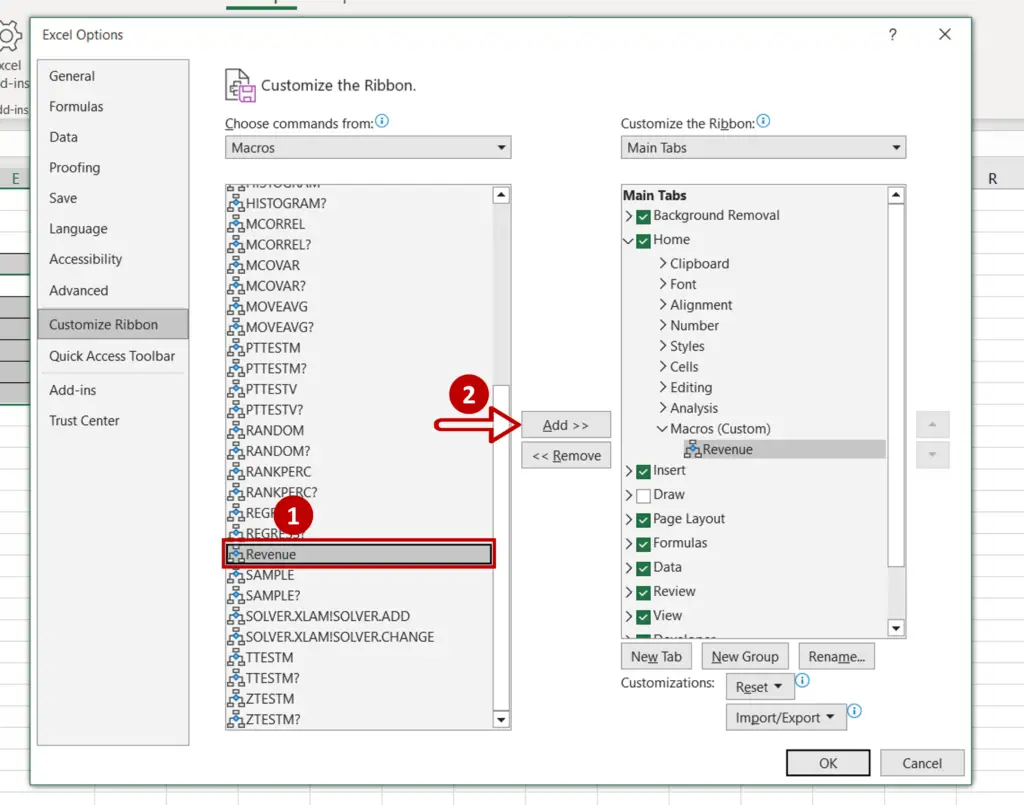
- Select the ‘Revenue’ macro
- Click Add
- The macro is added to the custom group
- Click OK
Step 7 – Check the result

- The macro is added to the ‘Revenue’ group on the Home ribbon
- Click the button to run the macro


