
How to get a list of files in a folder into Excel
 By
SpreadCheaters
By
SpreadCheaters
You can watch a video tutorial here.
It’s easy to type a list out one by one if you only have a few files in a folder that need to be indexed, but even when copying and pasting, if you have more than even as little as 5 files in that folder, like the one I have here, it can become a tedious process and you also run the risk of accidentally erasing a file name or pasting instead of copying… I know how painful that can be and I would like to show you a few ways to get this done within seconds with as little room for error as you can possibly get!
Ok, so there are two ways to go about this:
- The first is by using your web browser and
- The second, is using the FILE function with a named range.
Option 1 – Using your web browser:
Step 1 – Getting the Folder Address
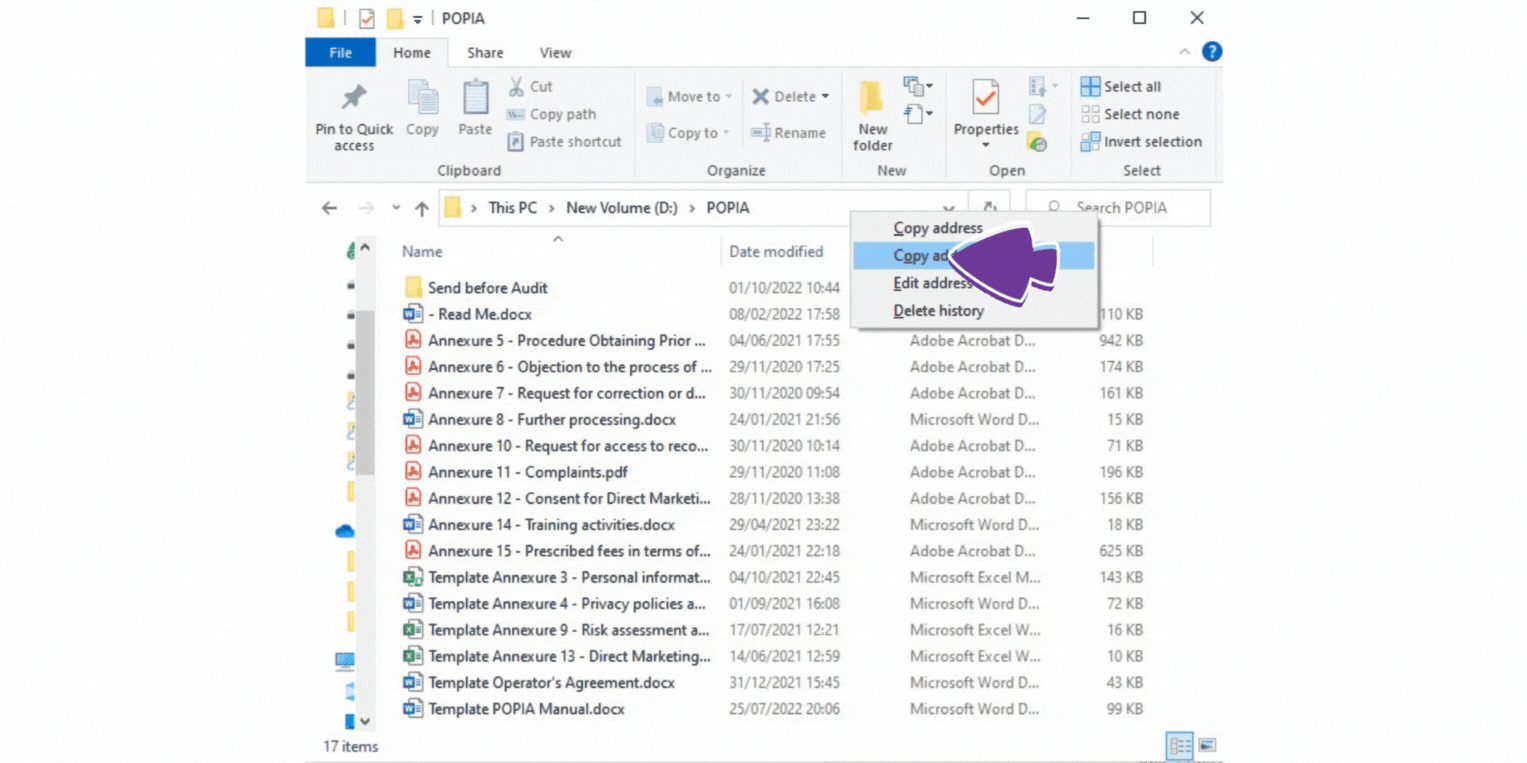
- Copy the folder address in the top bar of the folder by right clicking and selecting Copy address as text.
Step 2 – Listing the contents of the folder
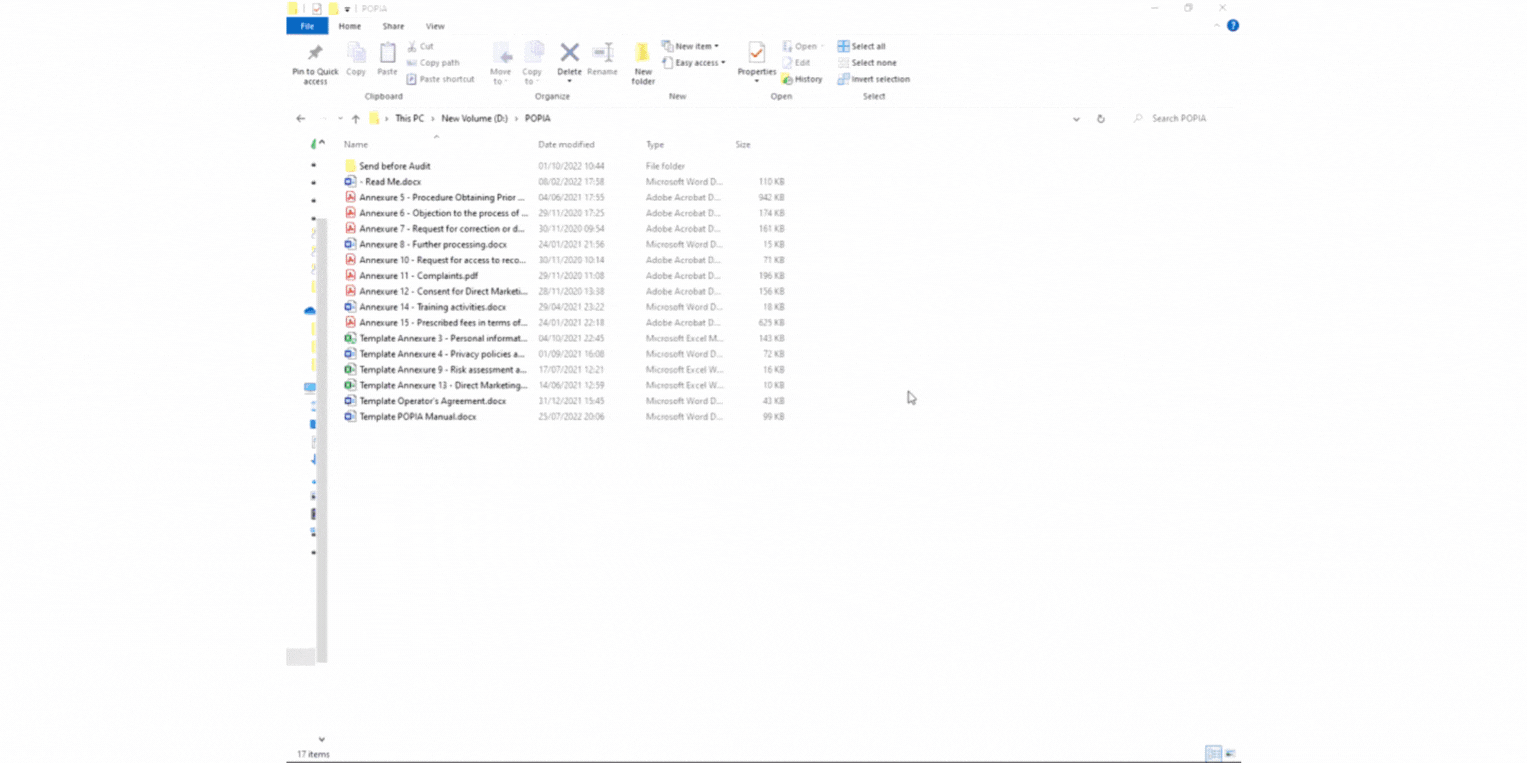
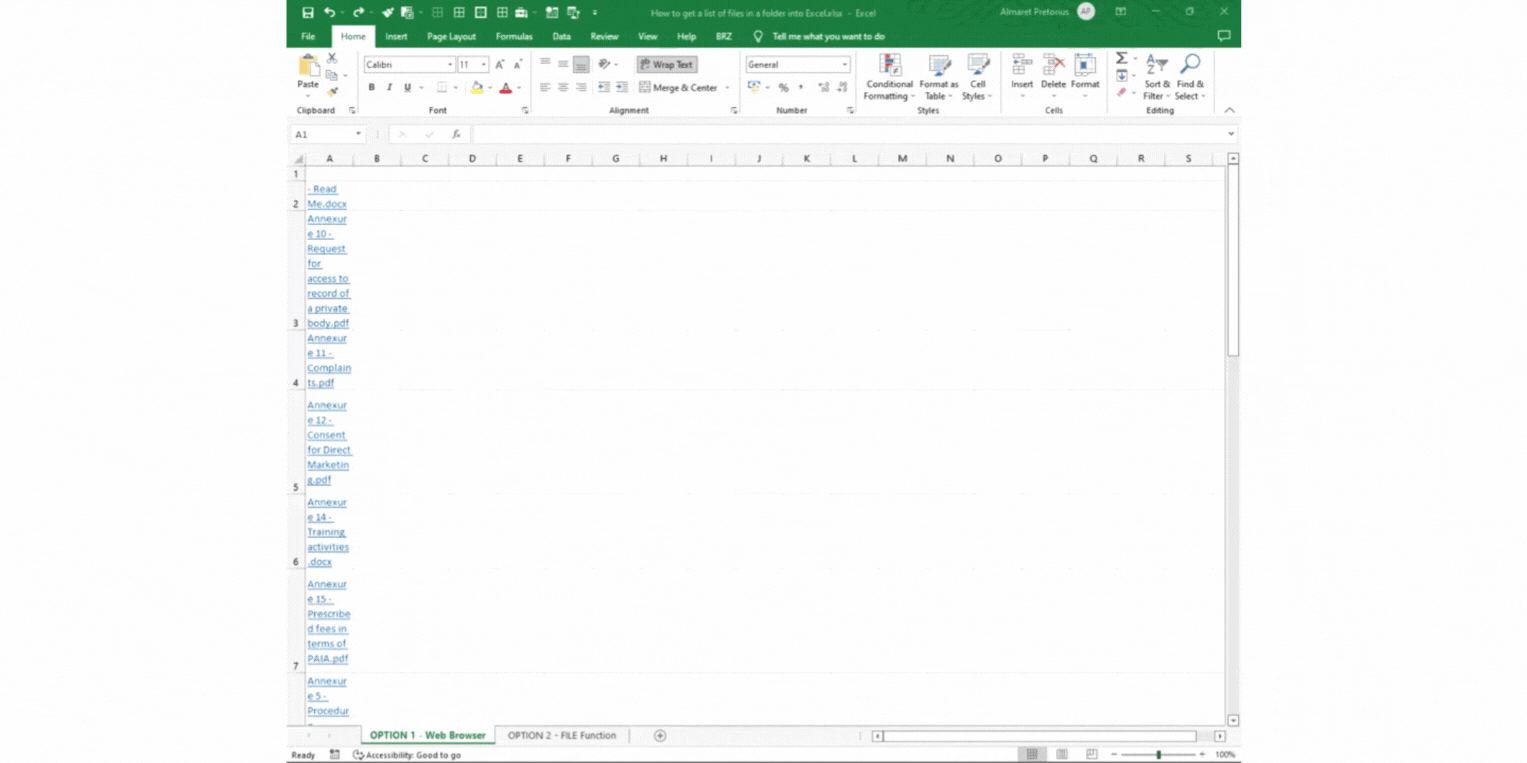
- Open your Web browser and paste the destination address into the address bar by pressing Ctrl V and then press Enter. A list of all of the folder contents will open.
Step 3: Copy and Paste
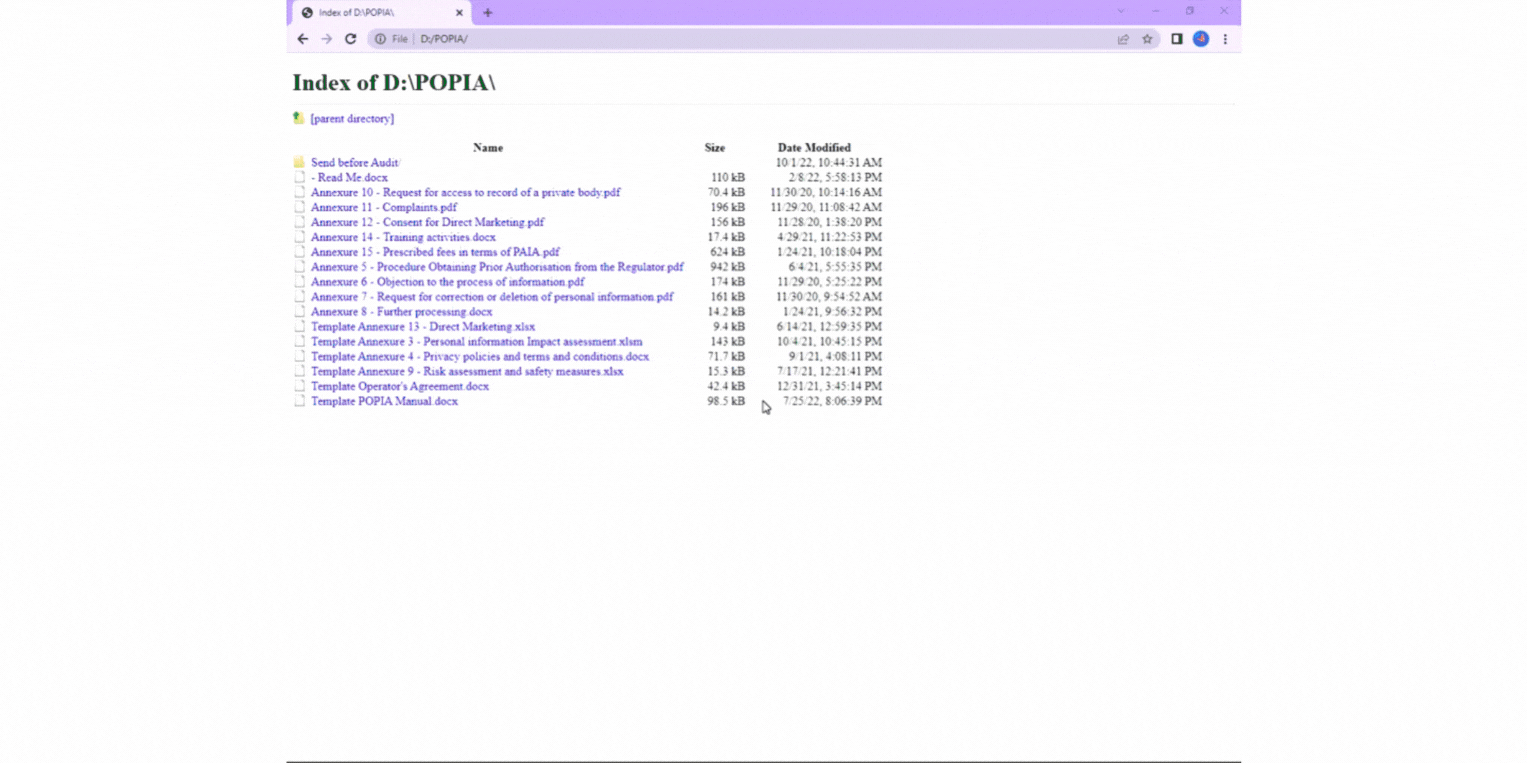
- Select the information and press Ctrl C to Copy the information.
- Go to your spreadsheet and paste the information by selecting cell A1 and pressing Ctrl V.
Step 4 – Delete unnecessary information
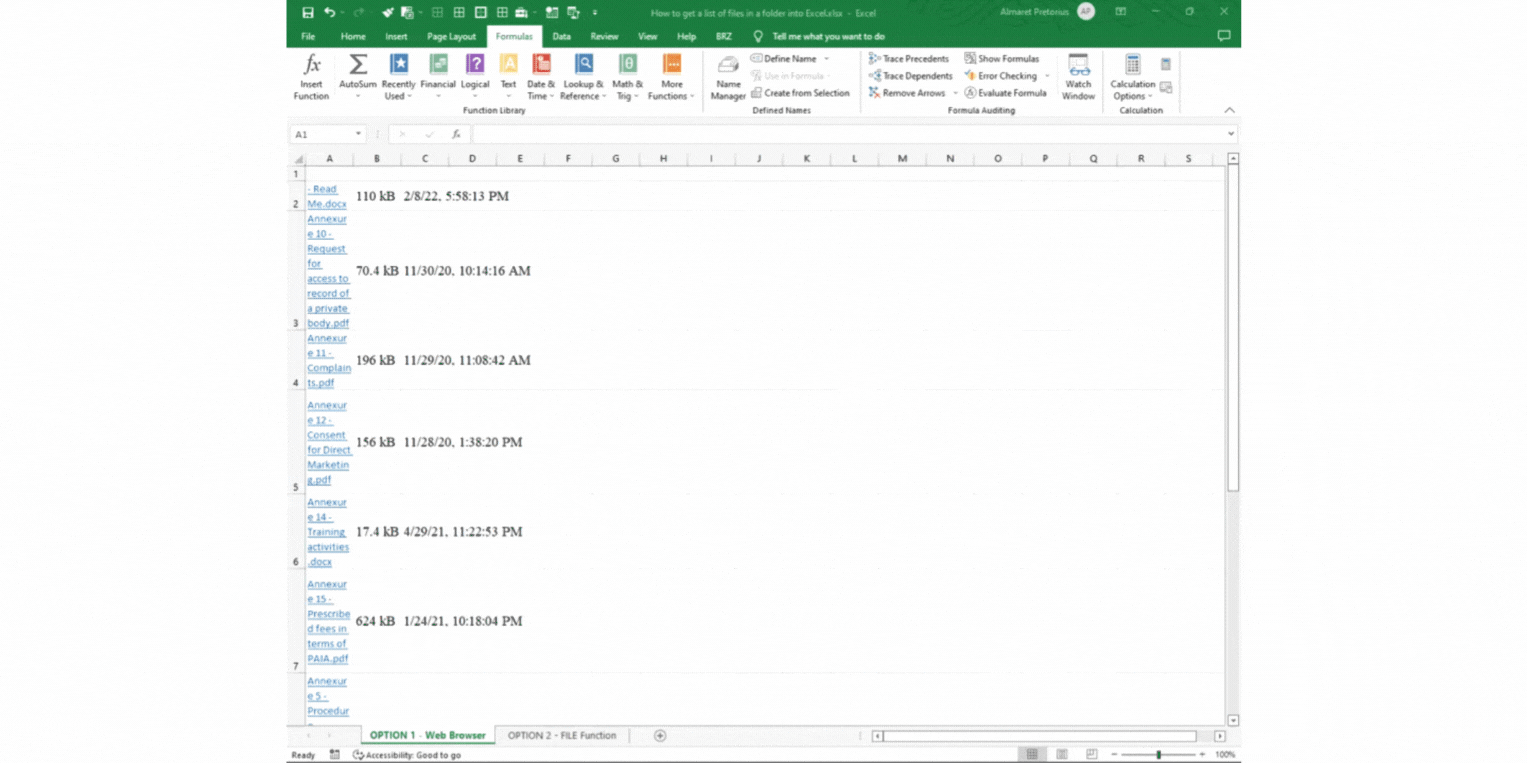
- You can delete columns B and C if you don’t require that information by selecting the columns, right clicking and selecting delete.
Step 5 – Unwrapping Text
- Select column A and unwrap the text by clicking on Wrap Text under Home in the Alignment group.
Step 6 – Removing Hyperlinks
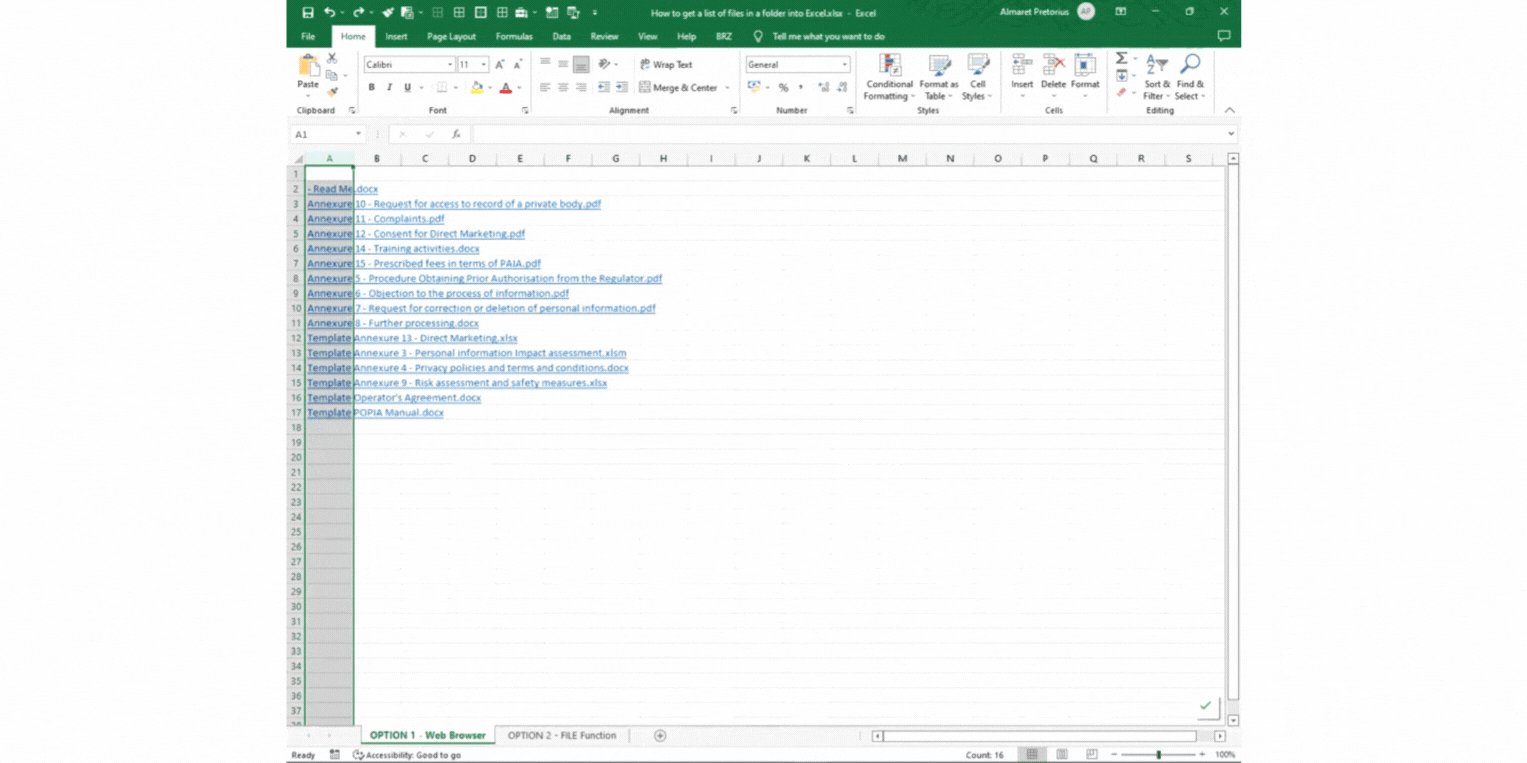
- With Column A still selected, right click and select Remove Hyperlinks. The hyperlinks don’t work anyway…
The second solution, using the is a bit more complex, but have no fear, I will guide you through each step.
Option 2 – Using the FILES Function with a Named Range:
Step 1 – Finding Named Ranges
- Select cell A1
- Go to the Formulas tab in the ribbon and select Define Name from the Defined Names section.
Step 2 – Defining the Named Ranges
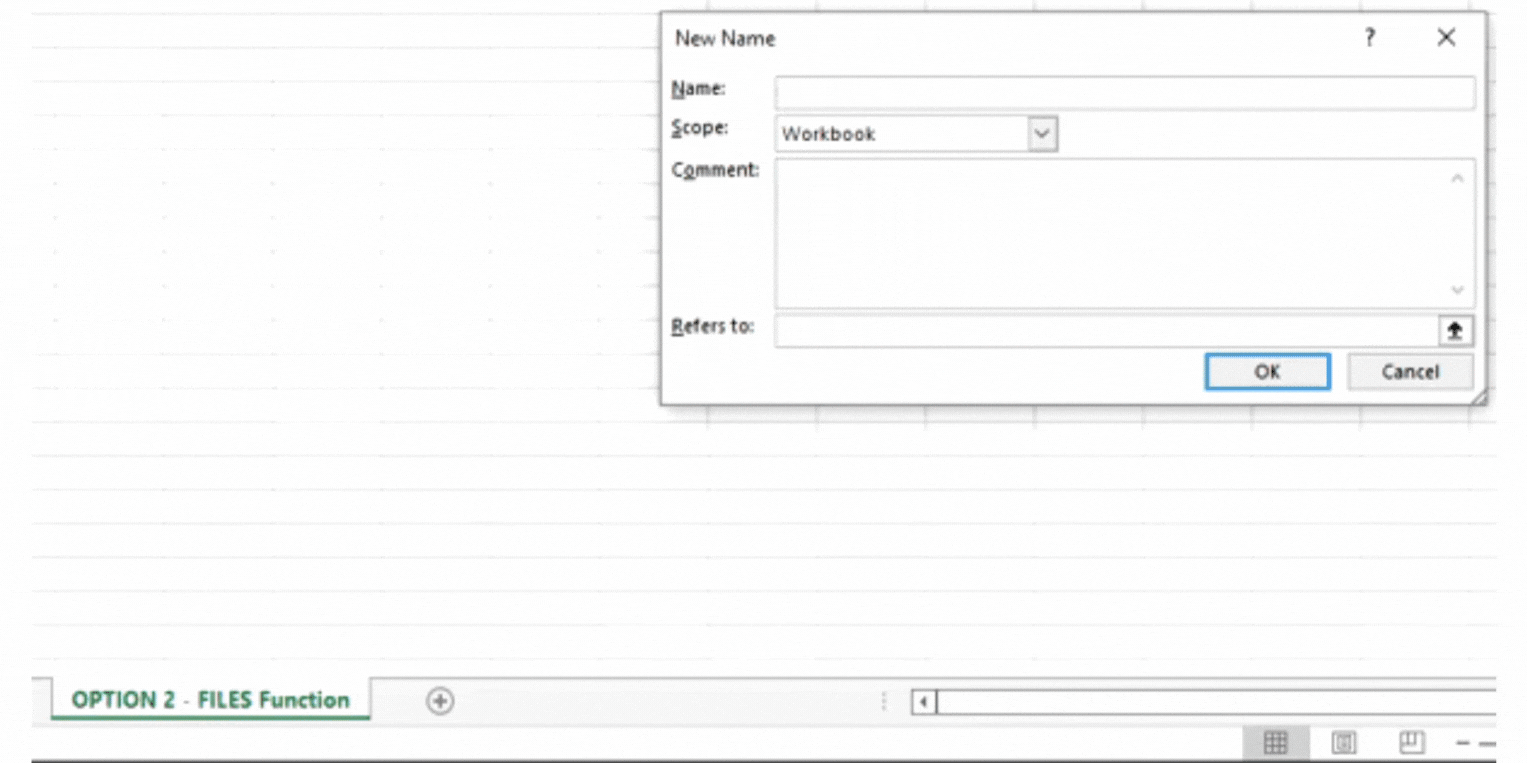
- Type in List_Of_Names in the Name area
- Type in =FILES(‘OPTION 2 – FILES Function’!$A$1) in the Refers to area.
- Ensure the text between the ‘’ matches the sheet name.
- Press the OK button.
Step 3 – Getting the Folder Address

- Copy the folder address in the top bar of the folder by right clicking and selecting Copy address as text.
Step 4 – Defining the Folder Name
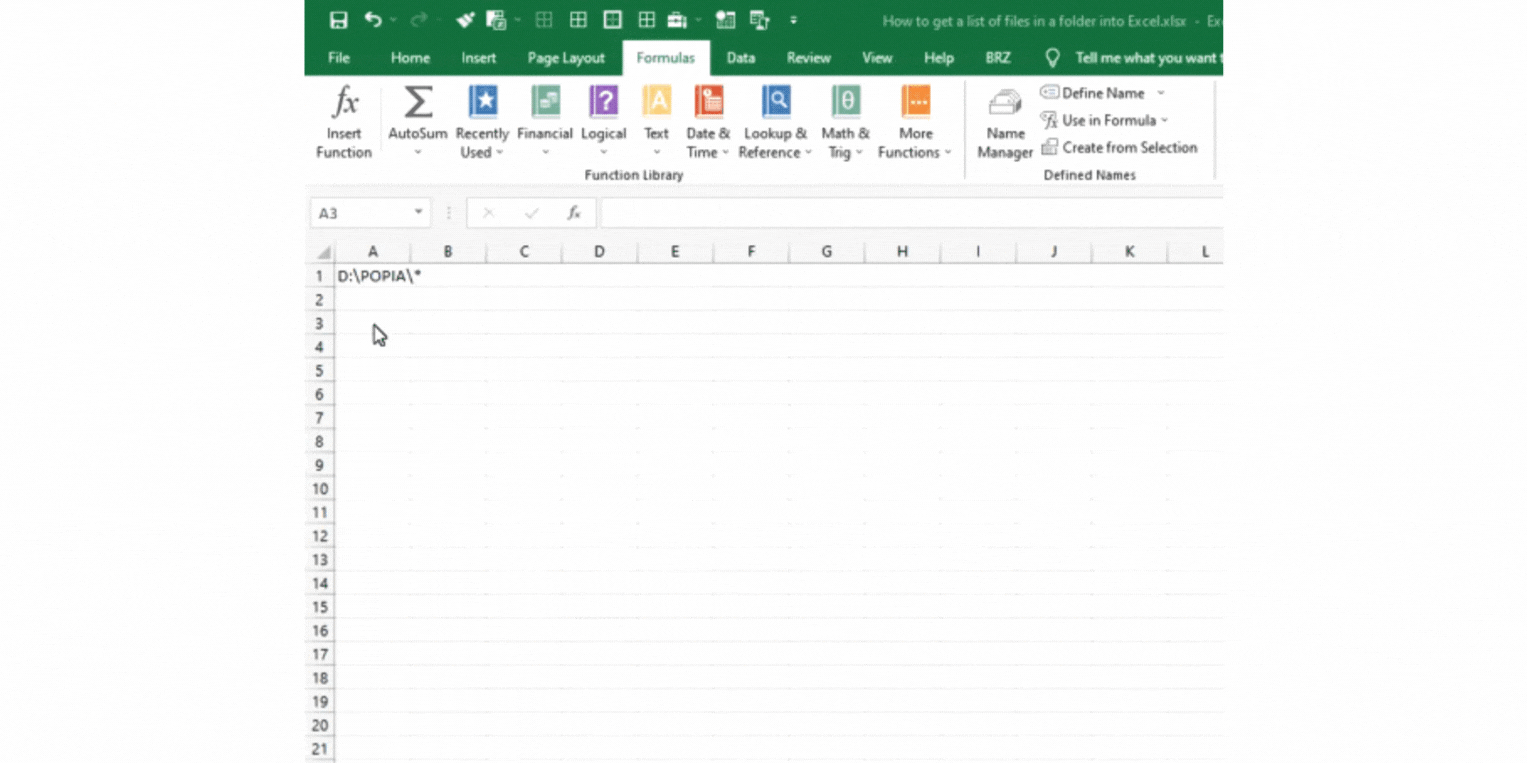
- Paste the path of the folder into cell A1. In this example my files are in D:\POPIA.
- Add \* at the end of the folder name in cell A1, so it looks like this.
Step 5 – Using a formula
- Enter the formula =INDEX(List_Of_Names,ROW(A1)) into any cell apart from Cell A1, I am using cell A3.
- Drag the formula down until you see a #REF! error. This means we’ve reached the last file in the folder.
- Let’s say I wanted all files I would enter C:\Example\* into A1, but
- if I wanted all .pdf files I would enter C:\Example\*.pdf into A1 and
- if I wanted all .xlsx files I would enter C:\Example\*.xlsx into A1 and
- If I wanted all Excel files files I would enter C:\Example\*.xls* into A1.

This is an easy way to list all the files in a given folder and no VBA is needed.
A word of caution is needed though, since these XLM 4 functions are a legacy feature in Excel, they are not supported and shouldn’t be relied upon for anything critical.


