
How to get a date to automatically update in Microsoft Excel
 By
SpreadCheaters
By
SpreadCheaters
Updating dates is an important tool in Excel. It is useful in many essential tasks i.e for tracking important events and deadlines, performing date-based calculations, and creating dynamic charts that update based on the latest date value. Dynamic charts are particularly helpful for monitoring trends and changes over time
In this tutorial, we will learn how to get a date to update in Microsoft Excel automatically. Automatically updating the date in Microsoft Excel can be easily accomplished using the built-in TODAY or NOW function. The TODAY function returns the current date that automatically updates each time the file is opened, while the NOW function returns both the current date and time, which both update automatically.
We currently possess a dataset that depicts a sales sheet on a daily basis. Our aim is to include a date in cell B2 that updates automatically, to eliminate the need for the manual addition of dates on a daily basis.

Method 1: Using the TODAY Function
Step 1 – Select a Blank Cell
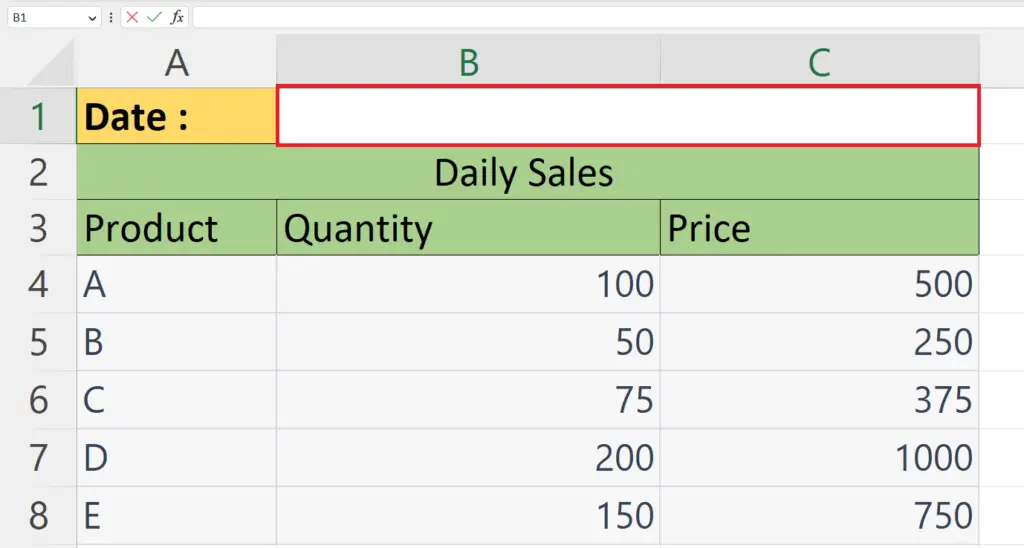
- Select a blank cell where you want to enter the automatically updated date.
Step 2 – Place and Equals Sign

- Place an Equals sign in the blank cell.
Step 3 – Enter the TODAY Function
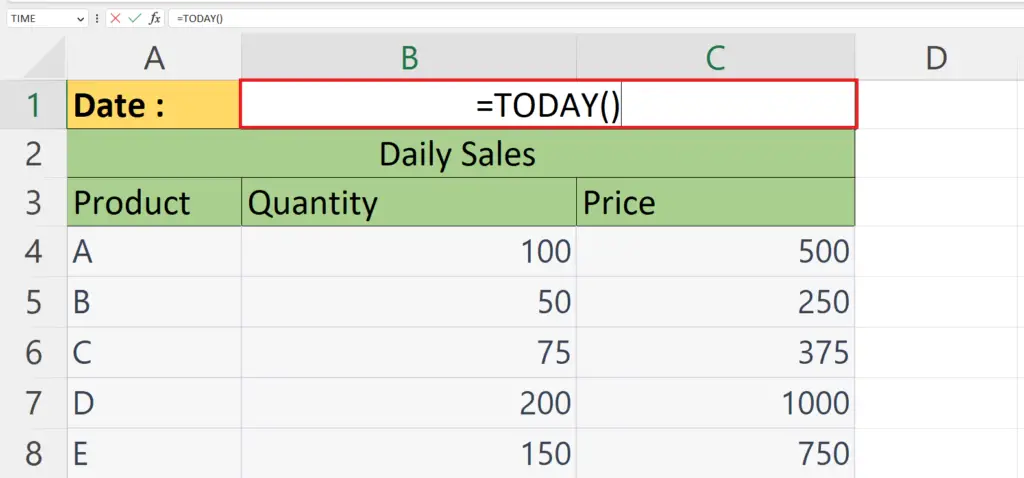
- Enter the TODAY function next to the equals sign i.e. =TODAY().
- The TODAY function does not require any argument.
Step 4 – Press the Enter Key
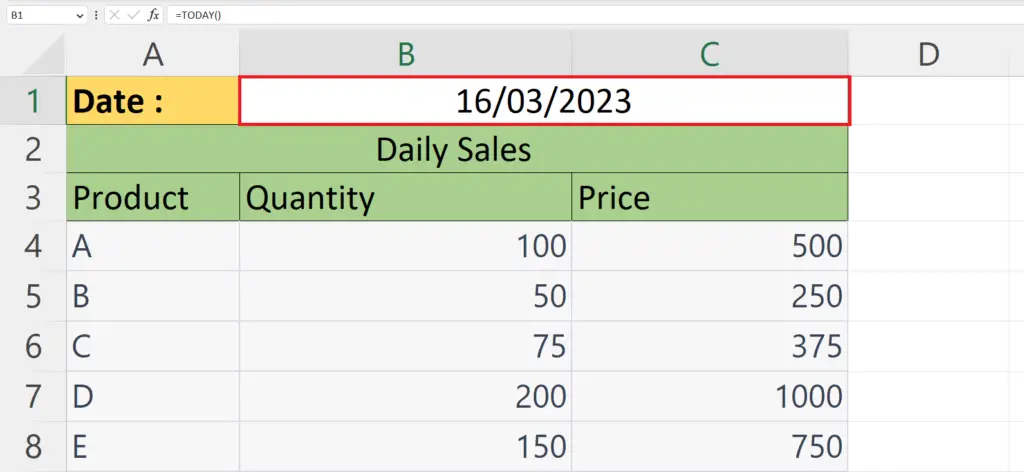
- Press the Enter key to print the automatically updated date.
Step 5 – Check whether the Date Updates Automatically

- Open the Date & Time Settings on your PC.
- Change the Date.
- Open the Excel file.
Method 2: Using the NOW Function
Step 1 – Select a Blank Cell

- Select a blank cell where you want to enter the automatically updated date.
Step 2 – Place and Equals Sign
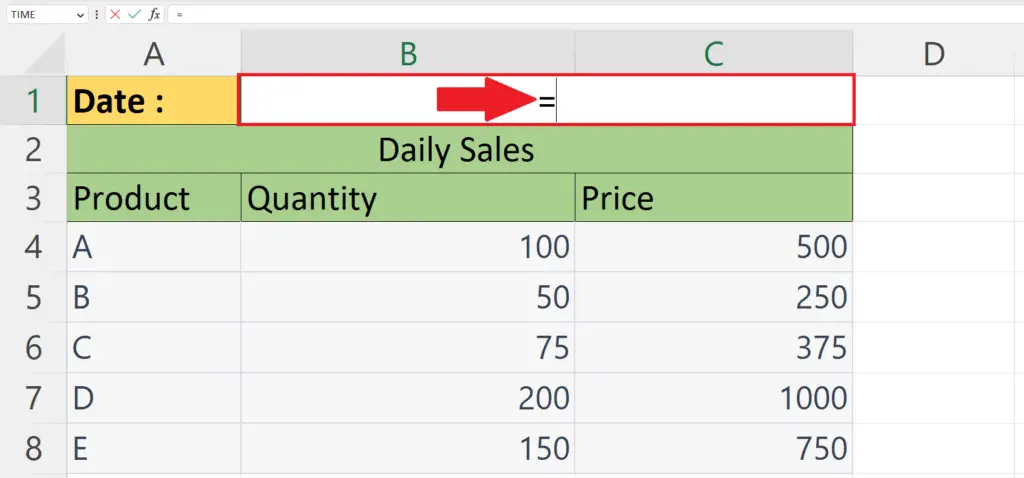
- Place an Equals sign in the blank cell.
Step 3 – Enter the NOW Function
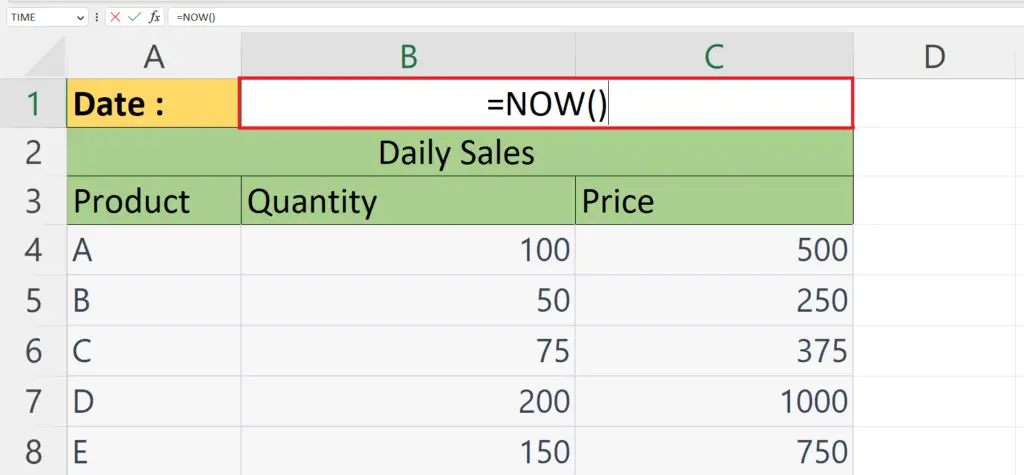
- Enter the NOW function next to the equals sign i.e. =NOW().
- The NOW function does not require any argument.
Step 4 – Press the Enter Key
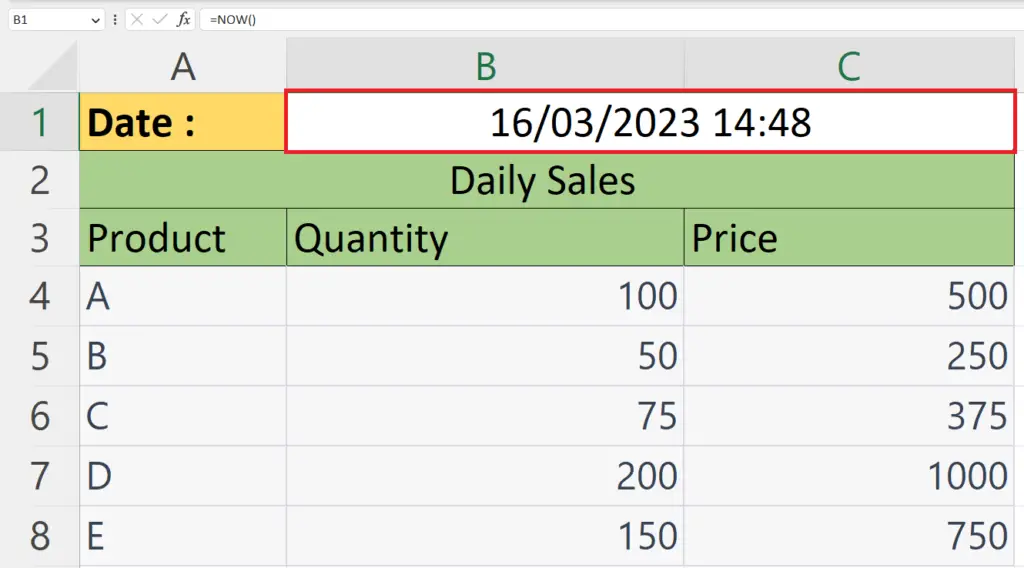
- Press the Enter key to print the automatically updated date.
Step 5 – Change the Format of the Cell to Display Date Only
- Right-click on the cell.
- A context menu will appear.
- Click on the Format Cells option.
- Select Date as the Format and Click OK.
Step 6 – Check whether the Date Updates Automatically
- Open the Date & Time Settings on your PC.
- Change the Date.
- Open the Excel file.


