
How to fix Excel can’t insert new cells error
 By
SpreadCheaters
By
SpreadCheaters

When you receive a spreadsheet from some colleague in the office or download a sheet from the web , you need to add new data in between the received data. Then you insert a row in between the data. However, when you try this, Excel displays the message “Microsoft Excel can’t insert new cells because it would push non-empty cells off the end of the worksheet. Those non-empty cells might appear empty but have blank values, some formatting or a formula. These cells will be available at the very end of the sheet and you might not notice them at first. The error looks like this;

In this tutorial we’ll learn how to fix this error and then be able to insert the cells again in the sheet.
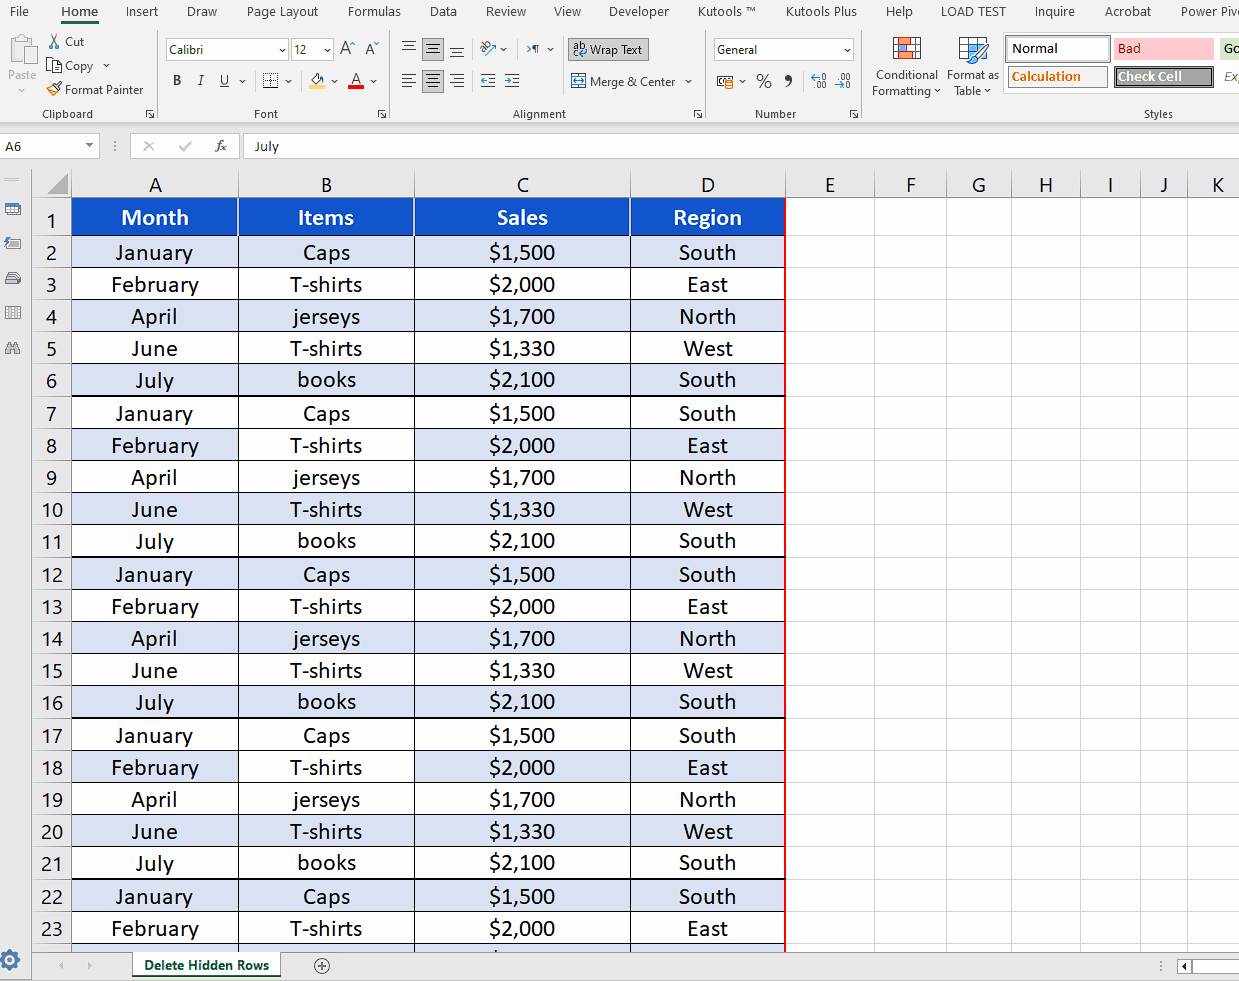
Step 1 – Unhide all rows in the sheet if there are any
– When you receive this error, you must know that this is due to some cells at the very end of the sheet and these cells might appear empty but actually they are not. They may contain some formatting, some formula or even blank spaces due to which excel can’t add more cells as shown below.
– There is a possibility that all rows of the spreadsheet are not visible to you and the superfluous data resides in those cells. So, to unhide all rows click on the top left corner right above the start of the first row’s index.
– This will select all rows in the data sheet. Now right click and press unhide. This will show all the rows in the spreadsheet.
Step 2 – Identify the cells with unnecessary data and delete those cells
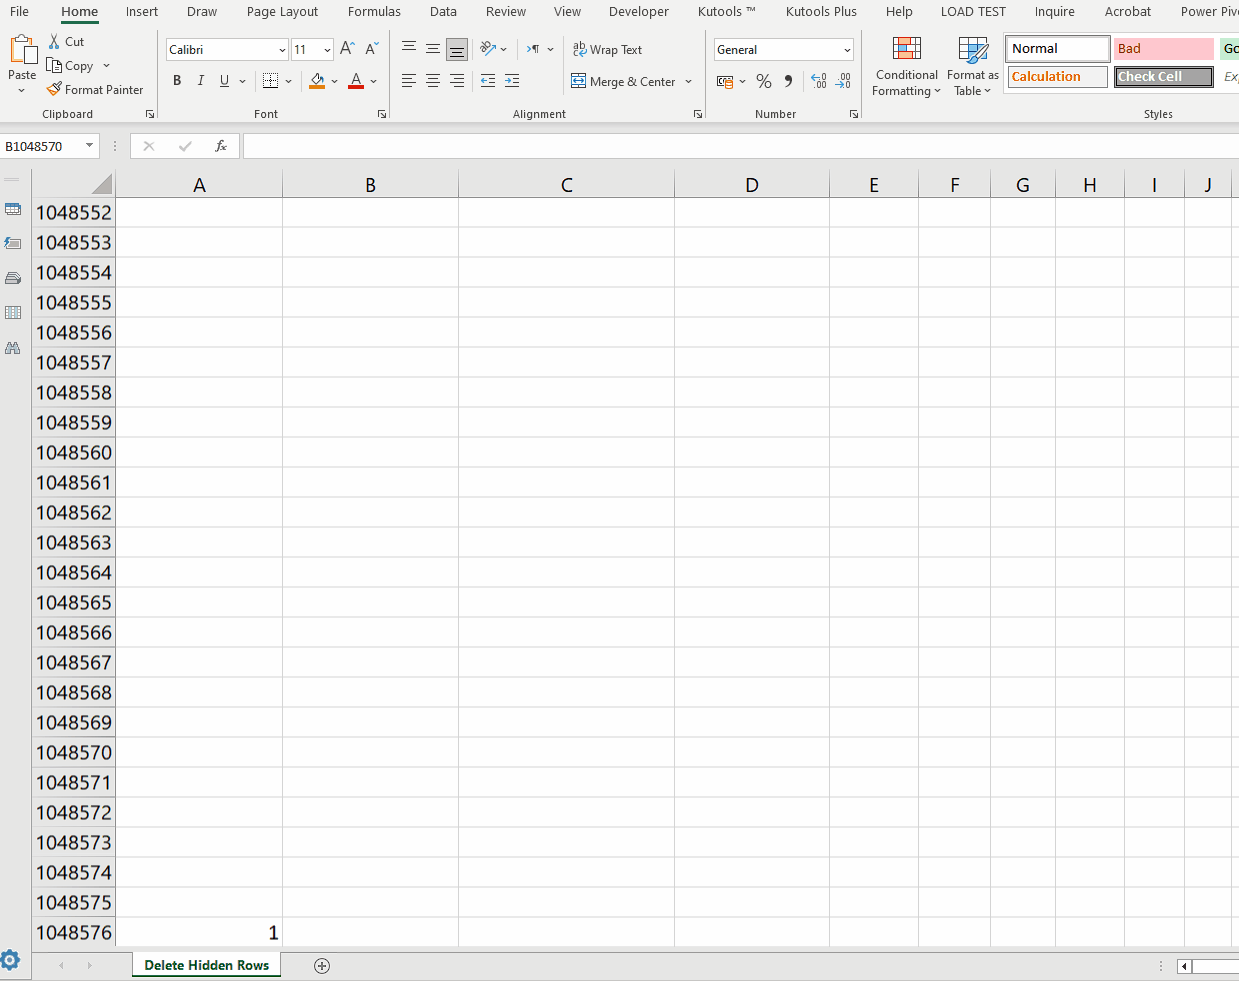
– Now go to the last cell by clicking on a cell just below your data range and press CTRL+SHIFT+DOWN arrow keys together. This will take you to the last cell.
– Notice the cells here. If the cells have visible data, then you can very easily identify such cells and delete all unnecessary data from those cells.
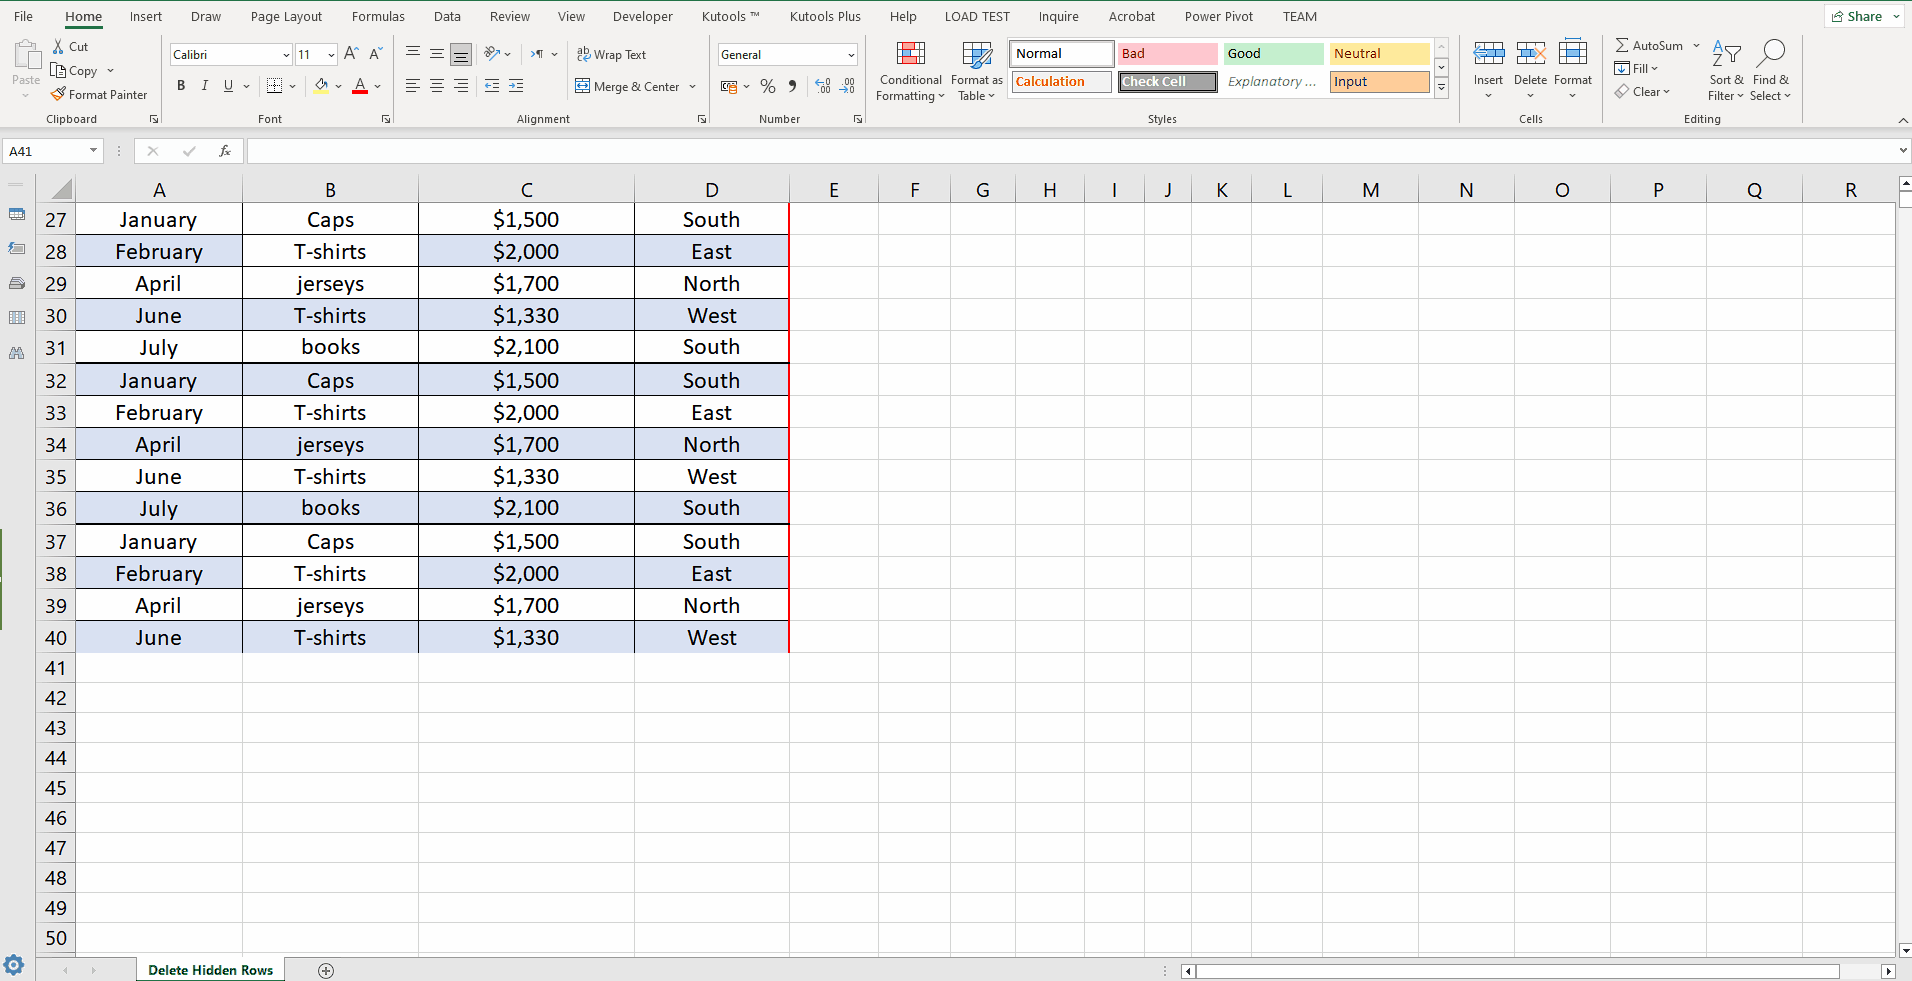
– After deleting the cells with extra data, you will be able to insert new cells easily without any error as shown below.
Step 3 – Delete formatted cells or cells with Blanks to remove error
– Sometimes, there are cells with blank spaces which appear to be empty but actually those cells are not empty. It is very difficult to locate such cells. So, if even after deleting all cells with visible data you can’t insert cells or rows in the sheet then this is the indication that there are some other cells with blank spaces or formatting. To delete such cells, select all cells in the sheet after your actual data range by clicking in a cell just below the data range and press CTRL+SHIFT+RIGHT ARROW then CTRL+SHIFT+DOWN ARROW.
– Now go to the Editing group on the Home tab and click on the Clear action button.
– This will open a dropdown menu. Click on Clear All option. This will clear everything from cells, the formatting along with the contents whether hidden or visible.
– Now if you try to insert a row then you won’t get the error as shown above.


