
How to find the merged cells in Microsoft Excel
 By
SpreadCheaters
By
SpreadCheaters
In this tutorial we will learn how to find merged cells in Microsoft Excel. We can identify merged cells using the Find & Select option in Excel. The Find and Select option in Microsoft Excel is a powerful tool that allows users to quickly find and select specific data within a spreadsheet. This option can be accessed by clicking the “Find & Select” button in the Home tab of the ribbon. It offers several options that can save time and improve productivity when working with large and complex data sets.

Microsoft Excel is a powerful and widely used spreadsheet application developed by Microsoft Corporation..Excel allows users to create and format spreadsheets, perform calculations, and visualize data through charts and graphs. It also has a wide range of functions and formulas for tasks such as financial modeling, data analysis, and statistical modeling. Additionally, Excel supports collaboration and sharing through features like co-authoring, real-time collaboration, and the ability to publish spreadsheets to the web.
Step 1 – Select the Data
– Select all the data containing merged cells using the Handle Select and Drag and Drop method.
Step 2 – Go to the Home Tab
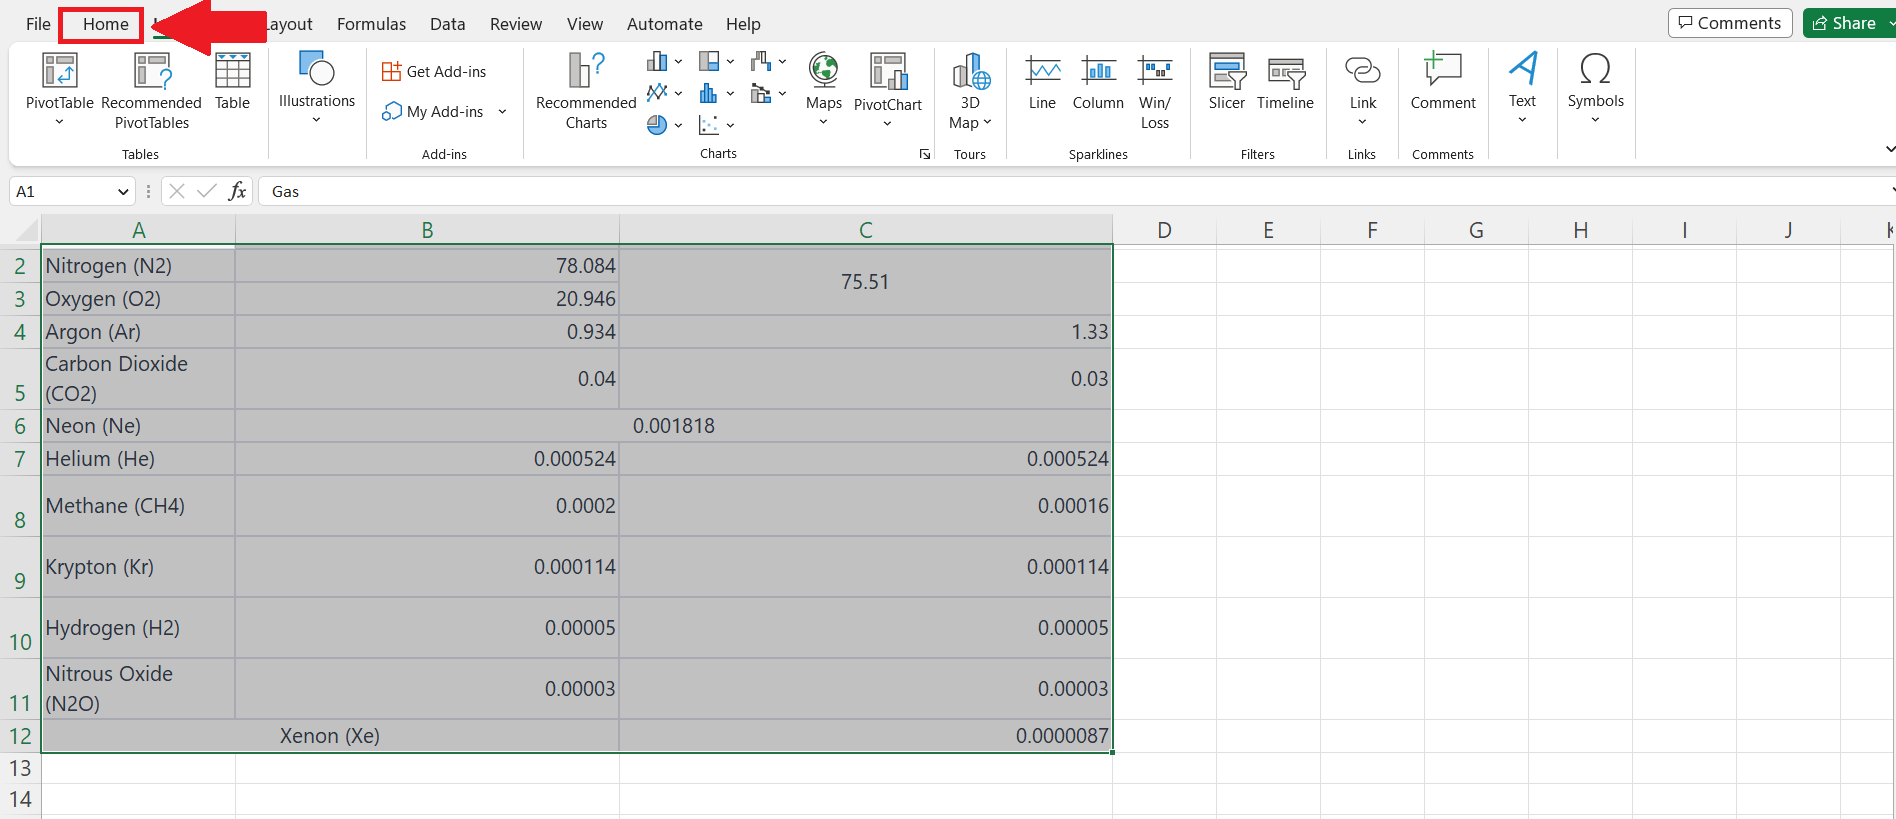
– Go to the Home tab in the menu bar.
Step 3 – Click on Find & Select option
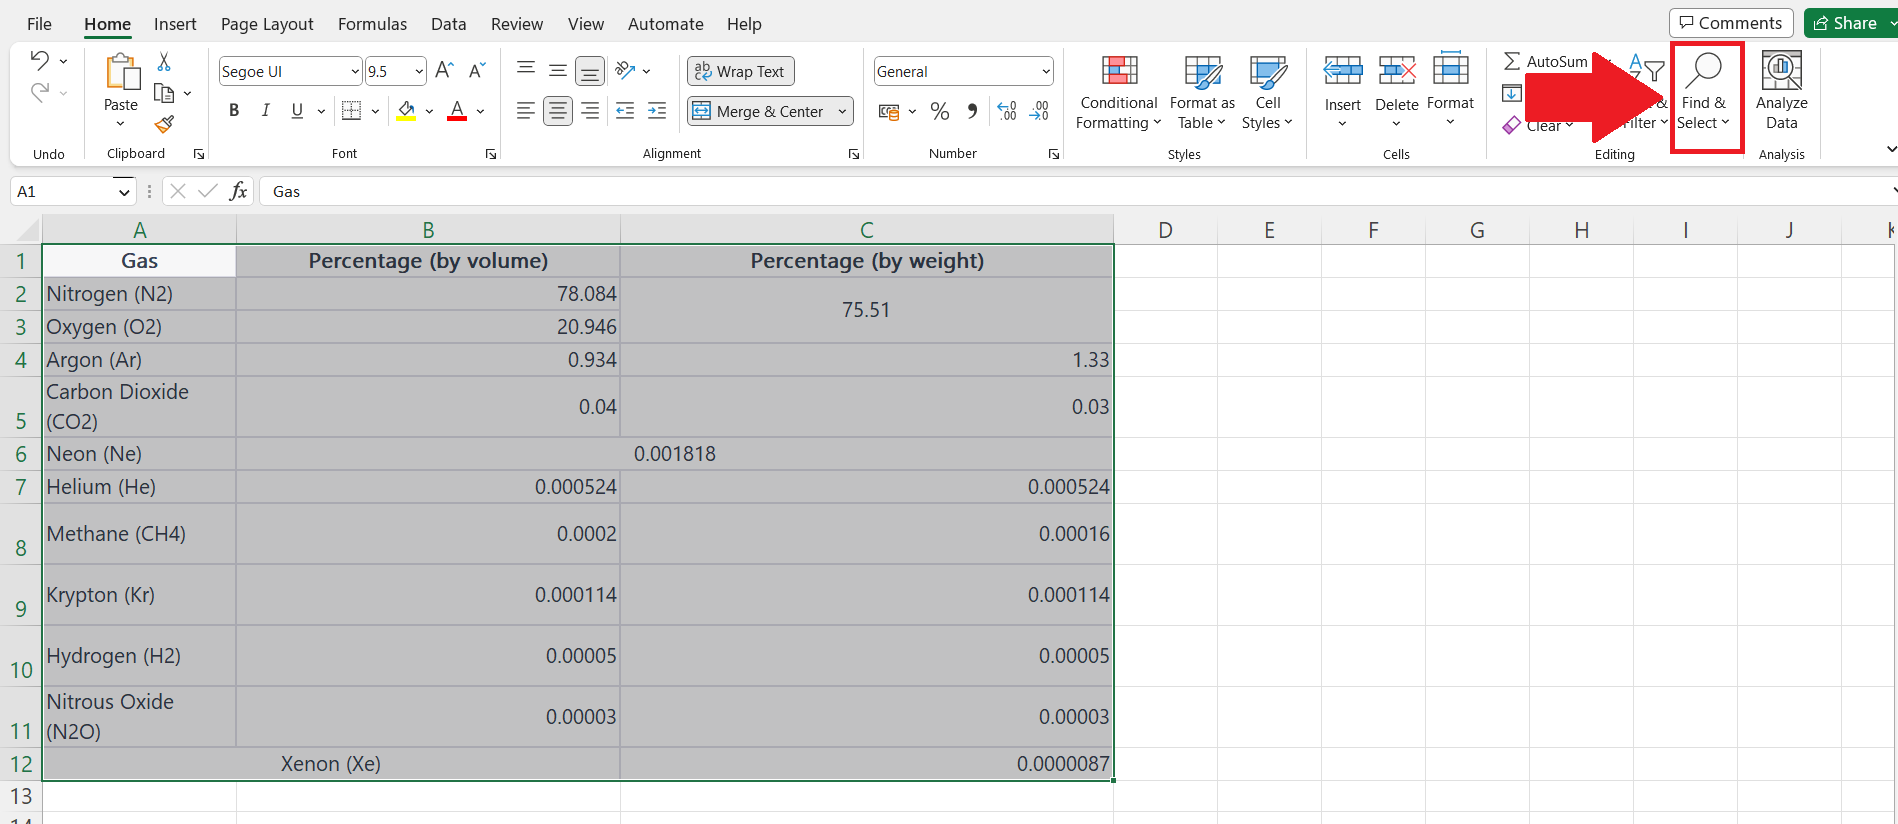
– In the Home tab, go to the Editing section and click on Find & Select option.
Step 4 – Click on the Find option
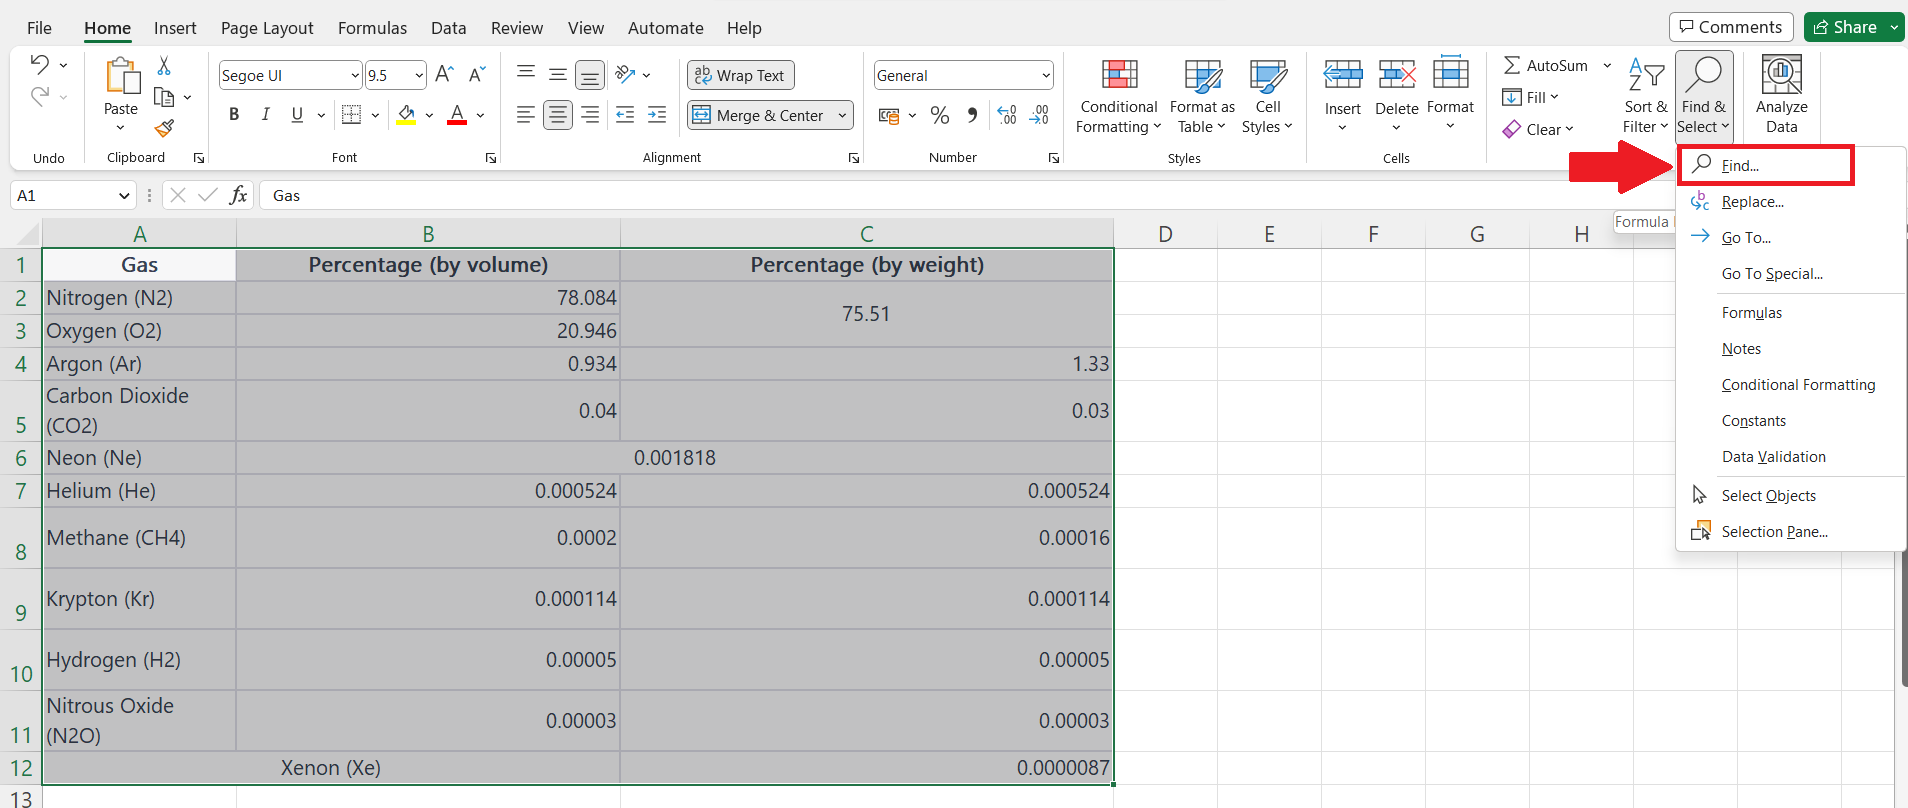
– By clicking on Find & Select option a drop-down menu will appear .
– Click on the Find option in the drop-down menu.
Step 5 – Click on Format
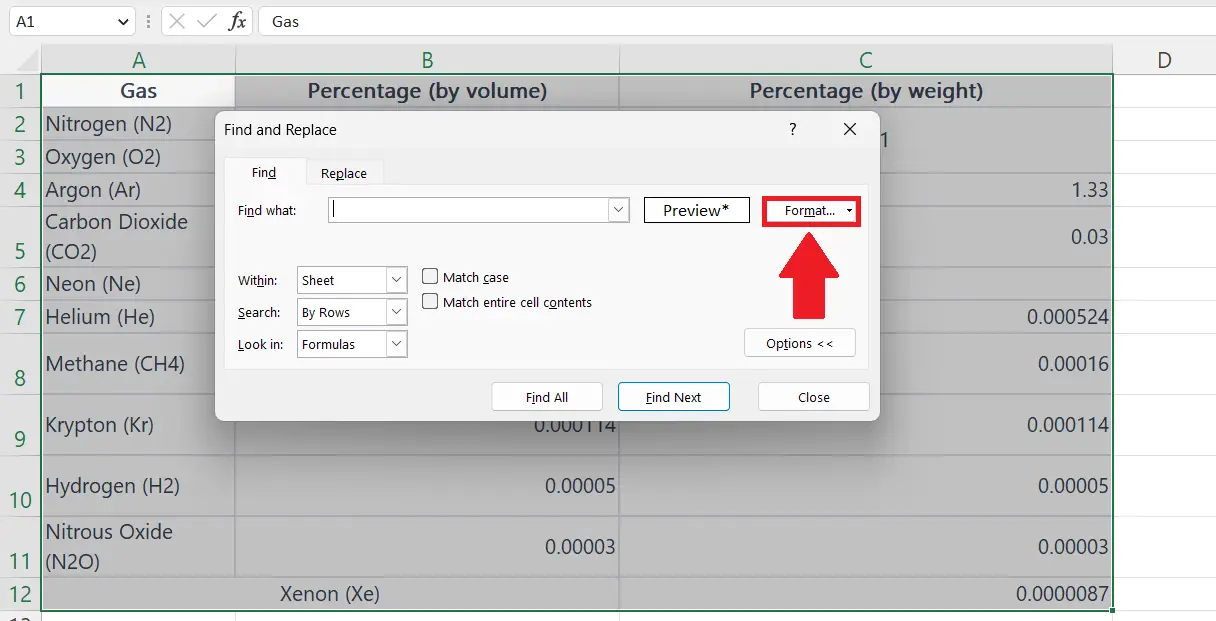
– On clicking on the Find option, Find and Replace dialog box will appear.
– Click on the Format option in the Find what section.
Step 6 – Go to the Alignment Tab
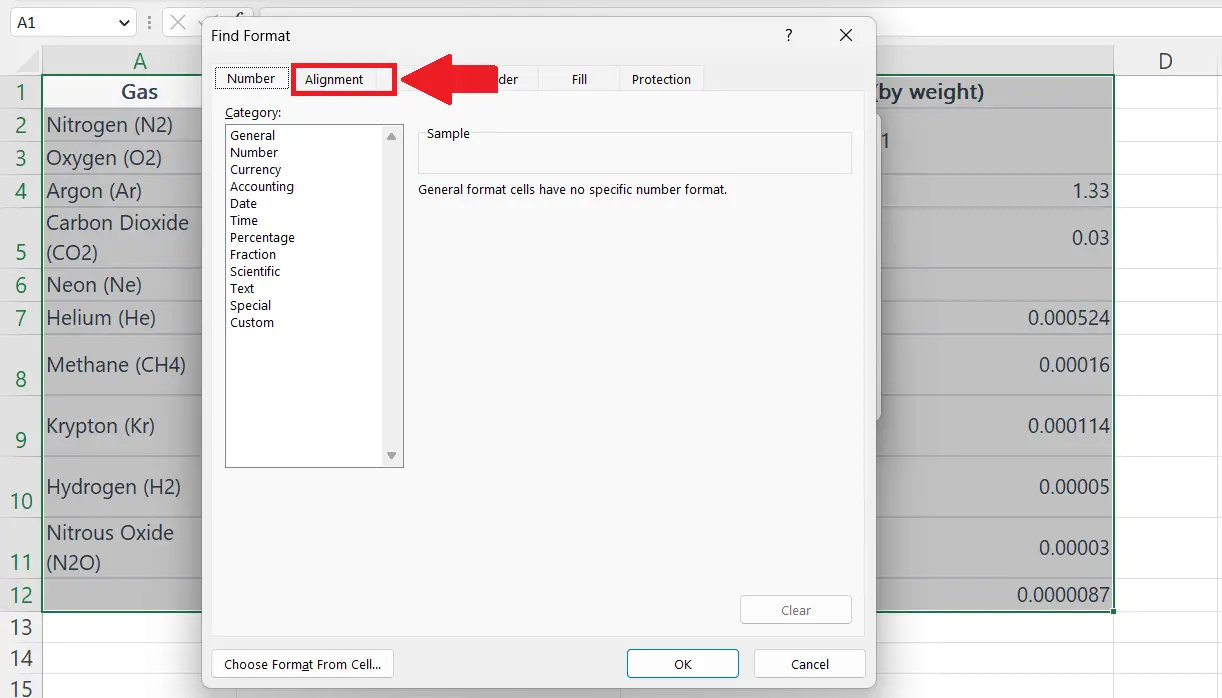
– Go to the Alignment Tab in the Find Format Dialog box.
Step 7 – Tick mark the Merge Cells option
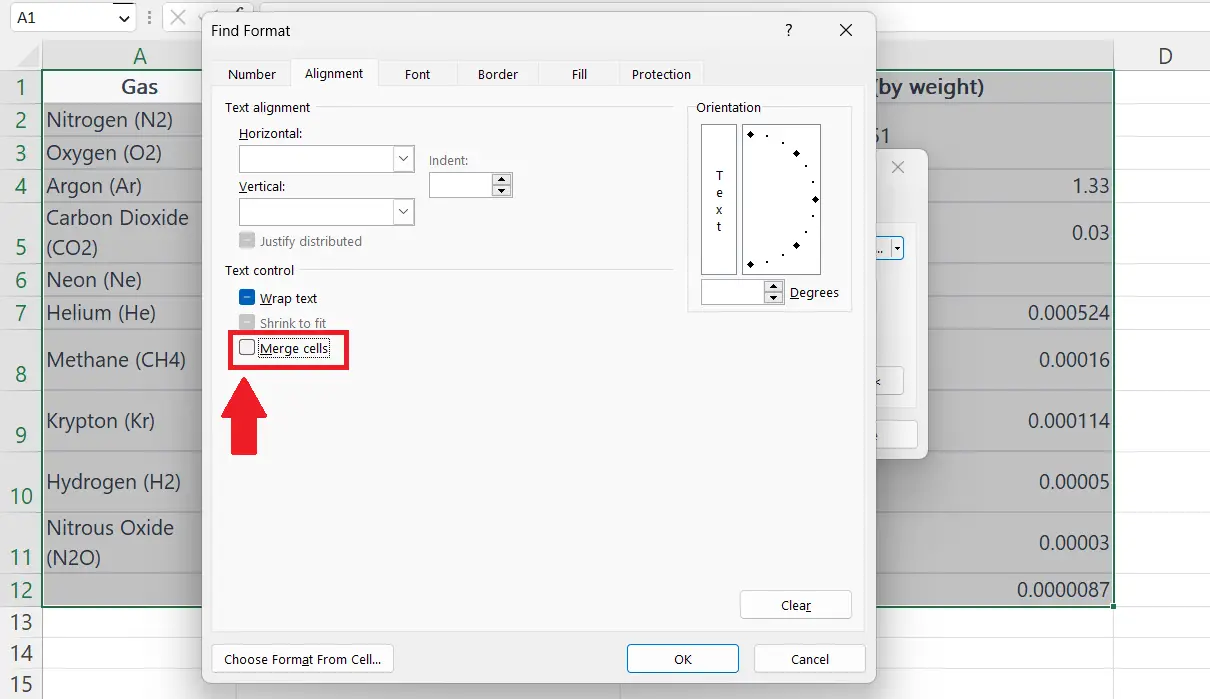
– Tick mark the Merge Cells option in the Text Control section.
Step 8 – Click on OK

– Click on OK in the Find Format dialog box.
Step 9 – Click on Find All
– Click on Find All option in the Find and Replace dialog box.
– The merged cells will be displayed .


