
How to find and highlight in Microsoft Excel
 By
SpreadCheaters
By
SpreadCheaters
In this tutorial we will learn how to find and highlight in Microsoft Excel. Excel users can utilize the Find & Select feature located in the Home tab to locate and highlight particular data. By selecting the desired data and then accessing the Find & Select feature, users can highlight the specific data in a bulk dataset. Following the selection, the user can apply highlighting or other actions to the highlighted data as needed.
Microsoft Excel’s Find and Highlight function is a vital tool that enables users to rapidly pinpoint and retrieve specific information within a worksheet. This feature is particularly beneficial when dealing with massive amounts of data or when searching for particular details. It can lead to time savings, improved accuracy, and enhanced data organization.
Step 1 – Go to the Home Tab
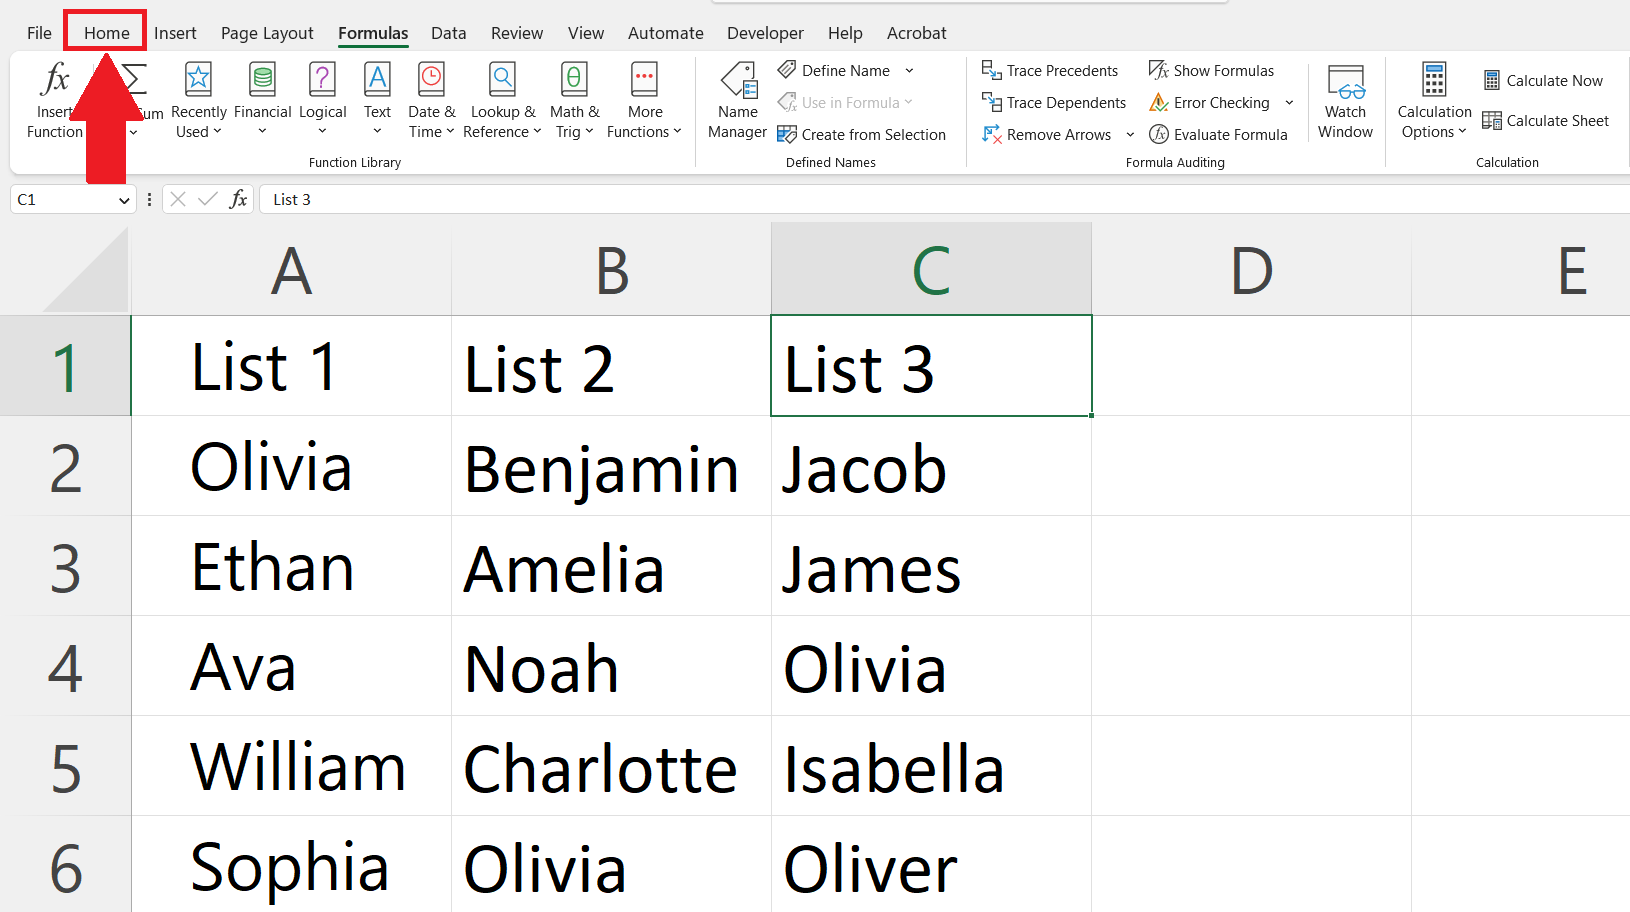
– Go to the Home tab in the menu bar.
Step 2 – Click on the Find & Select Button
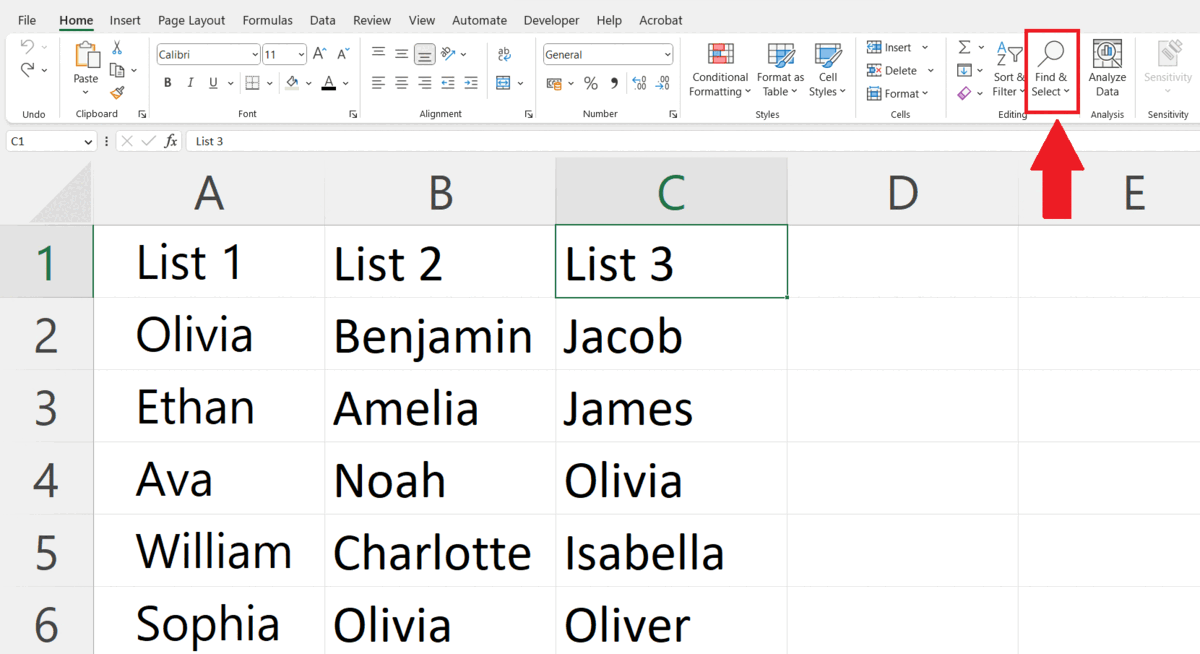
– Click on the Find & Select button in the Editing section.
– A drop-down menu will appear.
Step 3 – Click on the Find Option
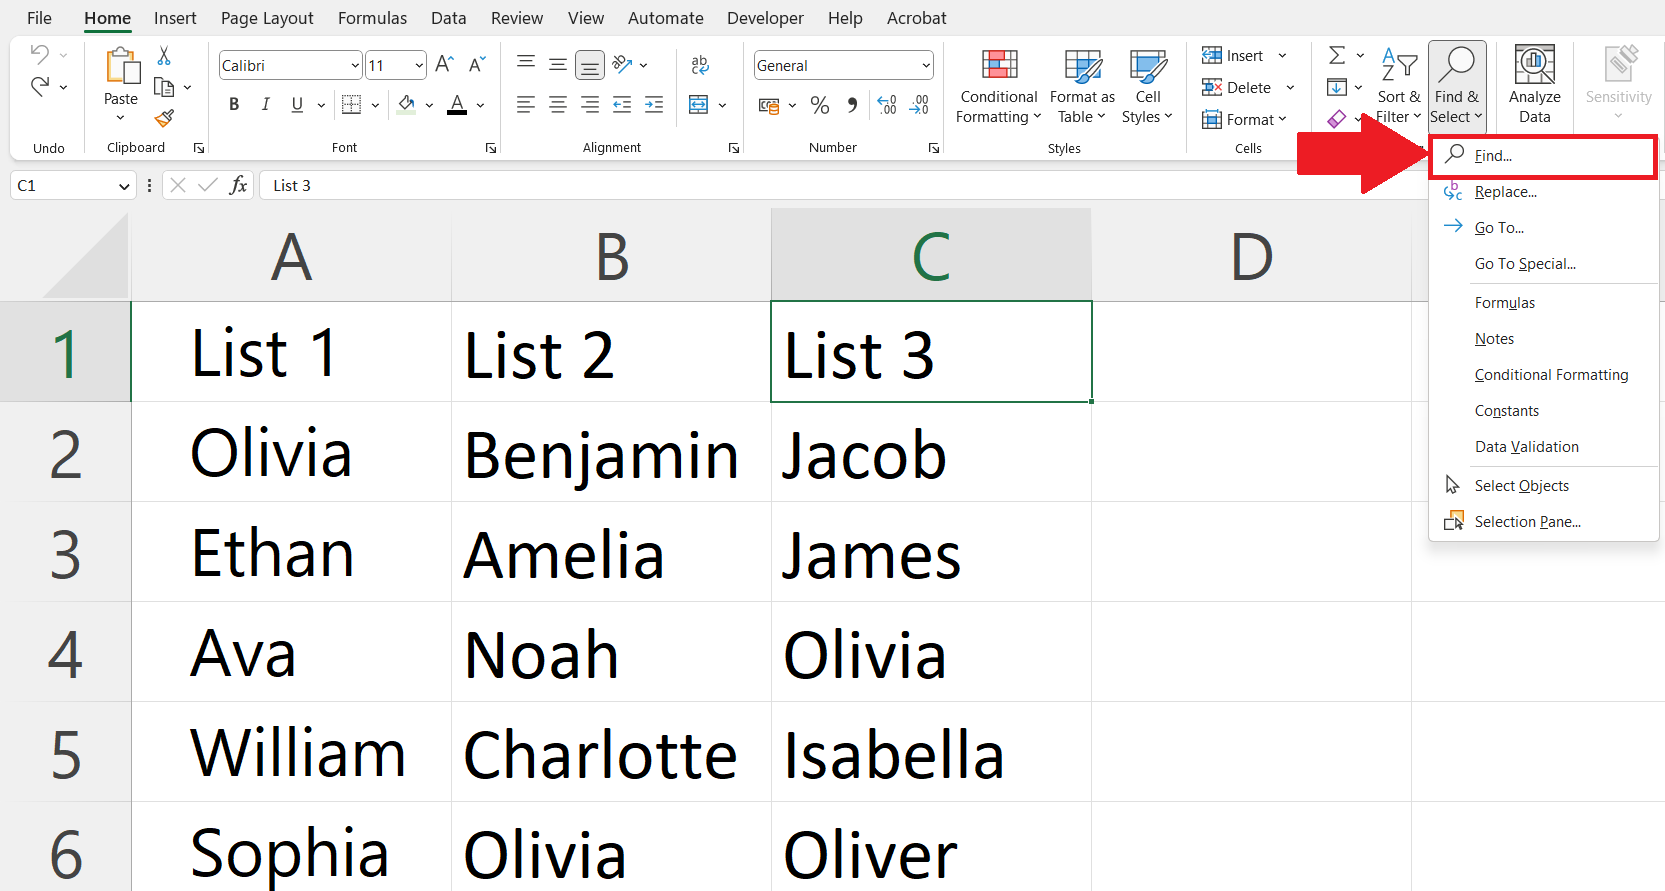
– Click on the Find option in the drop-down menu.
– Find and Replace dialog box will open.
Step 4 – Enter the Data
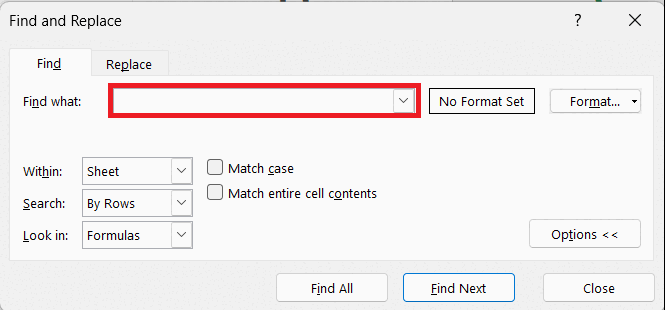
– Enter the data you want to find and highlight in the Find what box.
Step 5 – Click on the Find All Option
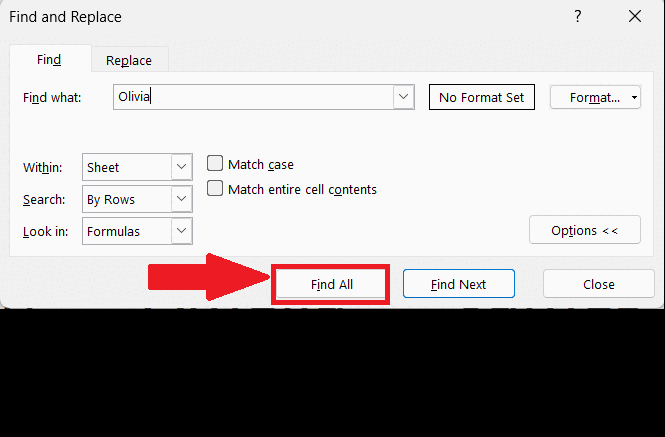
– Click on the Find All option in the Find and Replace dialog box.
– All the cells containing the desired data will be listed.
Step 6 – Select all the Cell References
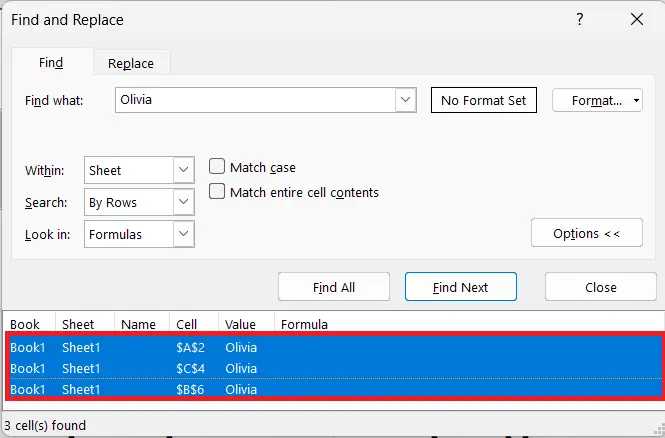
– Select all the cell references listed in the dialog box.
Step 7 – Click on the Close option
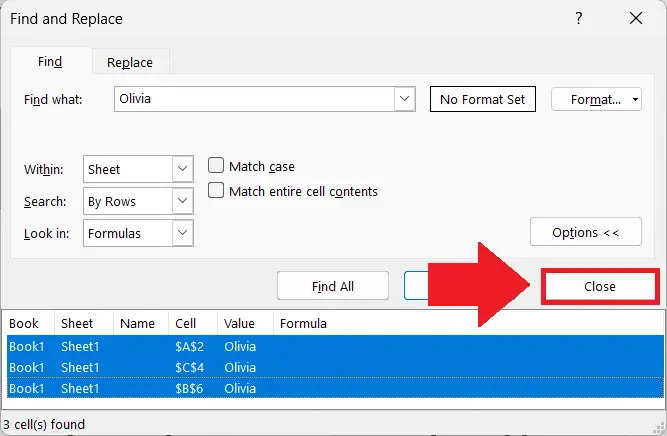
– Click on the Close option in the Find and Replace dialog box.
– All the cells would be selected.
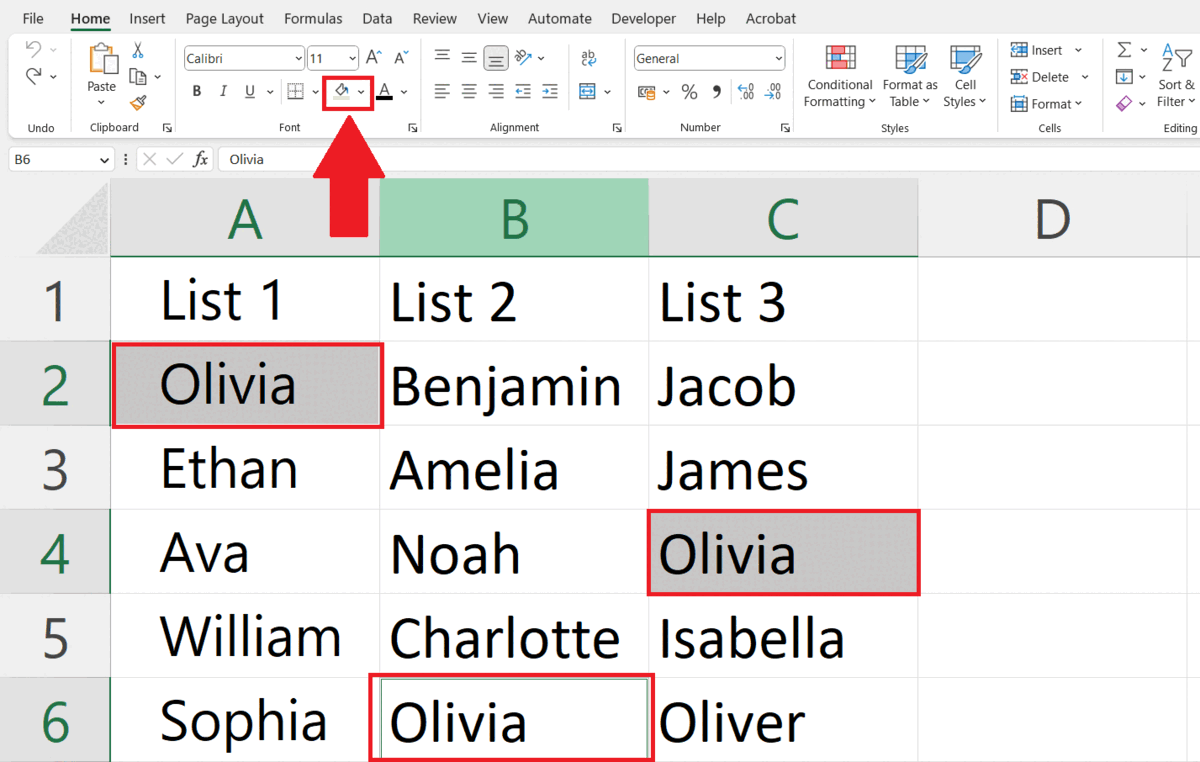
Step 8 – Click on the Fill Color Button and Select a Color

– Click on the Fill Color button in the Font section.
– Select a color to highlight the selected data.
– The data will be highlighted in the selected color.


