
How to enable autocorrect in Excel
 By
SpreadCheaters
By
SpreadCheaters
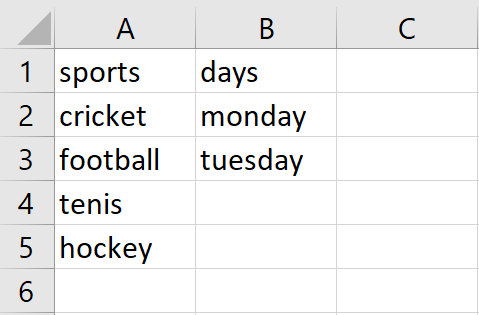
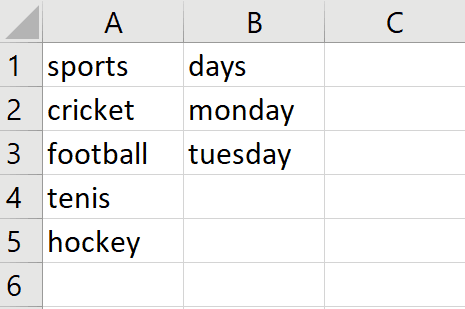
In this tutorial, we will learn how to enable autocorrect in excel. Our dataset shown above includes the names of various sports that will be played on different days of the week. To adhere to capitalization rules, we need to capitalize the first letter of each day’s name. However, manually editing each cell to make the first letter capitalised can be time-consuming and a bit difficult. To simplify this task, we utilized an Auto Correction option that automatically capitalizes the first letter of each cell. Below are the steps to use this Auto Correction option.

In Excel, autocorrect is a feature that can help you quickly correct misspelt words, typos, and other errors that you may make while typing. When enabled, Excel’s autocorrect feature can automatically replace common mistakes with their correct spelling or formatting. Autocorrect can be customized in Excel to include your own commonly used abbreviations or phrases that you want Excel to automatically correct or replace as you type. To enable or customize autocorrect in Excel, follow the steps I provided in my previous answer.
Step 1 – Click on the File tab
– In the sheet click on the file tab and a window will open
Step 2 – Click on the Options
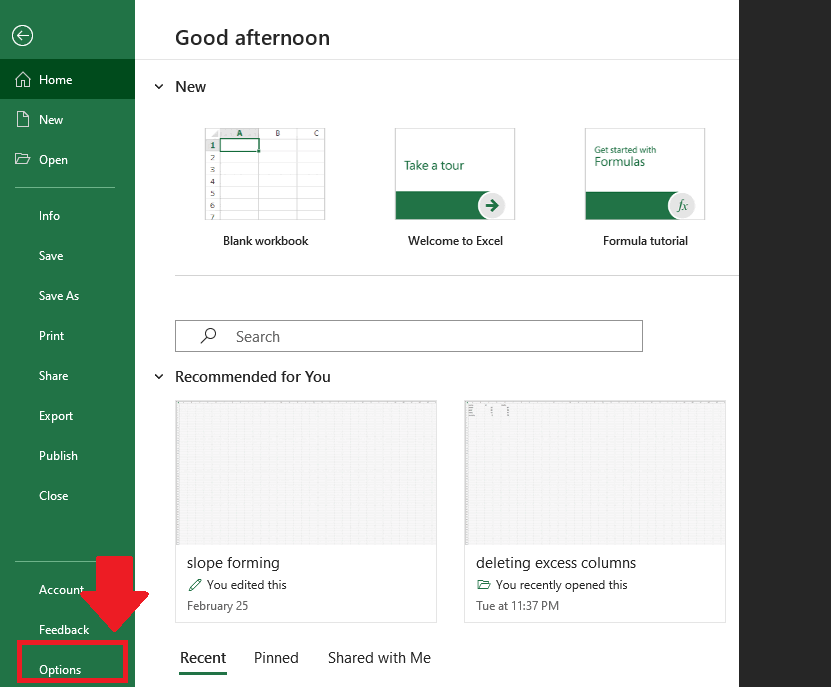
– In the window on the left side a list will be shown, Click on Options in this list and a dialogue box will appear
Step 3 – Click on the Proofing option
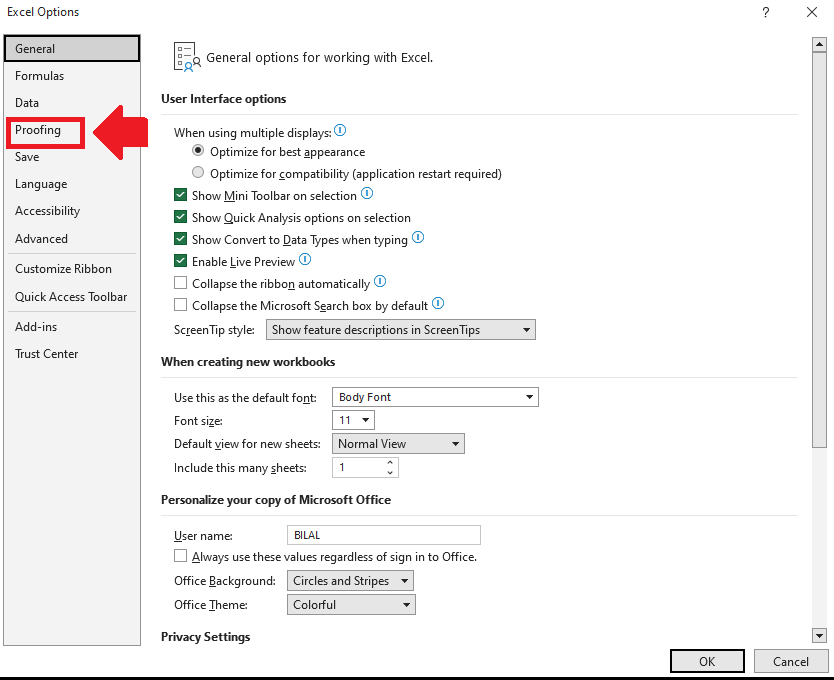
– In the dialogue box a list will appear on the left side, from this list click on the Proofing option and a dialogue box will appear
Step 4 – Click on the AutoCorrect options
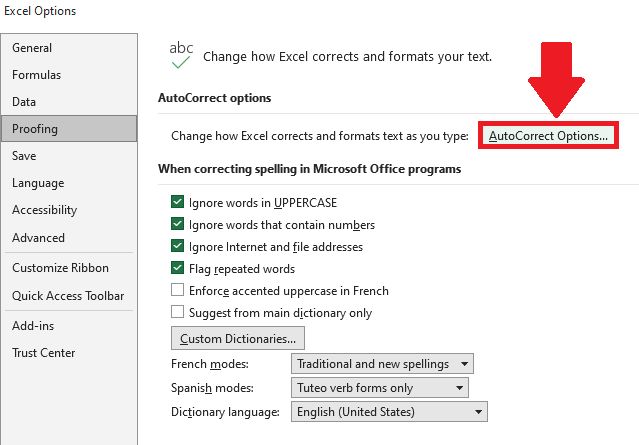
– In the dialogue box click on the AutoCorrect options and a dialogue box will appear
Step 5 – Select the type of correction
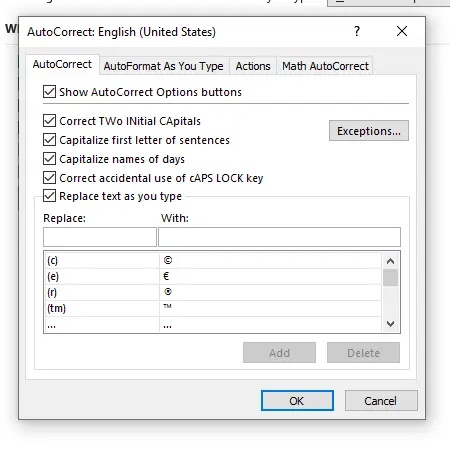
– In the dialogue box select the type of correction you want
– You can select all options as well
Step 6 – Click on OK
– After selecting the type of correction click on OK
– After clicking on the OK previous window will open, click on OK on this window to get the required result


