
How to edit named range in Excel
 By
SpreadCheaters
By
SpreadCheaters

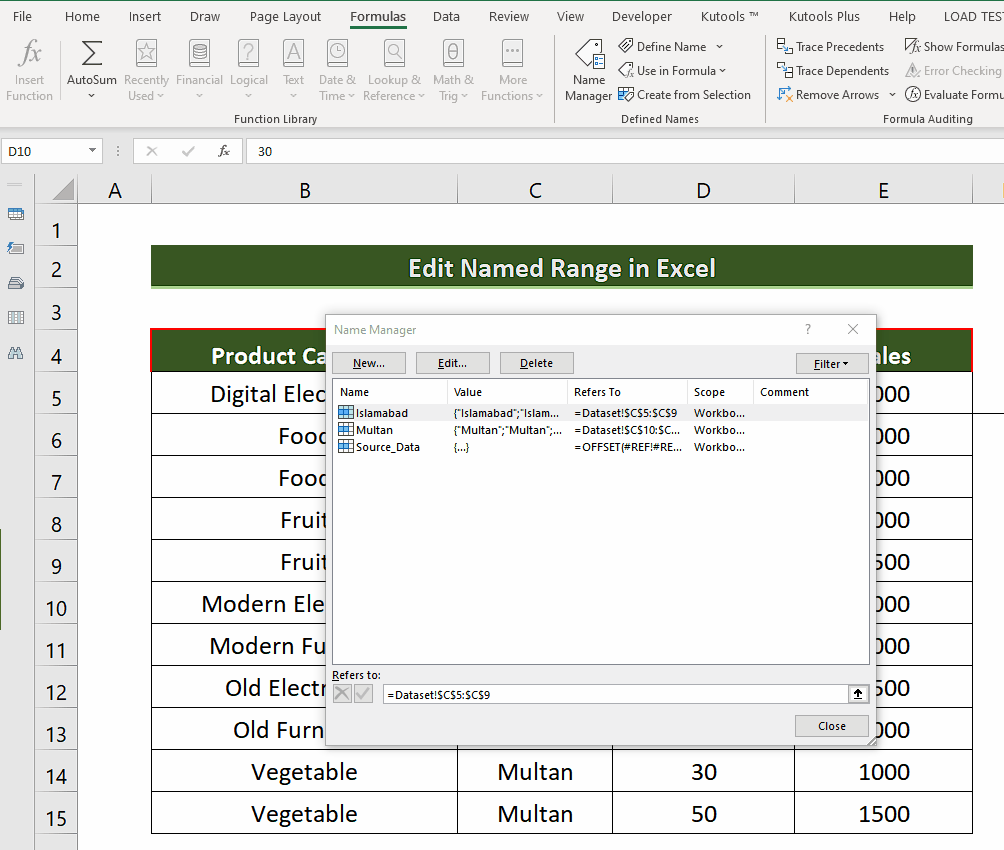
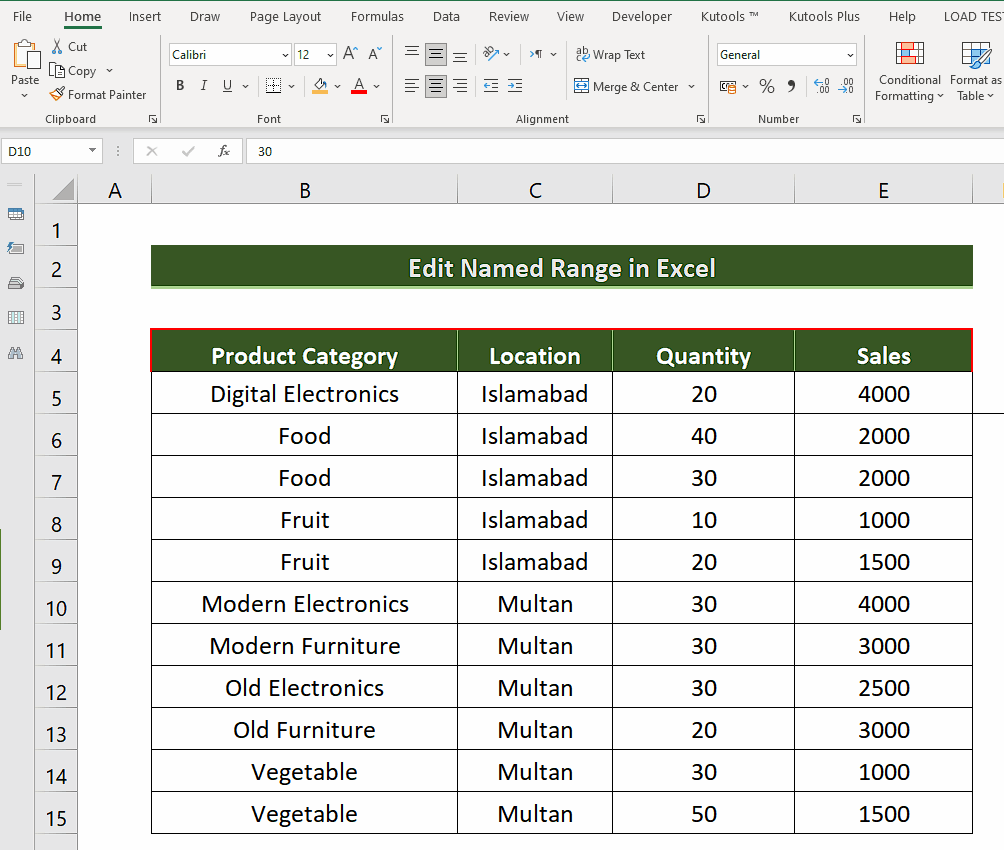
In today’s tutorial we’ll learn how to edit the named range in Excel. Let’s see the dataset below which has two named ranges i.e., “Islamabad” and “Multan”.
Now we’ll see how to edit the named range by following the steps mentioned below.
Named ranges are used to assign a suitable name to several cells in Excel. This way we can use the name of a range instead of calling it through the A1 notation or cell notation. Named ranges can be used for a whole column or whole row or specific cells. After defining the named range, we can perform any operation of those cells only by calling the name of the named range. For any kind of reference, we can call them by their name. Additionally, a named range does not change when a formula is copied to other cells, therefore it is an alternative to using absolute cell references in formulas.
Step 1 – Open Name Manager from Formula Tab
– On the list of main tabs, click on the Formula tab.
– In the Defined Names group, click on the Name Manager to open a new dialog box as shown above.
Step 2 – Edit the named range

– Now select the named range that you wish to edit and click on the Edit button.
– This will give you the options to change the name and the range to which it is currently referring.
– We’ll change the name only here as shown below but you can change the range of cells as well if you wish.


