How to edit cell shortcuts in Excel
Microsoft Excel allows users to format, organize and calculate data in a spreadsheet. By organizing data using Excel, data analysts and other users can make information easier to view as data is added or changed. Excel contains a large number of boxes called cells that are arranged in rows and columns. Data is placed in these cells.
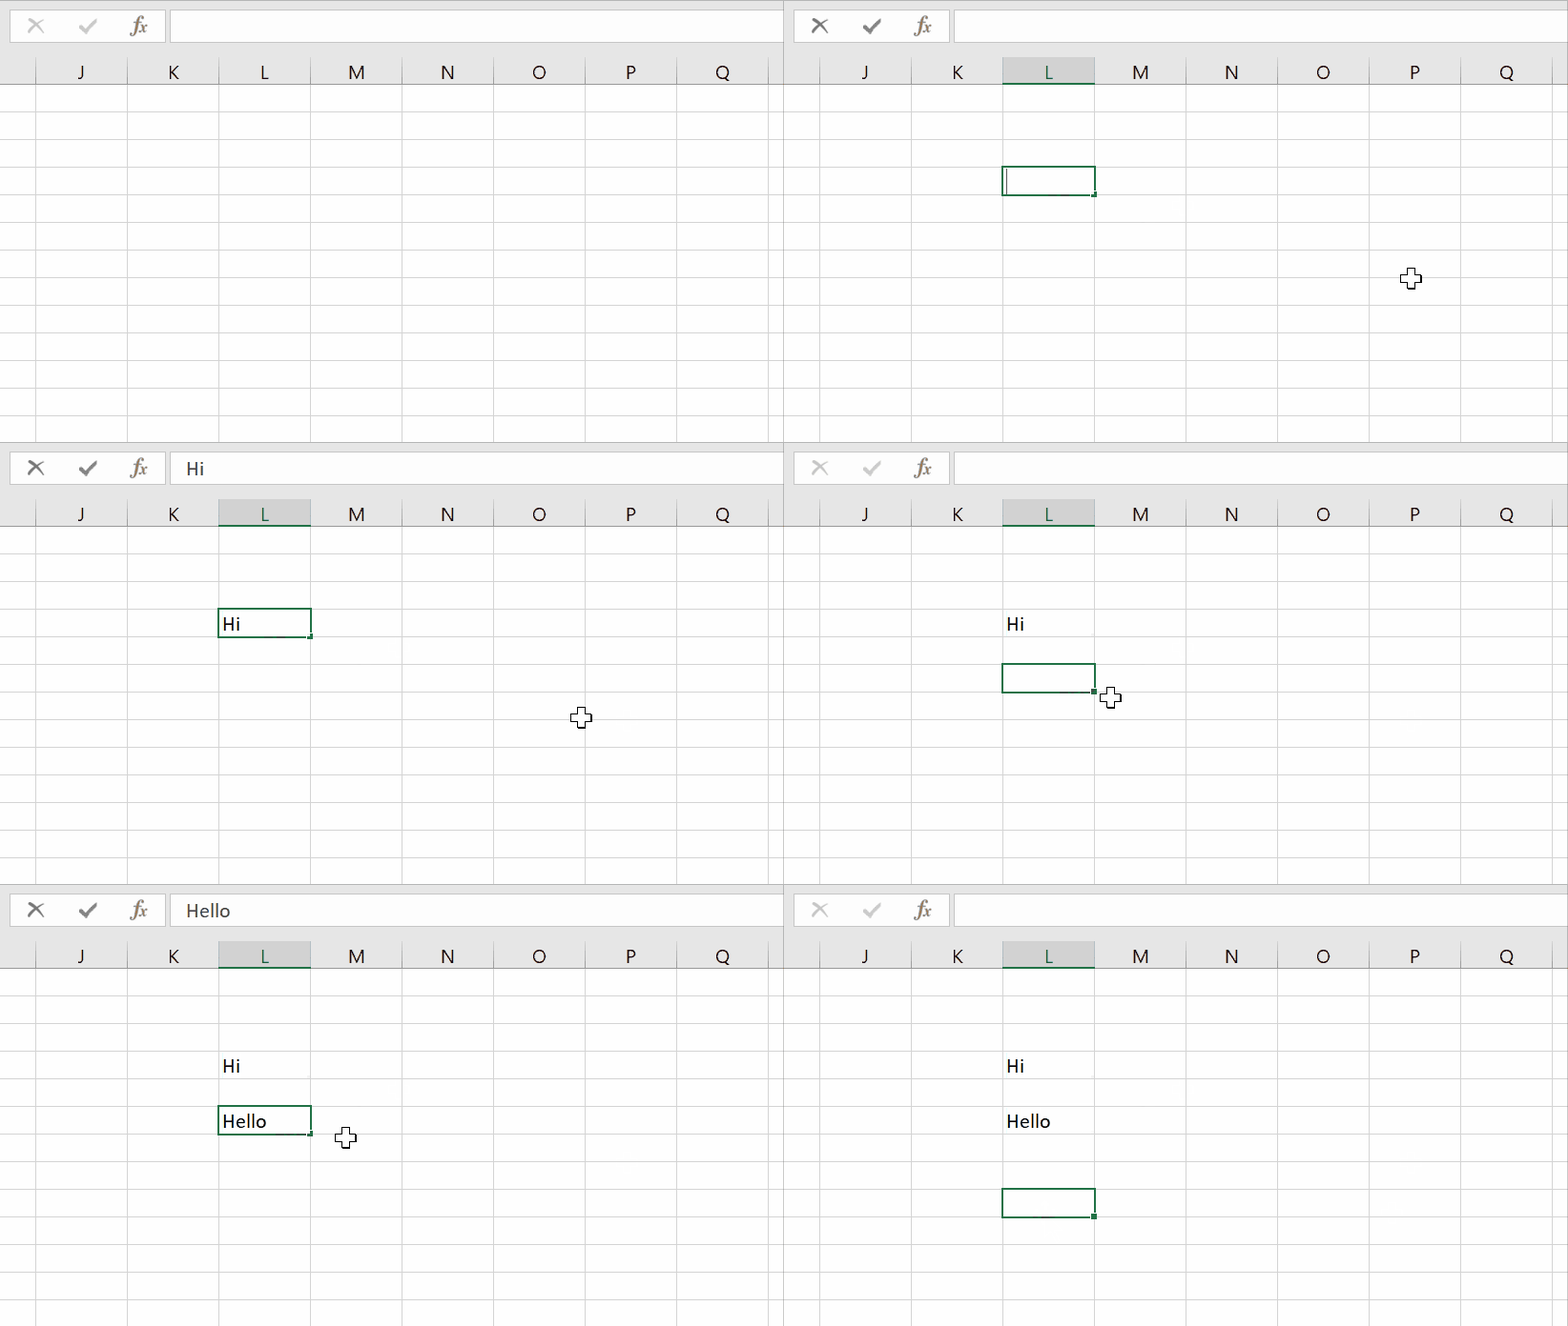
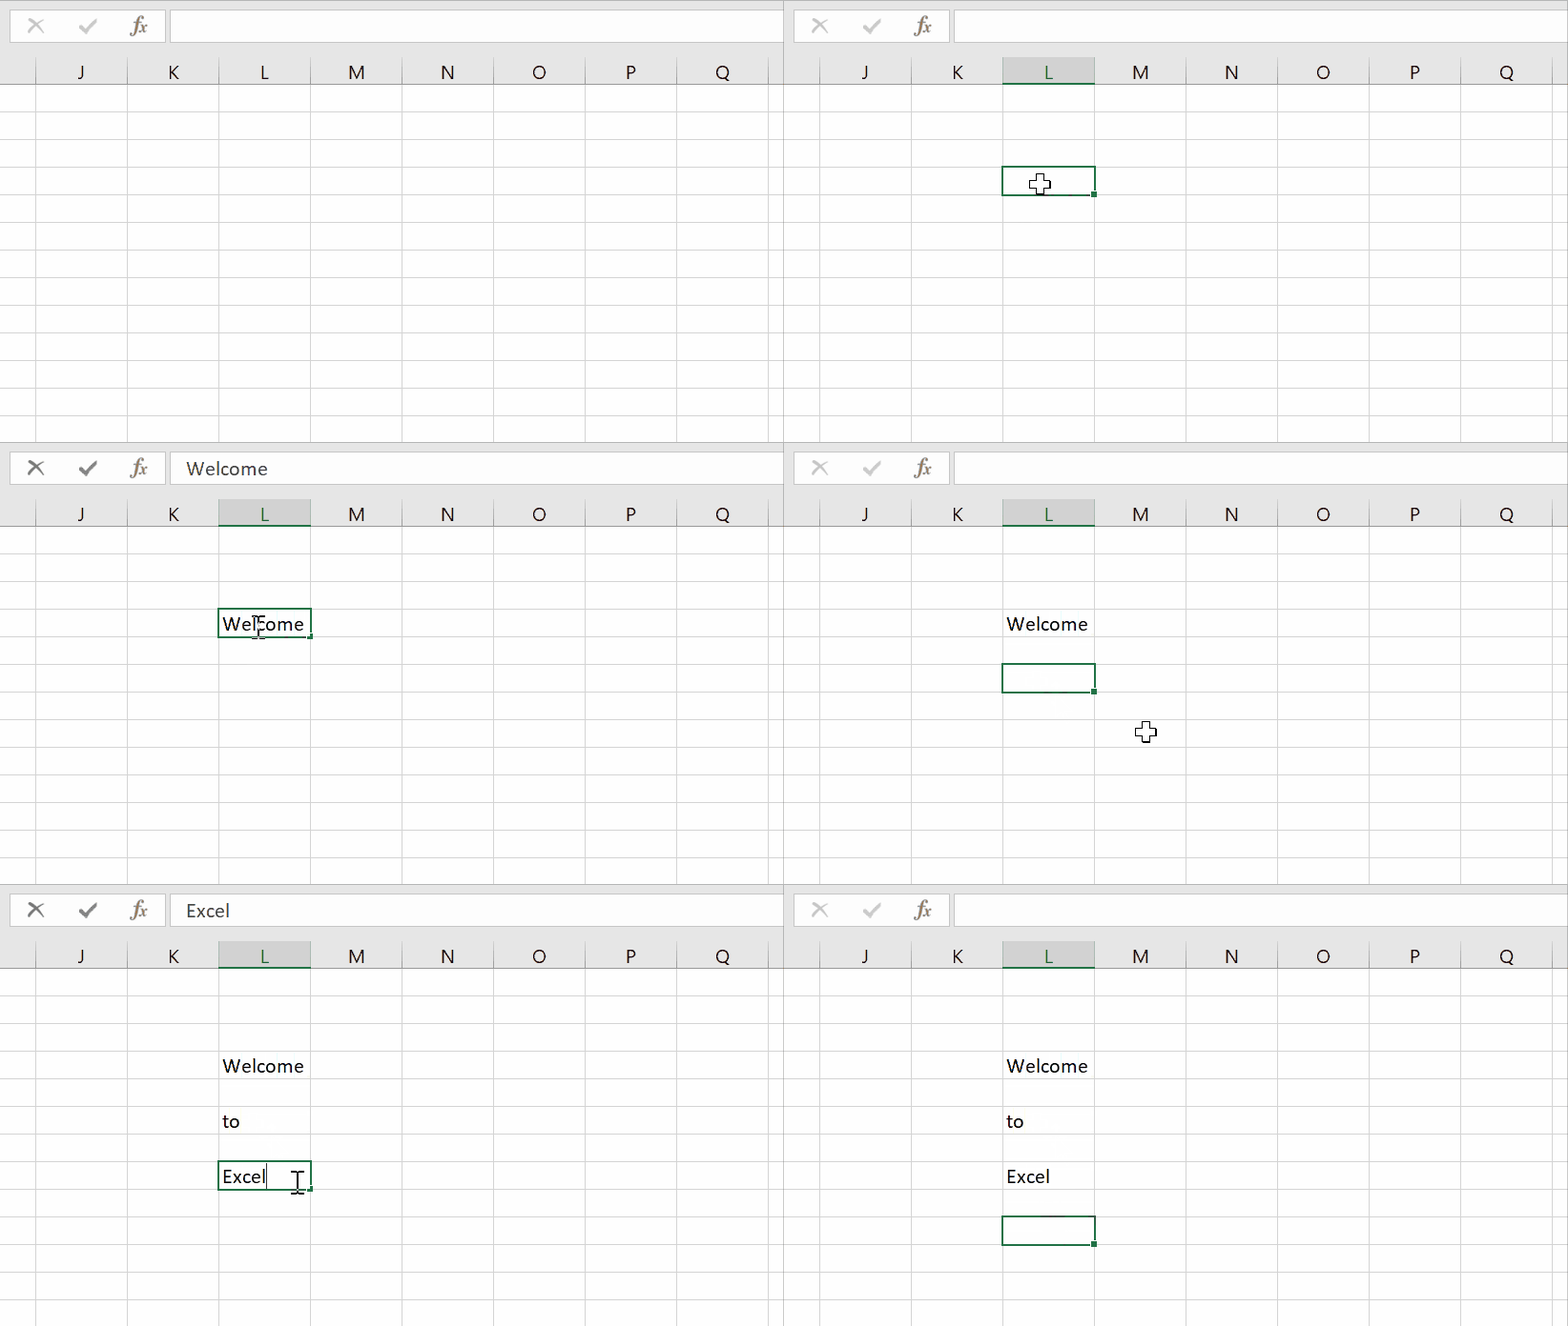
While working with data entry projects, there is often a requirement to edit the data for correcting mistakes, adding more data or replacing the previous data in the cells. In this tutorial we’ll learn how to go into editing mode to edit a cell’s data by using the following methods.
Method 1 – Use keyboard shortcut
As we know that when we select any cell it is not in editable condition so to make it in edit form there is a method mentioned below to edit the cells by shortcut.
F2
Step – 1 Select the cell and apply shortcut

- Open Excel workbook.
- Select the cell that you wish to edit.
- Press F2.
- A cursor will start blinking.
- Cell is in edit mode now .
- You can make any changes in it.
Method 2 – By double clicking on the desired cell
By using this method we can easily edit cells and enter data of our choice.
Step 1 – Select the cell and double click on it

- Select the cell you want to edit.
- Simply double click on the cell that you wish to edit.
- A cursor will start blinking.
- The selected cell is in editing mode now .
- You can make any changes in it.


