
How to draw line in Excel
 By
SpreadCheaters
By
SpreadCheaters
In this tutorial we will learn how to draw a line in Microsoft Excel. There are different types of lines, without head lines, with pointing heads, and different kinds of styles for lines are available.
We can customize the line in multiple ways we can even add colors by our choice.
Below are the steps to follow.

Microsoft Excel is the best tool for numeric data calculation. This software is produced by Microsoft and it is also enriched with data visualization functions by default. This feature makes Microsoft Excel unique and we can manage our data and make it presentable in different ways.
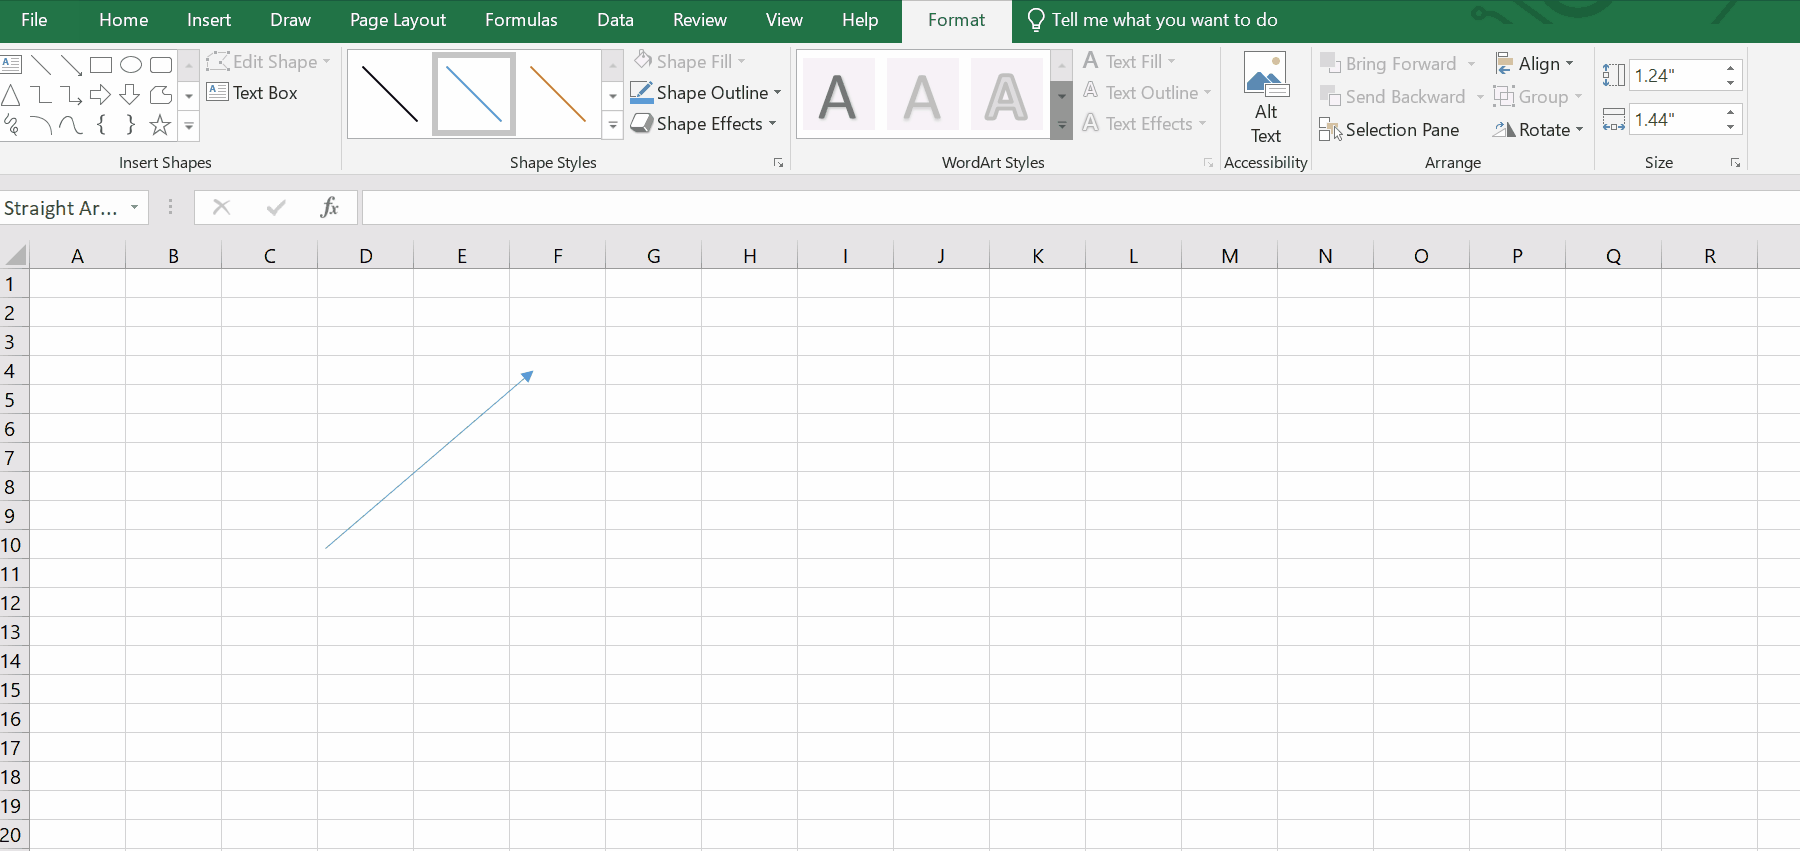
Step 1 – Identify the area and draw the line
Above is an animation as an example.
– Go to the insert tab.
– In the illustration group click on shapes.
– From the Lines group, select any type of line and drag as long as you want to draw the line. The moment you stop the dragging process you will see a line draw in the spreadsheet.
Step 2 – Apply formatting on line
Above is an example.
– Select the line and click on the format tab.
– Select the shape of the line.
– Go to shape styles group.
– Click on shape outline.
– A dropdown menu will appear.
– Select the color , weight, dashes, and arrows.
– Click on Shape effects.
– A drop menu will appear.
– Select the shape of the line as your visualization is concerned.
Hence, we can draw a line by the above mentioned steps.


