
How to do a superscript in Excel
 By
SpreadCheaters
By
SpreadCheaters

Microsoft Excel offers a very interesting way to add superscript. Any text can be transformed into a superscript in excel. We can perform the below mentioned way to add superscript in excel:
We’ll learn about this methodology step by step.
To do this yourself, please follow the steps described below;
Step 1 – Blank workbook with a text
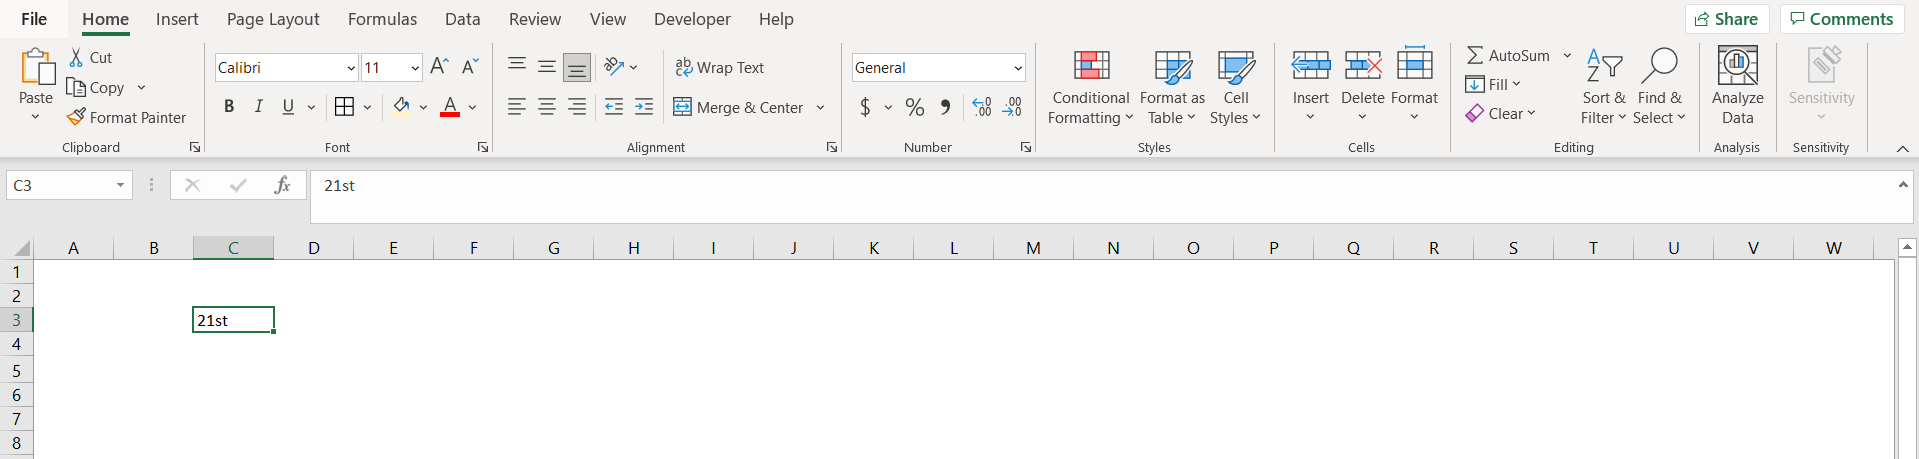
– Open the desired Excel workbook in which you want to add superscript. Type a word in a cell. The word should contain some part which needs to be converted into superscript (For ex here ‘st’ in 21st needs to be converted to superscript)
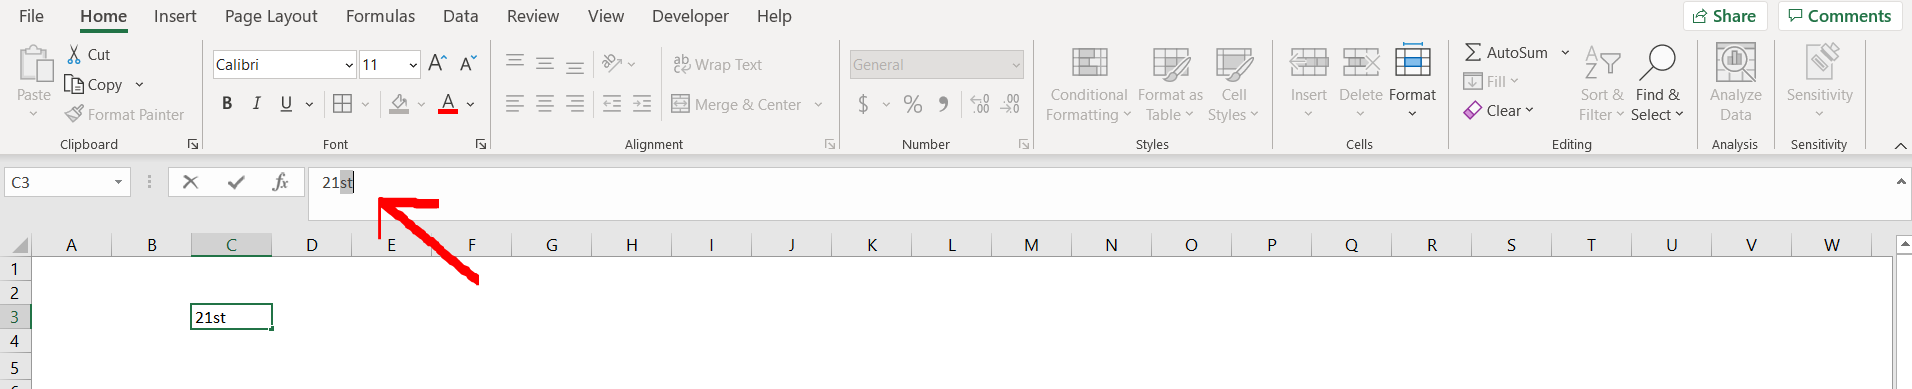
– Now go to the “Formula Bar” and select the part which needs to be converted to superscript, as mentioned in the red arrow in the below pasted image.
Step 2 – Going to the formula bar
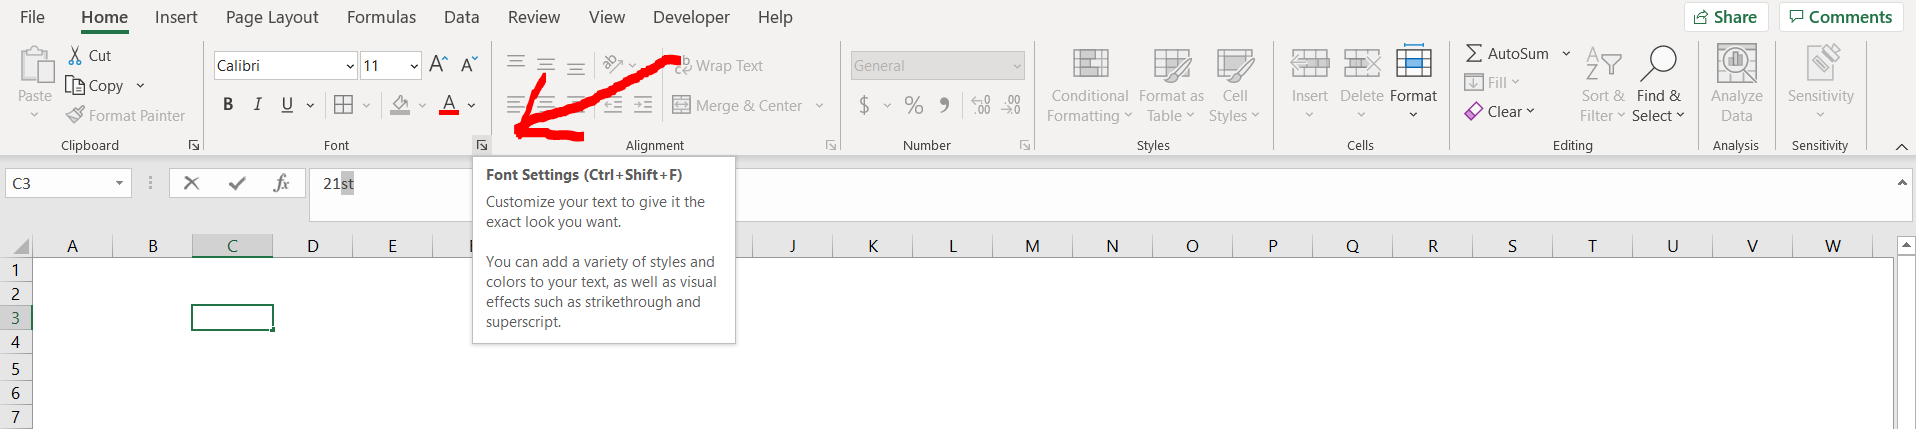
– In the “Font” section in the “Home” option in the menu bar click on the arrow which is to the bottom right, as pointed out by the red arrow in the below pasted image. This will open the “Font Settings” option.
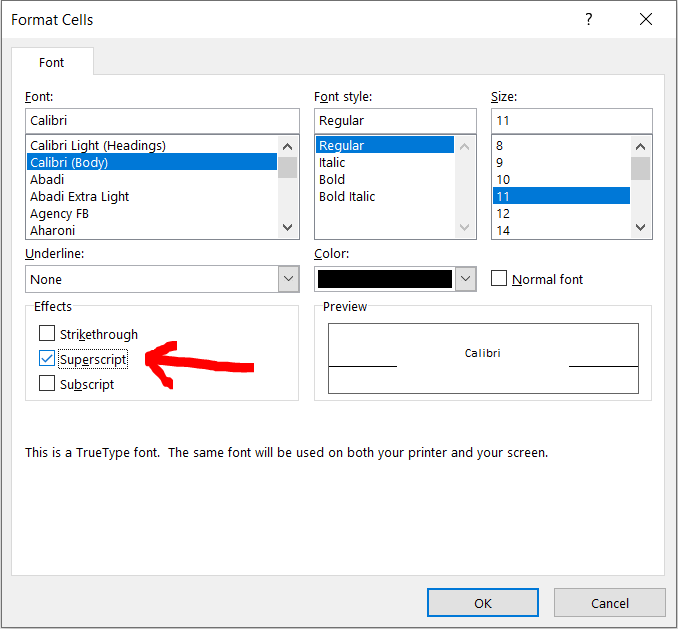
Step 3 – Opening the Font settings
– You can also open this Font Setting dialogue box by selecting the part of the word which needs to be superscripted( in this case “st”), and then pressing CTRL + 1 .
Step 4 – Navigating through the Font Settings
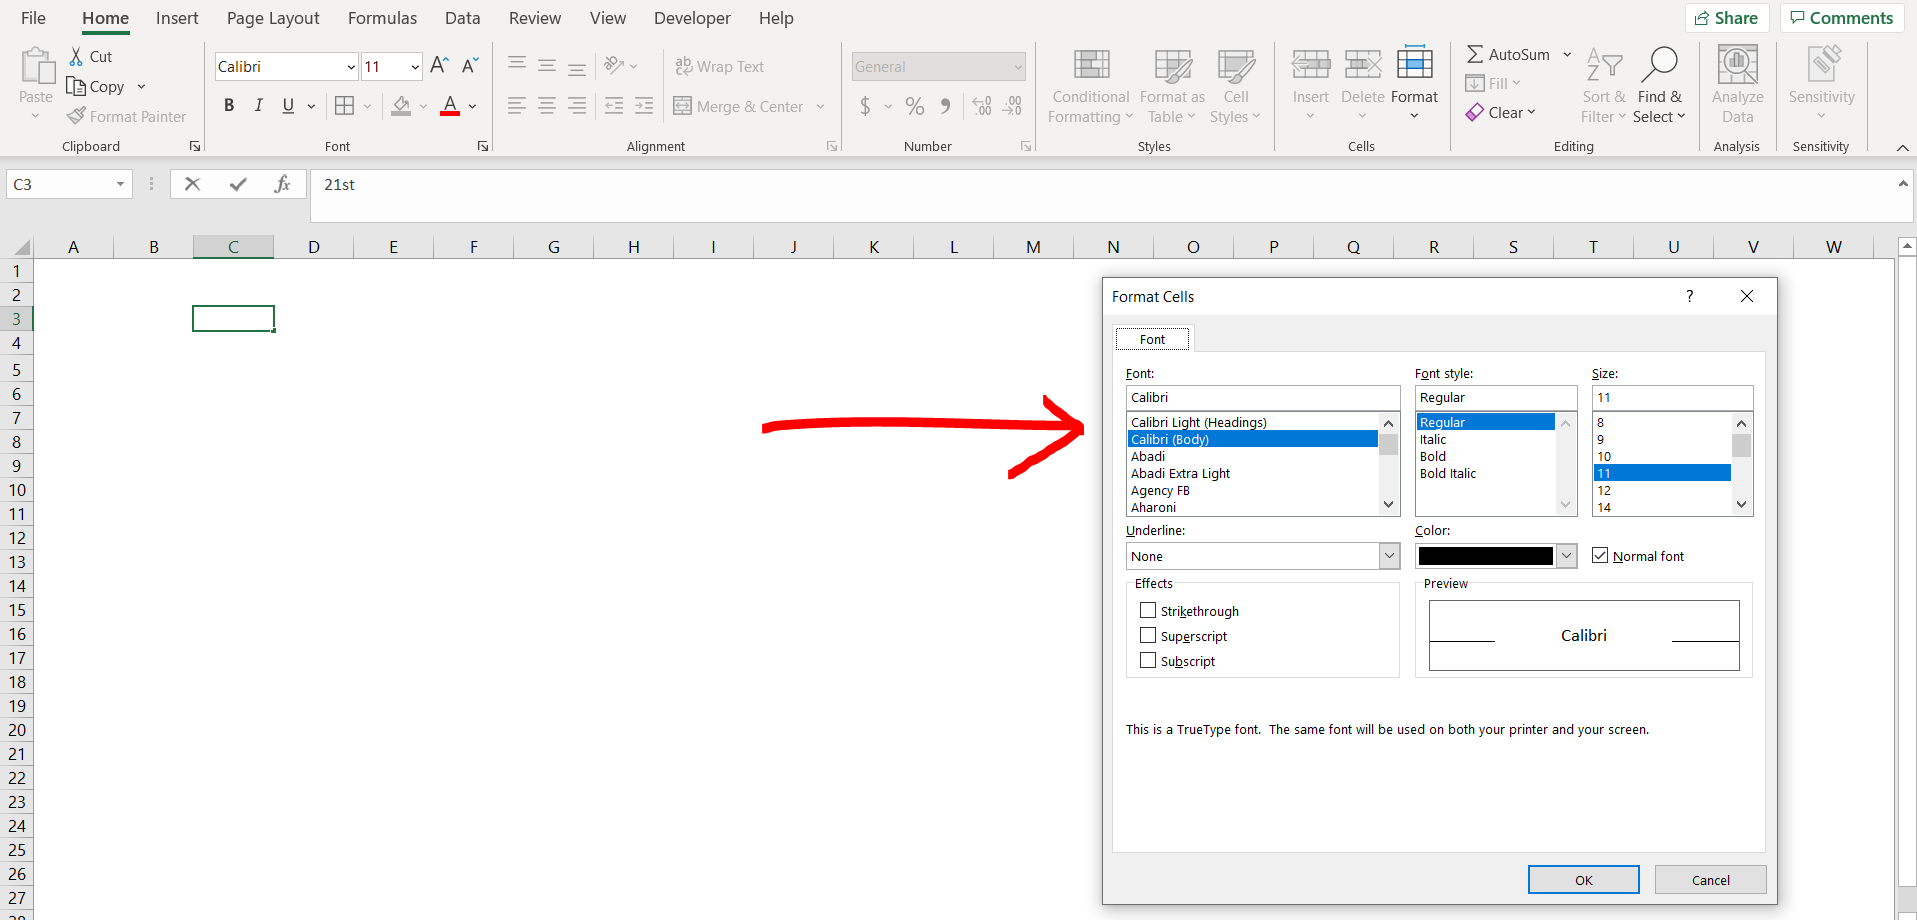
– Now click on the “Superscript” option in the “Effects” panel, and click on “OK”.
Step 5 – Using the superscript option
– After opening the Format Cells dialogue box, you can choose to opt for an excel shortcut to enable the superscript, I.e. by pressing ALT + E, and the press “Enter”.


