
How to distribute columns evenly in Excel
 By
SpreadCheaters
By
SpreadCheaters
Page last updated:
23/06/2023 |
Next review date:
23/06/2025
To distribute columns evenly in Excel means adjusting the width of each column in a worksheet so that they all have the same width. This is often done to improve the appearance and readability of a worksheet, especially when dealing with large amounts of data.
Our dataset includes information on achievers from class 9, including their name, section, class, and age in separate columns. We aim to adjust the column widths to be evenly distributed, and we have four methods to achieve this goal.

Method 1: Distribute Columns using the Column Width option
Step 1 – Select the Columns

- Select all the columns that you want to distribute evenly
Step 2 -Click on the Format option
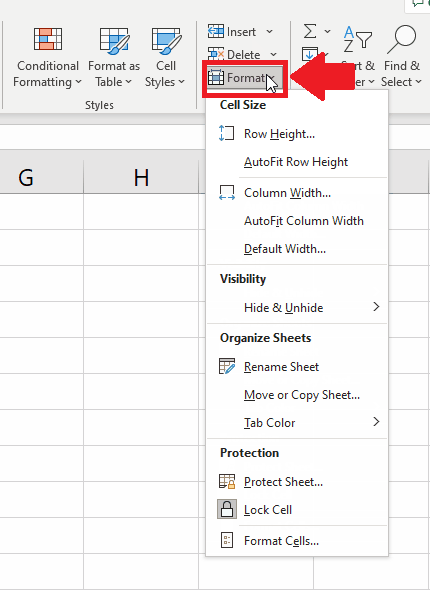
- After selecting the columns, click on the Format option in the Cells group of the home tab and a drop-down menu will appear
Step 3 – click on the Column Width option
- From the drop-down menu, click on the Column Width option and a dialog box will appear
Step 4 – Select the Column Width
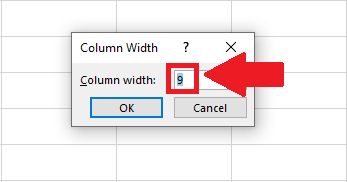
- In the dialog box type the Column width in the box next to the Column Width option
- Here we have selected 9 as the width
- You may select any other width you want
Step 5 – Click on OK
- After selecting the column Width, click on OK at the end of the dialog box to get the required result
Method 2: Distribute Columns using Autofit Column Width option
Step 1 – Select the Columns

- Select all the columns that you want to distribute evenly
Step 2 -Click on the Format option

- After selecting the columns, click on the Format option in the Cells group of the home tab and a drop-down menu will appear
Step 3 – Click on the Autofit Column Width option
- From the drop-down menu, click on the Autofit Column Width option to get the required result
Method 3: Distribute Columns using Column Headers
Step 1 – Select the Columns

- Select all the columns that you want to distribute evenly
Step 2 – Move the cursor on the column header

- After selecting the columns, move the cursor to the column header and a plus symbol will appear
Step 3 – Double Click on the header
- After the plus symbol appears, double-click to adjust the column
Method 4: Space a single column
Step 1 – Select the column
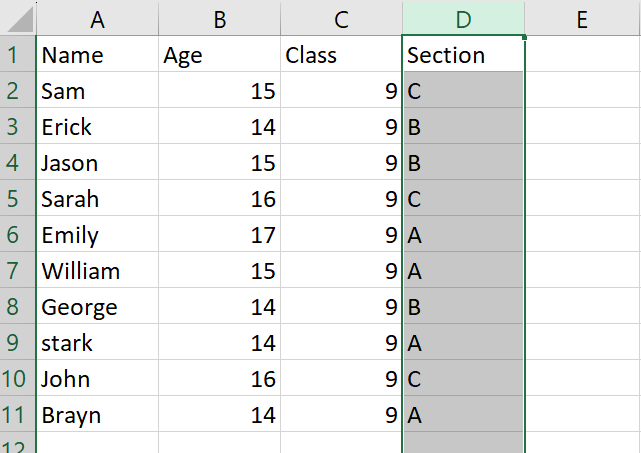
- Select the column by selecting its column Header
Step 2 -Click on the Format option

- After selecting the columns, click on the Format option in the Cells group of the home tab and a drop-down menu will appear
Step 3 – click on the Column Width option

- From the drop-down menu, click on the Column Width option and a dialog box will appear
Step 4 – Select the Column Width
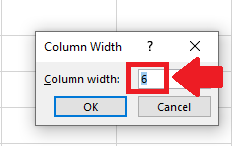
- In the dialog box type the Column width in the box next to the Column Width option
- Here we have selected 6 as the width
- You may select any other width you want
Step 5 – Click on OK

- After selecting the column Width, click on OK at the end of the dialog box to get the required result


