
How to delete selected cells in Excel
 By
SpreadCheaters
By
SpreadCheaters
Page last updated:
23/06/2023 |
Next review date:
23/06/2025
In Excel, you can delete selected cells, which means removing the contents and formatting of the cells, while leaving the rest of the worksheet intact. deleting selected cells can help you save memory and improve performance in your Excel workbook. By removing unnecessary data or formatting, you can reduce the file size of your workbook and make it run more smoothly.
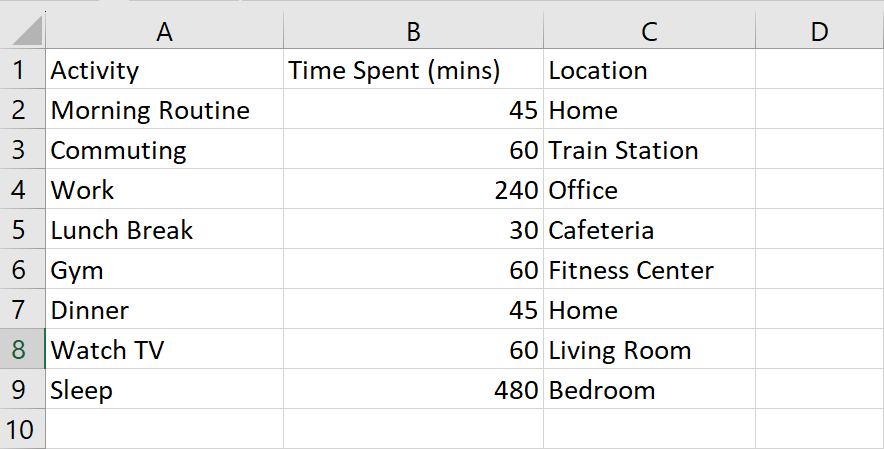
We have a dataset that contains a person’s timetable, but we want to remove some of the tasks from it. To do this, we will first select the cells containing the tasks we want to delete, and then use one of four methods to delete them that are explained below.
Method 1: Delete the Cells using the Delete key
Step 1 – Select the range of cell
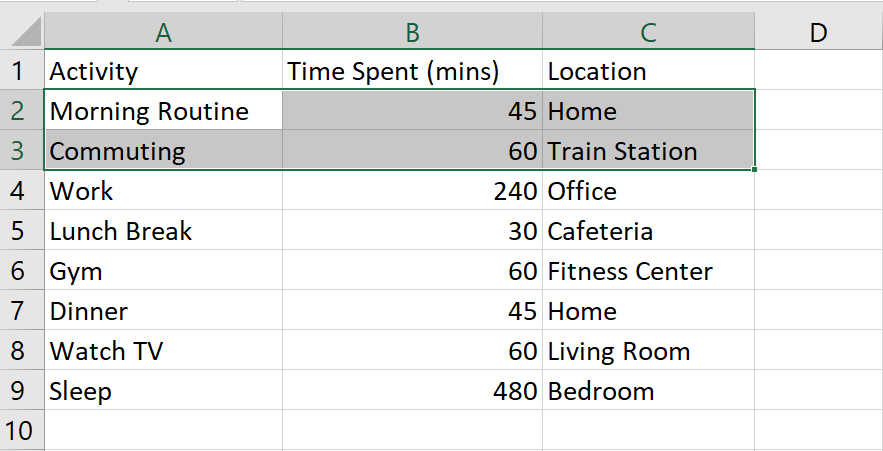
- Select the range of cells that you want to delete
Step 2 – Press the Delete key

- After selecting the cell you want to delete, press the Delete key to get the required result
Method 2: Delete Non-Adjescent cells using the Delete option
Step 1 – First Select the cell

- Click on the first cell that you want to delete
Step 2 – Select other cells
- After selecting the first cell, press the Enter key and then click on the other cells that you want to delete
Step 3 – Click on the Delete option
- After selecting the cells you want to delete, click on the Delete option in the Cells group of the Home tab to get the required cell
Method 3: Delete the Adjescent Cells using the context menu
Step 1 – Select the range of cell

- Select the range of cells that you want to delete
Step 2 – Open the Context menu
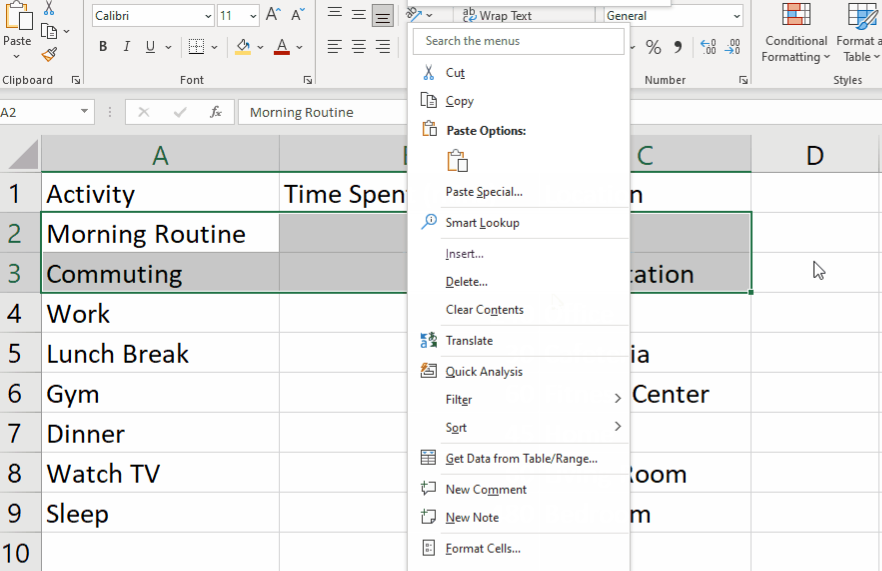
- After selecting the range of cells right click anywhere on the selected range a context menu will appear
Step 3 – Click on the Delete option
- From the context menu, click on the Delete option and a dialog box will appear
Step 4 – Click on the Move up option
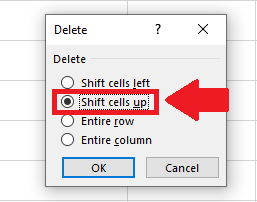
- In the dialog box, click on the check box of the move-up option
Step 5 – Click on the OK
- After clicking on the check box, click on OK in the dialog box to get the required result


