
How to delete a table in Excel
 By
SpreadCheaters
By
SpreadCheaters
However, sometimes we need to delete or remove a table from an Excel file. So, today’s tutorial is about how to remove or delete a Table in Excel, by following the steps below. Let’s first create a table in Excel.

Excel has a very powerful feature of creating Tables from available data in a spreadsheet. The Excel table has many advantages attached to it. They are dynamic in nature and expand automatically to accommodate new data. They have specific names just like named ranges and can be referred anywhere in the sheet or VBA code through this name.
Step 1 – Create a Table from raw data
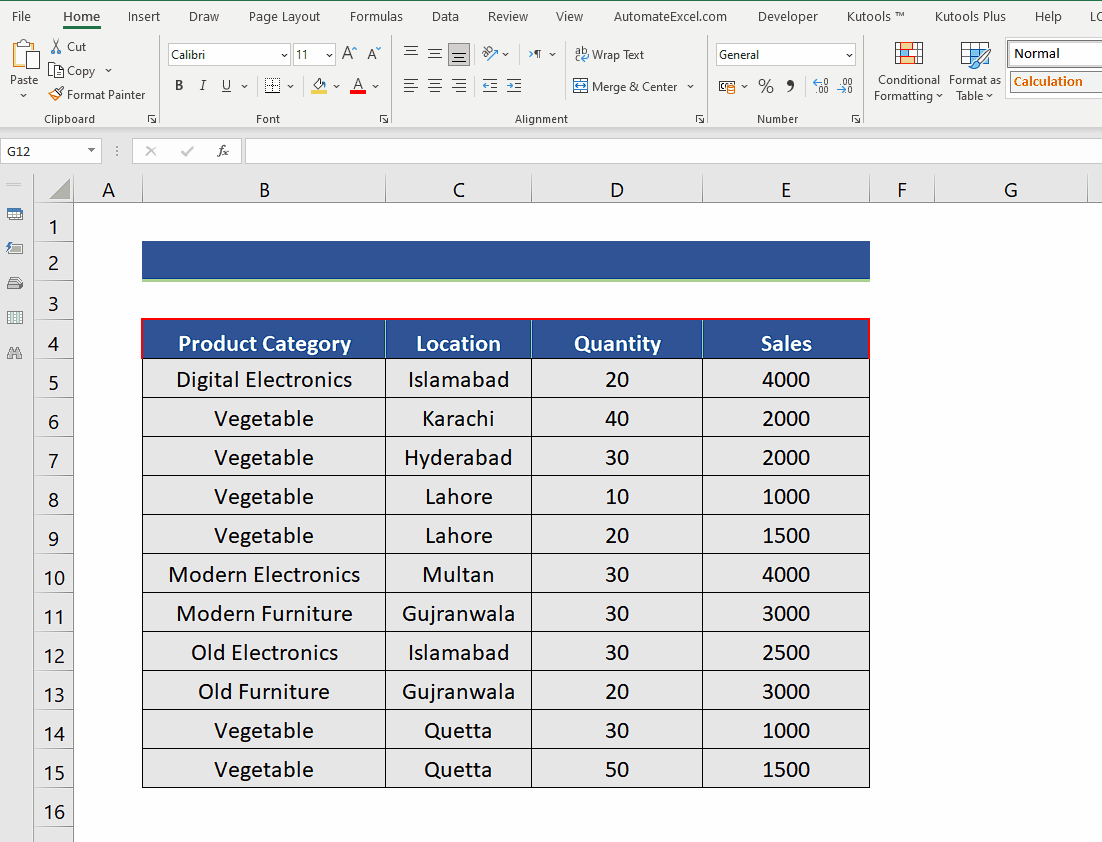
– First, we’ll create a table and then see how to rename it. For this purpose, click on any cell inside the data range and press CTRL+T.
– This will open up a new dialog box and by default, Excel will choose all data cells to be included in the Excel table. If you wish, you can change the table data range as per your requirements.
– It will also give you an option to tell Excel whether your data has headers or not. Choose according to your data.
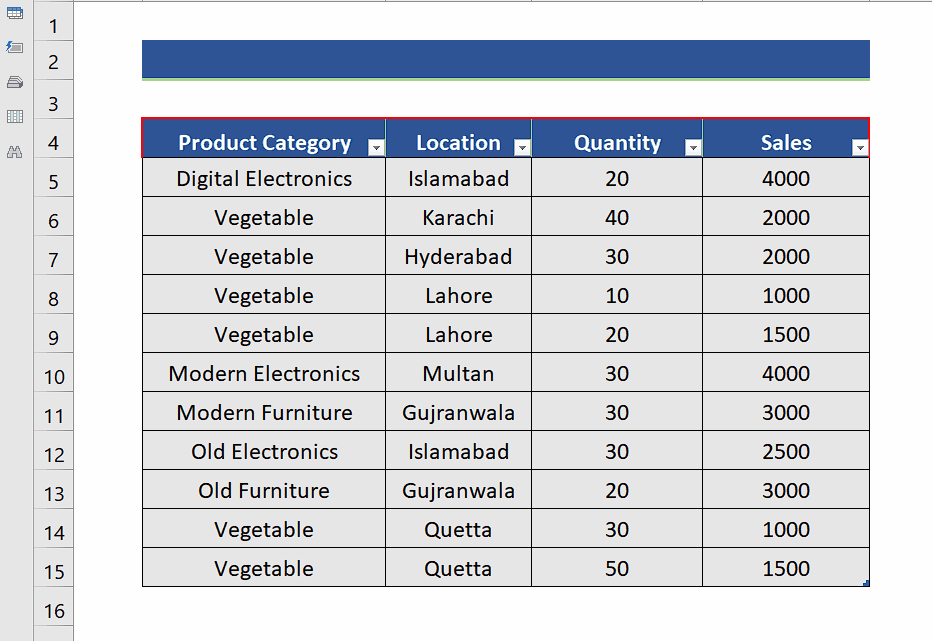
– When the data will be converted to a table, you will see filters added to column headers automatically as shown above.
Step 2 – Delete the Table using Keyboard
– Select the top left cell inside the Excel Table.
– Use the keyboard shortcut CTRL+A to select the whole table.
– Now press the Delete key from the keyboard. This will delete the table from Excel.
Step 3 – Delete the table using main menu options
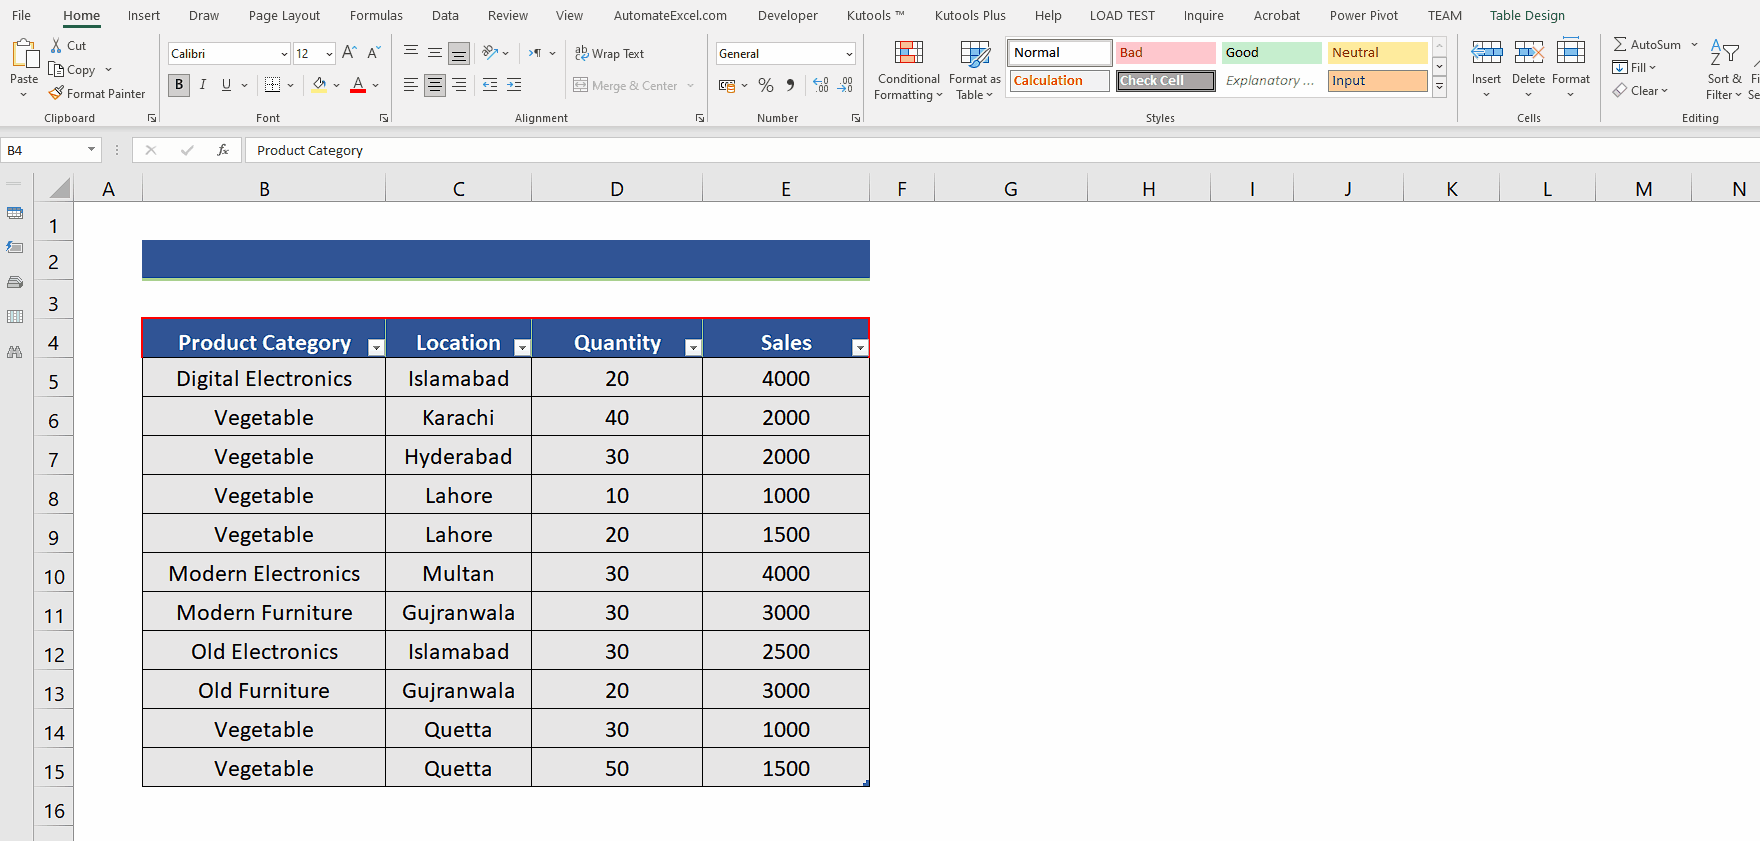
– Select the top left cell inside the Excel Table.
– Use the keyboard shortcut CTRL+A to select the whole table.
– In the Home tab go to the Editing group.
– Click on the Clear dropdown arrow and then choose the Clear All option.
– This will delete the table from the spreadsheet along with its contents.
Note:
These steps will remain the same, if you have just created a table by yourself or you got a sheet that already had the table created in it.


