How to create a Google map with Excel data
You can watch a video tutorial here.
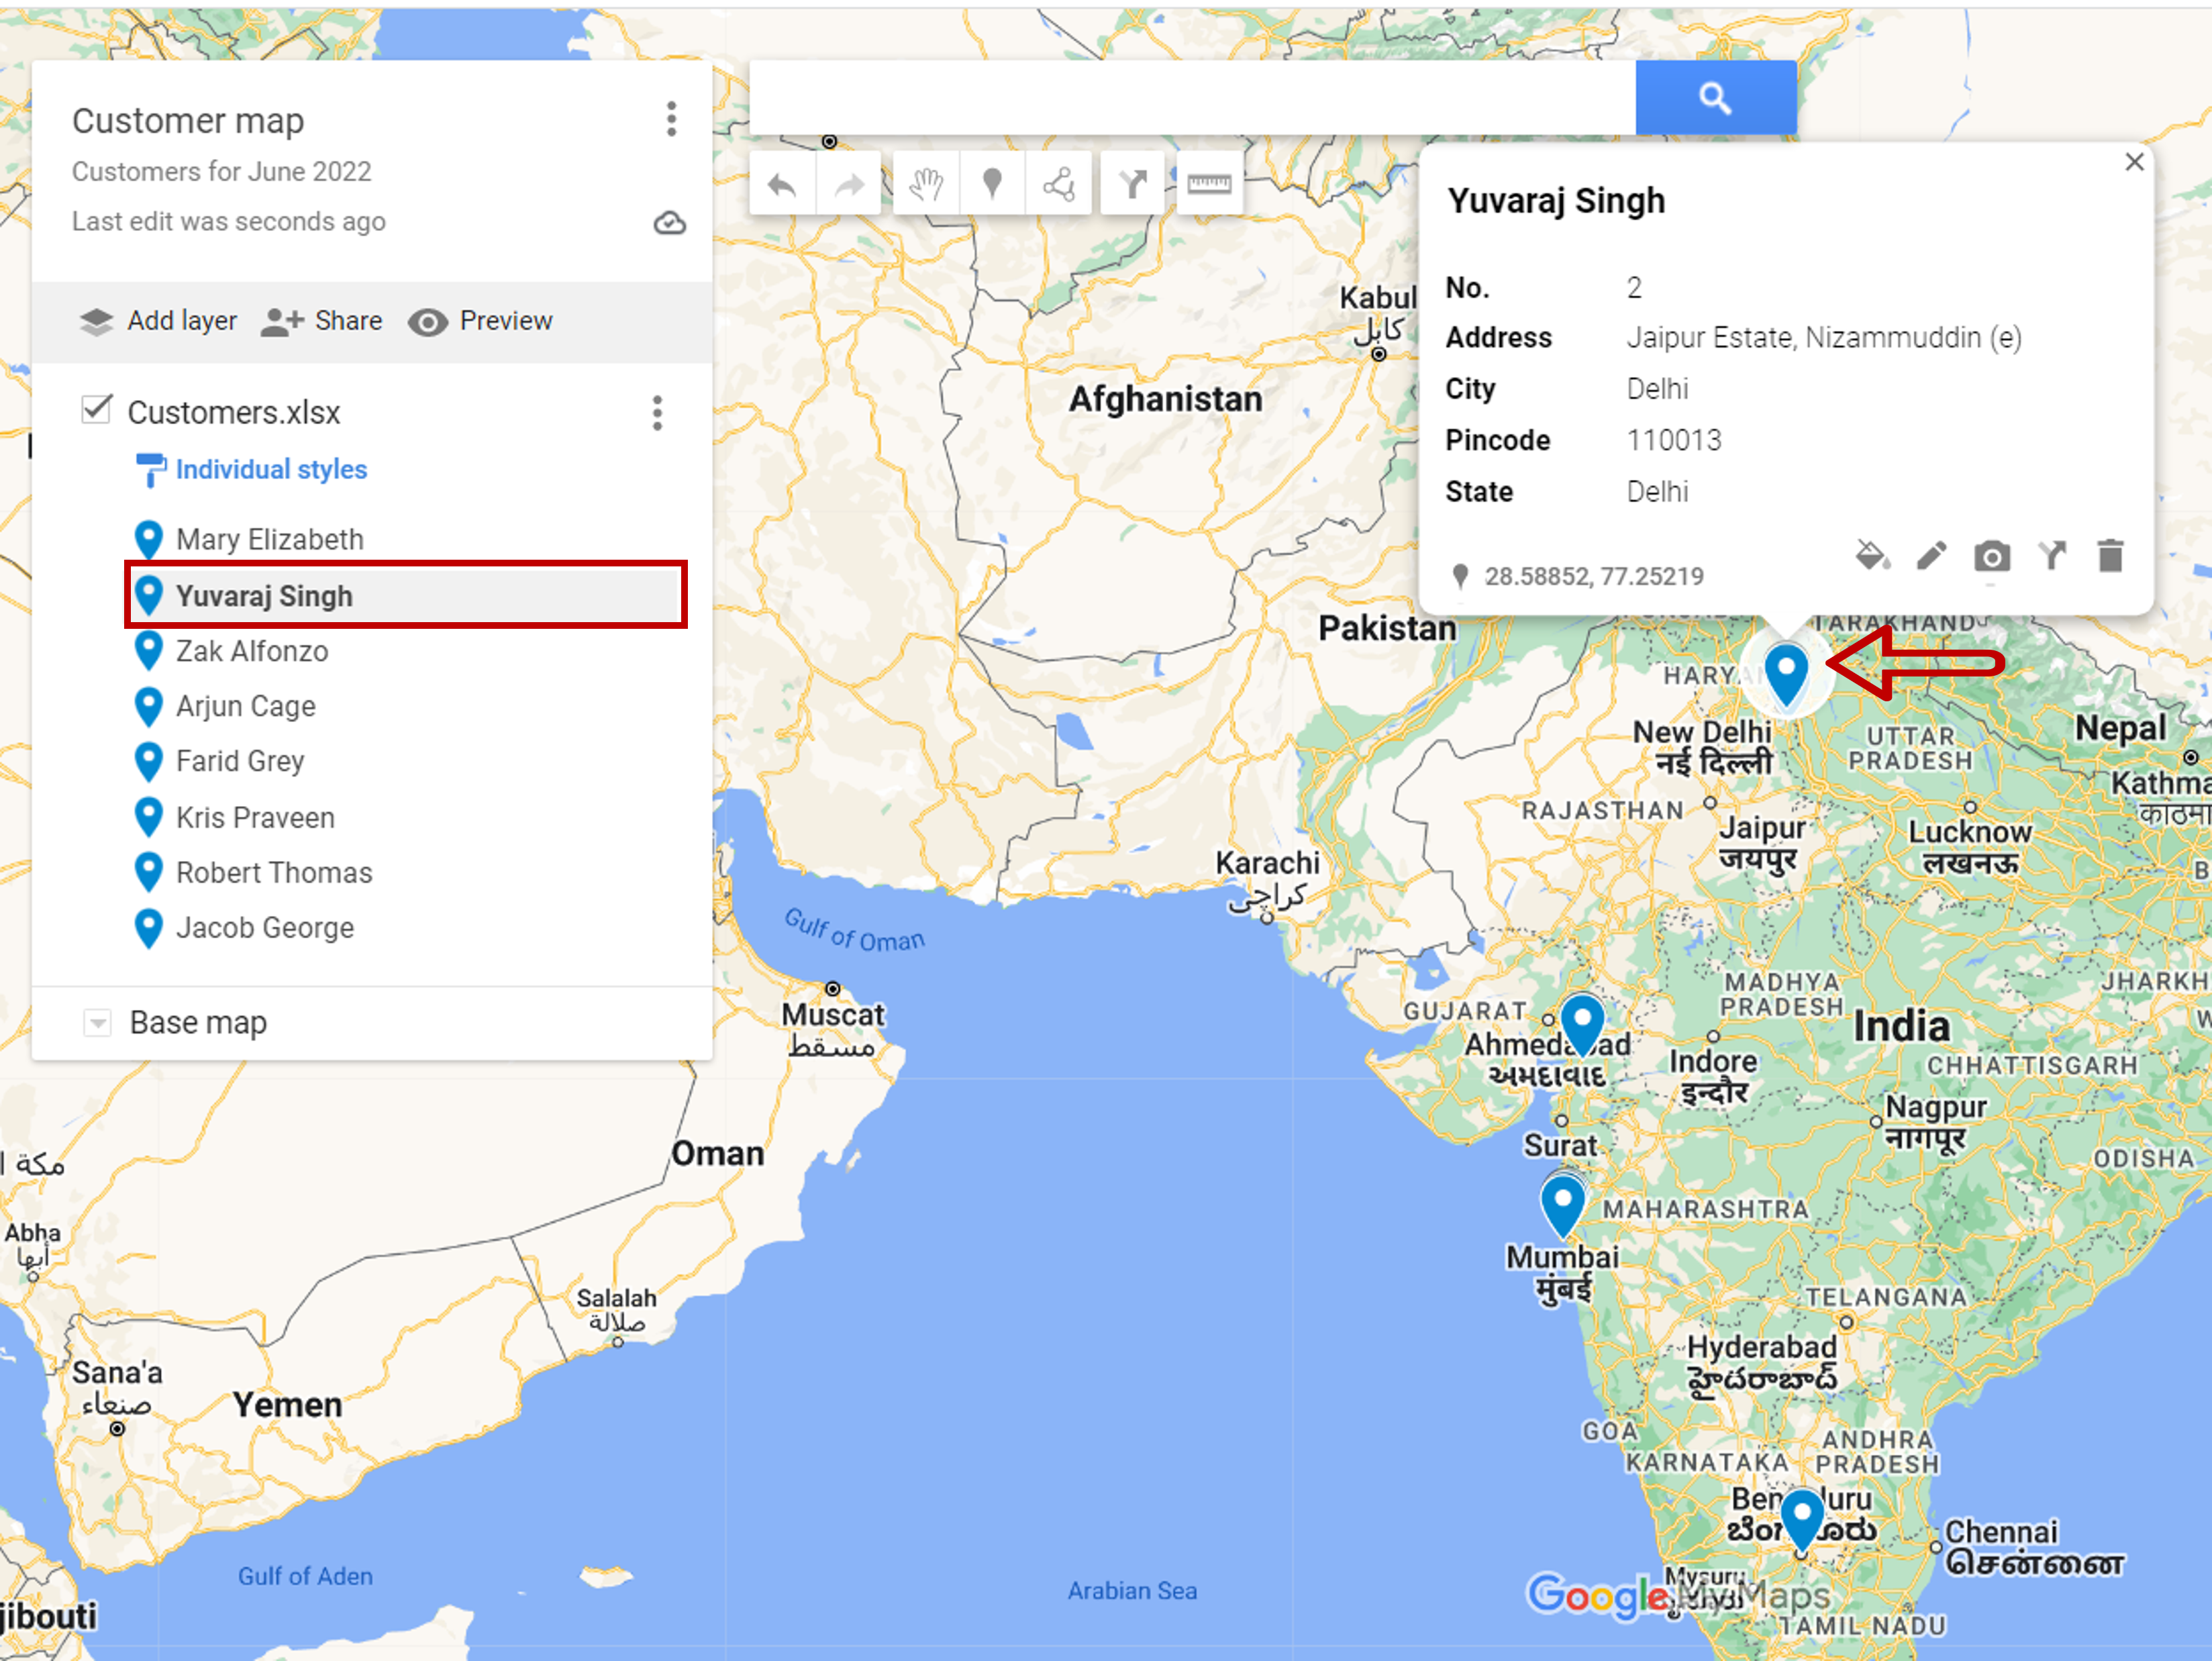
Google maps has become a part of our everyday lives. It is a popular way of sharing locations and addresses for both professional and personal purposes. It is possible to create a custom map in Google maps by importing a list of addresses in Excel. Assume you have a list of customers to visit and would like to view their location on a map so that you can decide the best route to follow. For this, you need to have the list of customers with their full addresses, with or without the pin code.
Step 1 – Check the data

– Check that the data has separate columns for the following:
>Name
>Street address
>City
>State (optional)
>Pin code (optional)
Step 2 – Open Google My Maps
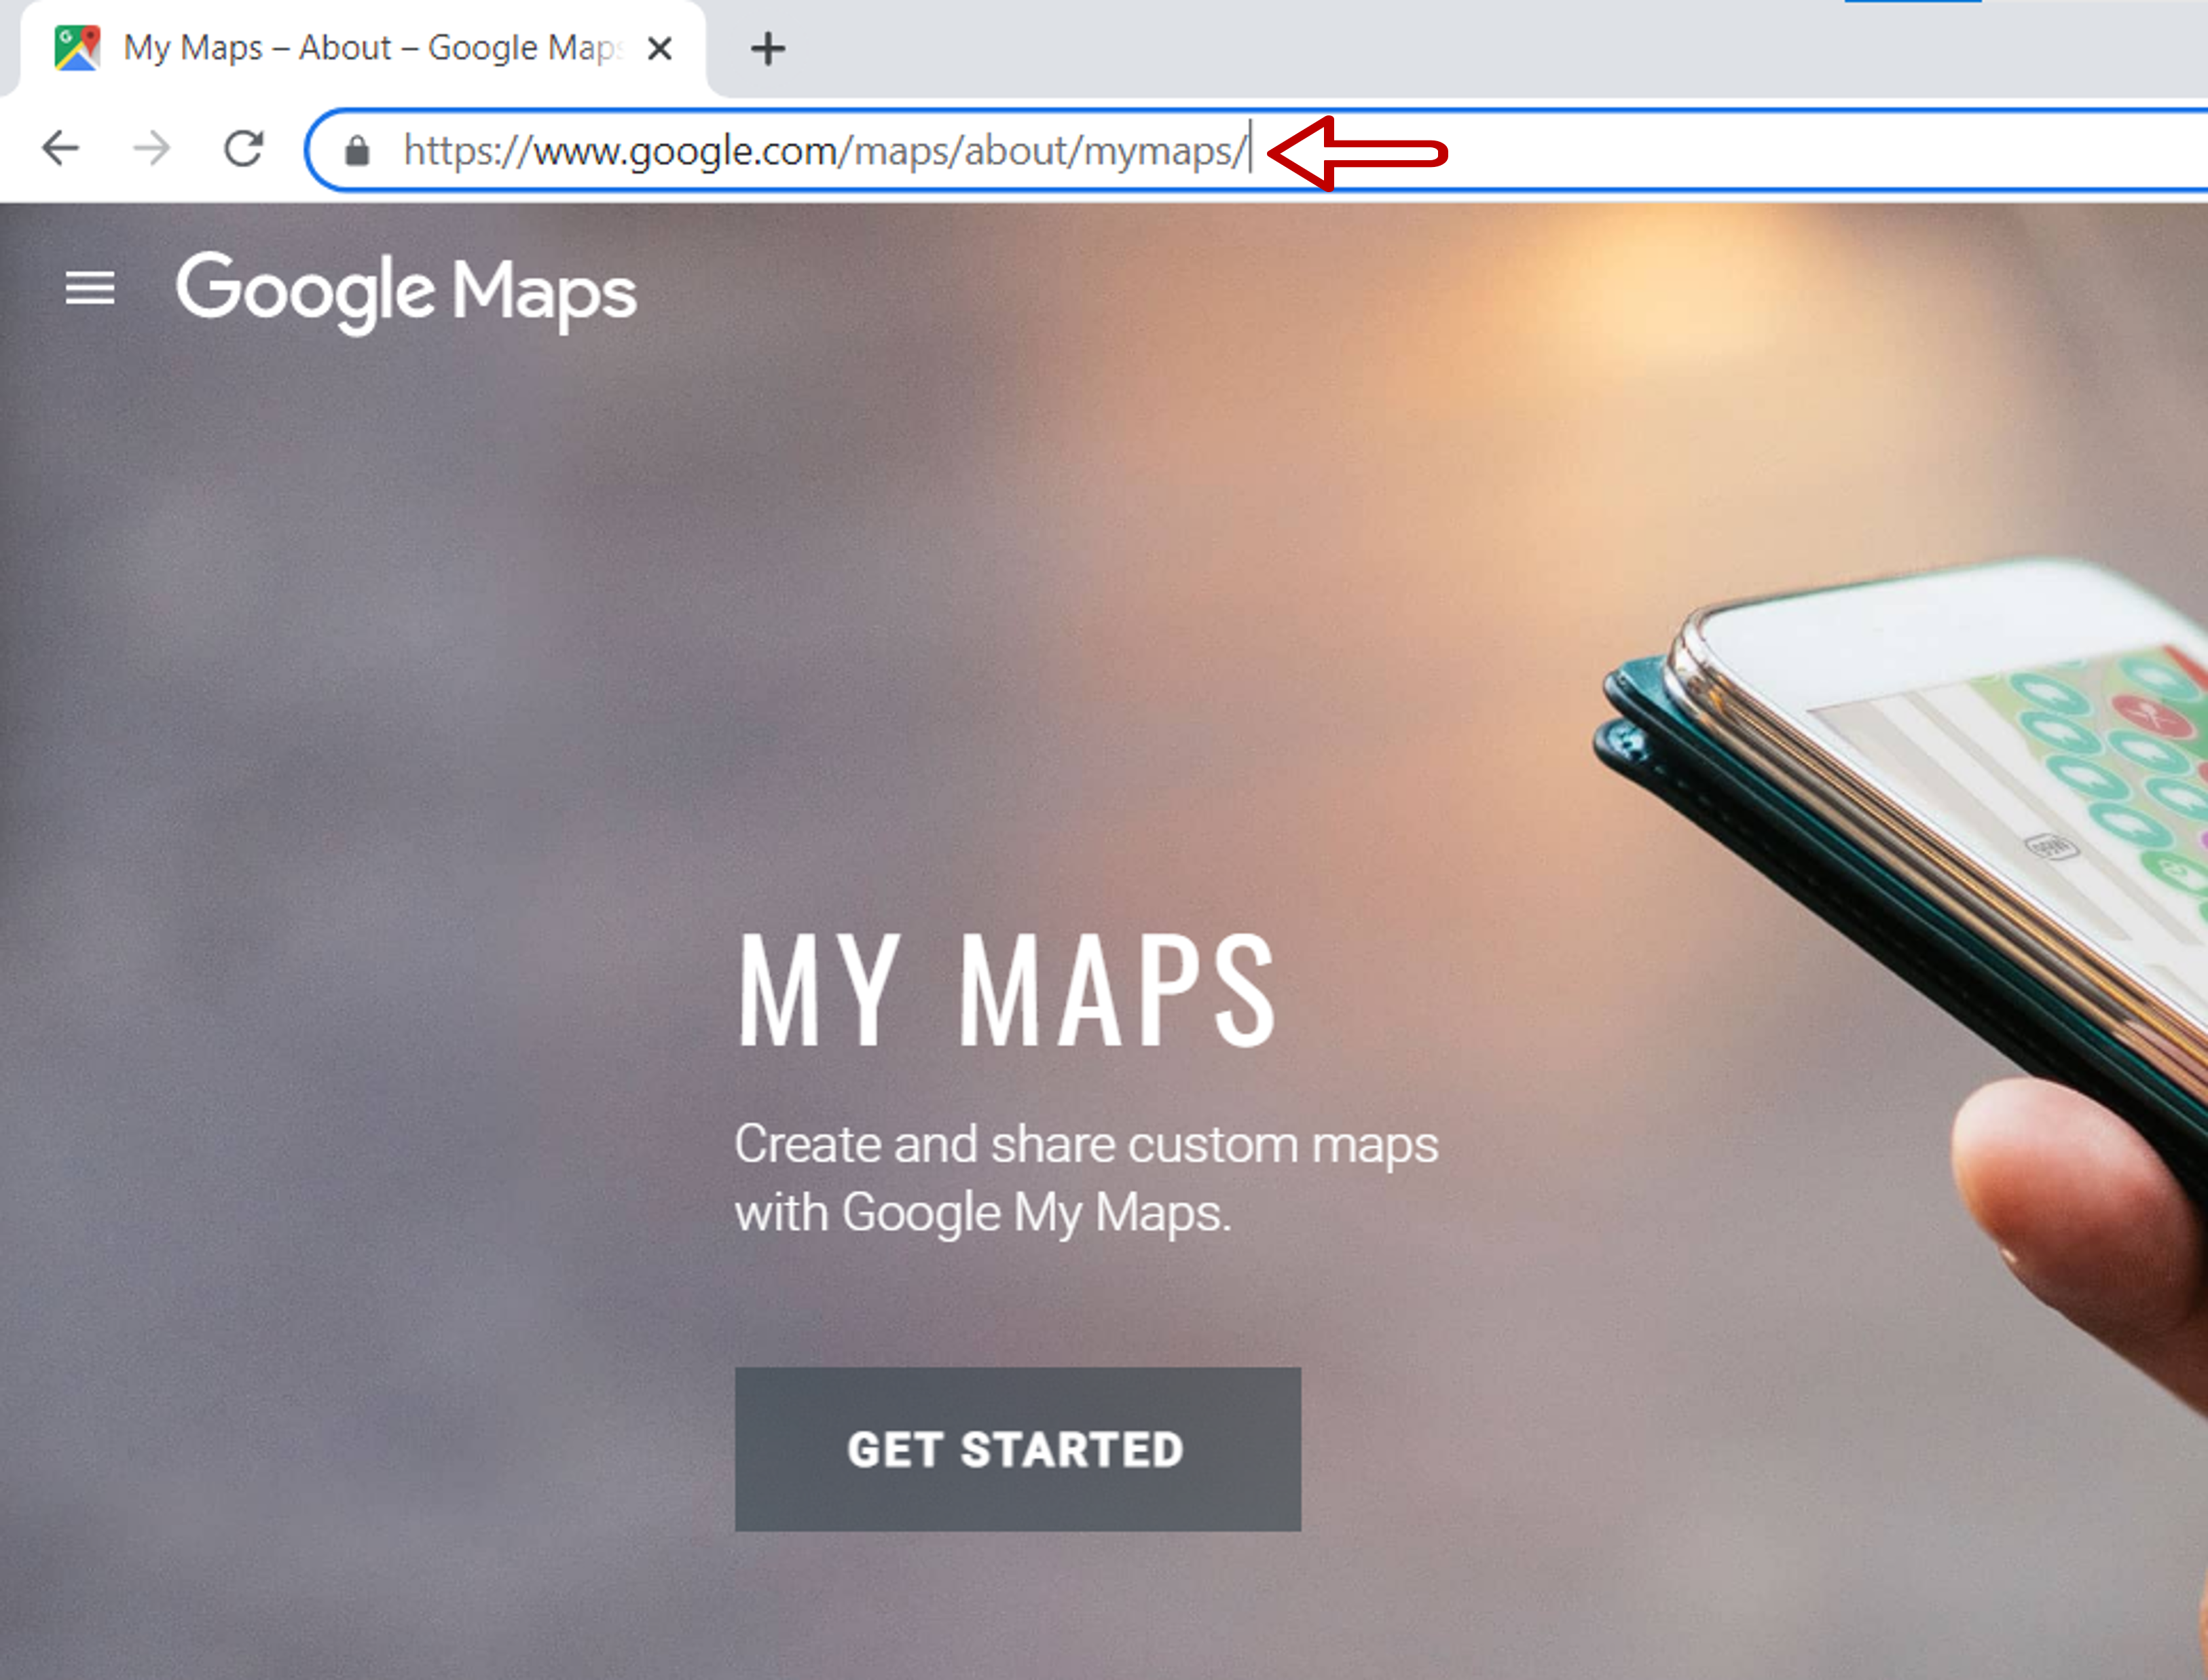
– Type the following URL to open Google My Maps:
https://www.google.com/maps/about/mymaps/
– Click GET STARTED
Step 3 – Create a new map
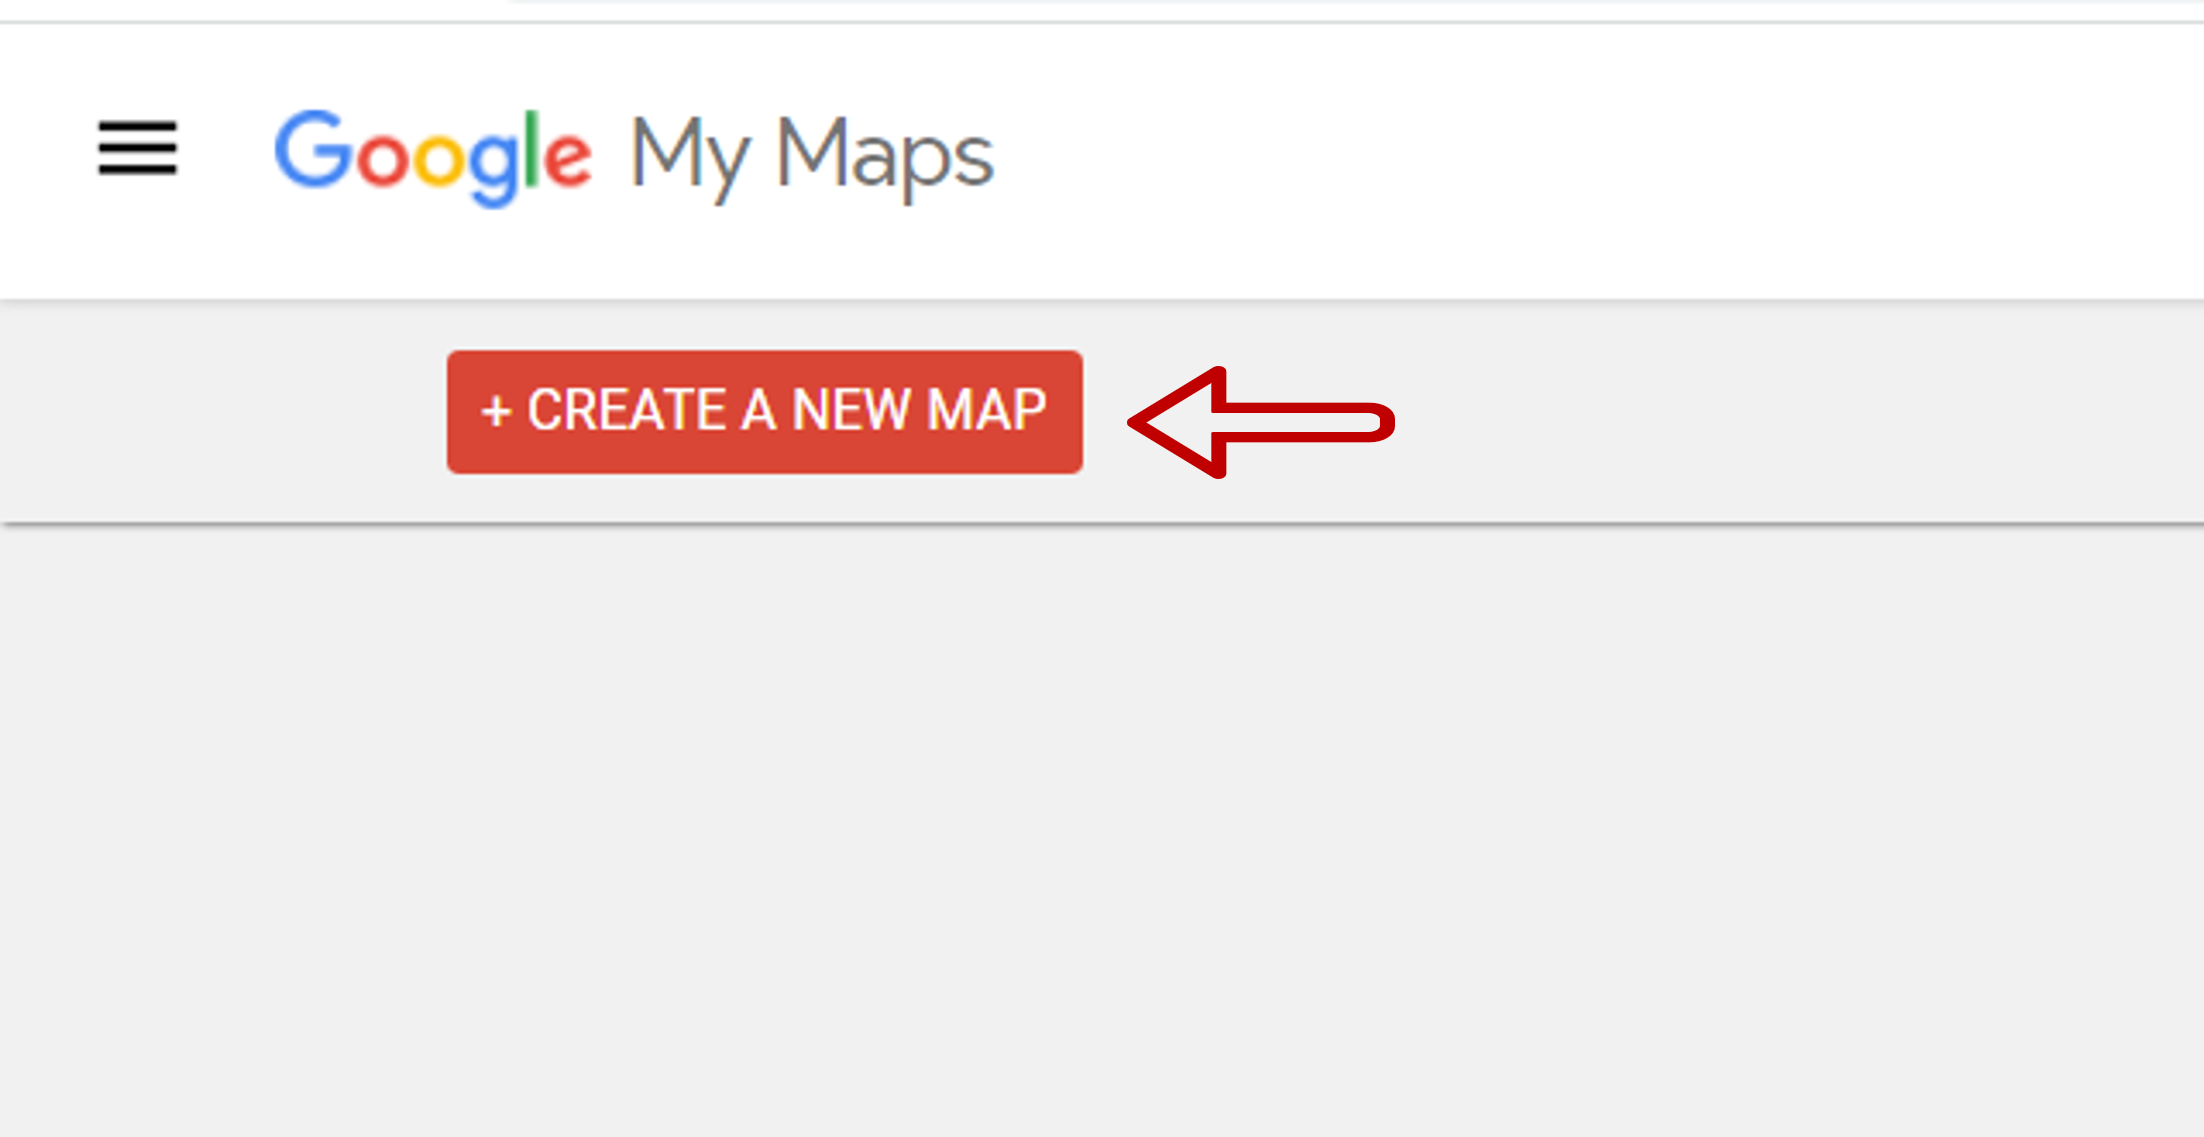
– Click on CREATE A NEW MAP
Step 4 – Open the Choose a file to import window
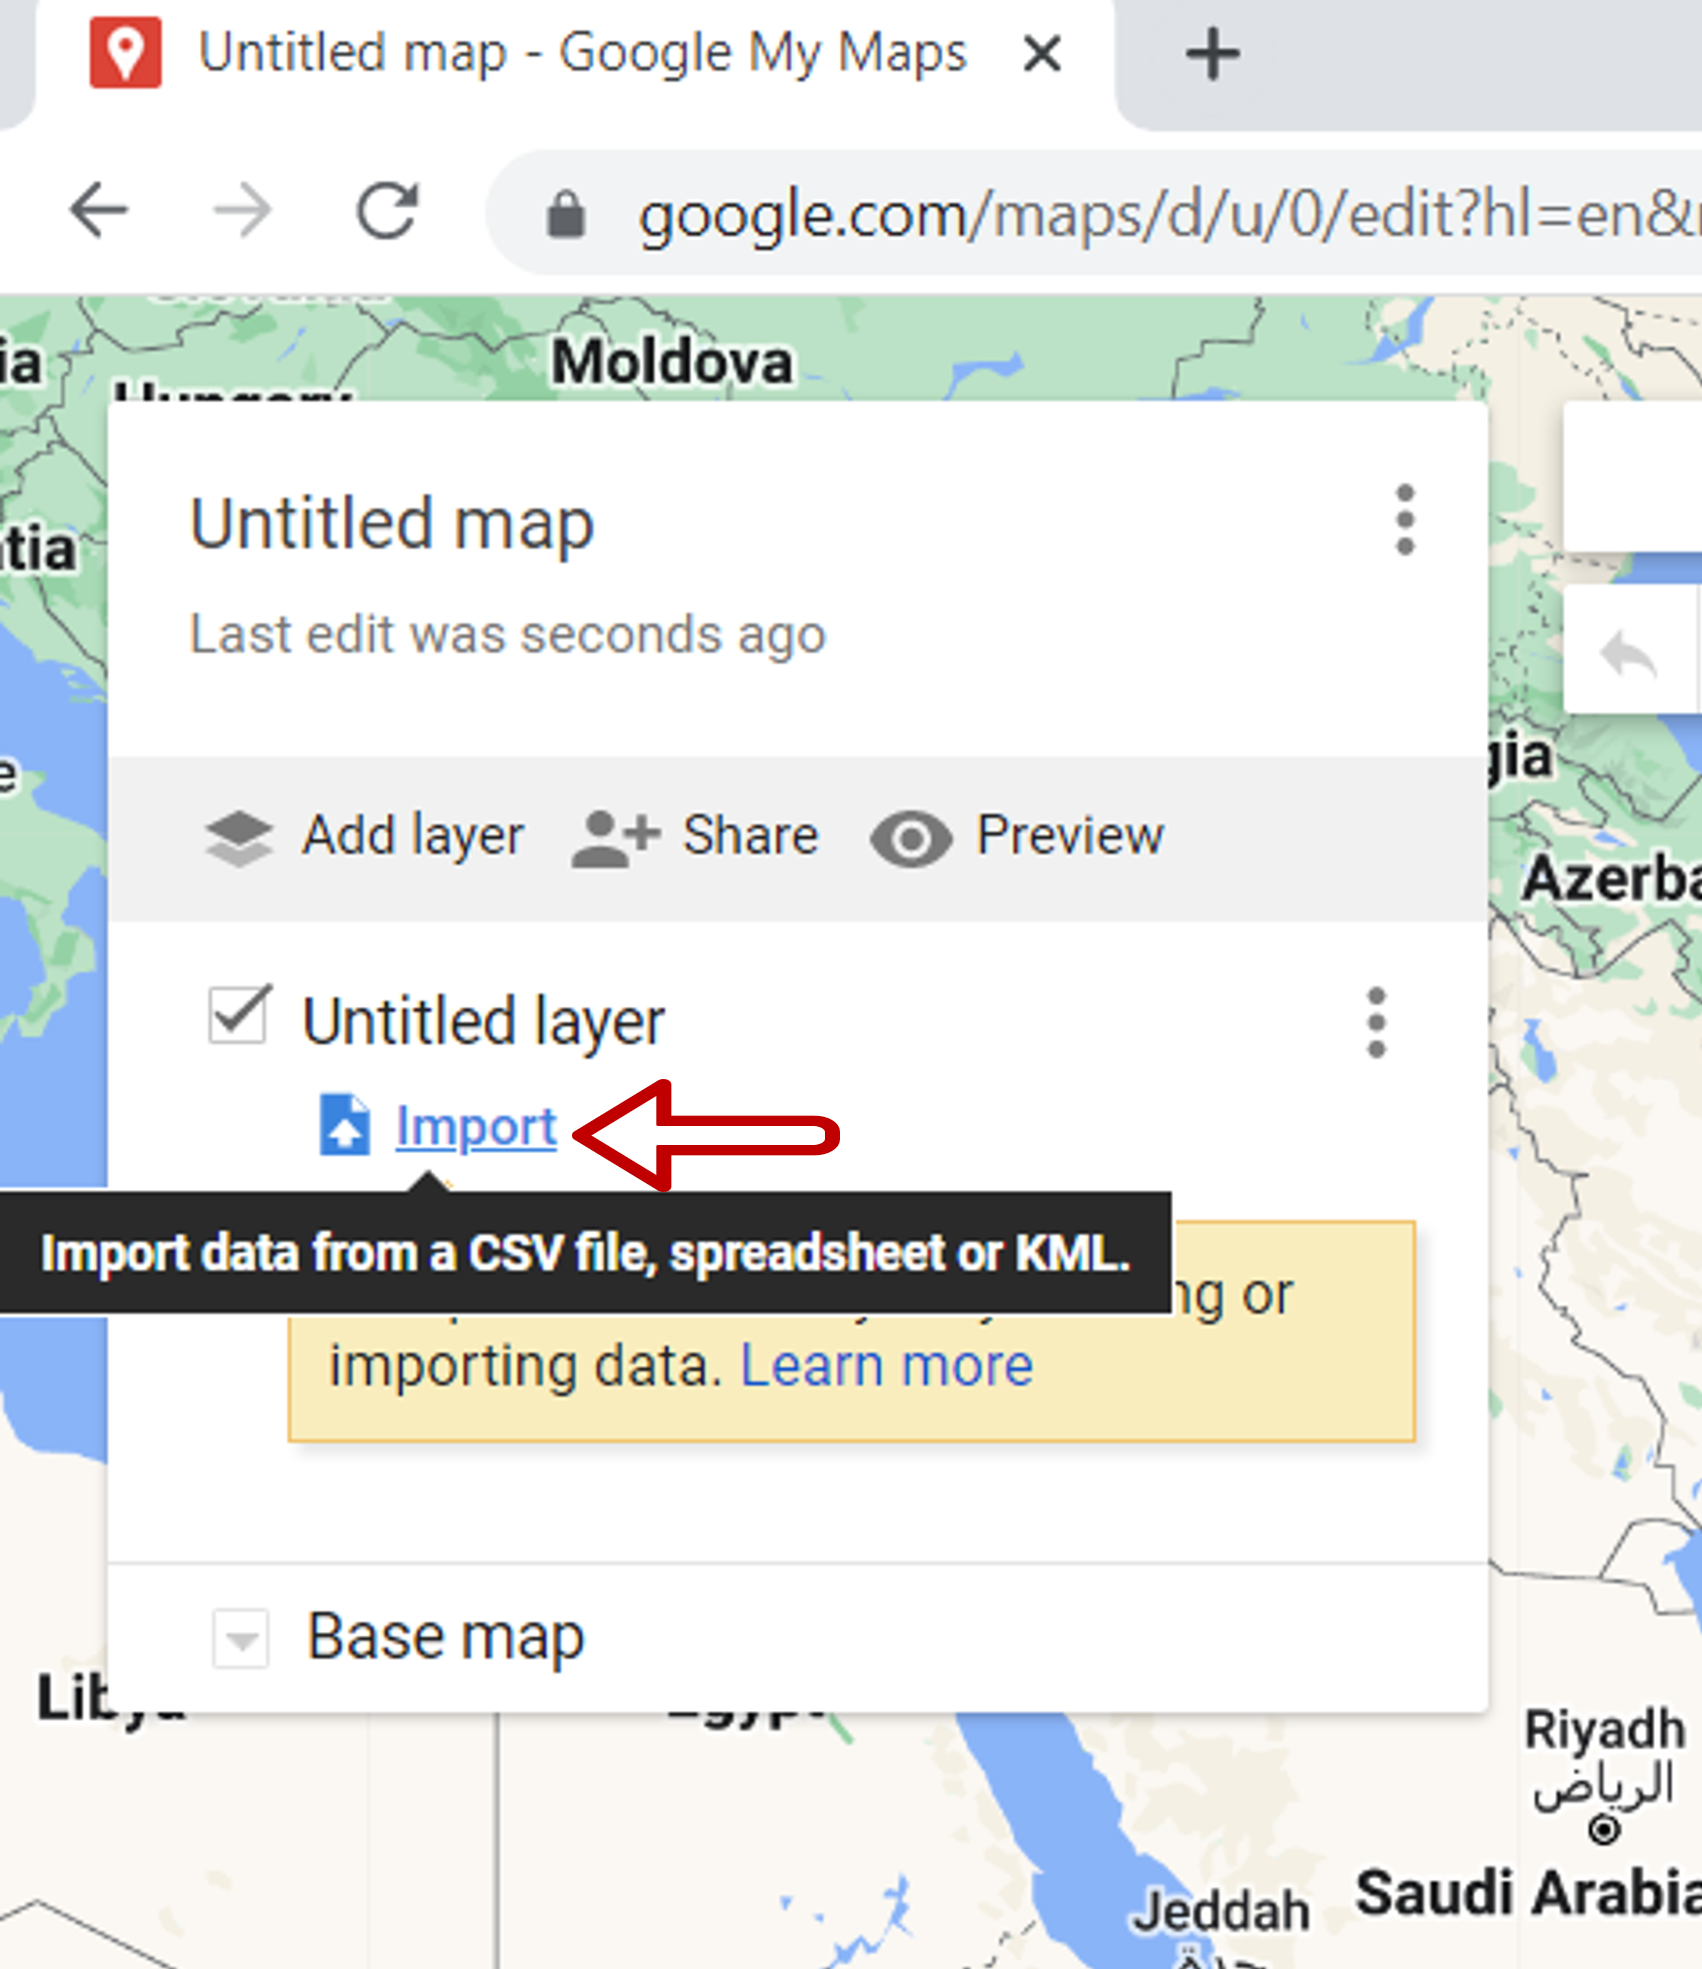
– Click Import
Step 5 – Import the file
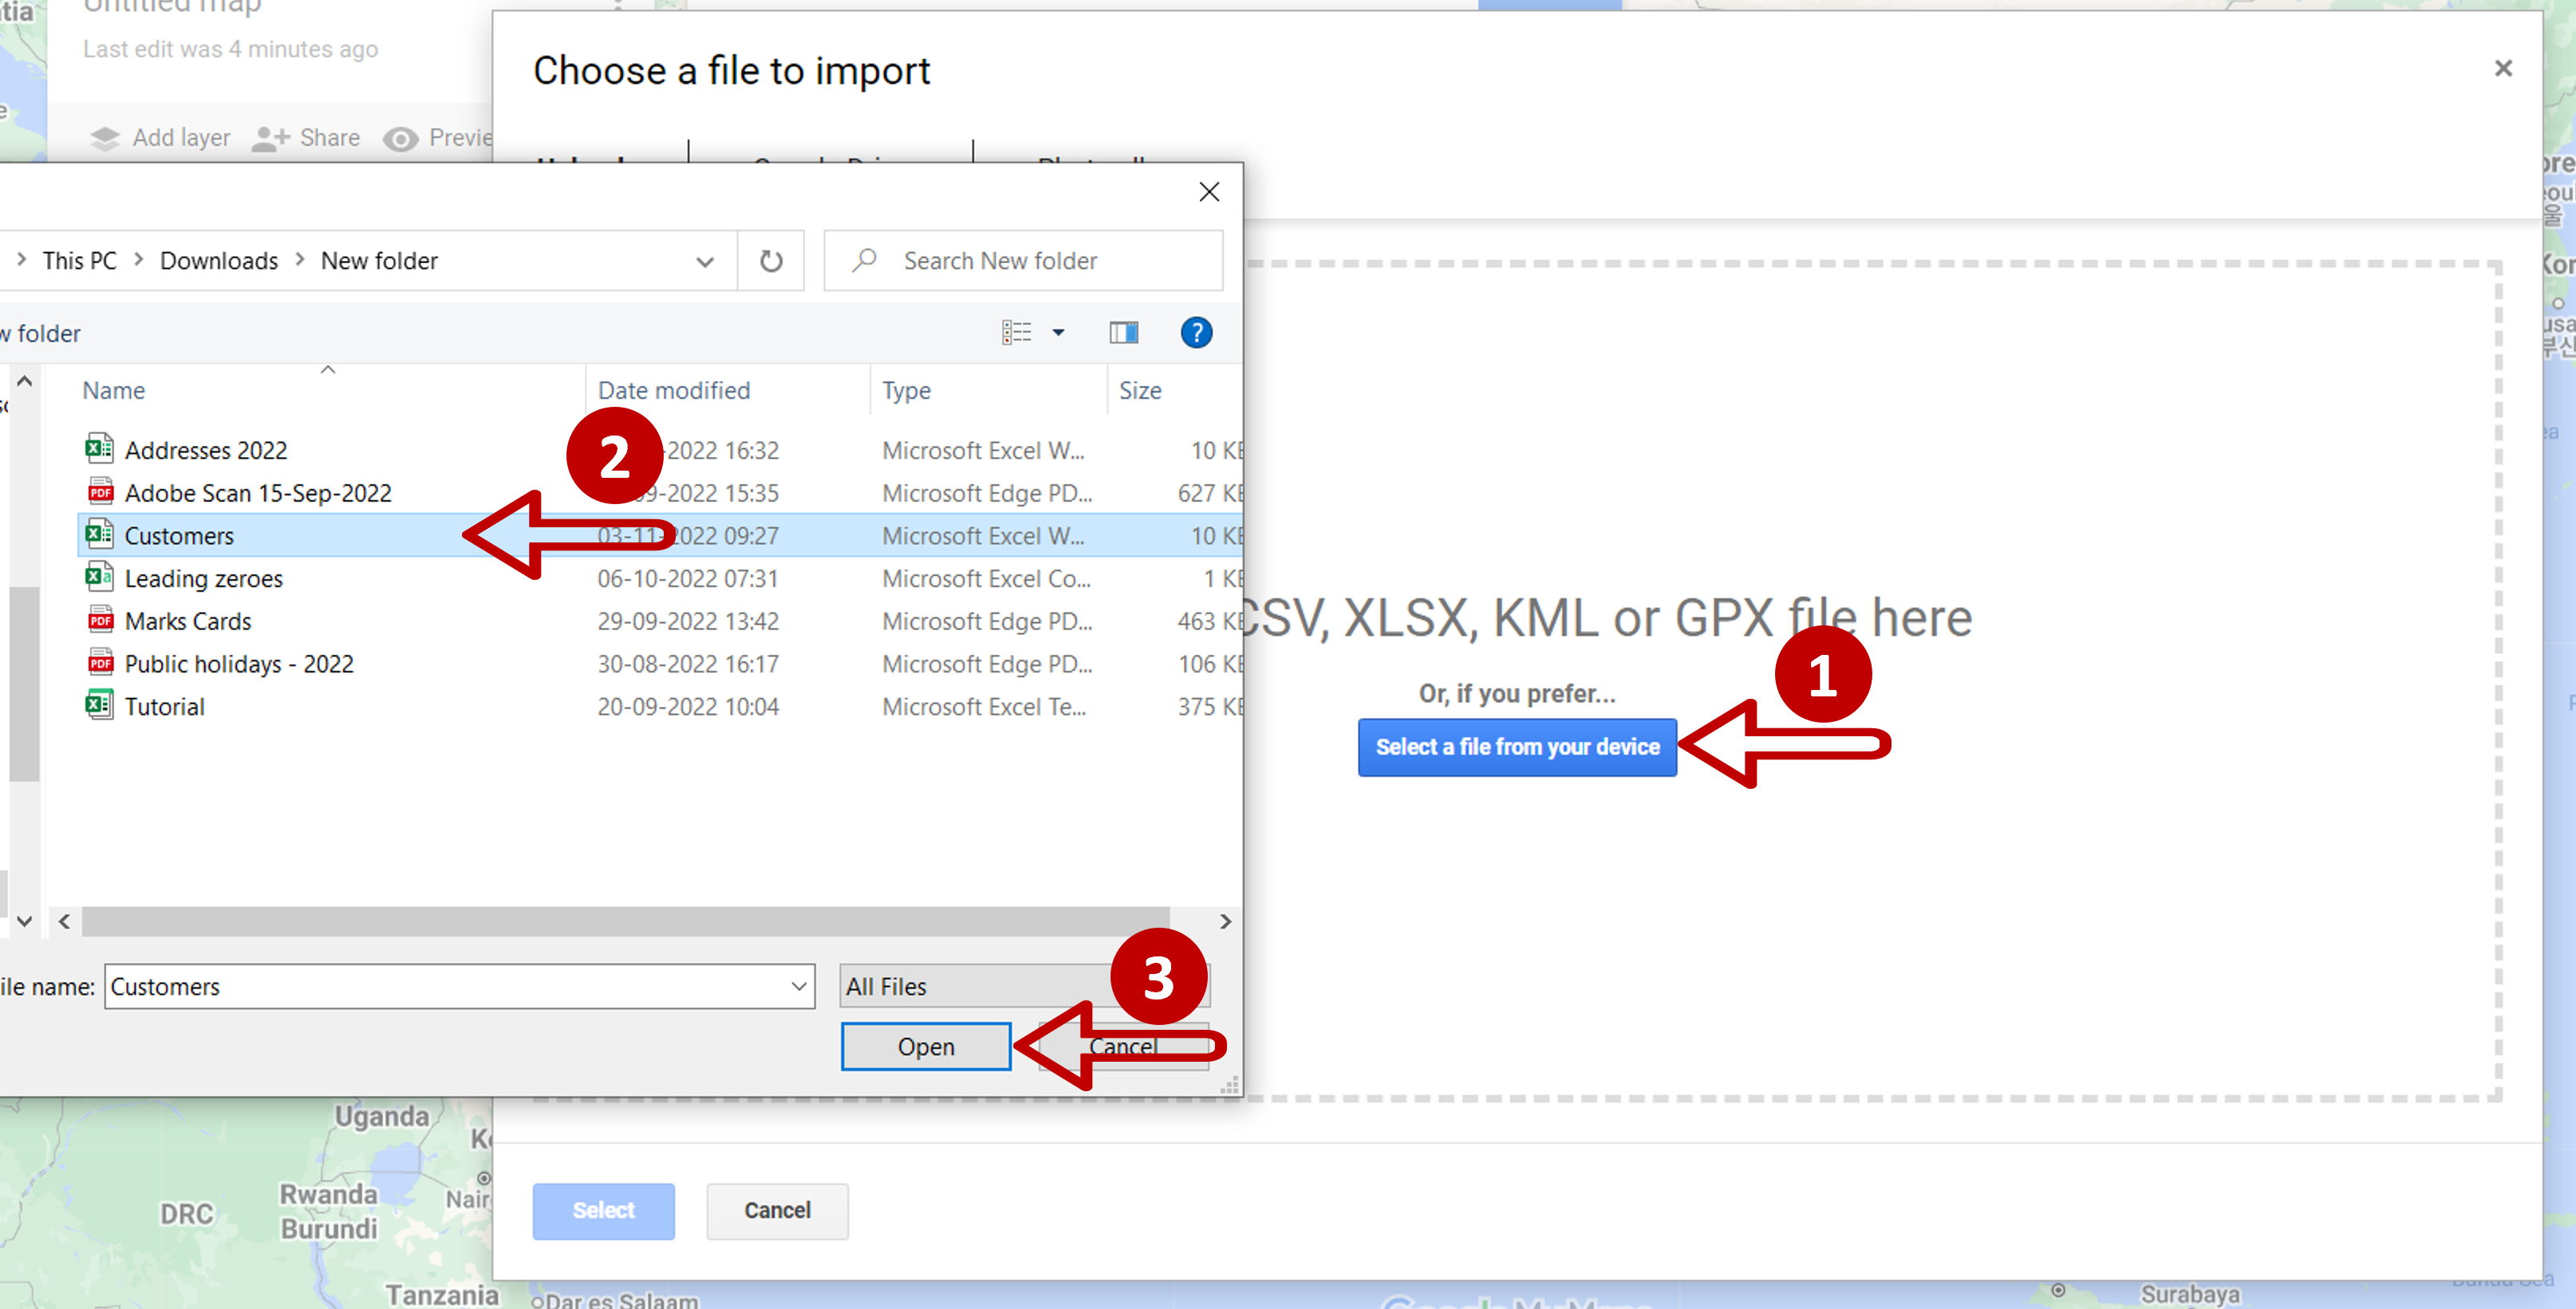
– Click on Select a file from your device
– Navigate to the Excel file and select it
– Click OPEN
OR
Drag and drop the Excel file into the window
Step 6 – Choose the columns
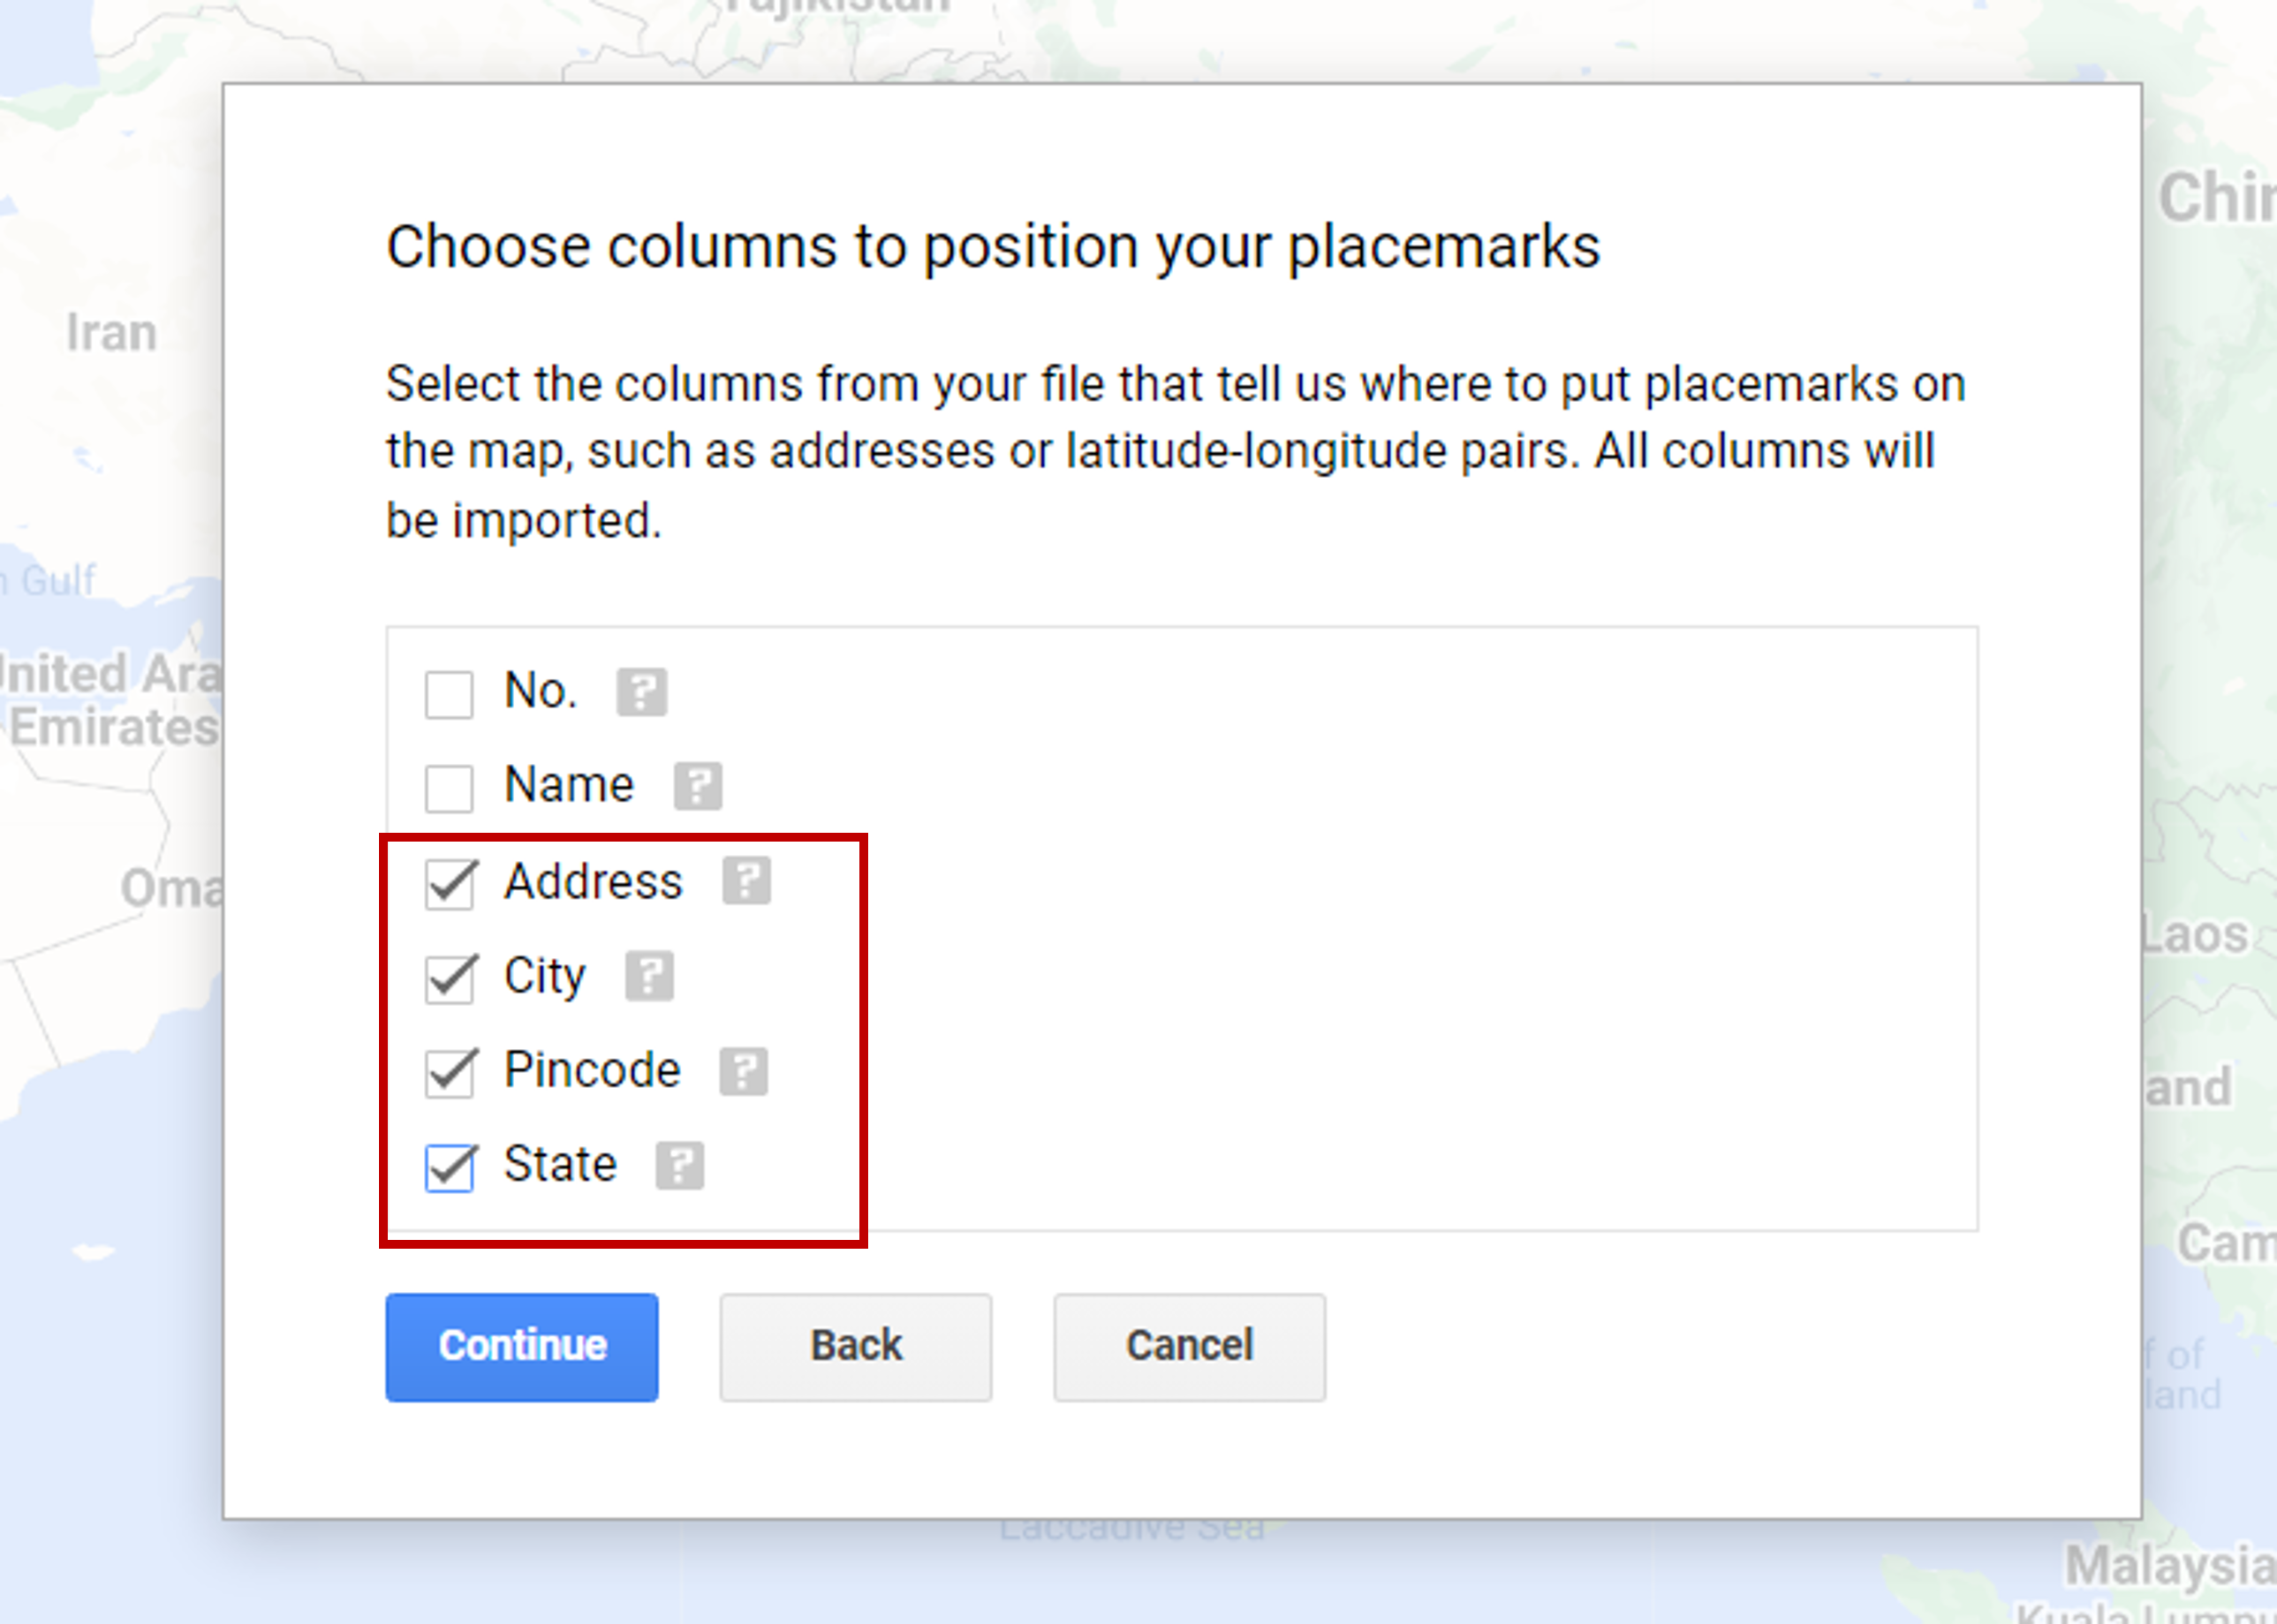
– Under Choose columns to position placemarks select:
>Address
>City
>Pincode
>State
– Click Continue
Step 7 – Choose a title
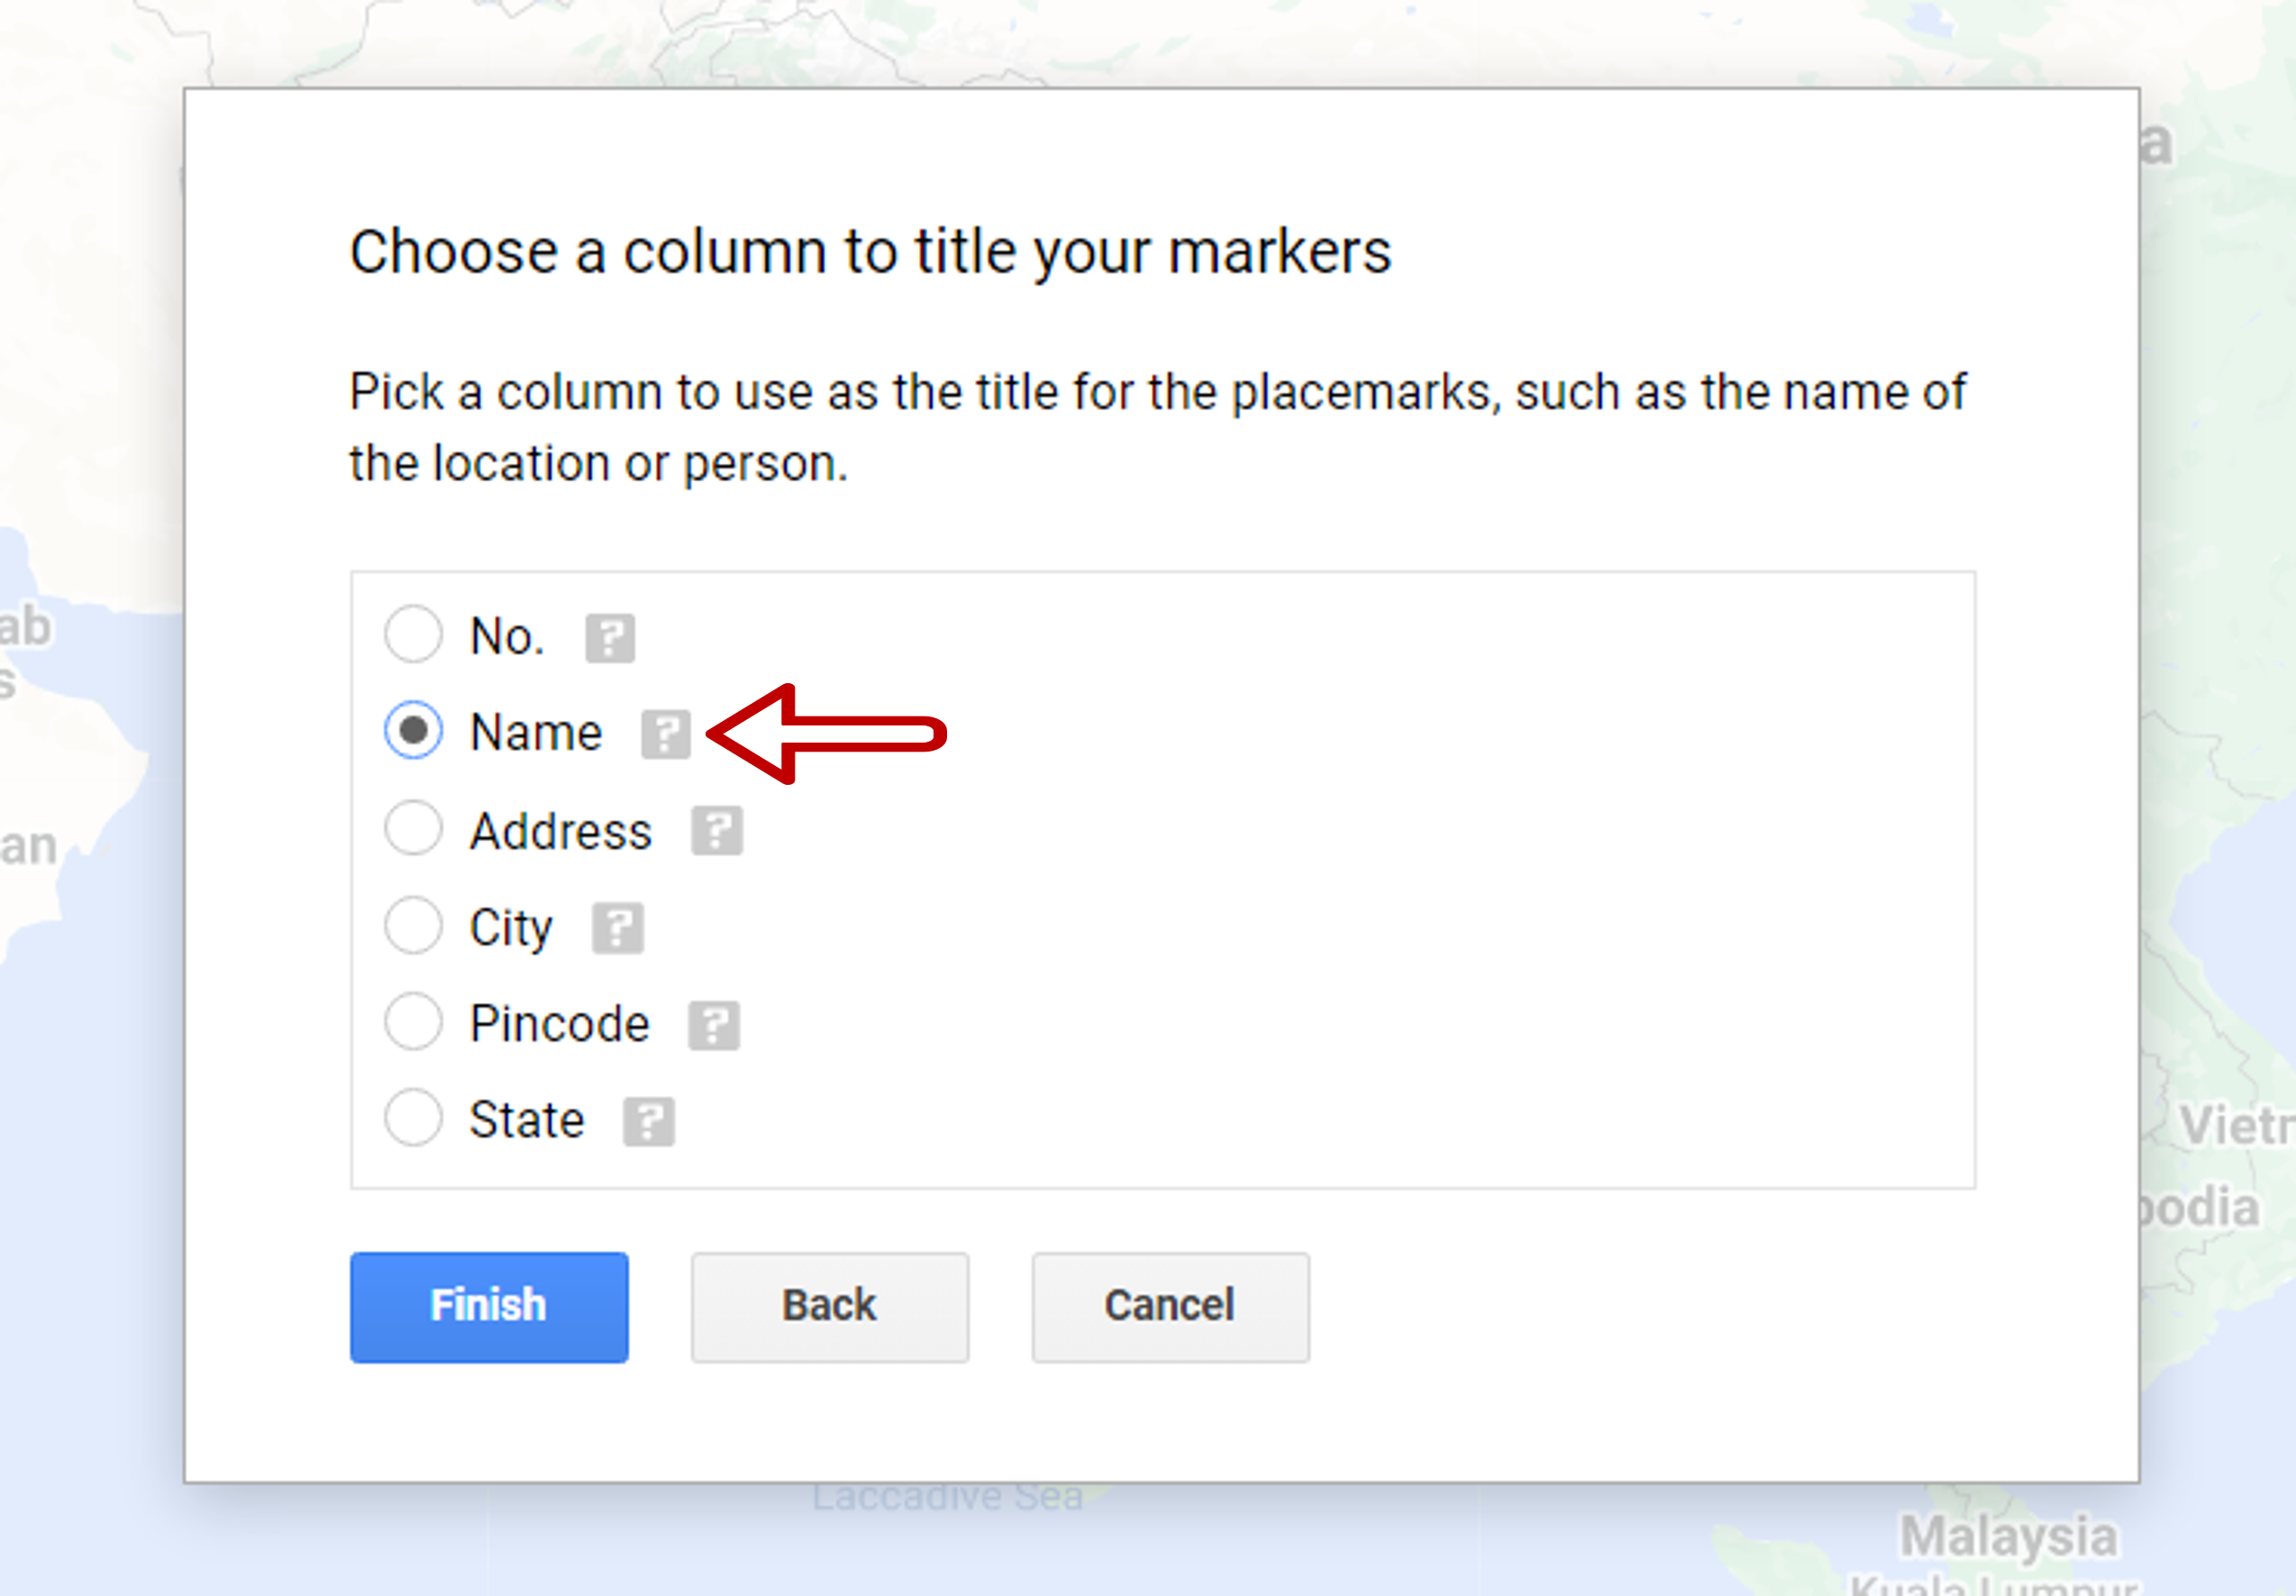
– Under Choose a column to title your markers choose Name
– Click Finish
Step 8 – Check for errors
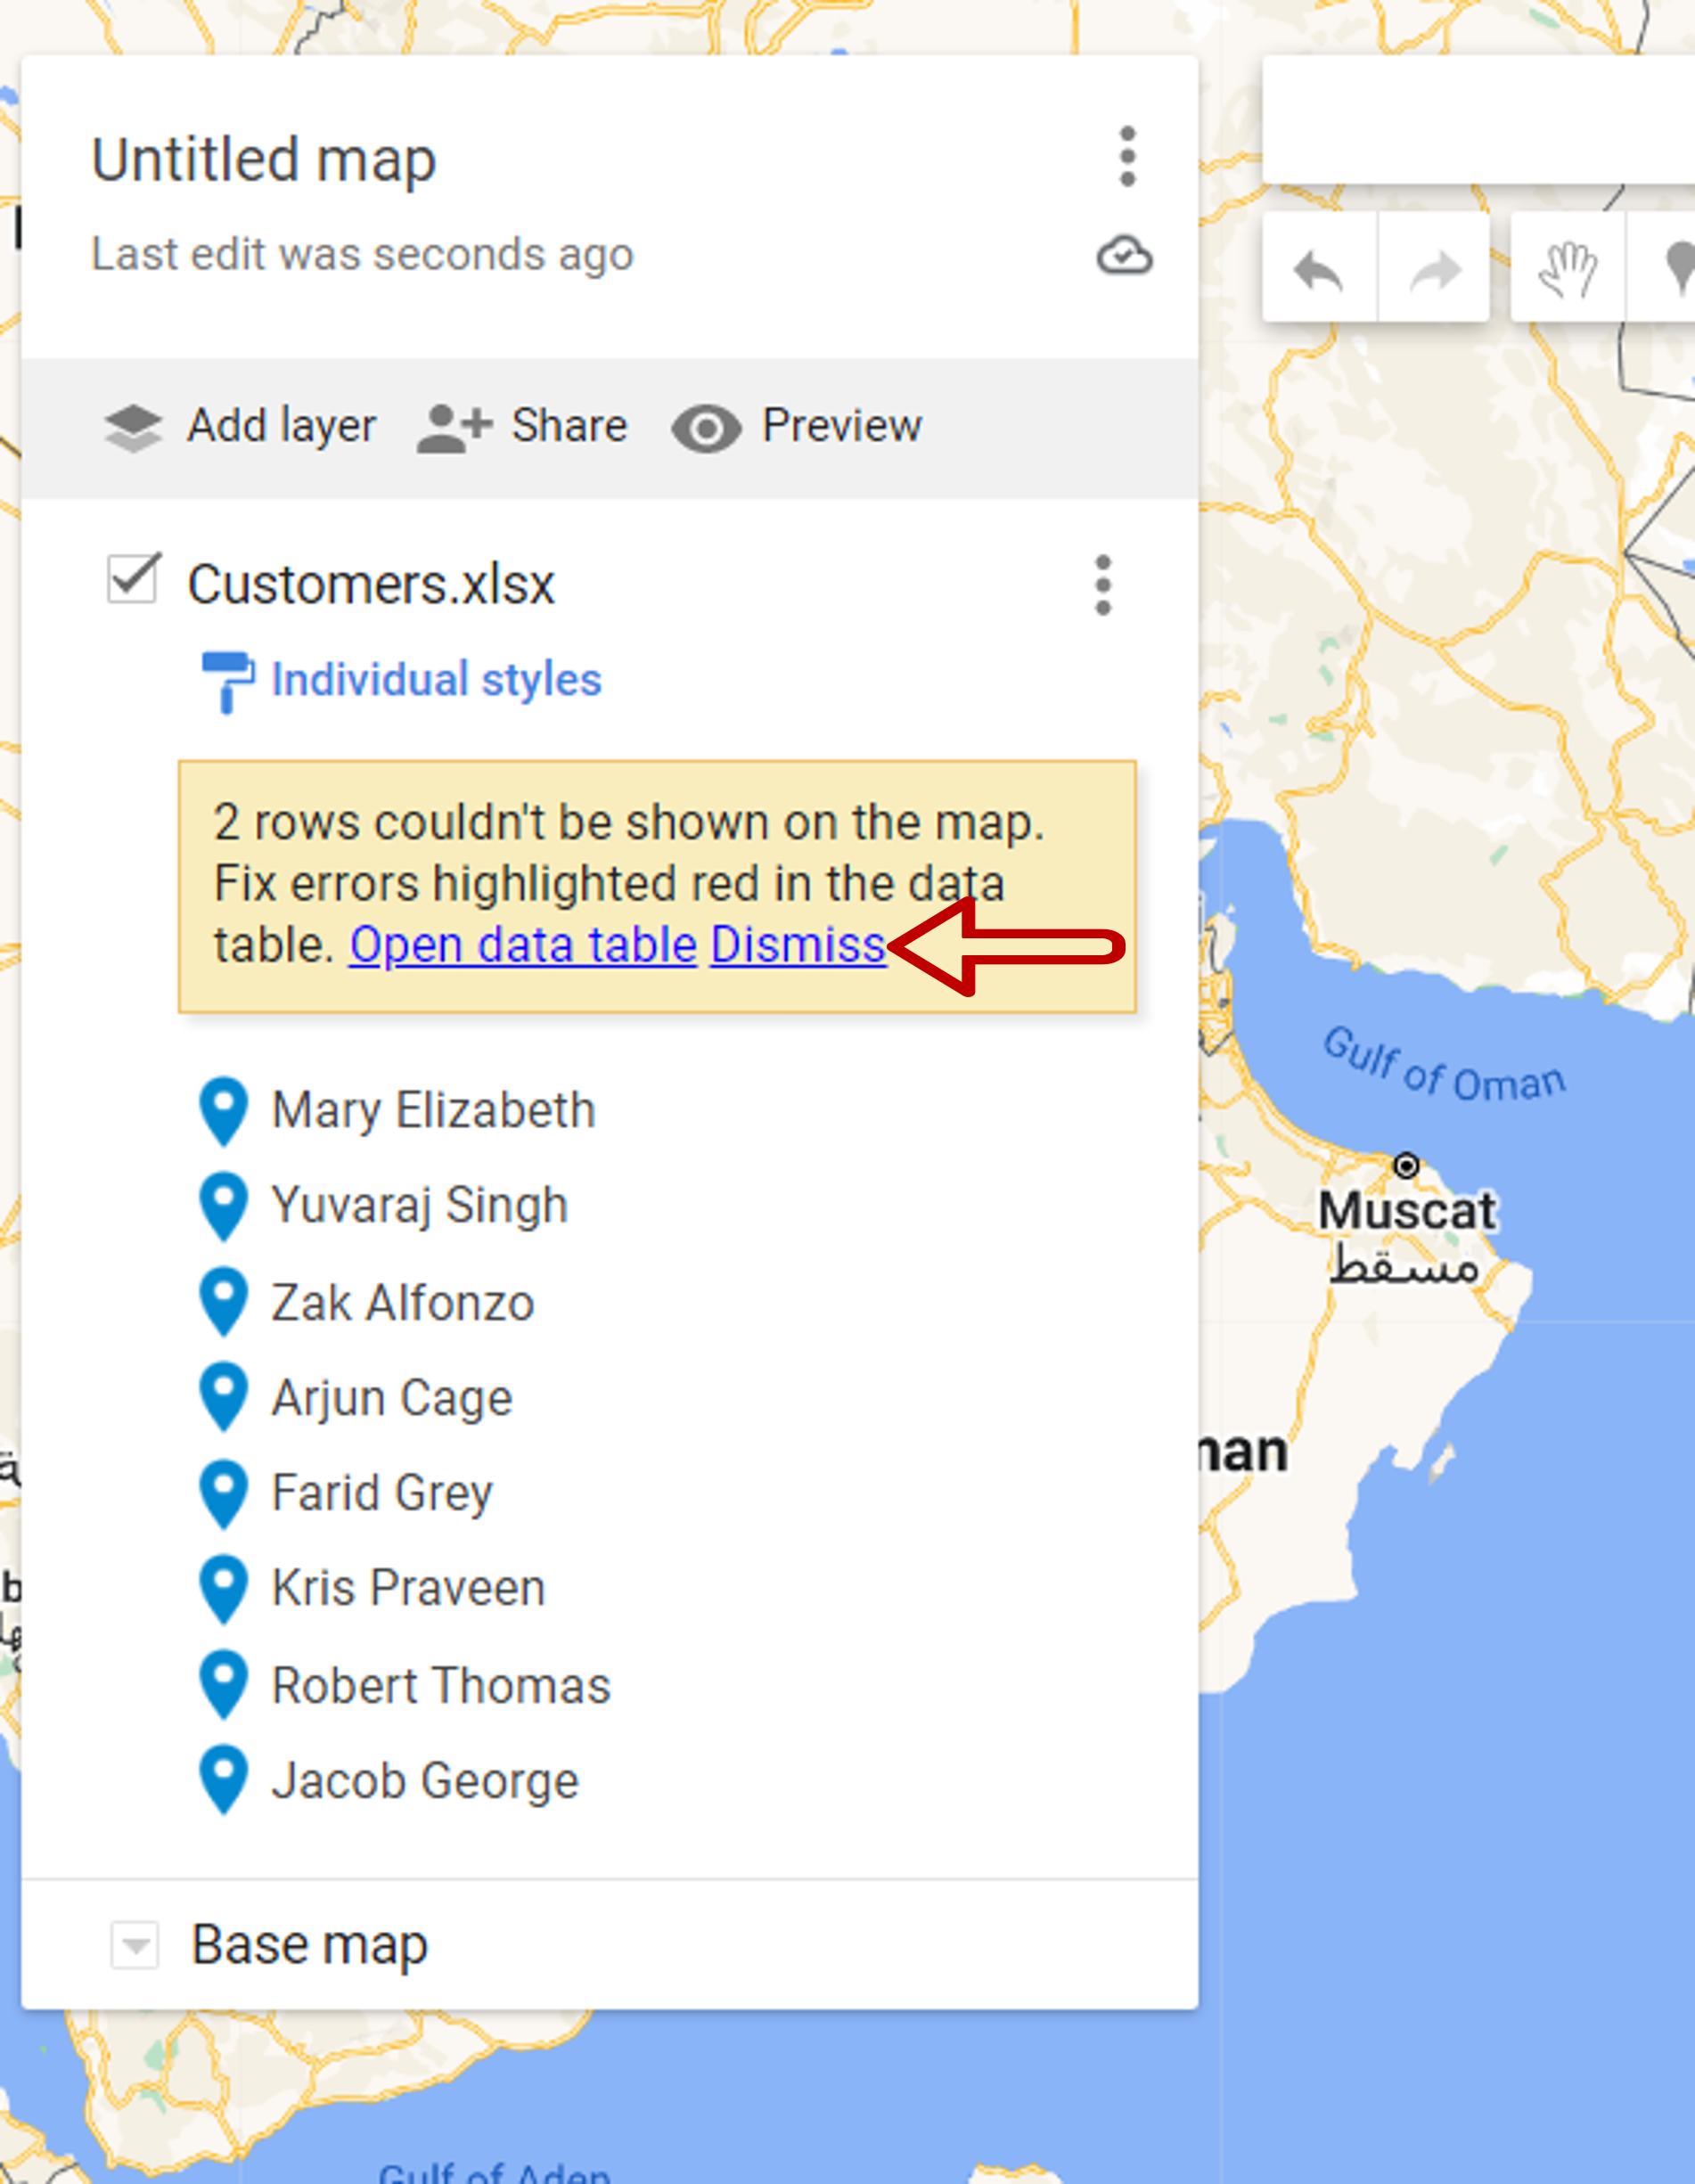
– If any errors are shown, check the names
– Click Dismiss
Note: An error is shown if Google Maps cannot find the location given for the address. It is better to make a note of the names for which errors are showing, try to find the correct address, and then add them to the map.
Step 9 – Name the map
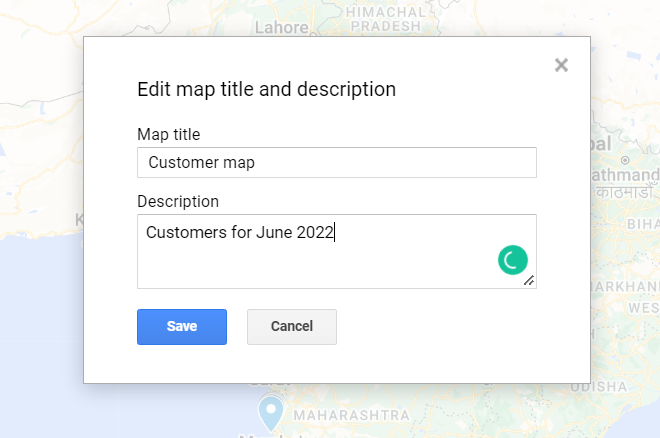
– Click on Untitled map
– In the box that opens, name the map and give a description, if you want to
– Click Save
Step 10 – Check the map
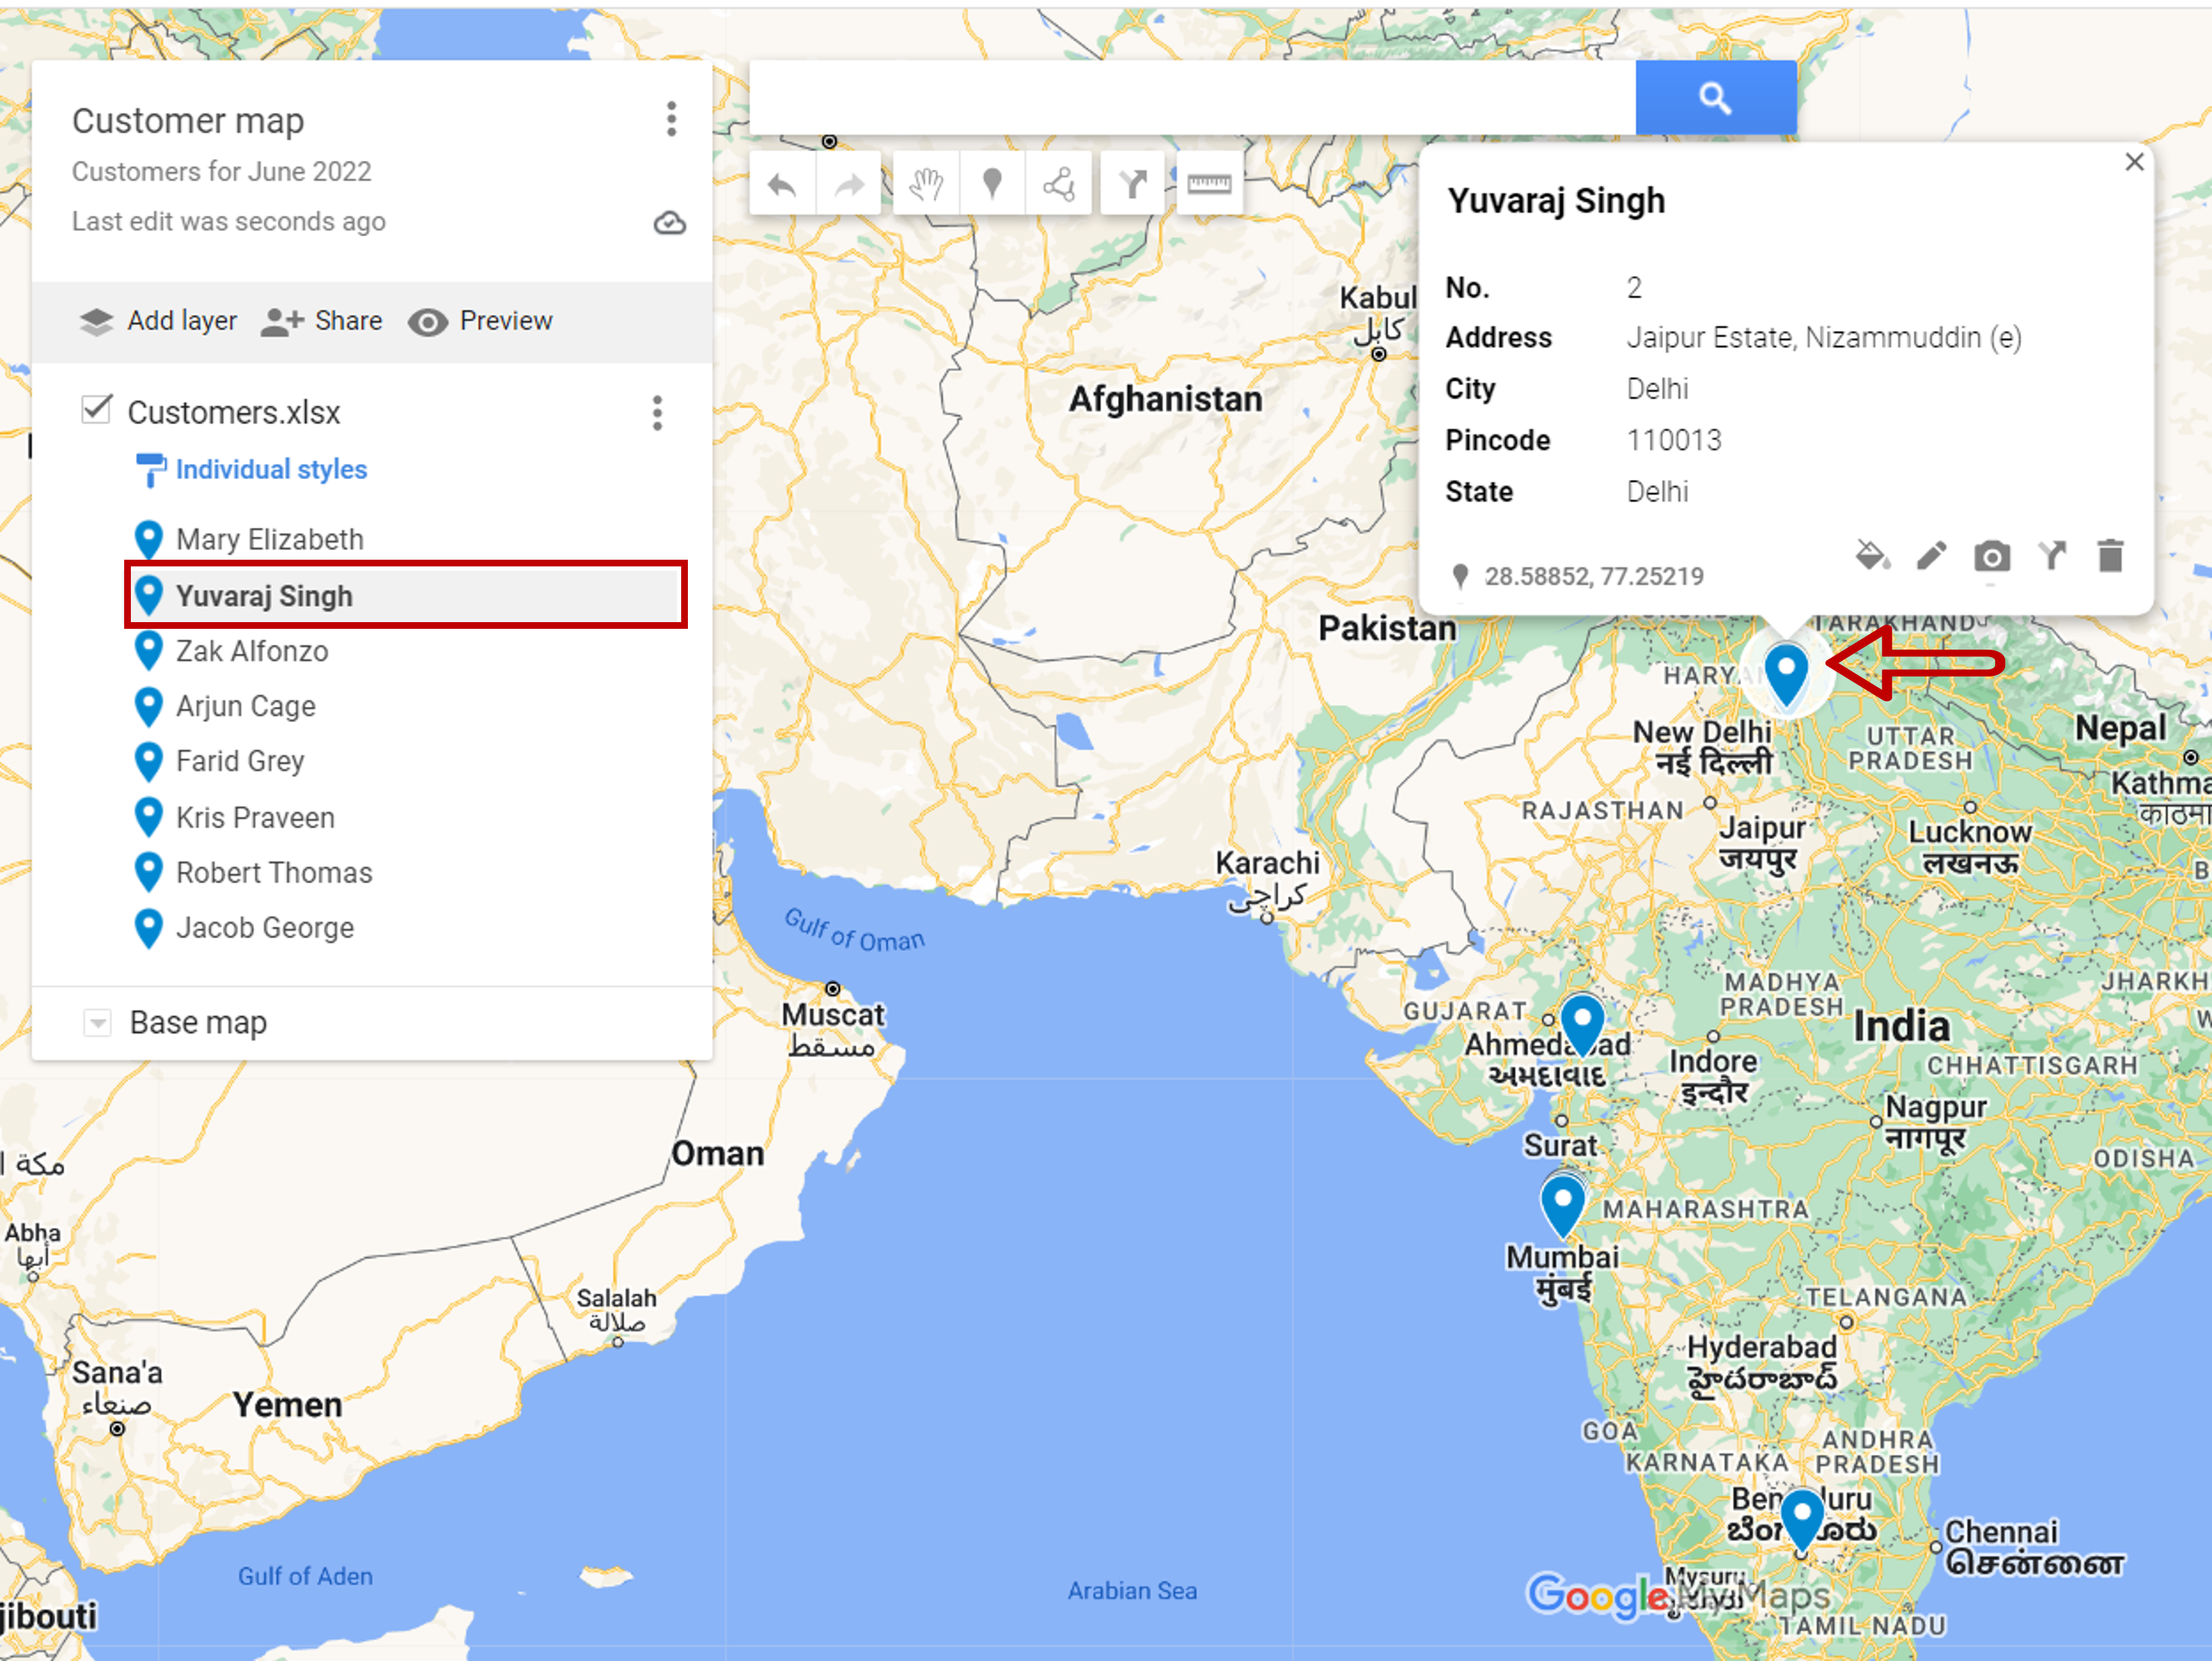
– The map shows the location of the customers
– Click on a pin to see the name of the customer at that location
– Or, click on a Name in the pane to see the location of the customer


