
How to create a border in Microsoft Excel
 By
SpreadCheaters
By
SpreadCheaters
In this tutorial we will learn how to create borders in Microsoft Excel. Borders in Microsoft Excel are lines or markings that surround cells or ranges of cells to distinguish them from other parts of the spreadsheet. Borders can be used to add visual appeal to your worksheet and help make your data easier to understand. In Excel, you can choose from a variety of border styles, including solid lines, dotted lines, and double lines, as well as various line widths and colors.
Microsoft Excel is a spreadsheet software application. It allows users to organize, analyze, and manipulate data in a variety of ways. With Excel, you can create charts, graphs, and pivot tables to visualize your data, and use formulas and functions to perform complex calculations. Excel has been around for over three decades and has evolved to become a comprehensive tool for data analysis, financial modeling, and business intelligence. It’s widely used by individuals, small businesses, and large corporations across various industries, including finance, accounting, sales, marketing, and more.
Step 1 – Select the Range of Cells
– Select the range of cells along which you want to create a border.
Step 2 – Go to the Home Tab
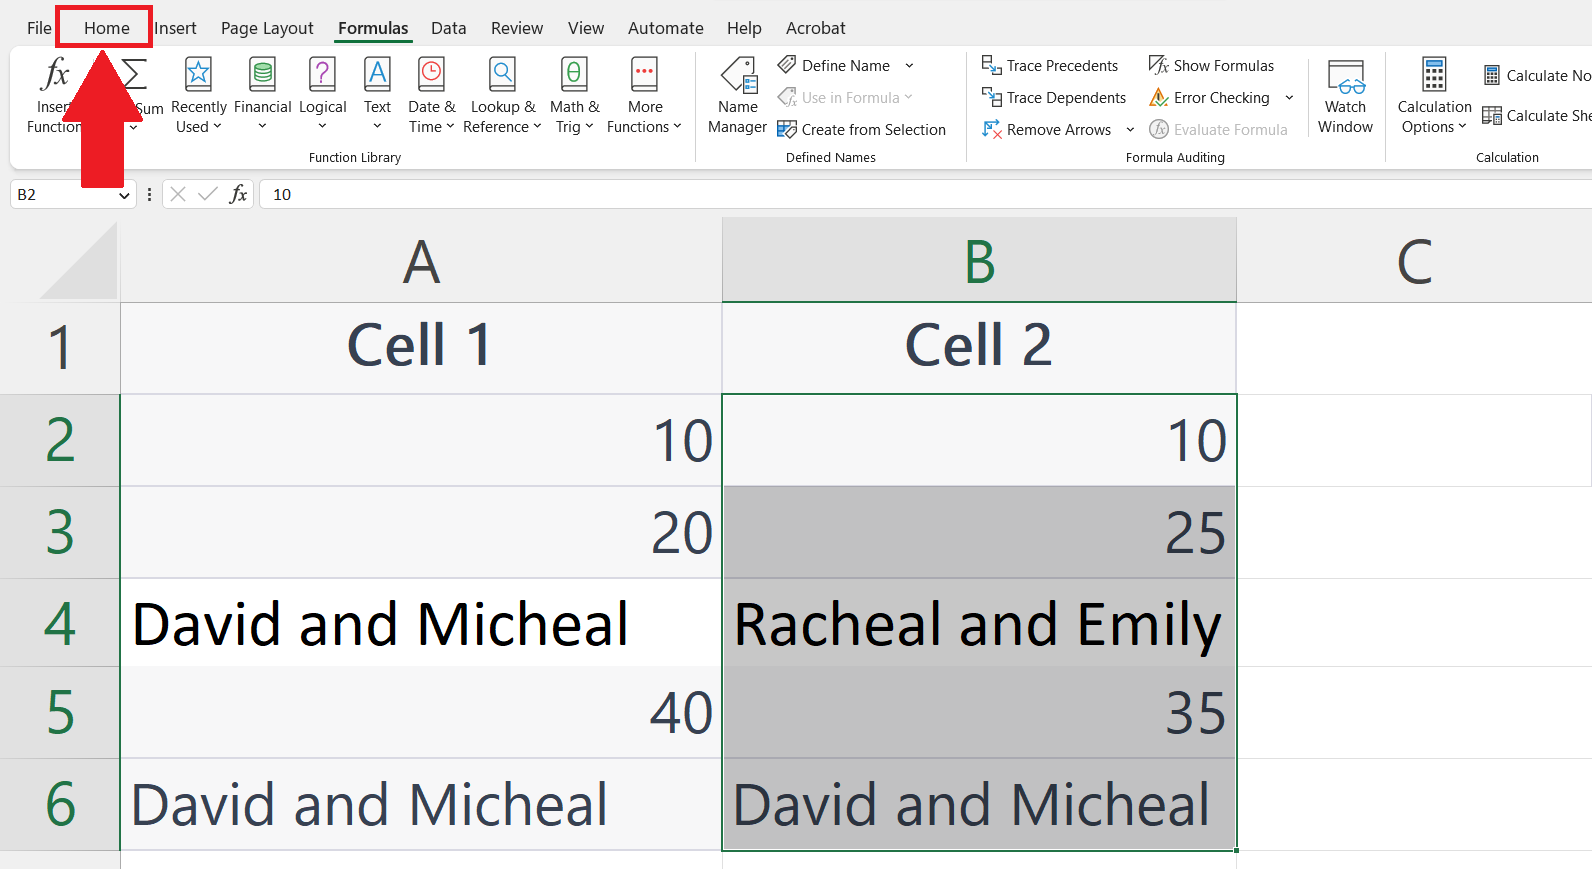
– Go to the Home Tab in the menu bar.
Step 3 – Click on the List Arrow of the Border button
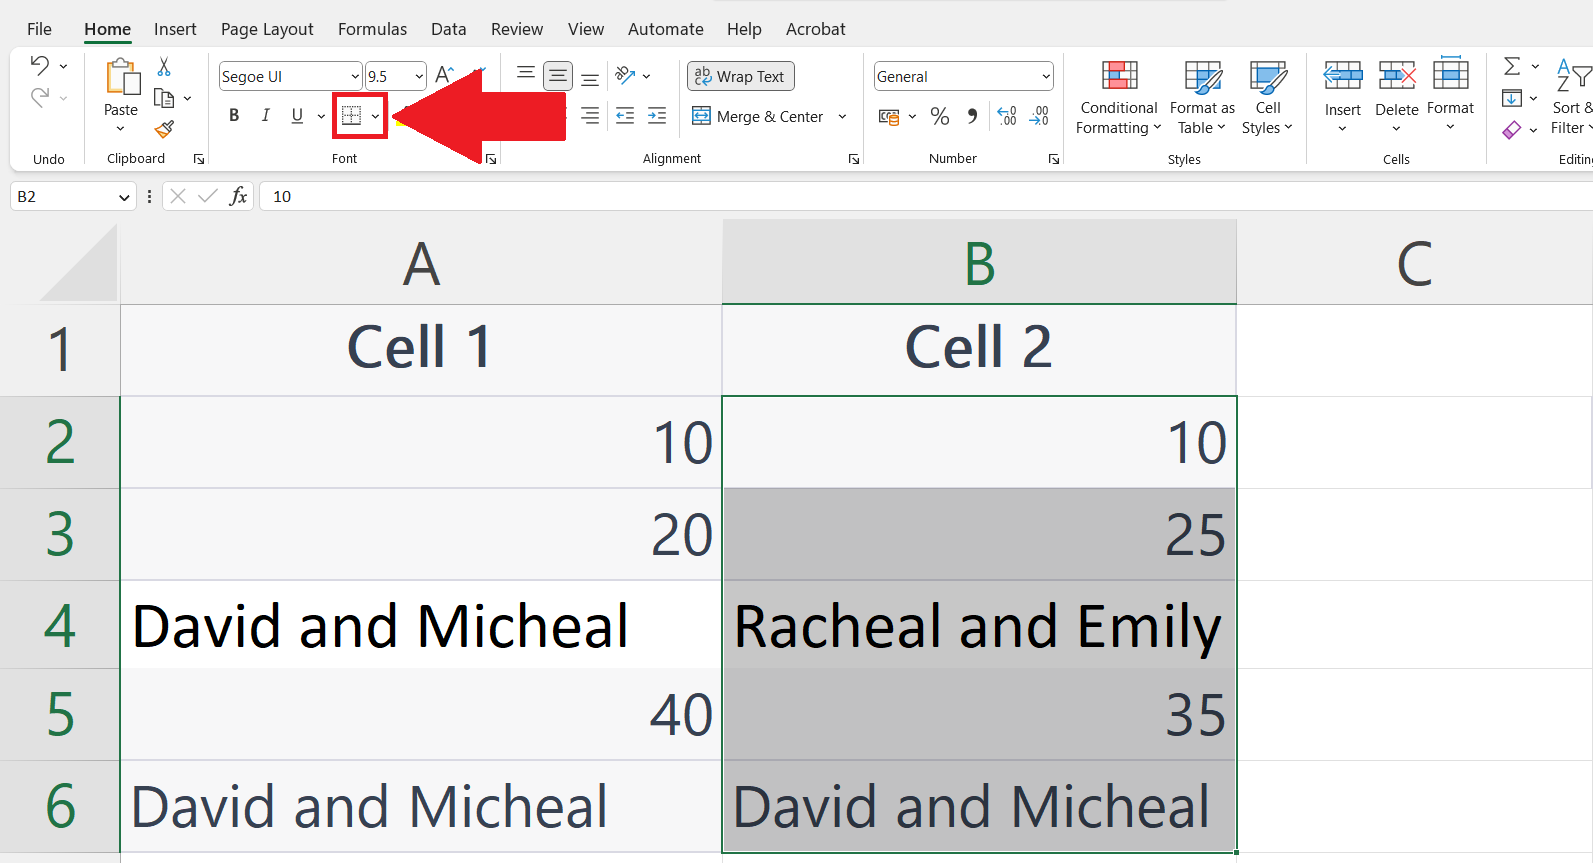
– Click on the List arrow of the Border button in the Font section.
Step 4 – Select the Border

– Select the border as required and click on it.
– The border will be created along the range of the selected cell.
– In our case, we are creating a thick outside border of the selected cells as shown above.


