
How to convert Word Document to an Excel File
 By
SpreadCheaters
By
SpreadCheaters
Converting a Word document to an Excel file refers to the process of transforming the contents and structure of a Word document into a format compatible with Excel. The goal is to extract and organize the data from the Word document in a tabular format within an Excel workbook.
In this tutorial, we will explore the process of converting a Word document into an Excel file. Converting the Word file to plain text format is necessary before proceeding with the conversion. However, it is important to note that the conversion from Word to Excel may not be flawless, potentially requiring some manual formatting. As Word and Excel are distinct file types, intricate data or formulas within the Word document may not convert accurately.
We have a word document that contains sales data. We aim to convert the word documnet to an Excel file.
Step 1 – Locate the File Tab in the menu bar
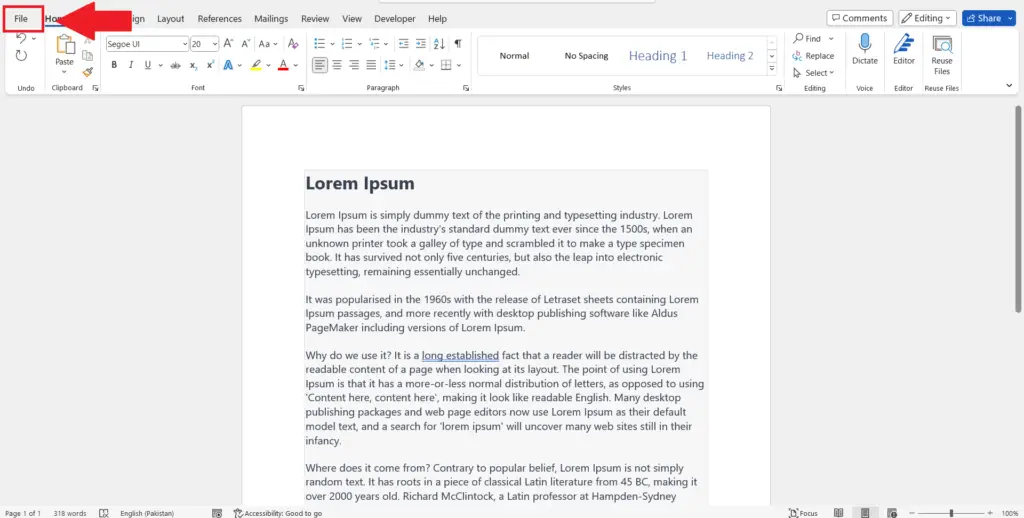
- In the Word document go to the File tab in the menu bar.
Step 2 – Perform a Click on the Save As Option
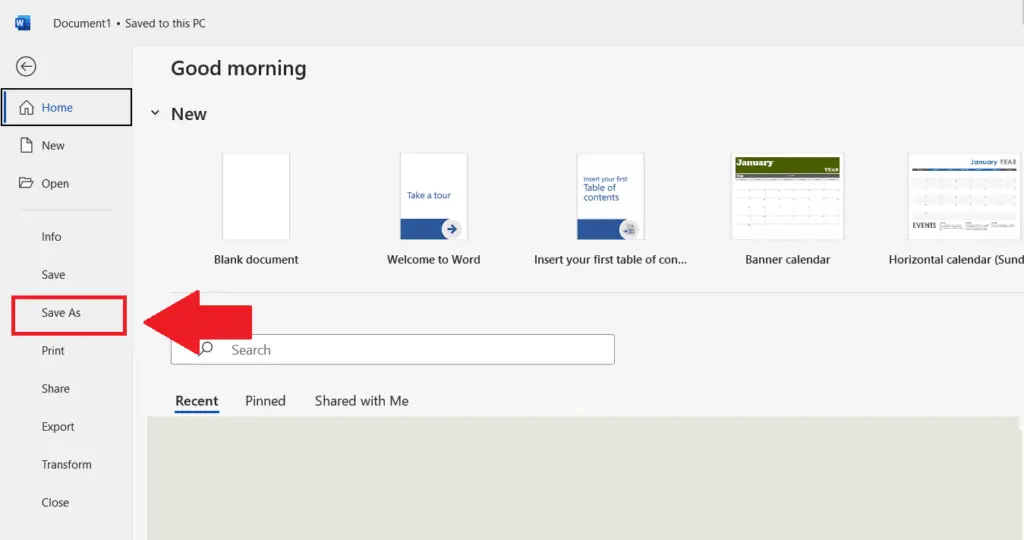
- Perform a click on the Save As option.
Step 3 – Perform a Click on the Browse Option
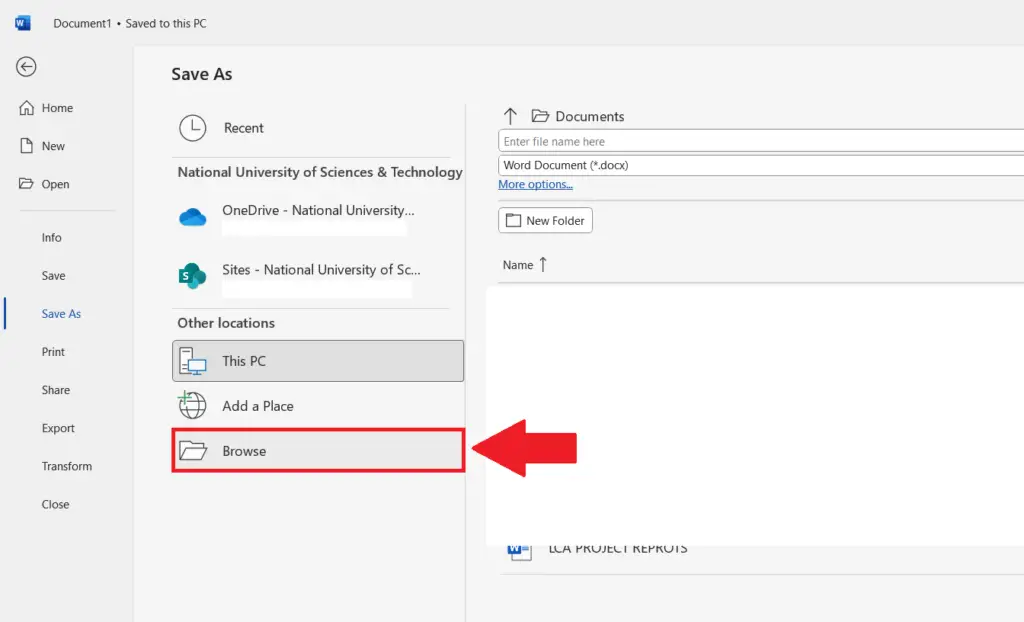
- Perform a click on the Browse option.
Step 4 – Save the Word Document as Plain Text
- Perform a click on the arrow on the right end of the save as type option.
- A drop-down menu will appear, select the Plain Text option in the menu.
- Perform a click on the Save option.
Step 5 – Perform a Click on OK
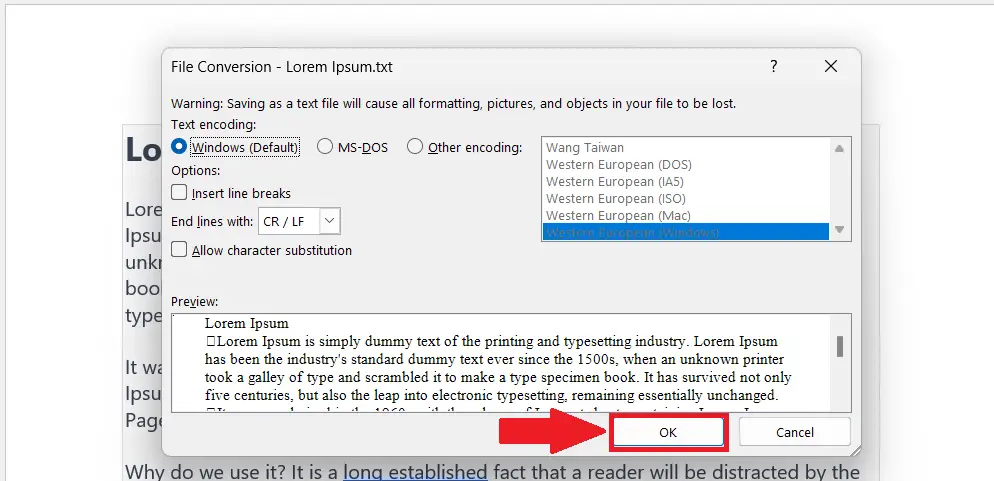
- Click on OK in the File Conversion dialog box.
Step 6 – Open Excel and Locate the Data Tab
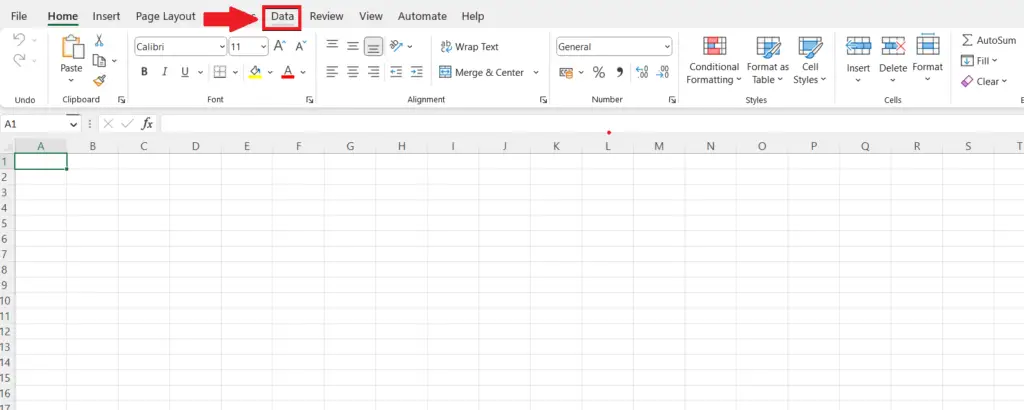
- Open Microsoft Excel.
- Locate the Data Tab in the menu bar
Step 7 – Perform a Click on the “From Text/CSV” Button
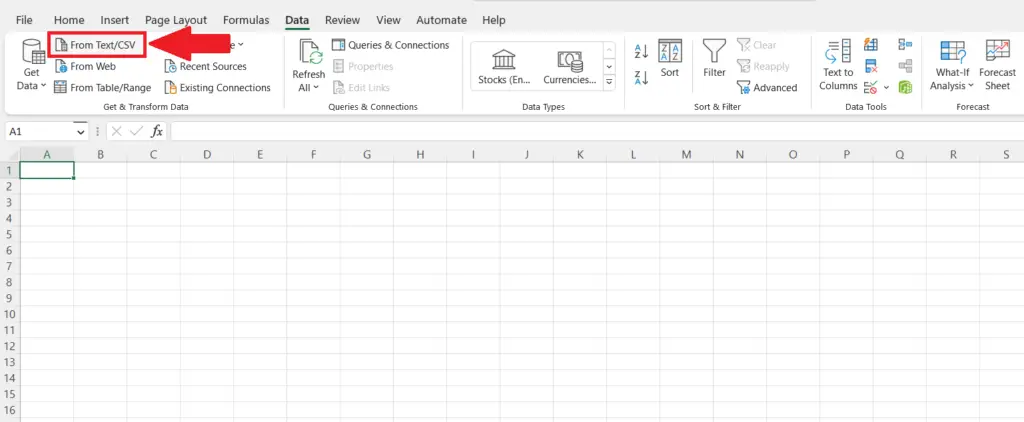
- Perform a click on the “From Text/CSV” button in the “Get and Transform data section”.
Step 8 – Import the Plain Text File
- Select the file saved as Plain text in the Import Data dialog box.
- Perform a click on the Import option.
Step 9 – Perform a Click on the “Load to” Option
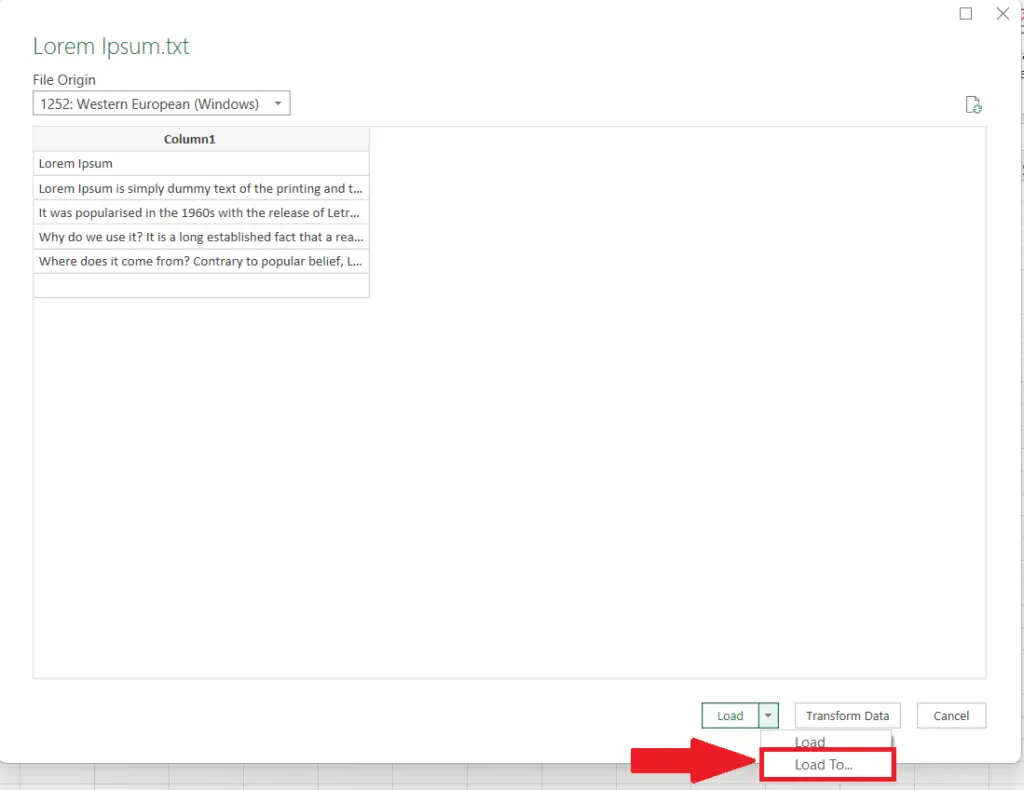
- A dialog box will appear after importing the plain text file.
- Perform a click on the arrow next to the Load option.
- Perform a click on the “Load to” option.
Step 10 – Enter the Targeted Location to load the Data

- Perform a click on the Existing worksheet option.
- Enter the address of the targeted cell where you want to import the data.
- Perform a click on OK. The Word document will be converted to an Excel file.
Method 2: Utilizing a VBA Code
Step 1 – Open an Excel Workbook
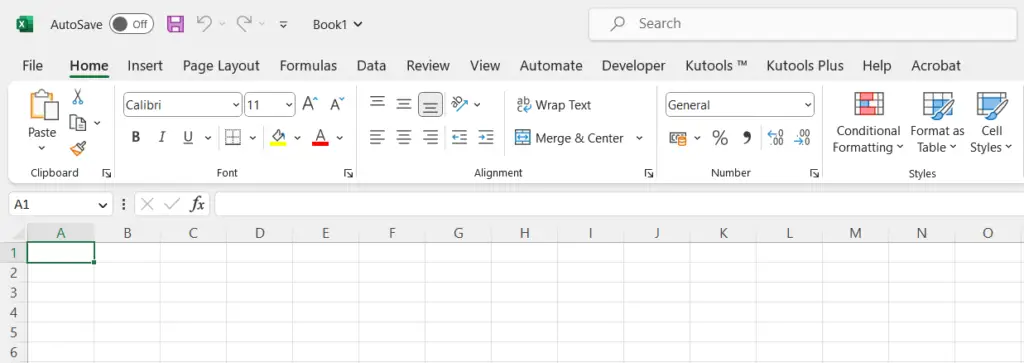
- Open an Excel workbook.
Step 2 – Open the Visual Basic Editor
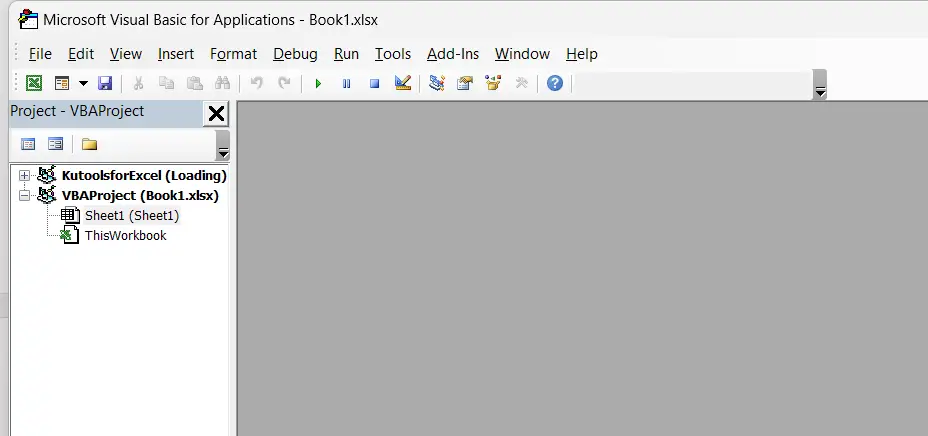
- Open the Visual Basic Editor
- For this, you may press the ALT+F11 shortcut keys or utilize the Data tab.
Step 3 – Insert a New Module

- Right-click on the sheet name in the Project-VBA Project menu at the left of the window.
- Click on Insert.
- Click on Module
Step 4 – Enter the VBA Code
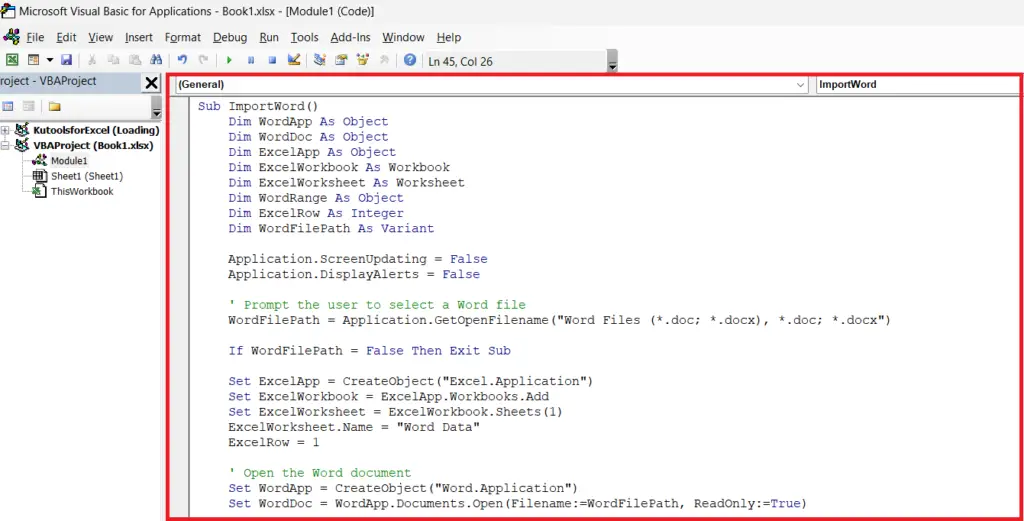
- Enter the following VBA code:
| Sub ImportWord() Dim xObjDoc As Object Dim xWdApp As Object Dim xWdName As Variant Dim xWb As Workbook Dim xWs As Worksheet Dim xName As String Dim xPC, xRPP Application.ScreenUpdating = False Application.DisplayAlerts = False xWdName = Application.GetOpenFilename(“Word file(*.doc;*.docx) ,*.doc;*.docx”, , “Open – Please select”) If xWdName = False Then Exit Sub Application.ScreenUpdating = False Set xWb = Application.ActiveWorkbook Set xWs = xWb.Worksheets.Add Set xWdApp = CreateObject(“Word.Application”) xWdApp.ScreenUpdating = False xWdApp.DisplayAlerts = False Set xObjDoc = xWdApp.Documents.Open(Filename:=xWdName, ReadOnly:=True) xObjDoc.Activate xPC = xObjDoc.Paragraphs.Count Set xRPP = xObjDoc.Range(Start:=xObjDoc.Paragraphs(1).Range.Start, End:=xObjDoc.Paragraphs(xPC).Range.End) xRPP.Select On Error Resume Next xWdApp.Selection.Copy xName = xObjDoc.Name xName = Replace(xName, “:”, “_”) xName = Replace(xName, “\”, “_”) xName = Replace(xName, “/”, “_”) xName = Replace(xName, “?”, “_”) xName = Replace(xName, “*”, “_”) xName = Replace(xName, “[“, “_”) xName = Replace(xName, “]”, “_”) If Len(xName) > 31 Then xName = Left(xName, 31) End If xWs.Name = xName xWs.Range(“A1”).Select xWs.Paste xObjDoc.Close Set xObjDoc = Nothing xWdApp.DisplayAlerts = True xWdApp.ScreenUpdating = True xWdApp.Quit (wdDoNotSaveChanges) Application.DisplayAlerts = True Application.ScreenUpdating = True End Sub |
Step 5 – Run the VBA Code

- Run the VBA Code.
- The code will open a browse dialog box to select a word file.
Step 6 – Open the Word File
- Choose the Word file from the dialog box that appears.
- Perform a click on Open.
- The Word document will be converted to an Excel file.


