
How to convert.dat files to Excel
 By
SpreadCheaters
By
SpreadCheaters
Page last updated:
17/06/2023 |
Next review date:
17/06/2025
A .dat file is a file format that contains unstructured data and is not easily readable by humans. To convert a .dat file to Excel means to convert the unstructured data into a structured format that can be opened and manipulated in Microsoft Excel. importance of converting .dat files to Excel lies in the ability to work with and analyze the data contained in the .dat file.
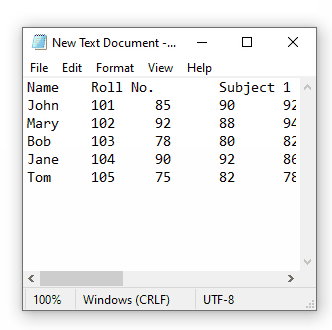
We have a dataset containing the results of a class stored in a .dat file. Now, we aim to convert this dataset into an Excel file. There are two methods available to accomplish this task. The first method involves using the “File” tab in Excel. This typically involves selecting the “Open” option. The second method involves utilizing the copy-and-paste options.
Method 1: Convert .dat files to Excel using the File tab
Step 1 – Click on the File tab
- After opening the Excel workbook, click on the File tab and a window will appear
Step 2 – Click on the Open option
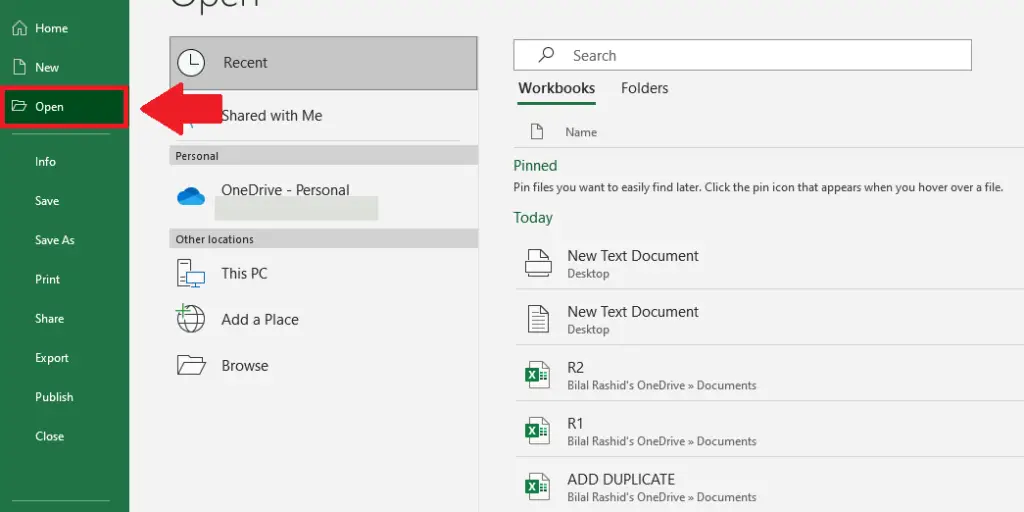
- Click on the Open option in the window
Step 3 – Click on the Browse option
- After clicking the open option, click on the Browse option and a dialog box will appear
Step 4 – Type the file name
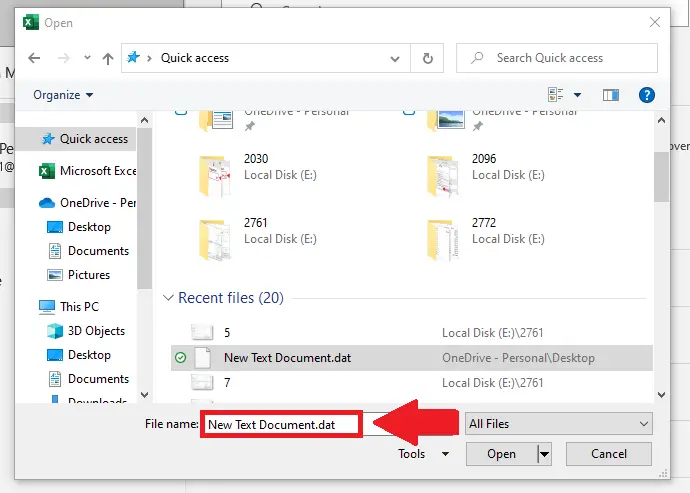
- In the dialog box, type the name of the .dat file in the box next to the File name option to select the file
Step 5 – Click on Open
- After selecting the File, click on OK and a dialog box will appear
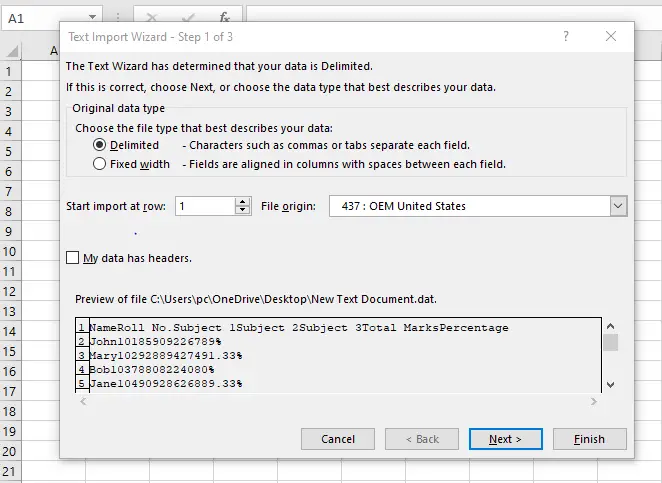
Step 6 – Click on the Delimited option
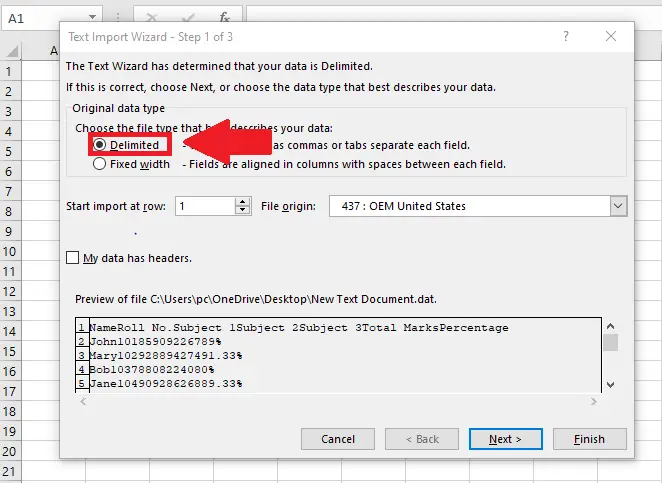
- Click on the Delimited option in the dialog box
Step 7 – Click on the next option

- After selecting the Delimited option, click on Next and a dialog box will appear
Step 8 – Click on the Tab option
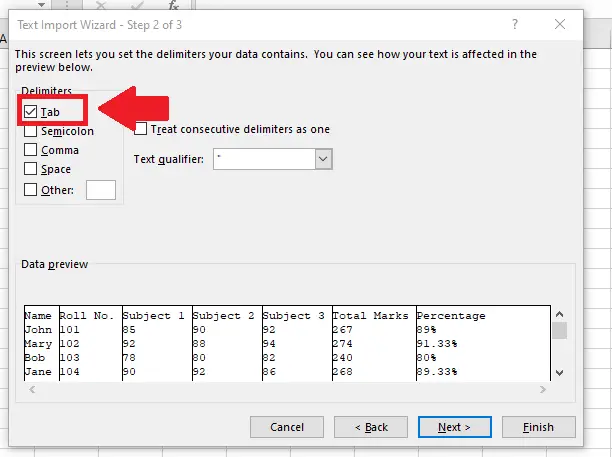
- Click o the Tab option in the dialog box
Step 9 – Click on the next option
- After selecting the tab option, click on Next and a dialog box will appear
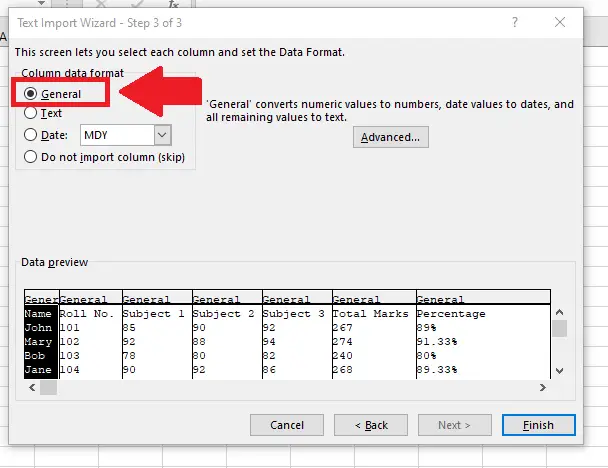
Step 10 – Click on the General option

- Click on the General option in the dialog box
Step 11 – Click on the Finish option
- After selecting the General option, click on the Finish option to get the required result.
Step 12 – Click on the the File tab
- Click on File tab and a window will appear
Step 13 – Click on Save As option
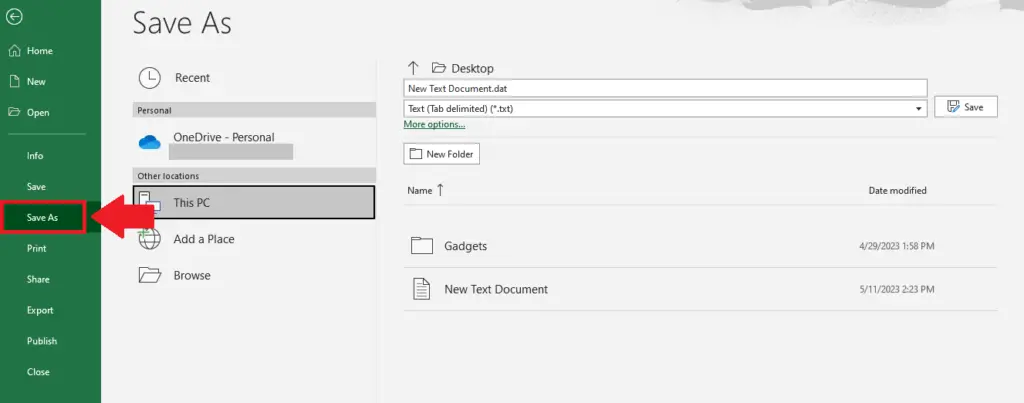
- From the window appeared, click on the Save As option
Step 14 – Select the location
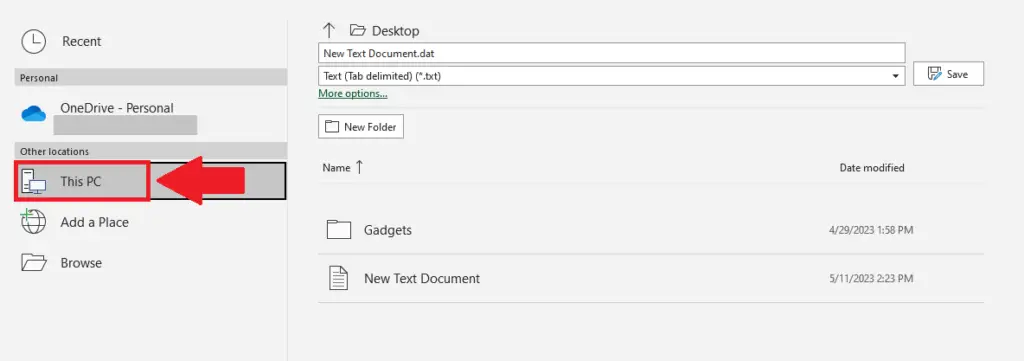
- Click on location where you want to save the file
- Here we selected computer, you may select any other option like drive or browse any folder from your folder
Step 15 – Type the name of file
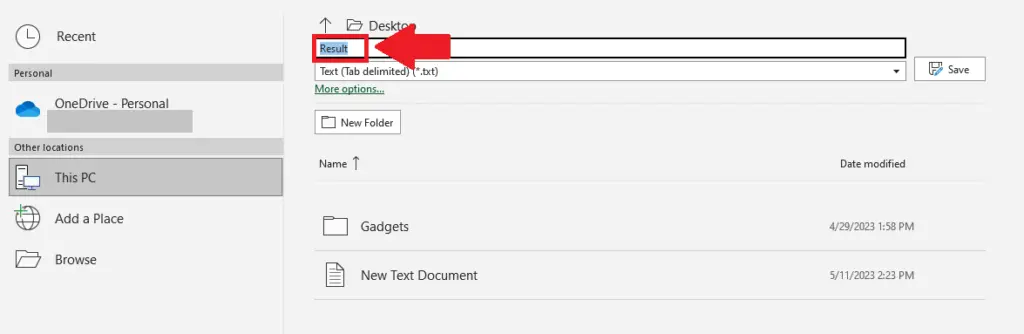
- After selecting the location, type e name of file in the box next to the File name option
Step 16 – Set type of file
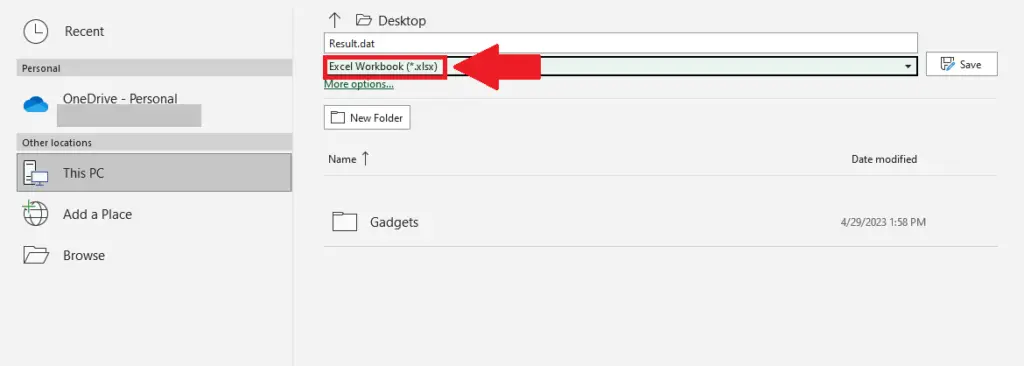
- After typing the name, select type of file as “*,xlsx”
Step 17 – Click on Save
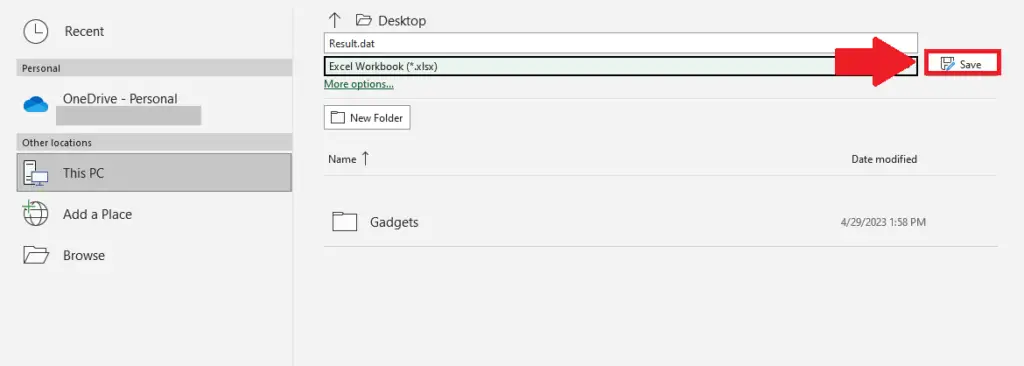
- After selecting the type of file, click on save option to save file in Excel form
Method 2: Convert .dat files to Excel using the Copy and Paste options
Step 1 – Select the File
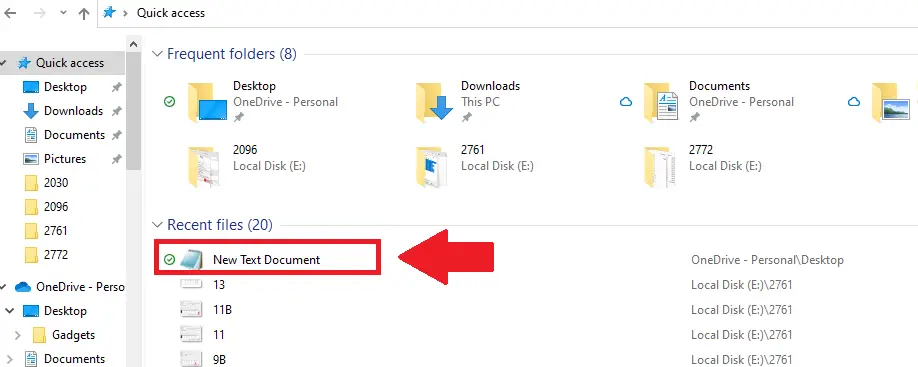
- Click on the .dat file in the Files Explorer to select it
Step 2 – Open the File in Notepad
- Click on File and a context menu will appear
- In the context menu click on the open option and a dialog box will appear
- From this dialog box, click on Notepad and the file will open in Notepad
Step 3 – Copy the data
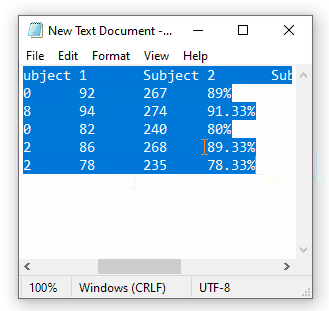
- After the file opened in Notepad, select the data in it
- And press CTRL+C key to copy it
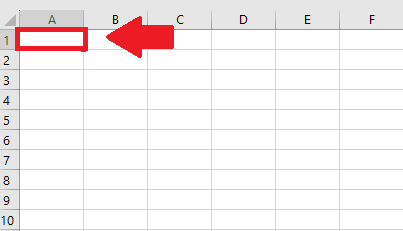
Step 4 – Select the Cell
- After copying the data, click on the cell of the Excel worksheet where you want to show this data
Step 5 – Select the Cell
- After selecting the cell, press the CTRL+V key to paste it and a dialog box will appear
Step 6 – Click on the Delimited option

- Click on the Delimited option in the dialog box
Step 7 – Click on the next option
- After selecting the Delimited option, click on Next and a dialog box will appear
Step 8 – Click on the Tab option

- Click o the Tab option in the dialog box
Step 9 – Click on the next option

- After selecting the tab option, click on Next and a dialog box will appear
Step 10 – Click on the General option
- Click on the General option in the dialog box
Step 11 – Click on the Finish option

- After selecting the General option, click on the Finish option to get the required result.
- After the conversion is complete, repeat steps 12 to 17 from method 1 to save the file as .xlsx.


