
How to convert a table to a normal range in Excel
 By
SpreadCheaters
By
SpreadCheaters
Page last updated:
17/11/2022 |
Next review date:
17/11/2024
You can watch a video tutorial here.
Excel has the provision to define a set of data as a Table. This is a useful feature especially when you need to create totals and calculated columns. It also becomes easy to add data and reference data when it is defined as a table. There may be an occasion when you have received a file in which the data has been defined as a table but you do not want to keep it as such. In this case, you have the option to convert the table back into a range of cells.
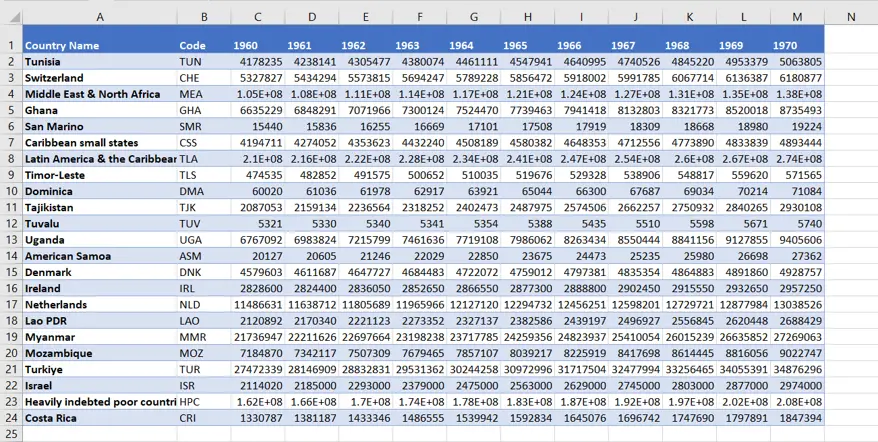
Step 1 – Select the table
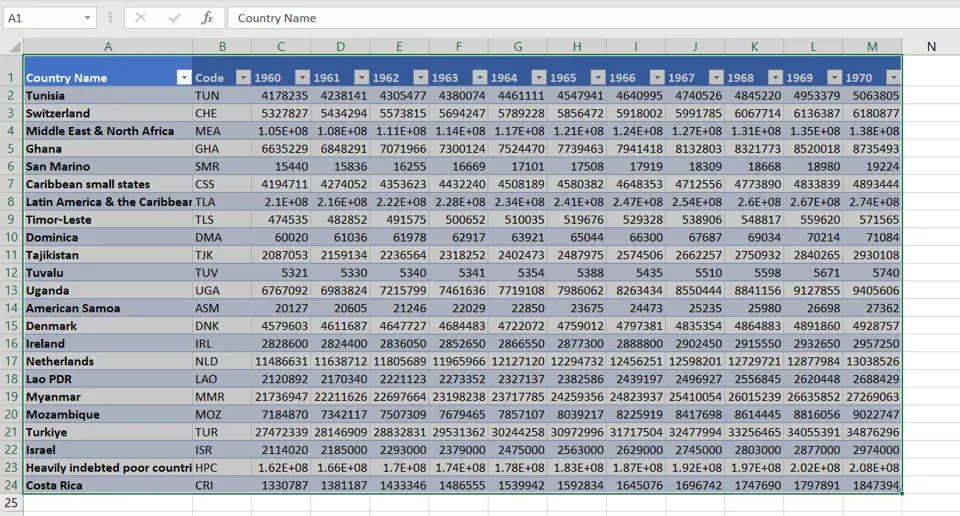
– Select the table
Step 2 – Convert to Range
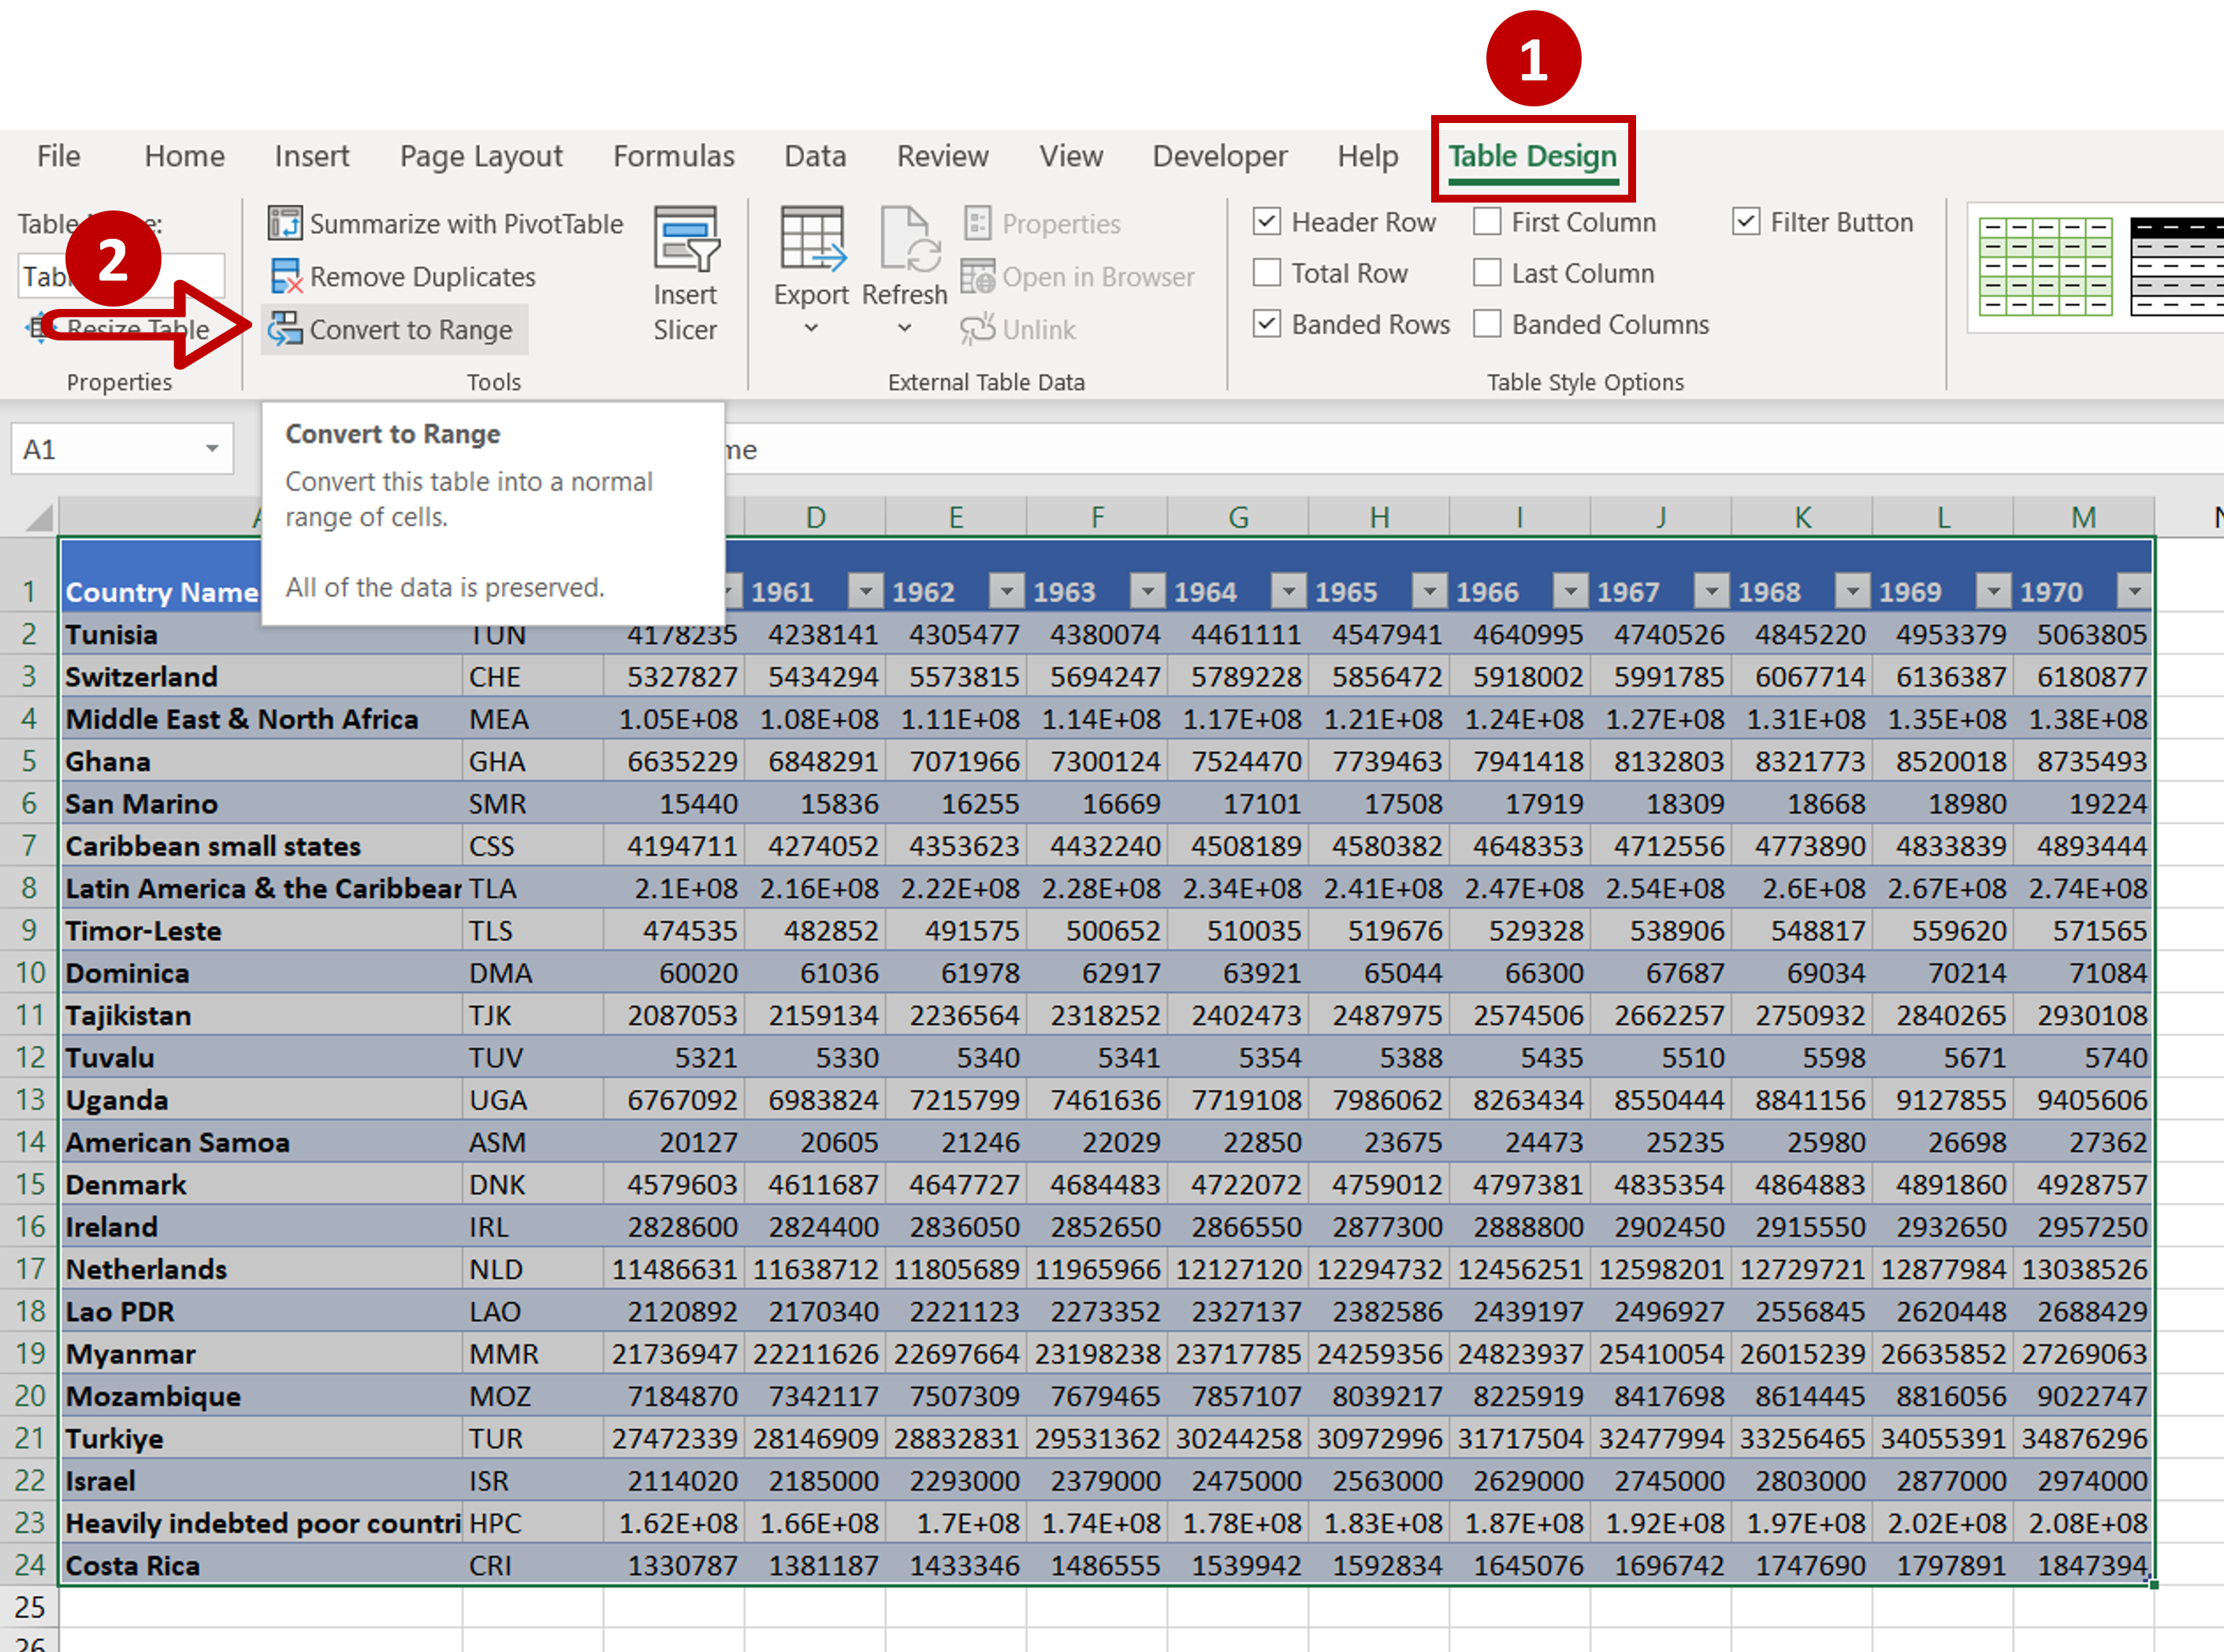
– Go to Table Design > Tools
– Click on Convert to Range
Step 3 – Confirm the conversion
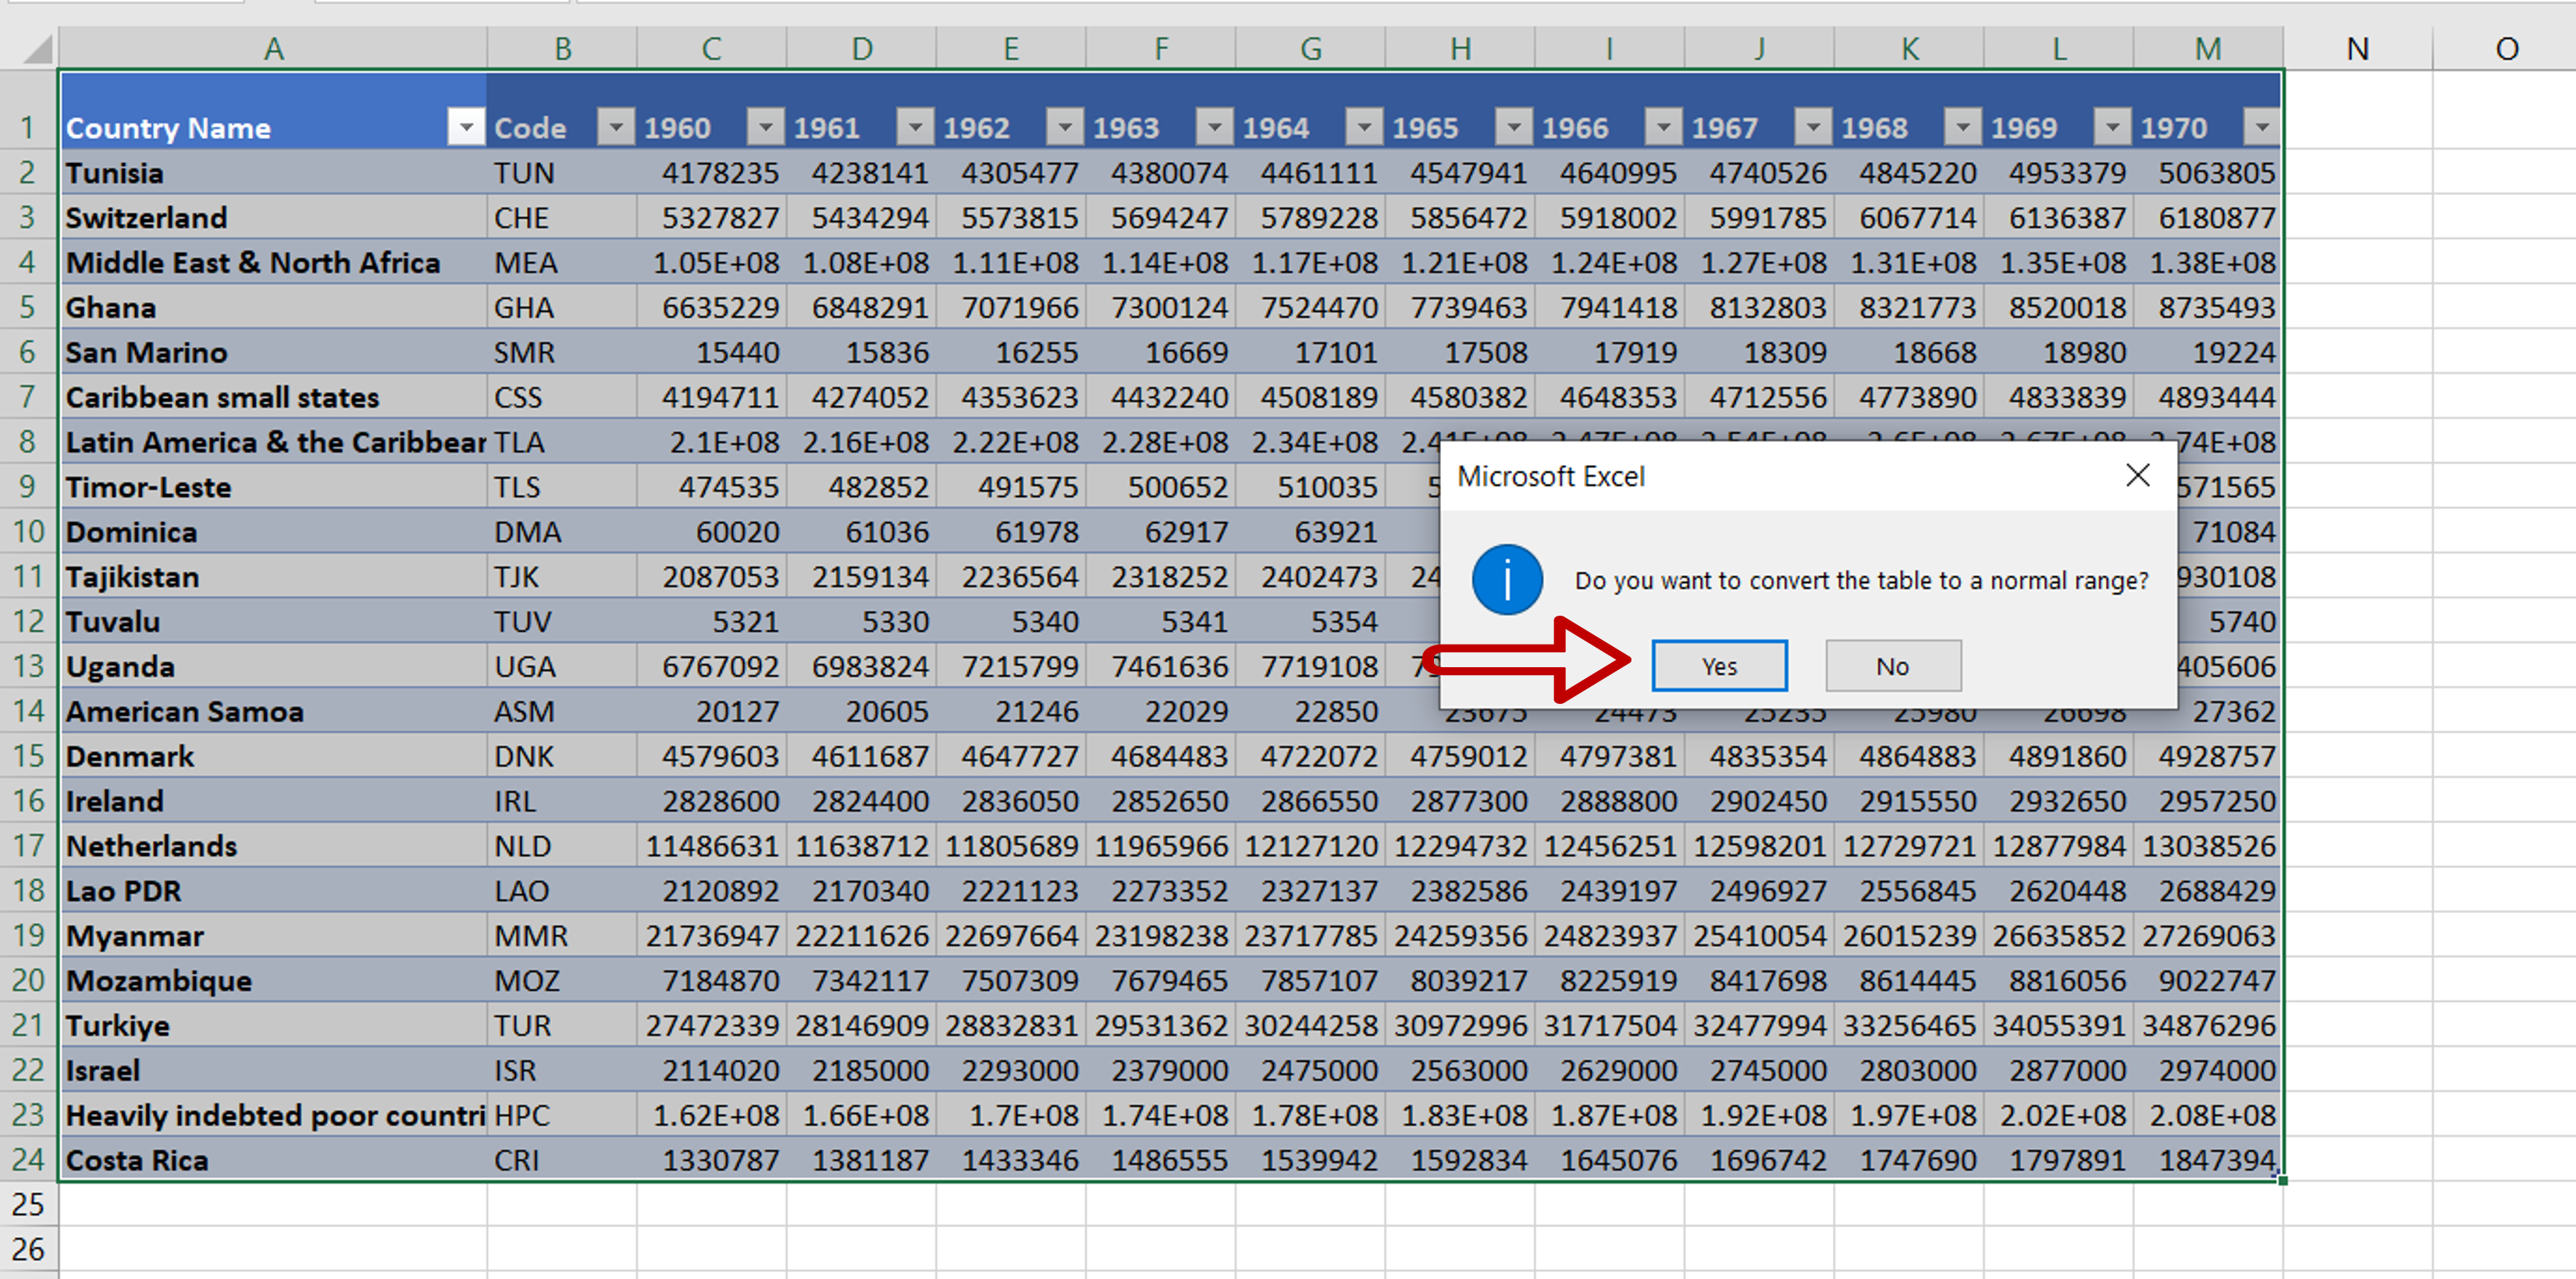
– On the pop-up warning, click OK
Step 4 – Check the result
– The in-column filters disappear
– The Table Design menu disappears


