How to clear the print area in Excel
In this tutorial, we will learn how to clear the print area in Excel and why it is necessary. To avoid printing unnecessary data, the print area defines the specific range of cells that you want to print. If you don’t clear the print area before printing, you might end up printing more cells than you intended. This is a waste of resources. Overall, clearing the print area in Excel is necessary to ensure that you only print the data that you want to print, that the data is formatted correctly, and that it is easy to read and analyze.
To clear the print area and to print the complete workbook. The required steps are given below by which we can clear the previously selected print area in Microsoft Excel.

Excel is a spreadsheet program used for storing and manipulating data. Its printing techniques include setting the print area, adjusting margins and page orientation, scaling content to fit on a page, and adding headers and footers. These techniques ensure that data is presented effectively and efficiently when printed.
Step 1 – Check the previously selected print area

– Open the Excel spreadsheet that contains the previously selected print area you want to clear.
– Go to the File tab.
– Click on the Print button, at the left side menu.
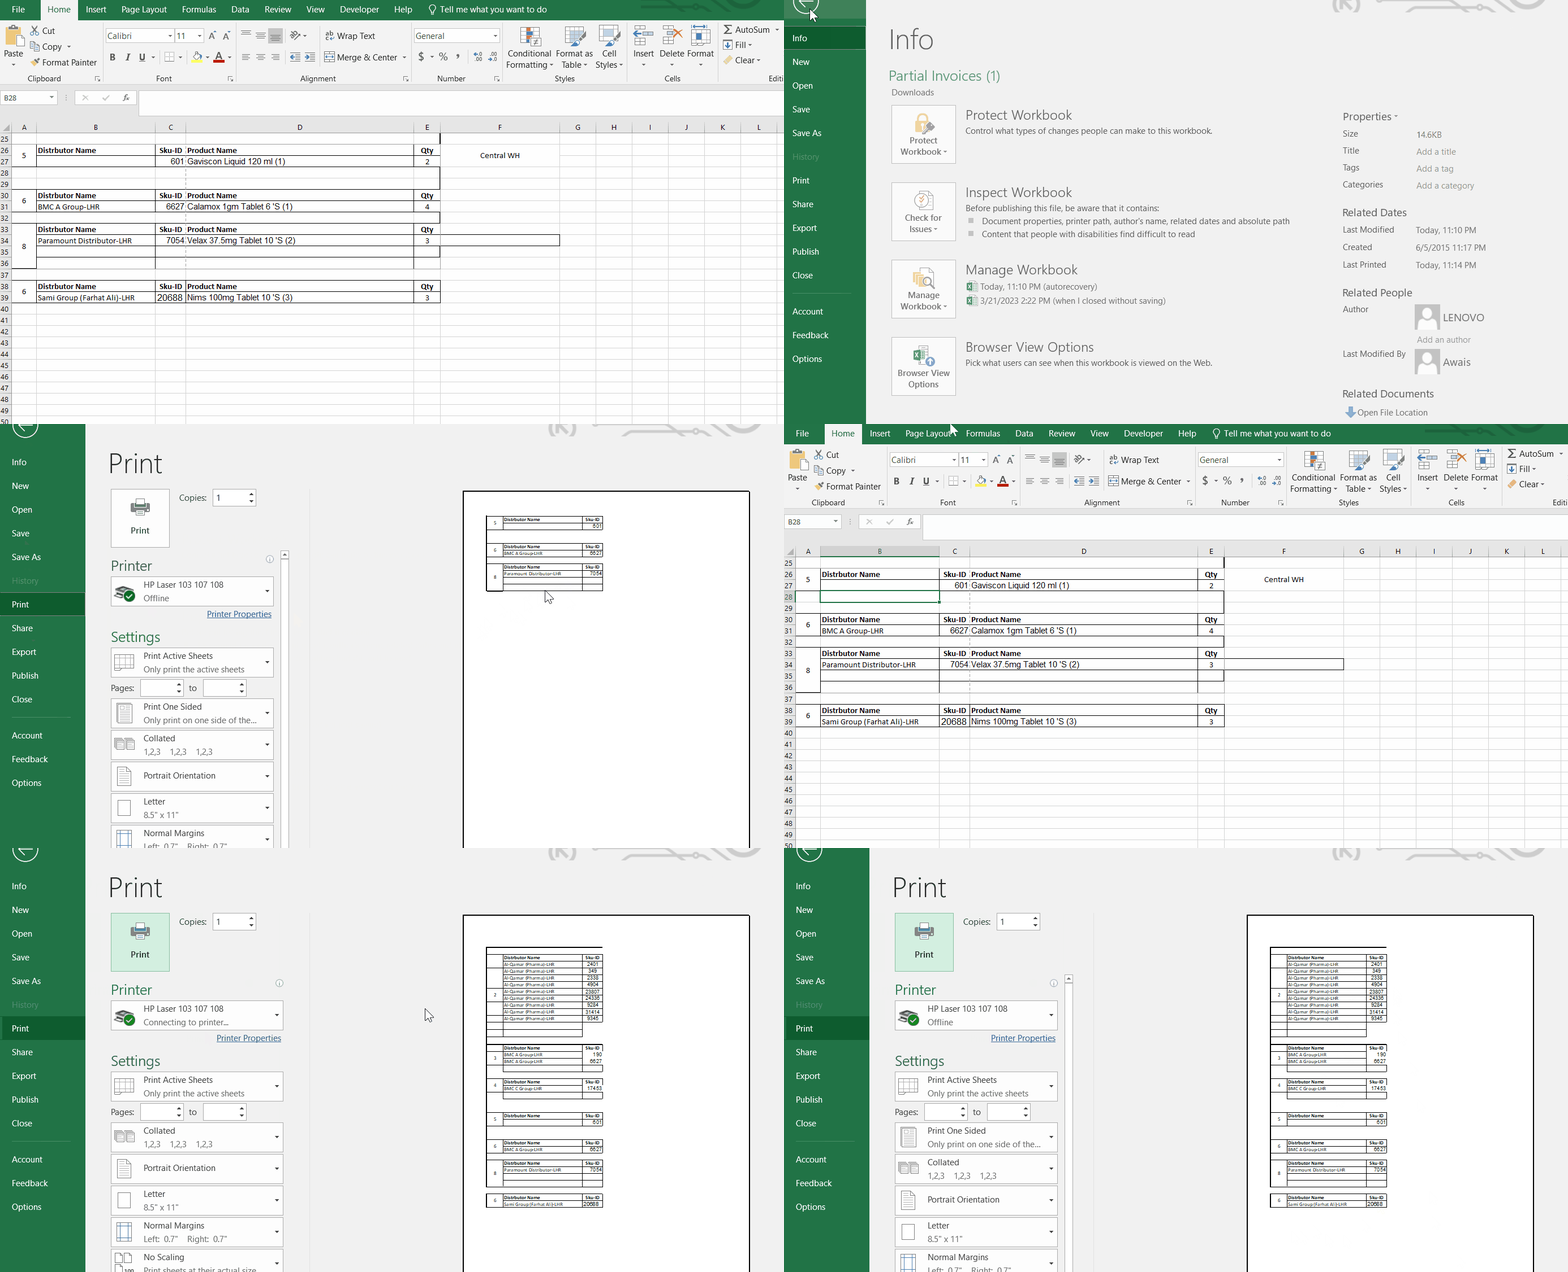
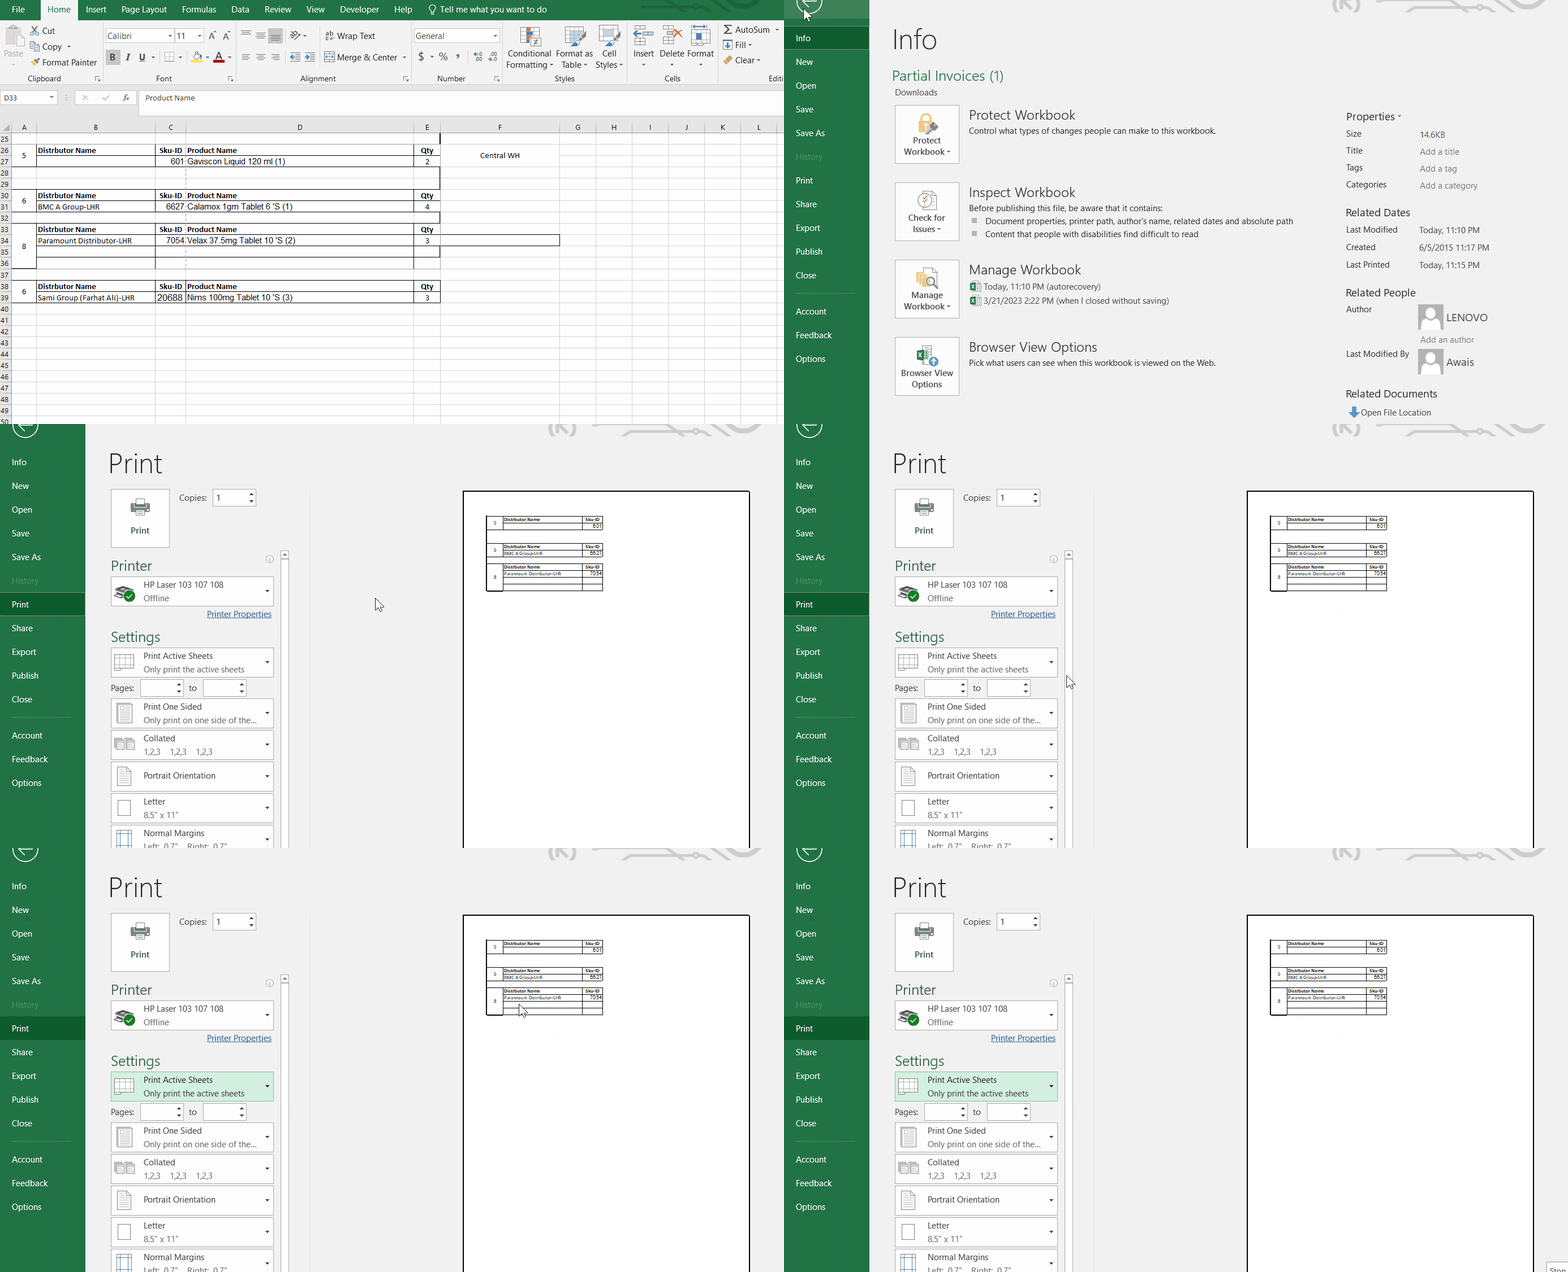
– In the Print preview section the previously selected print area is visible, as shown above.
Step 2 – Clear the print area

– Open the Excel spreadsheet that contains the print area you want to clear.
– Click on the “Page Layout” tab at the top of the Excel window.
– Click on the “Print Area” button in the “Page Setup” group.
– Click on “Clear Print Area” from the dropdown menu.
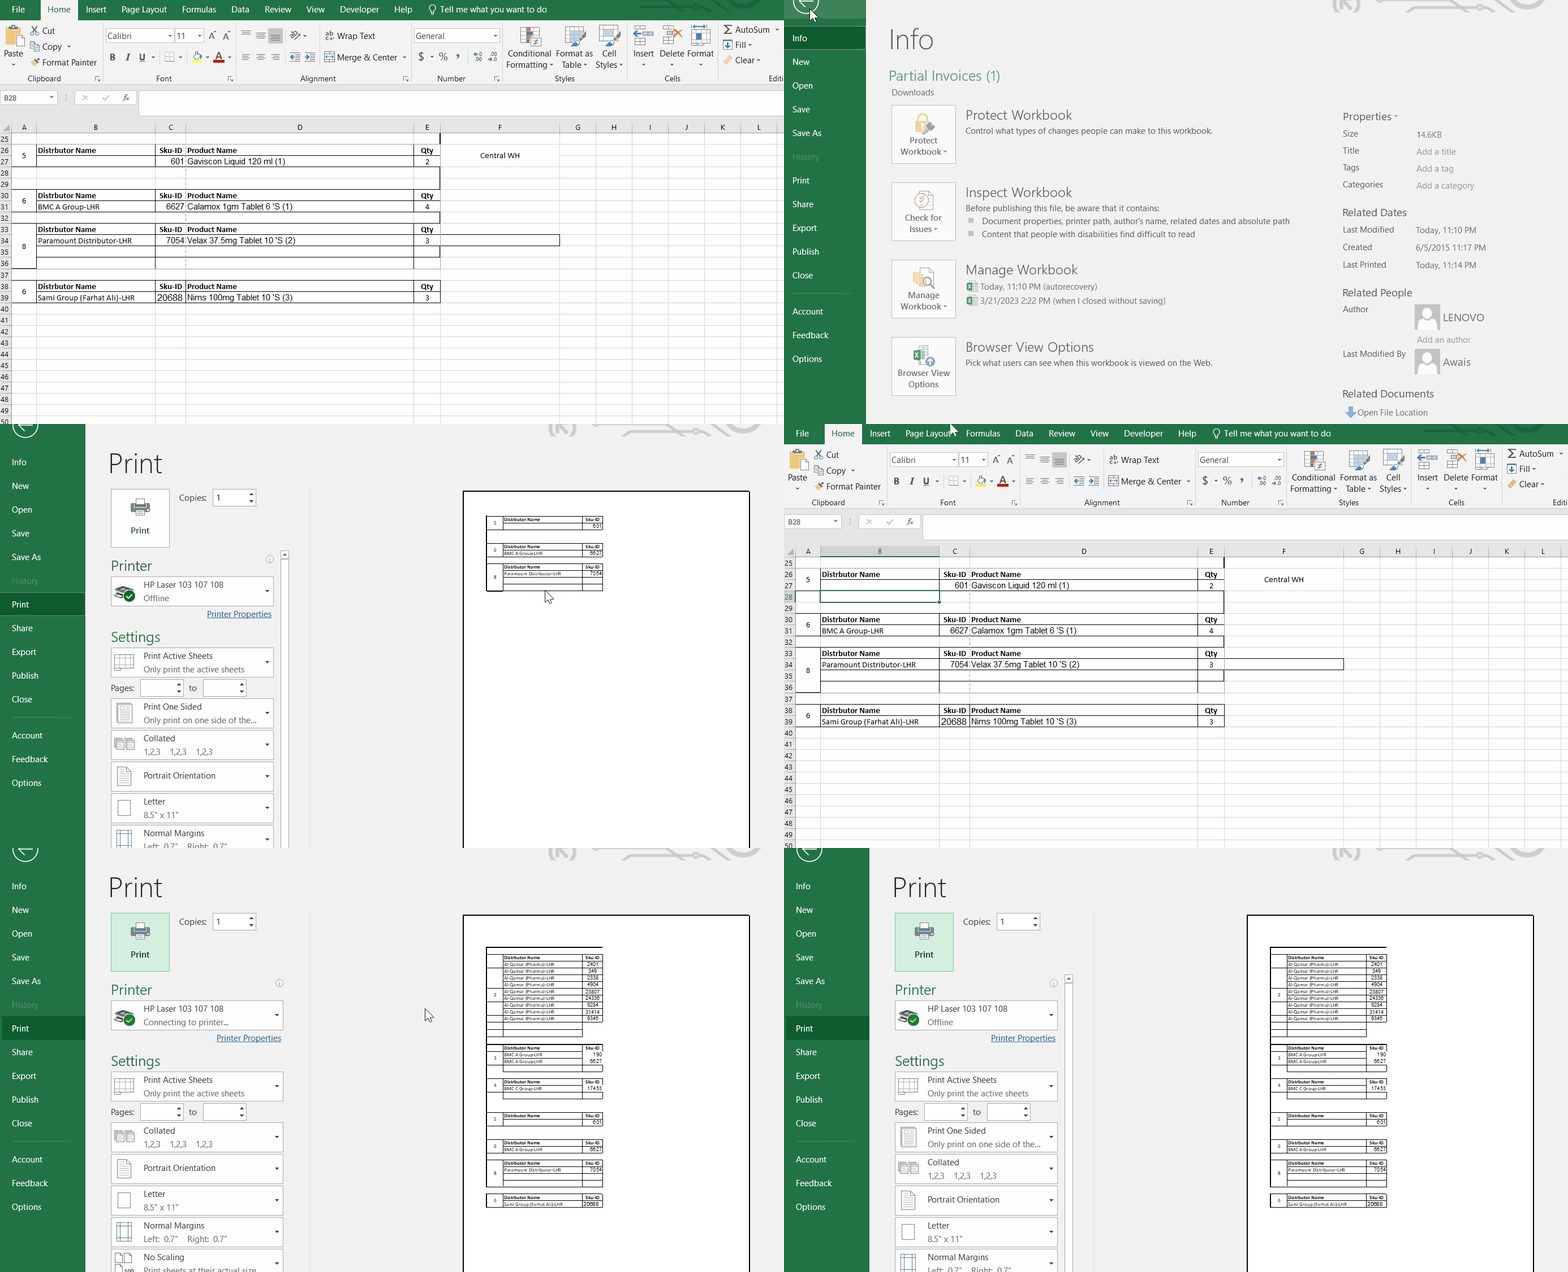
– Press Ctrl + P to view the print preview area. It will print a complete workbook, as shown above.
As we can see in the animation, before clearing the print area we are unable to print the whole workbook, after clearing the print area in Microsoft Excel we are now able to print the whole workbook.


