
How to change the margins in Excel
 By
SpreadCheaters
By
SpreadCheaters
Page last updated:
16/11/2022 |
Next review date:
16/11/2024
You can watch a video tutorial here.
When printing an Excel sheet, the data must be formatted to fit properly on the printed page. To do this, it may be necessary to adjust the margins.
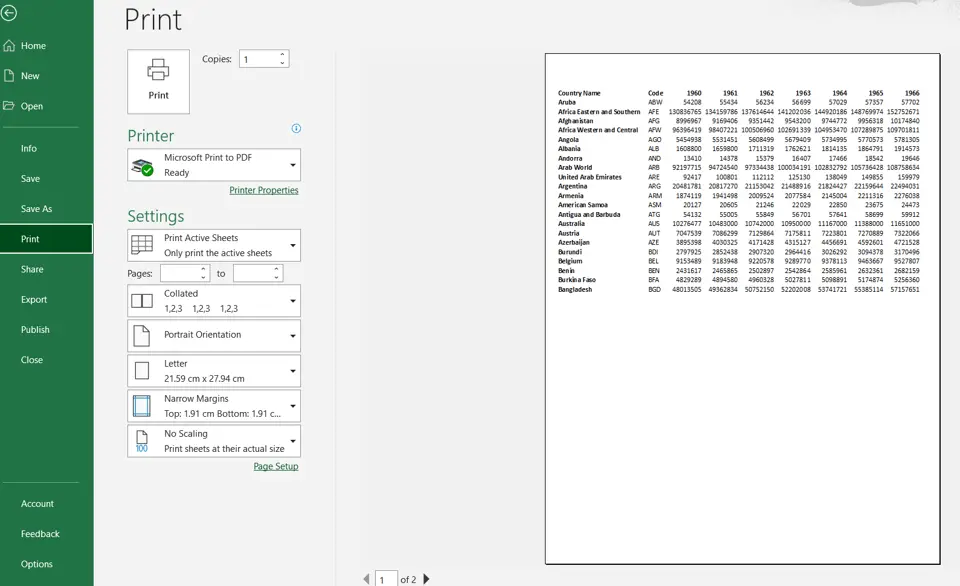
Step 1 – Open the print menu
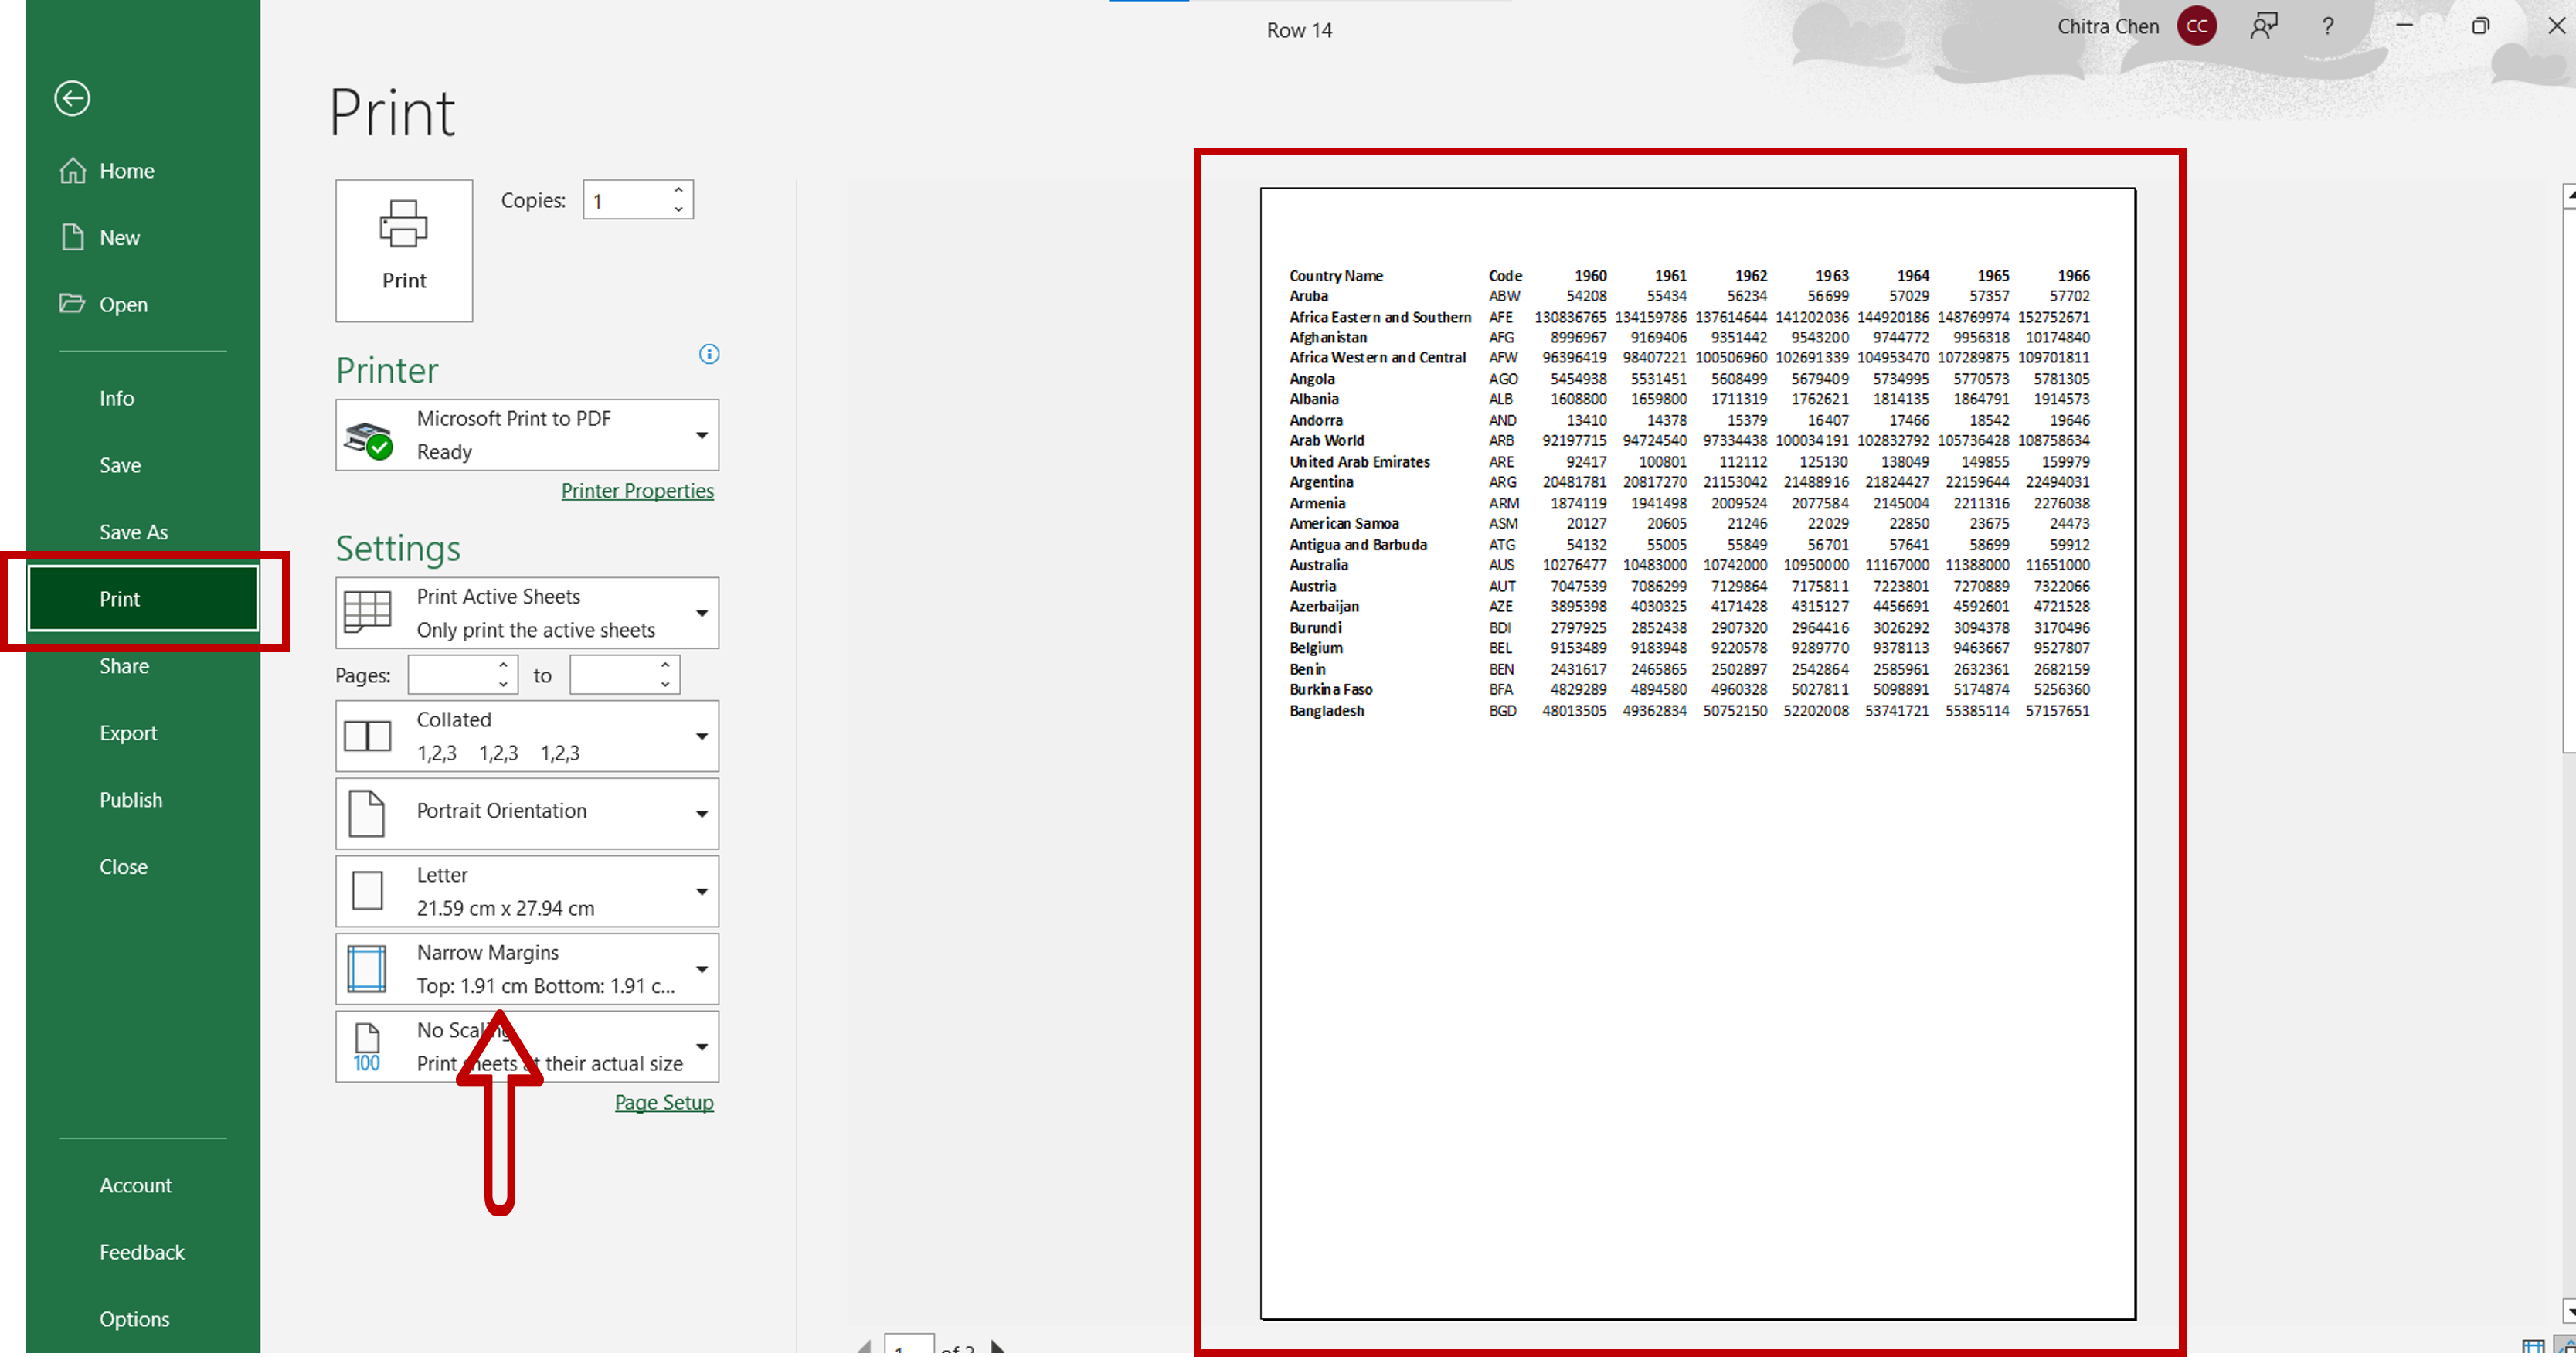
– Go to File > Print
– The print preview is displayed
Step 2 – Choose one of the preset margin options
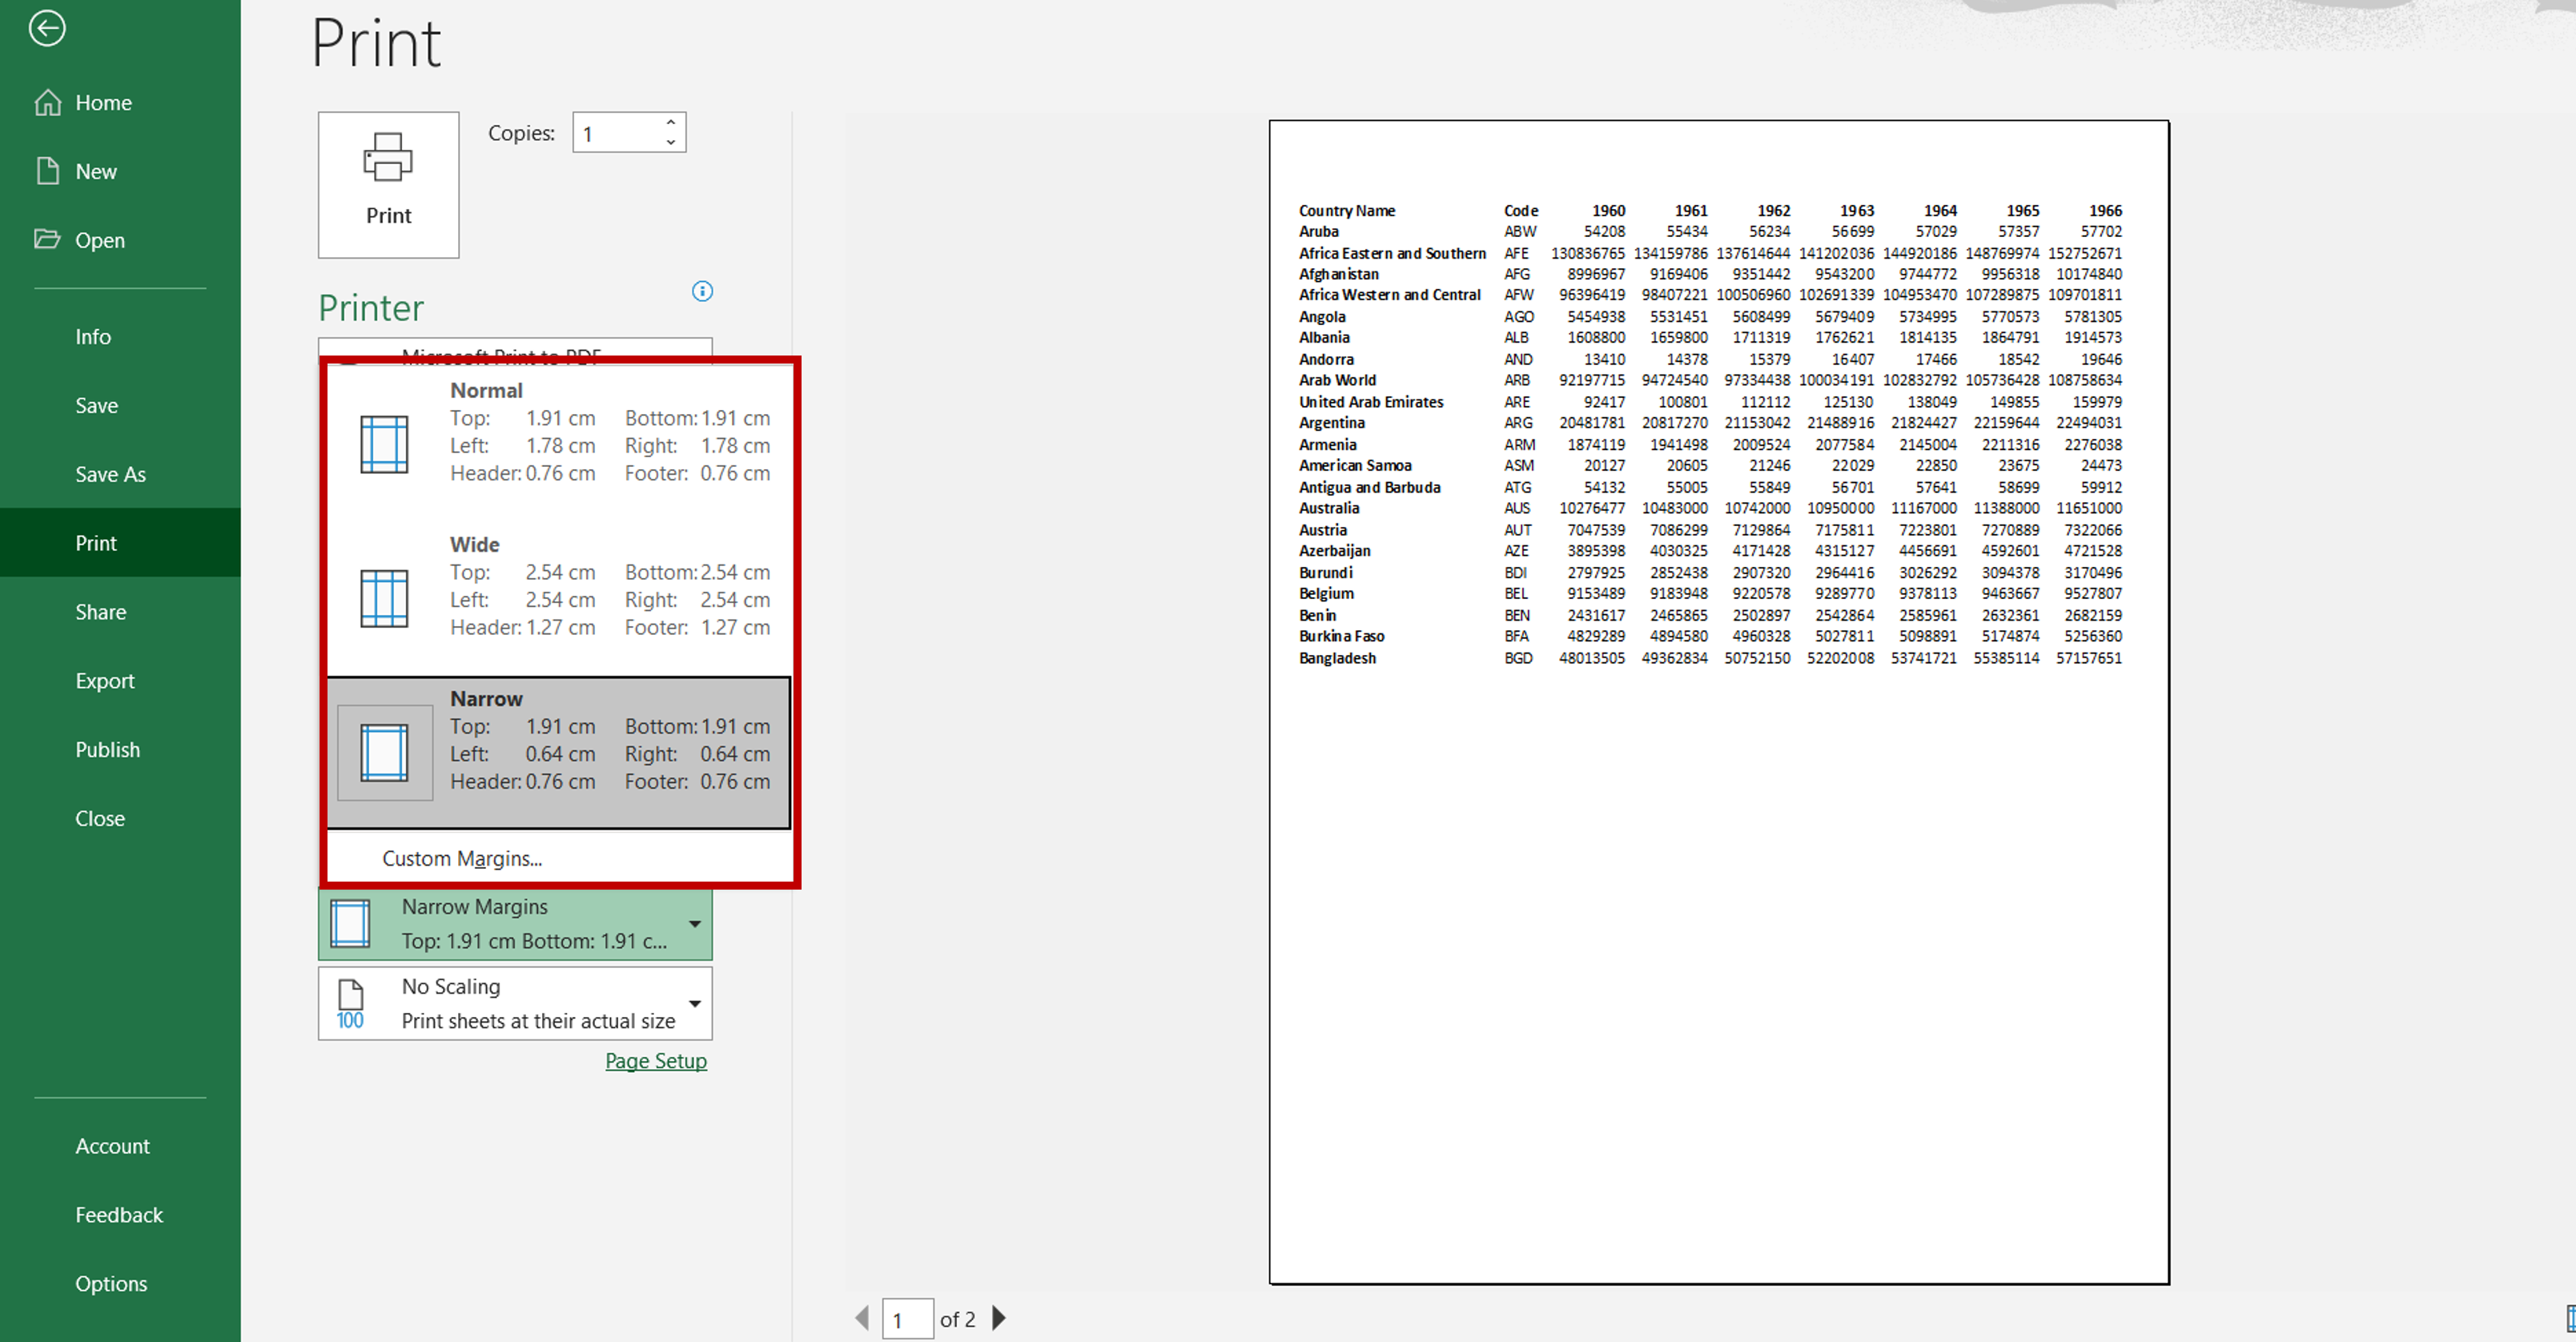
– Expand the Margins menu
– Select the most suitable option by checking the print preview
Note: The preset margins can also be accessed using the menu Page Layout > Margins
Step 3 – Customize the margin
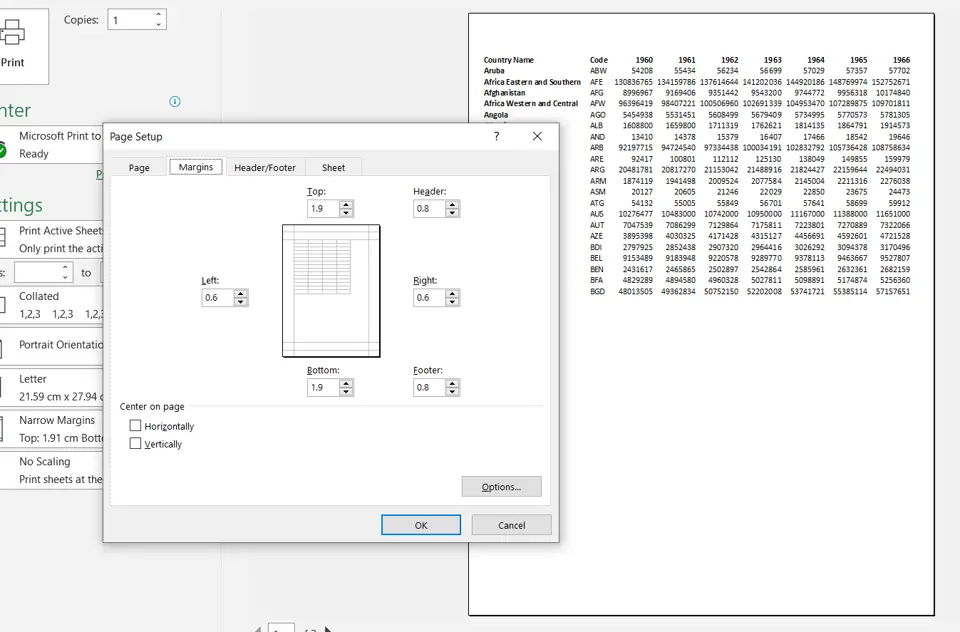
– If none of the preset margins are suitable, select the Custom Margins option
– Adjust the margins as needed
– Click OK
Note: The Page Setup window can also be opened by using the menu Page Layout > Margins > Custom Margins or by clicking on the Page Setup link in the Print window
Step 4 – Check the worksheet

– Check that the data fits the worksheet properly


