
How to change orientation in Excel
 By
SpreadCheaters
By
SpreadCheaters
Page last updated:
12/12/2022 |
Next review date:
12/12/2024
You can watch a video tutorial here.
Excel is a spreadsheet application in which the sheet is arranged in the form of rows and columns. Since the page breaks are not always evident, it is important to check what the printout will look like when preparing the sheet for printing. You may find that you need to change the orientation of the data so that it fits properly on the page. Portrait orientation is used for data that is longer than it is wide and Landscape orientation is better suited for wider data.
Option 1 – Use the Page Layout option
Step 1 – Change to the Page Break Preview view
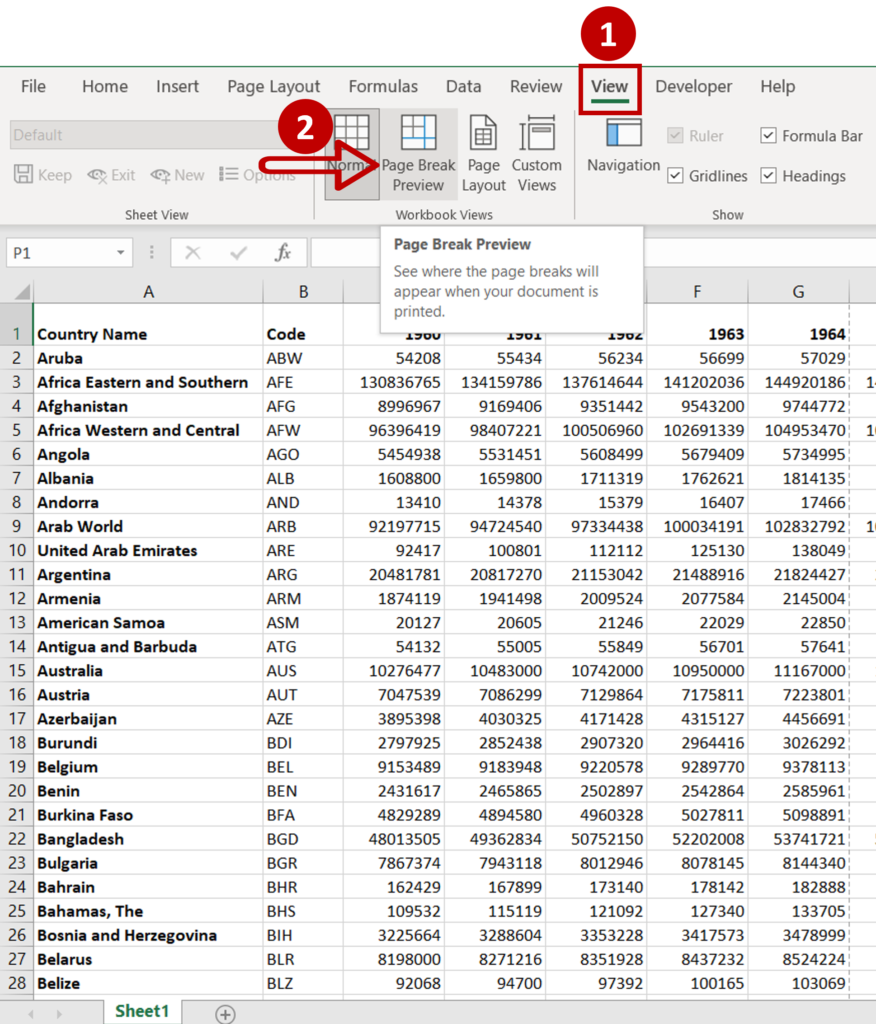
- Go to View > Workbook views
- Click on Page Break Preview
Step 2 – Change the orientation
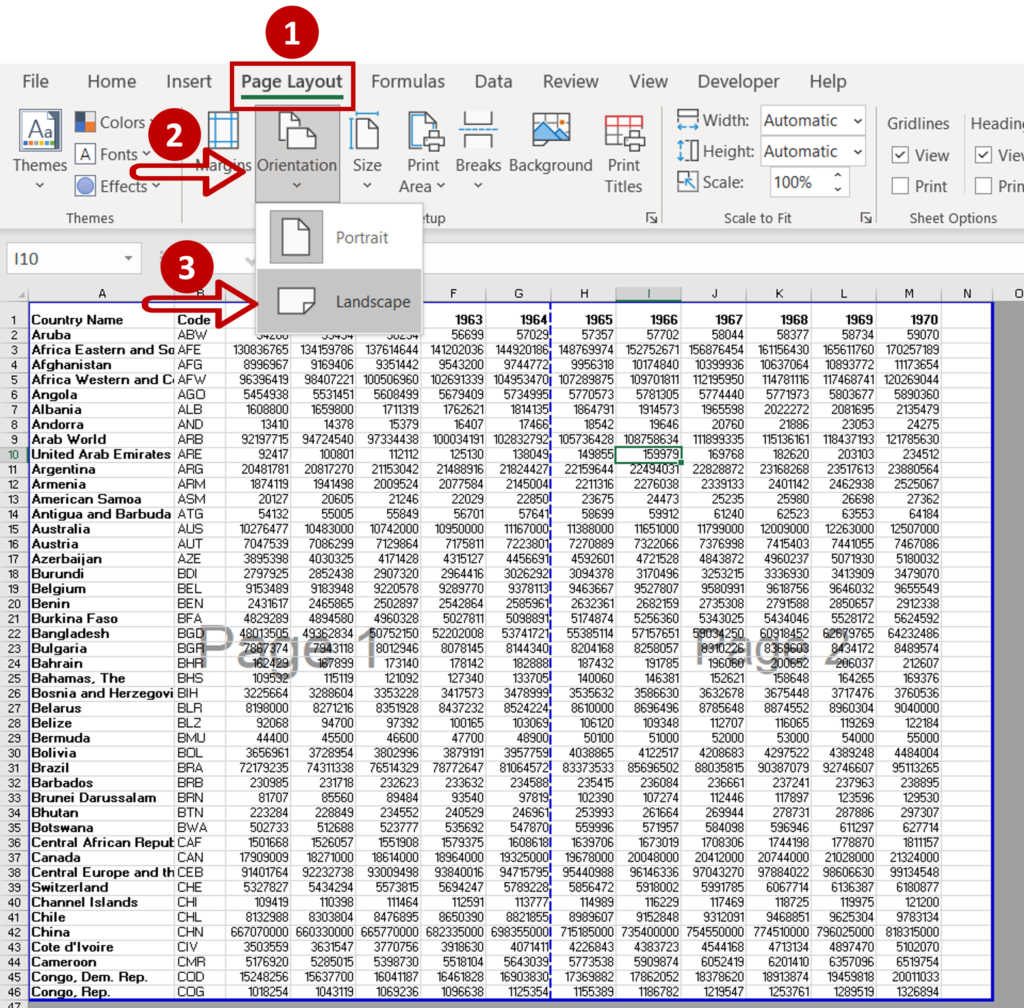
- Go to Page Layout > Page Setup
- Expand the Orientation menu
- Select Landscape
Step 3 – Check the result

- The arrangement of data on the page changes to fit the Landscape orientation
Option 2 – Use the Print Preview option
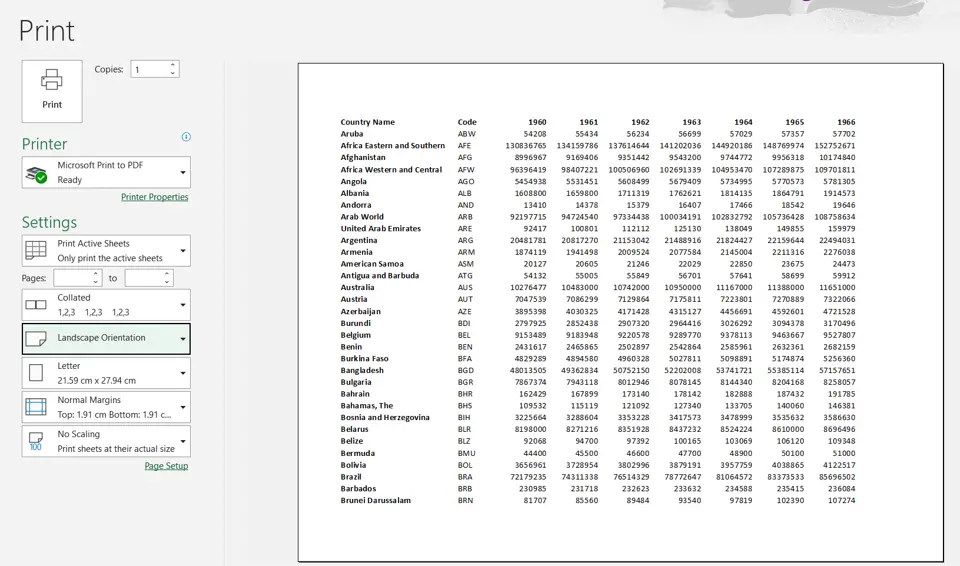
Step 1 – Open the Print box
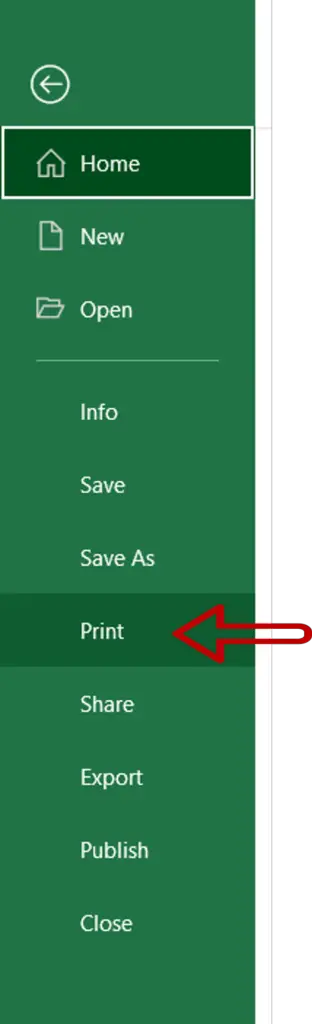
- Go to File > Print
Step 2 – Change the orientation
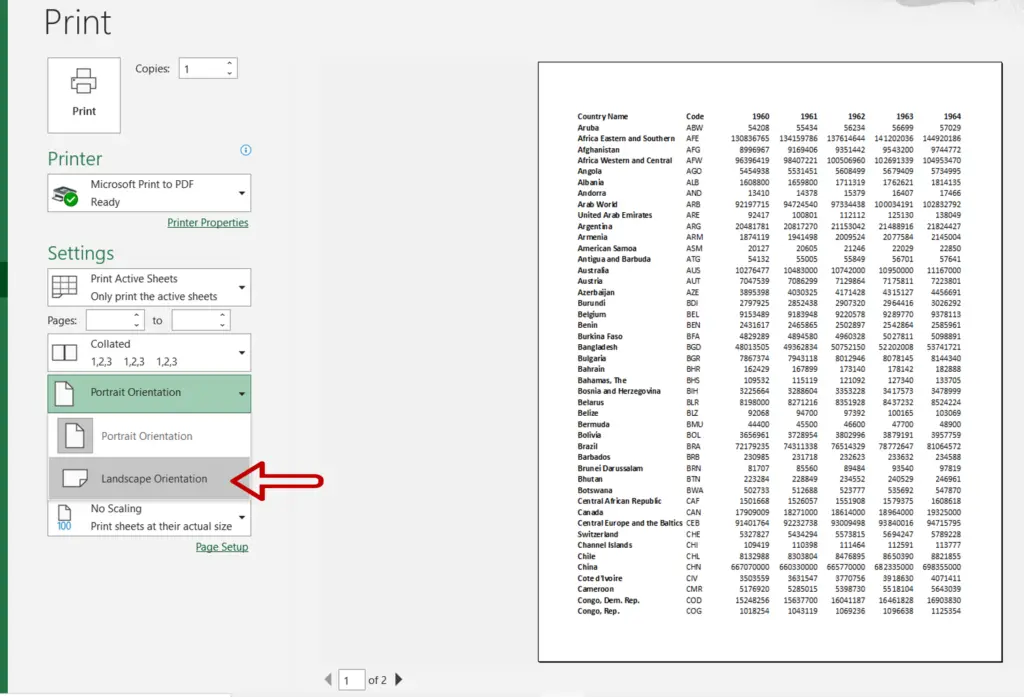
- Under Settings, choose the Landscape Orientation
Step 3 – Check the result
- The orientation of the page changes


