
How to change margins in Excel
 By
SpreadCheaters
By
SpreadCheaters
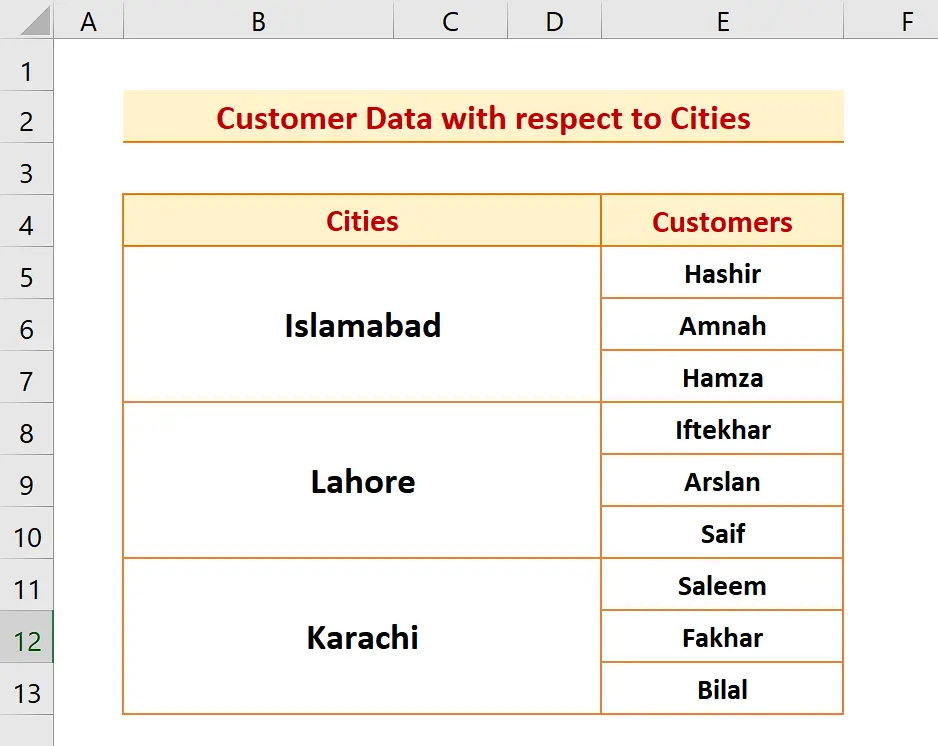
Let’s look at the dataset for example, where you have a table with data of customers arranged with respect to city names as shown above. We will learn how to change the margins for the print out by following the steps mentioned below.
In Excel, you might want to change the page margins in the print to make the data or header stand out and improve the readability of printed worksheets. Adjusting the margins can make it easier for others to understand the data in your worksheet. Additionally, appropriately chosen margins can make the printout of the worksheets look more professional and organized.
Step 1 – Insert the desired headers
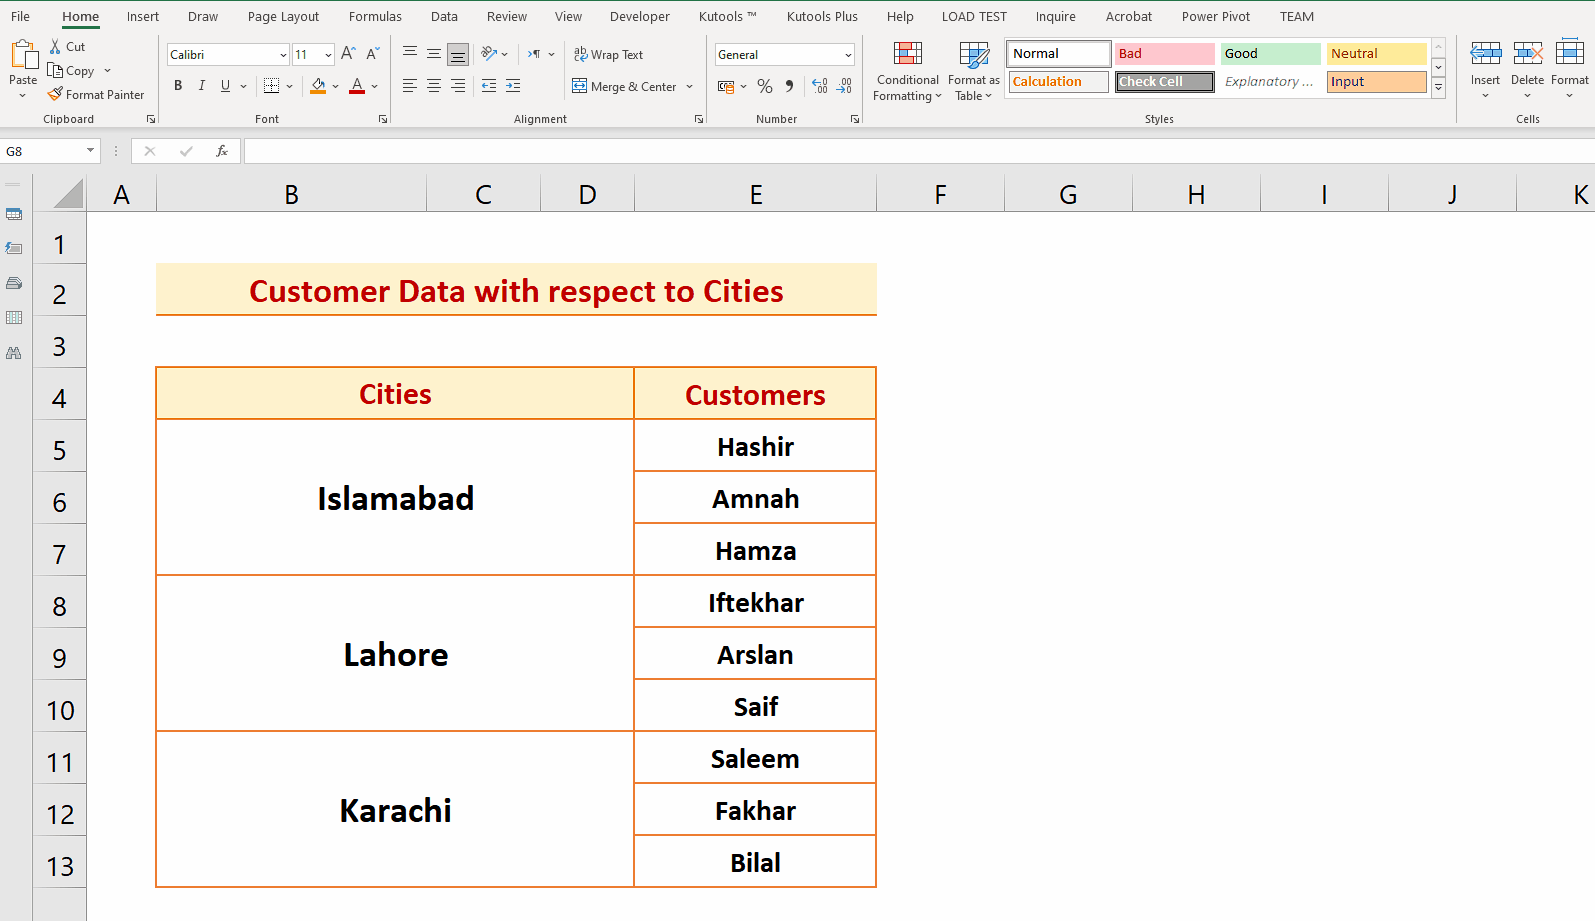
– From the list of main tabs, click on the Insert tab.
– In the Text group, click on the Header & Footer action button.
– This will change the view type and will provide you some options to put in various parameters in the header of the document. We’ll choose no. of pages, sheet name and current date for the sake of explanation, however, you may choose any other options depending upon your own requirements.
Step 2 – Change the margins to center the print data

– Now click on the Print Layout tab and click on the marked icon.
– This will open up a new dialog box and click on the Header/Footer tab.
– Click the check boxes next to Scale with document and Align with page margins.
– Now click on the Margins tab and in the Center on page field click the check boxes against Vertically and Horizontally.
– You can also adjust the page margins here by changing the values in the Left, Right, Top and Bottom fields. You can also adjust the space for header and footer in the same dialog box.
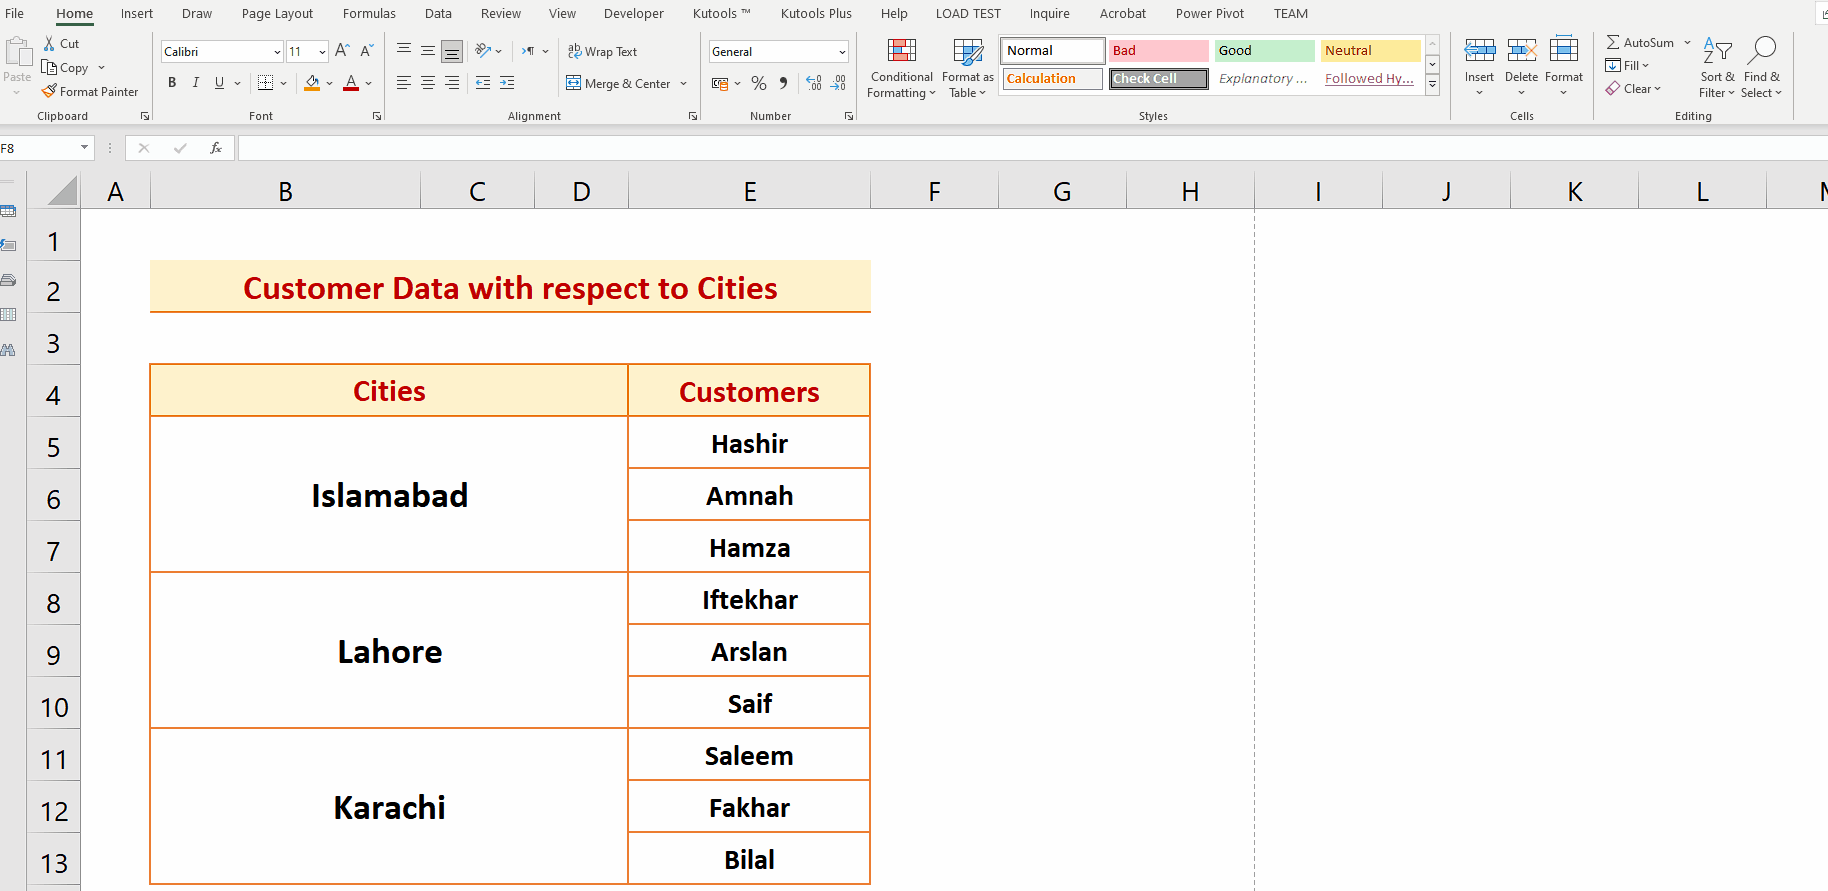
– Now click on Print Preview to see the headers and print data in the page as shown above.


