
How to change all cell sizes in Microsoft Excel
 By
SpreadCheaters
By
SpreadCheaters
Page last updated:
11/04/2023 |
Next review date:
11/04/2025
Adjusting all cell sizes in Microsoft Excel means changing the width and height of all cells in a worksheet to fit the content within them. This can be useful for formatting a large amount of data or making sure that the contents of each cell are visible and legible.
In this tutorial, we will learn how to change all cell sizes in Microsoft Excel. In Microsoft Excel changing cell sizes is a crucial task. This can be done by selecting all the cells and then using the “Row Height” and “Column Width” options or by manually adjusting one cell while selecting all the cells.
Method 1: Adjusting the All the Cell Sizes by Manually Adjusting a Cell
Step 1 – Select All the Cells

- Select all the cells in the sheet.
- This can be done by clicking on the triangle above the row headers and on the left of the column header or we can use the CTRL+A shortcut keys.
Step 2 – Adjust the Column Width of Any Cell
- Adjust the column width of any cell by dragging the borders of any of the column headers.
Step 3 – Adjust the Row Height of Any Cell
- Adjust the row height of any cell by dragging the borders of any of the row headers.
- The size of all the cells in the sheet will be adjusted.
Method 2: Using the Format Drop-down List to Adjust All Cell Sizes
Step 1 – Select All the Cells

- Select all the cells in the sheet.
- This can be done by clicking on the triangle above the row headers and on the left of the column header or we can use the CTRL+A shortcut keys.
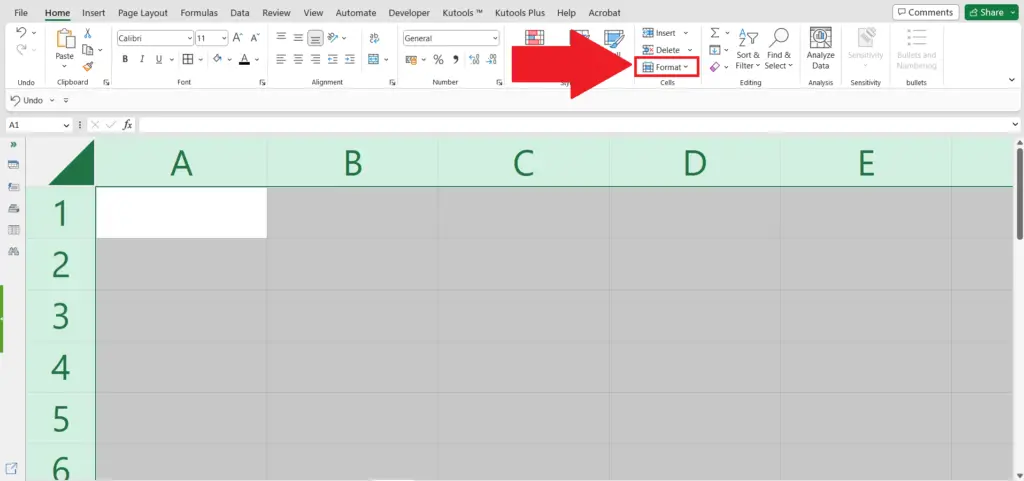
Step 2 – Click on the Format Button

- Click on the Format button in the Cells section of the Home tab.
- A drop-down list will appear.
Step 3 – Click on the “Row Height” Option
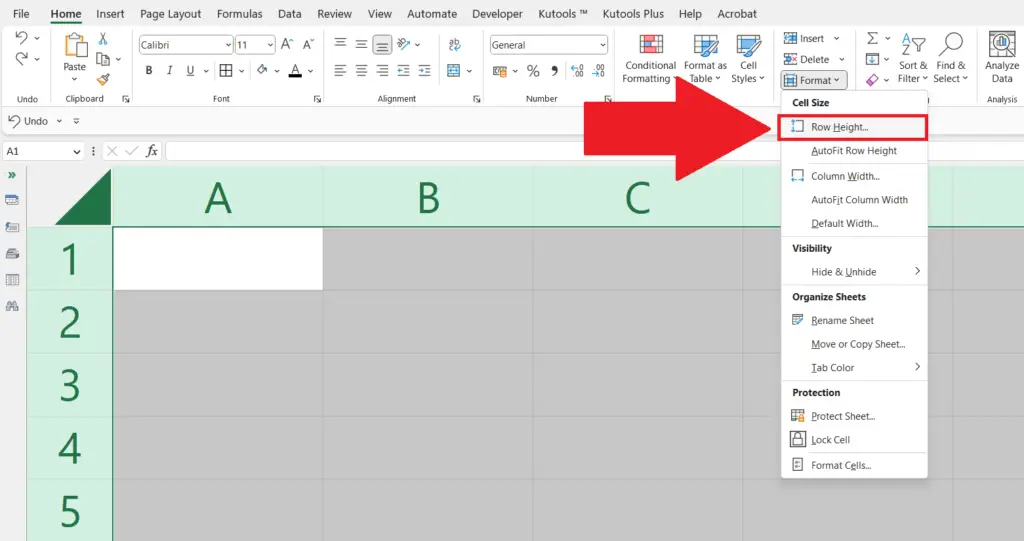
- Click on the “Row Height” option in the menu bar.
Step 4 – Adjust the Row Height and Click on OK

- Adjust the row height and click on OK in the dialog box.
Step 5 – Click on the Format Button
- Click on the Format button in the Cells section of the Home tab.
- A drop-down list will appear.
Step 6 – Click on the “Column Width” Option
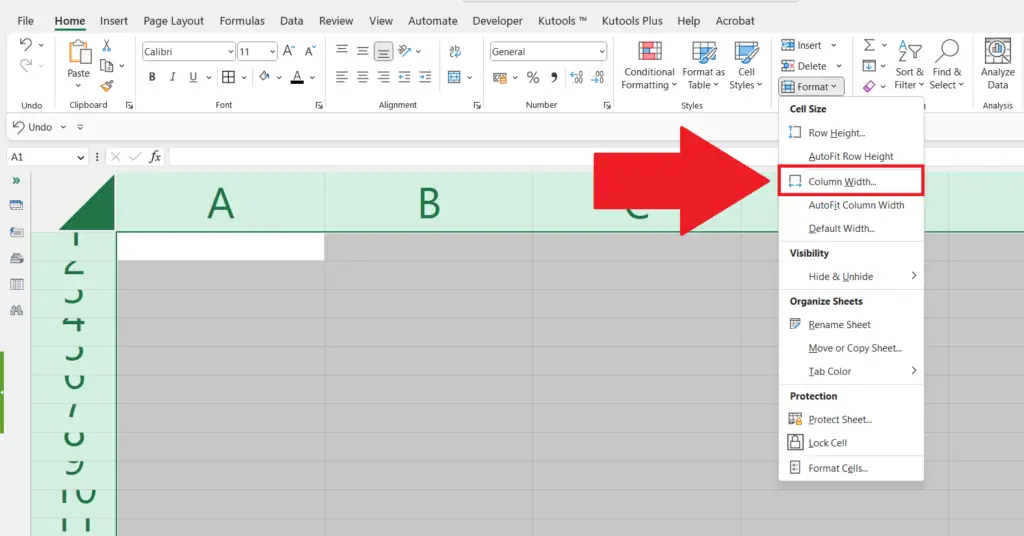
- Click on the “Column Width” option in the menu bar.
Step 7 – Adjust the Column Width and Click on OK

- Adjust the column width and click on OK in the dialog box.
- The size of all the cells will be adjusted.
Method 3: Adjust All Cell Sizes Using the “Row Height” and “Column Width” Options
Step 1 – Select All the Cells

- Select all the cells in the sheet.
- This can be done by clicking on the triangle above the row headers and on the left of the column header or we can use the CTRL+A shortcut keys.
Step 2 – Right-Click on Any of the Row Headers
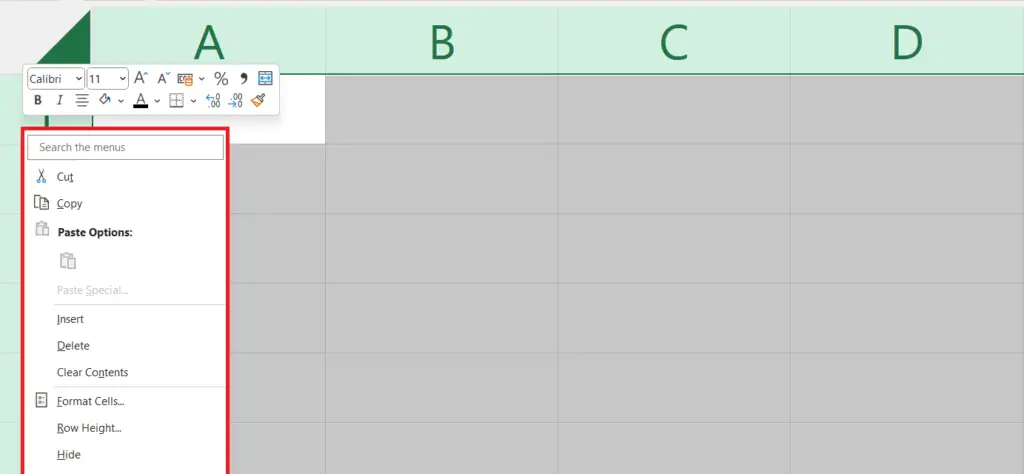
- Right-click on any of the row headers.
- A context menu will appear.
Step 3 – Click on the “Row Height” Option
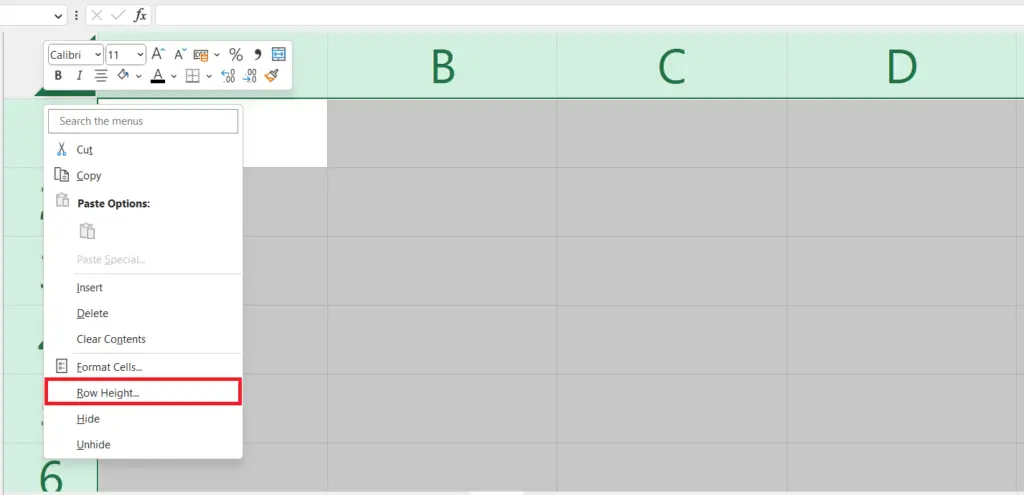
- Click on the “Row Height” option in the menu bar.
Step 4 – Adjust the Row Height and Click on OK
- Adjust the row height and click on OK in the dialog box.
Step 5 – Right-Click on Any of the Column Headers
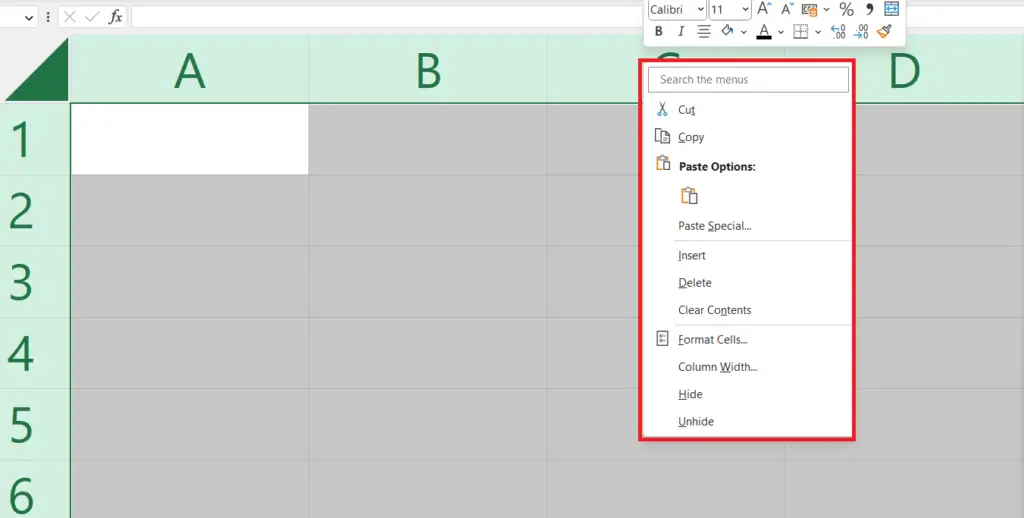
- Right-click on any of the column headers.
- A context menu will appear.
Step 6 – Click on the “Column Width” Option
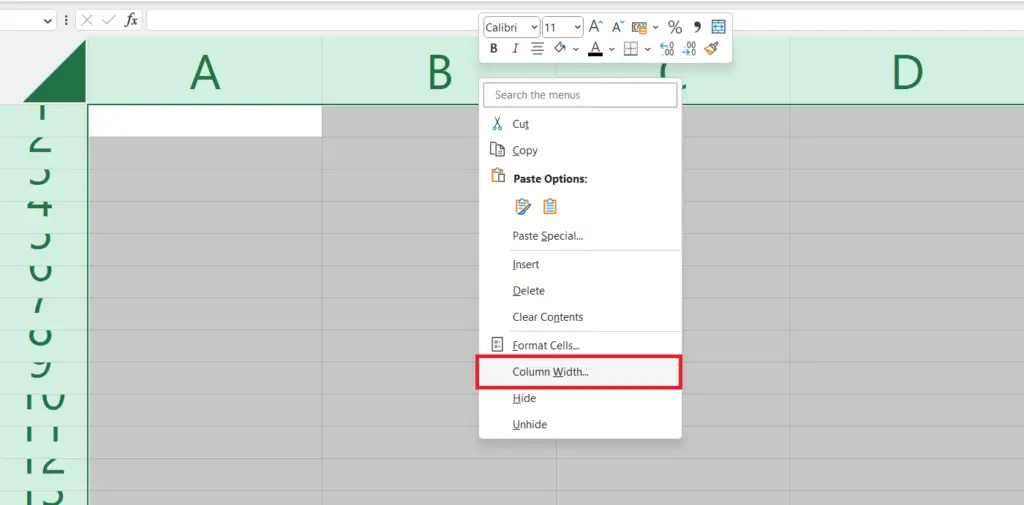
- Click on the “Column Width” option in the menu bar.
Step 7 – Adjust the Column Width and Click on OK

- Adjust the column width and click on OK in the dialog box.
- The size of all the cells will be adjusted.


