
How to autoformat in Microsoft Excel
 By
SpreadCheaters
By
SpreadCheaters
Page last updated:
06/06/2023 |
Next review date:
06/06/2025
By using the autoformat feature in Microsoft Excel, users can quickly and easily apply a pre-designed format to a selected range of cells or tables, resulting in a consistent and professional appearance for the entire worksheet. This can be a huge time-saver compared to manually formatting each cell individually.
In this tutorial, we will learn how to autoformat in Microsoft Excel. Microsoft Excel has built-in AutoFormat command. To access this command, users can simply navigate to the “Quick Access Toolbar”, which is a customizable toolbar that provides one-click access to commonly used commands. Once located on the toolbar, the Autoformat command can be activated by clicking on its icon.
Method 1: To include the AutoFormat Command in the “Quick Access Toolbar”, Utilize the “Customize Quick Access Toolbar” drop-down arrow
Step 1 – Activate the “Quick Access Toolbar”
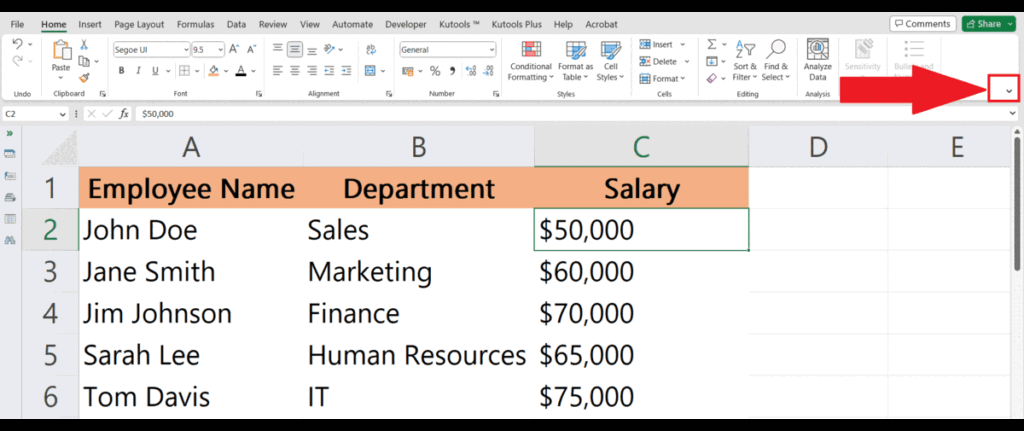
- Activate the “Quick Access Toolbar” by clicking on the “Ribbon Display Options” arrow at the bottom right corner of the ribbon.
- Perform click on the “Show Quick Access Toolbar” option.
Step 2 – Locate the More Commands Option
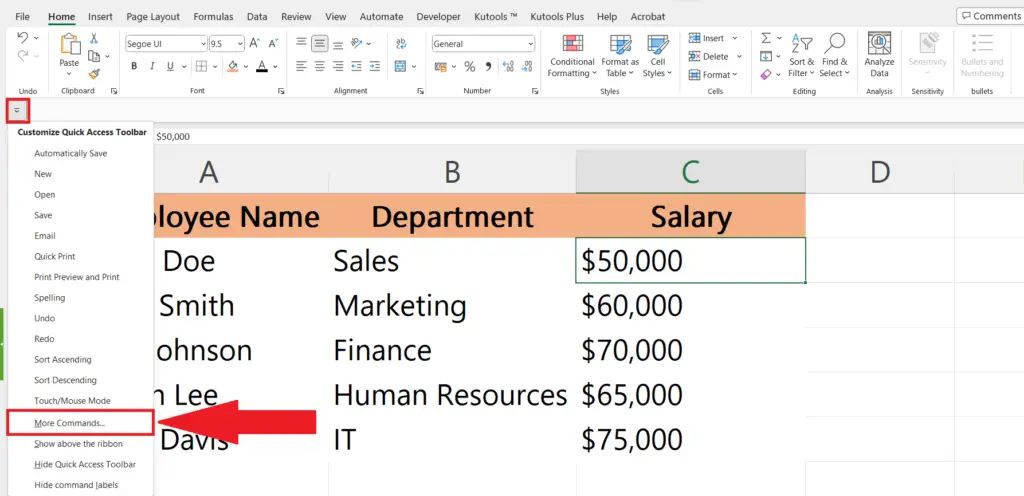
- Locate the More Commands option in the drop-down menu which becomes visible by clicking on the drop-down arrow for ‘Customize Quick Access Toolbar’.
Step 3 – Select the “All Commands” Option
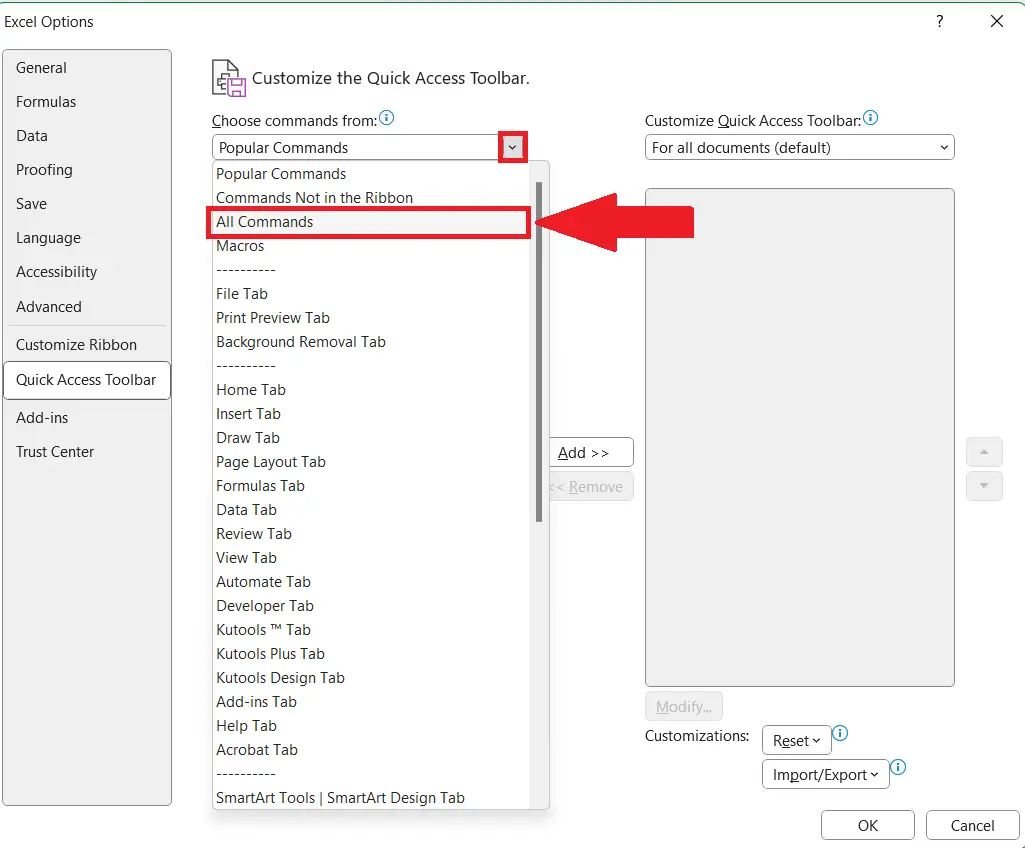
- Select the “All Command” option in the “Choose commands from:” menu.
Step 4 – Locate the AutoFormat Command and Add the Command

- Locate the AutoFormat command by scrolling down the list of All Commands.
- Now click on the ‘Add’ button to include the command in the “Quick Access Toolbar”.
Step 5 – Perform click on the ‘OK’ Button
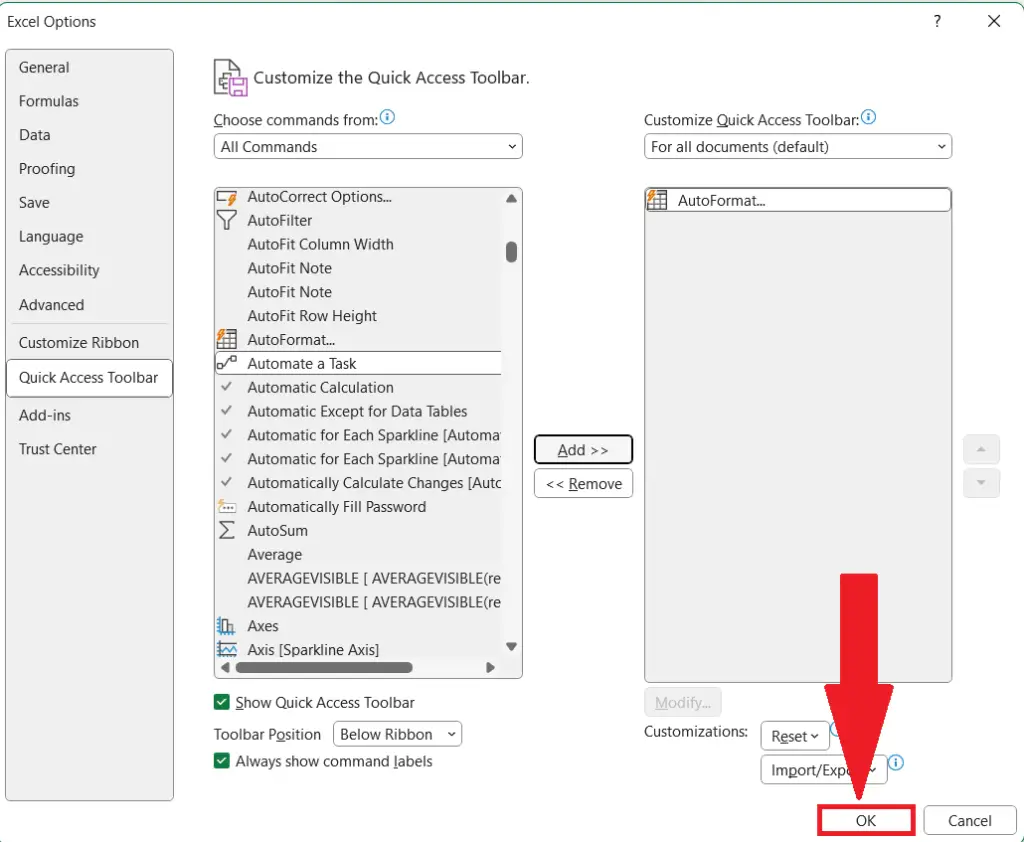
- Perform a click on the ‘OK’ button within the dialog box to close it.
Step 6 – Now Choose the Cells and Hit the AutoFormat Icon
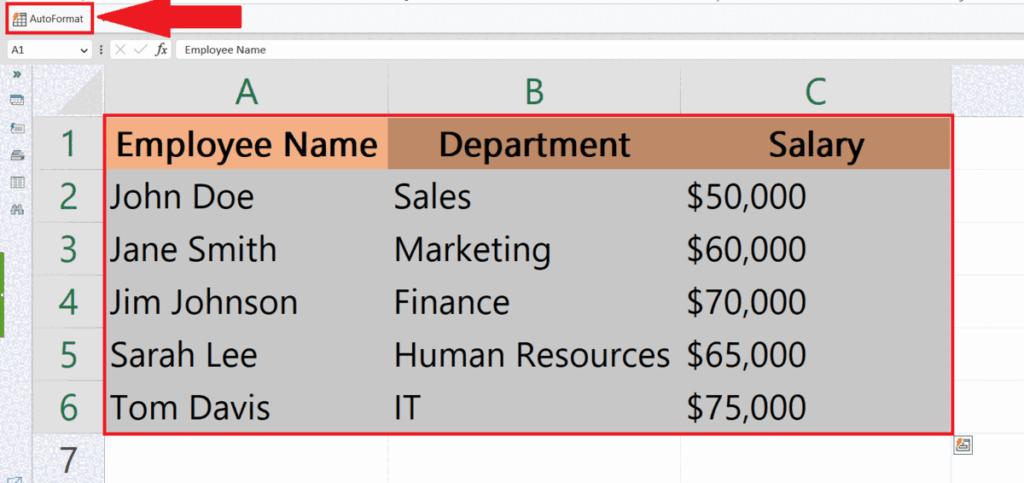
- Now Choose the cells to be auto-formatted.
- Hit the Autoformat icon to get the selected cells autoformatted.
Method 2: Adding the AutoFormat Command from the File Tab
Step 1 – Locate the File Tab
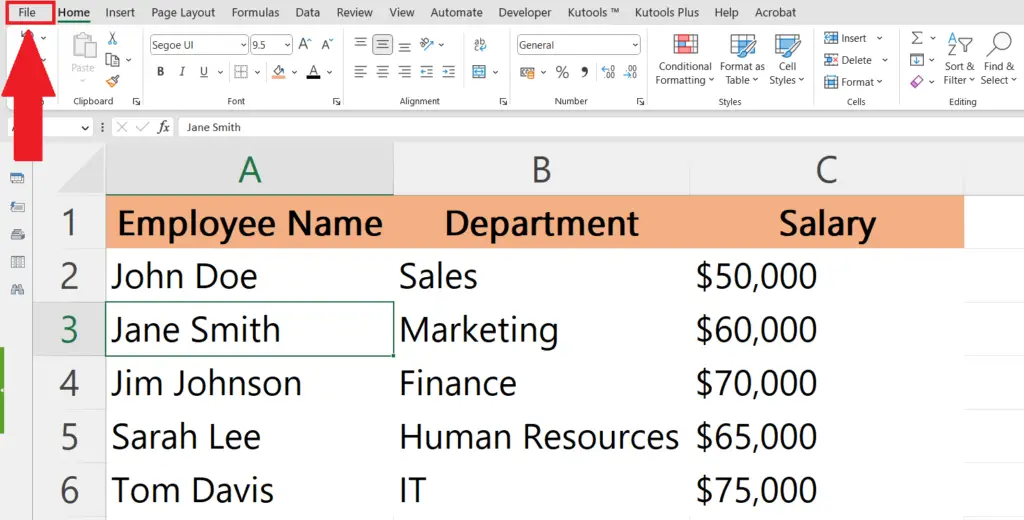
- Find the File tab in the menu bar
Step 2 – Perform a Click on the Options Button
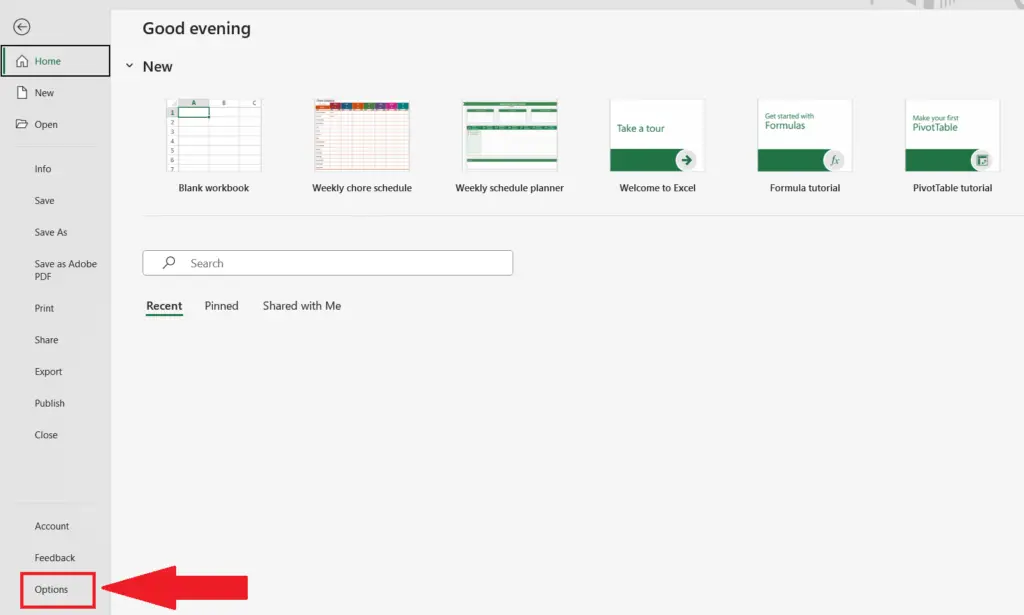
- Perform click on the options button located at the top-left corner of the File tab.
Step 3 – Choose the “Quick Access Toolbar” Option
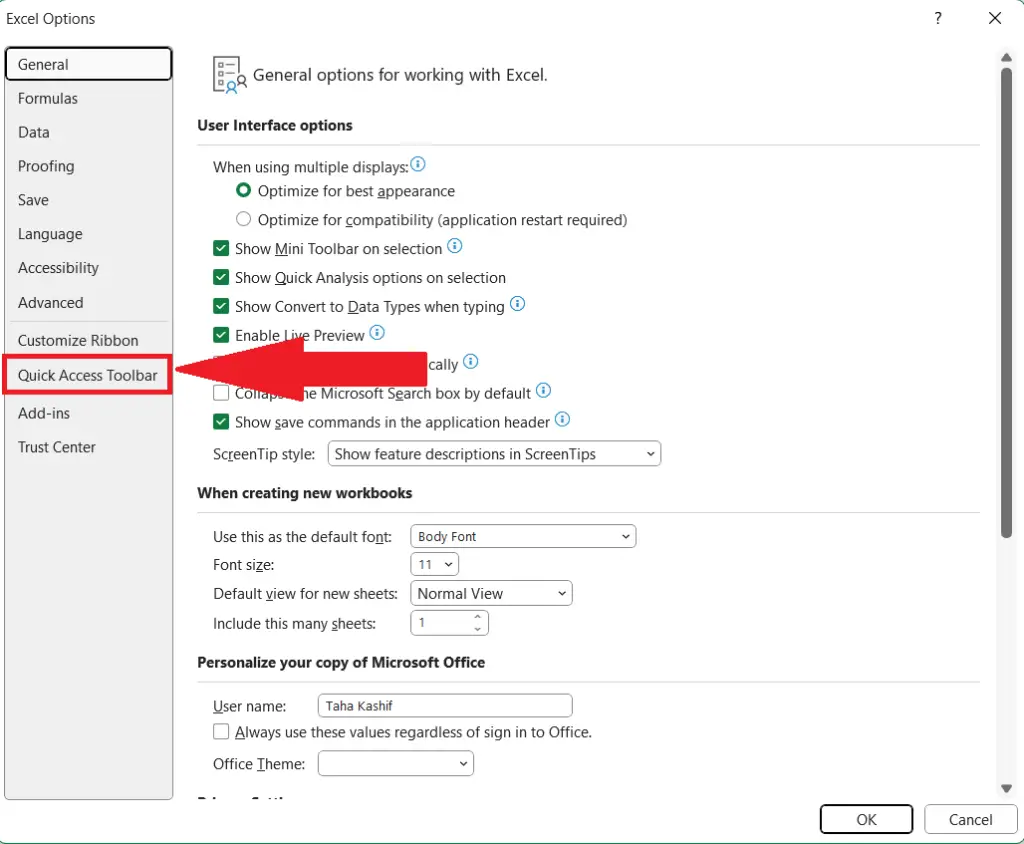
- Choose the “Quick Access Toolbar” option from the menu at the dialog box’s left.
Step 4 – Select the “All Commands” Option

- Select the “All Command” option in the “Choose commands from:” menu.
Step 5 – Locate the AutoFormat Command and Add the Command

- Locate the AutoFormat command by scrolling down the list of All Commands.
- To include the command in the “Quick Access Toolbar”, click on the ‘Add’ button.
Step 6 – Perform click on the ‘OK’ Button

- Perform click on the ‘OK’ button within the dialog box to close it
Step 7 – Now Choose the Cells and Hit the AutoFormat Icon

- Now Choose the cells to be auto-formatted.
- Hit the Autoformat icon to get the selected cells autoformatted.


