
How to auto-sum values of two columns into a third column in Excel
 By
SpreadCheaters
By
SpreadCheaters
Page last updated:
26/06/2023 |
Next review date:
26/06/2025
Excel provides a range of powerful functions that can simplify calculations and streamline data analysis. One common task is summing values from two separate columns into a single column. We will explore various techniques to automatically sum two columns into one, allowing you to quickly consolidate data and perform calculations with ease.
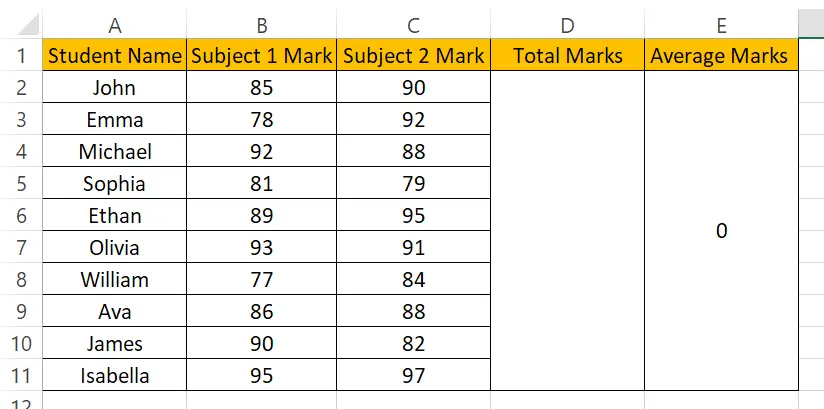
This dataset contains three columns which are Student Names, Subject 1 Mark, and Subject 2 Mark. We have to find Average Marks taken by students. For that, we’ll first have to sum the column of Subject 1 Mark and Subject 2 Mark in the Total Marks column. In this tutorial, we will learn how to auto-sum two columns into a third column. The dataset is shown below.
Method – 1 Using the Sum function
Step – 1 Type the formula

- Select the 3rd column(Total Marks) where the results will appear.
- Type the formula, syntax of the formula is
=SUM(Column_1:Column_2)
- In our case, the formula will be
=SUM(B:C)
Step – 2 Apply the formula.

- Once you have typed the formula press Enter.
Method – 2 Using the AutoSum feature
Step – 1 Go to the Editing group.

- Select the column (Total Marks) where the results will appear.
- In the Home tab go to the Editing group.
- After going into the Editing group click on Σ AutoSum.
- After clicking on Σ AutoSum. The formula will appear automatically in the 3rd column (Total Marks) to sum the first row of Subject 1 Mark and Subject 2 Mark.
- Stretch the selection such that all the values of the Subject 1 Mark and Subject 2 Mark are selected as shown below.
Step – 2 Apply the AutoSum.

- After selecting all the values in the first two columns(Subject 1 Mark and Subject 2 Mark), Hit Enter.


