
How to assign range names in Microsoft Excel
 By
SpreadCheaters
By
SpreadCheaters
Assigning range names in Excel means giving a descriptive name to a group of cells or a cell range, which can be used as a substitute for the cell or cell range reference in formulas, functions, and charts. This helps in Easier auditing and increased efficiency, flexibility, clarity, and readability.
In this tutorial, we will learn how to assign range names in Microsoft Excel. There are several methods to assign range names in Excel. One way is to select the cells you want to name and then use the Name box to enter the name. Another way is to use the Define Name feature to create and manage range names. Additionally, you can assign range names using the Create from Selection feature. The “Create from Selection” feature in Excel is a useful tool that automatically creates range names based on the labels or values in a selection.
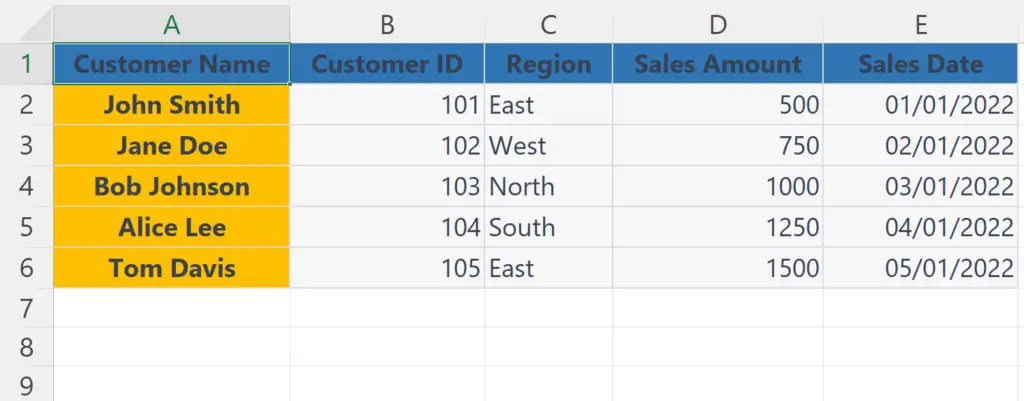
The data set contains information about the customers of a company, with each customer’s details listed in rows. Our objective is to generate a list of each customer using their names as named ranges.
Method 1: Using the Name Box
Step 1 – Select the Range of Cells
- Select the range of cells to which you want to assign a name.
Step 2 – Click on the Name Box
- Click on the name box prior to the formulae bar under the ribbon.
- The name box will be activated.
Step 3 – Enter the Name and Press the Enter Key
- Enter the name(without any space) to be assigned in the name box.
- Press the Enter Key.
- The name will be assigned to the selected range.
- Check if the named range is created by placing an equals sign in a cell and entering the assigned name.
Method 2: Using the Define Name Feature
Step 1 – Select the Range of Cells

- Select the range of cells to which you want to assign a name.
Step 2 – Go to the Formulas Tab
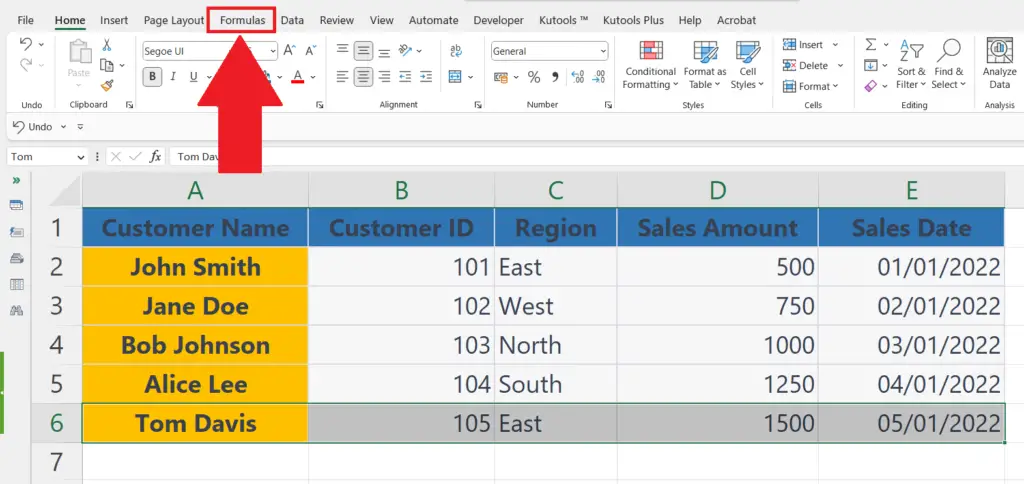
- Go to the Formulas tab in the menu bar.
Step 3 – Click on the Define Name Feature
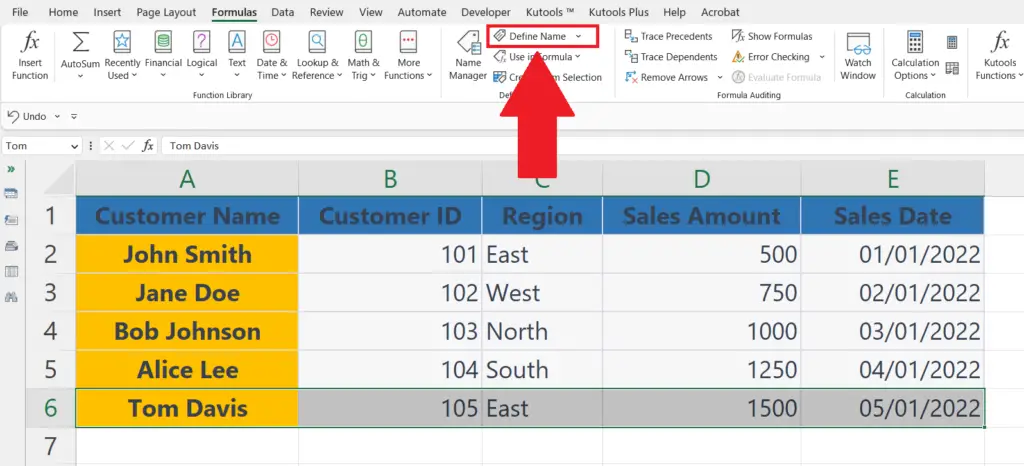
- Click on the Define Name feature in the Defined Names section of the Formulas tab.
- The New Name dialog box will appear.
Step 4 – Enter the Name
- Enter the name(without any space) to be assigned to the range in the “Name” field.
Step 5 – Click on OK
- Click on OK in the New Name dialog box.
- The name will be assigned to the selected range.
Method 3: Using the Create from Selection Feature
Step 1 – Select the Range of Cells
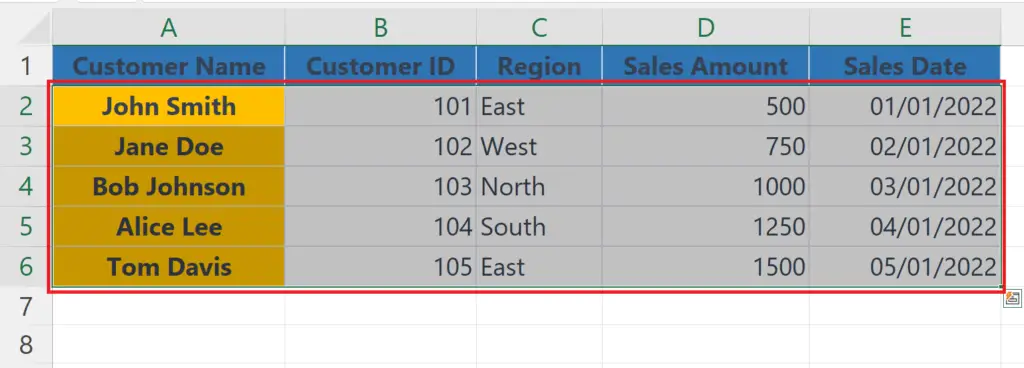
- Select the range of cells from which you want to create named ranges.
Step 2 – Go to the Formulas Tab
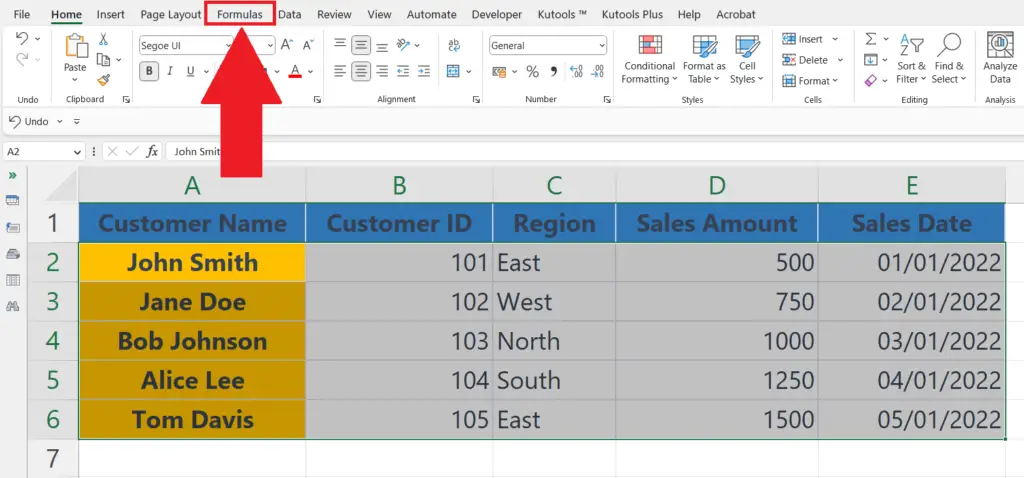
- Go to the Formulas tab in the menu bar.
Step 3 – Click on the Create from Selection Button
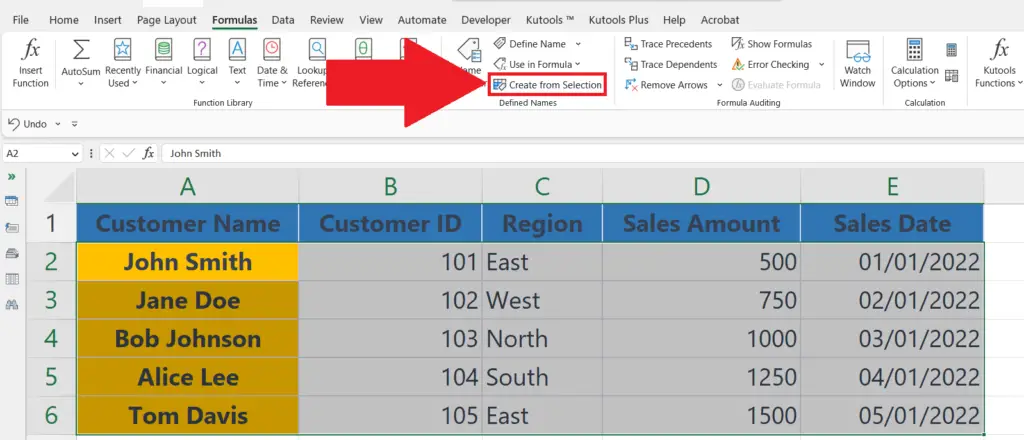
- Click on the Create from Selection button in the “Defined Names” section.
Step 4 – Select the Suitable Option
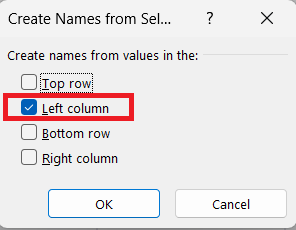
- Select the row or column containing the labels in the selected range, from the listed options.
- This can be done by checking the box with the option.
Step 5 – Click on OK
- Click on OK in the dialog box.
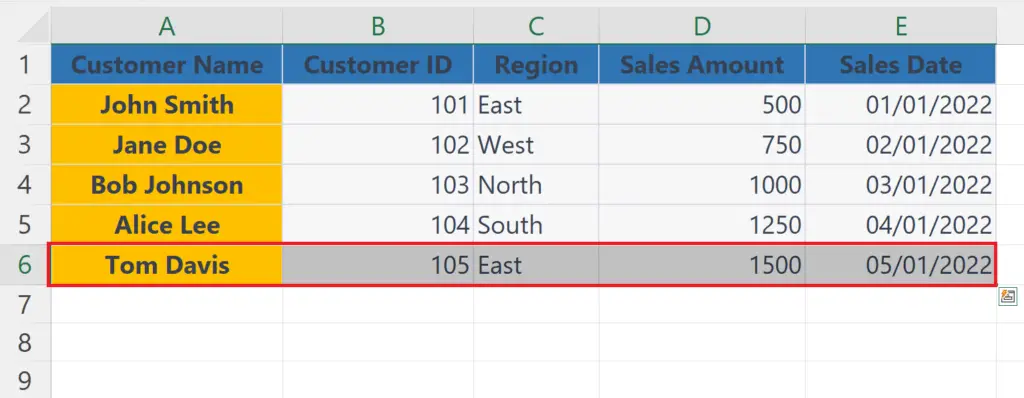
- Multiple named ranges will be created depending on the labels i.e. the row or column headers.
- You can check the created named ranges in the Name Manager.


