
How to apply thick outside borders in Excel
 By
SpreadCheaters
By
SpreadCheaters
Page last updated:
17/11/2022 |
Next review date:
17/11/2024
You can watch a video tutorial here.
Excel provides many options for formatting worksheets. One of the options is to create or remove a border for cells or a table. Borders help define the outline of a table and are a good option when formatting your sheet to make it look neater. Many types of borders can be added and you have the option to change the color, style, and thickness as well.
Option 1 – Use the preset option
Step 1 – Select the area
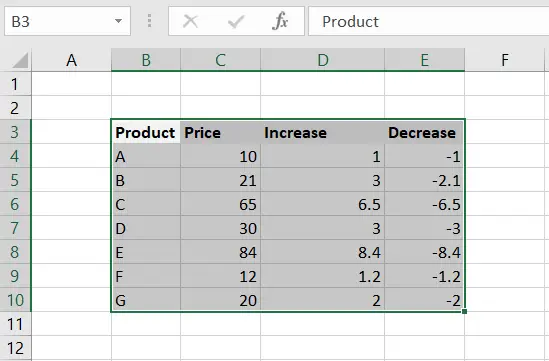
- Select the area for which the outside border is to be created
Step 2 – Choose the border
- On the Home menu, click the Borders button on the Font section
- On the drop-down menu, select the Thick Outside Borders option
Step 3 – Check the result
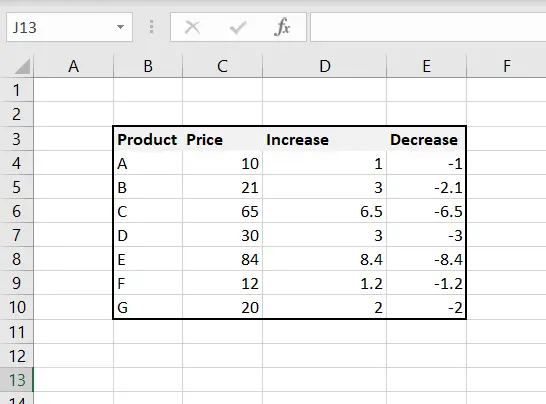
- A thick border is drawn around the selected area
Option 2 – Use the Format Cells option
Step 1 – Open the Format Cells window

- Select the area for which the border has to be added
Step 2 – Open the Format Cells window
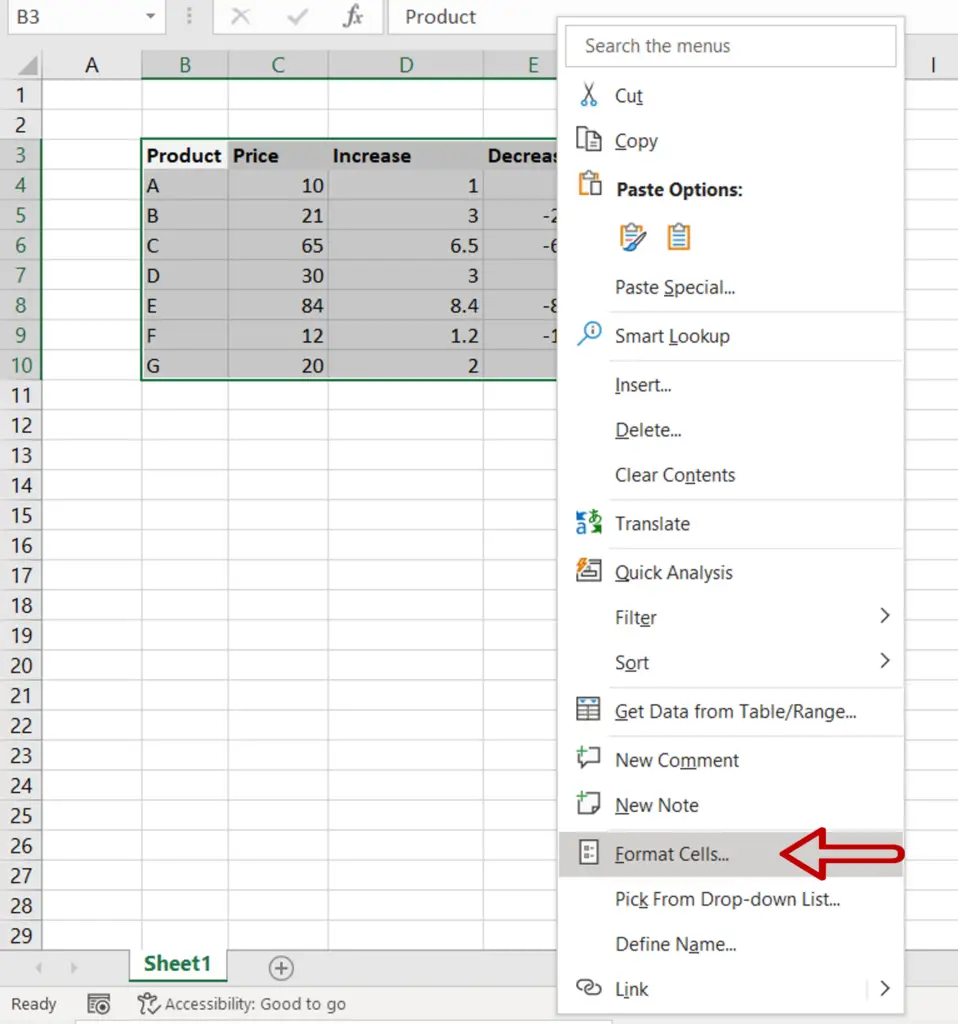
- Right-click and select Format Cells from the context menu
OR
Go to Home > Number and click on the arrow to expand the menu
OR
Go to Home > Cells > Format > Format Cells
OR
Press Ctrl+1
Step 3 – Choose the border to be added
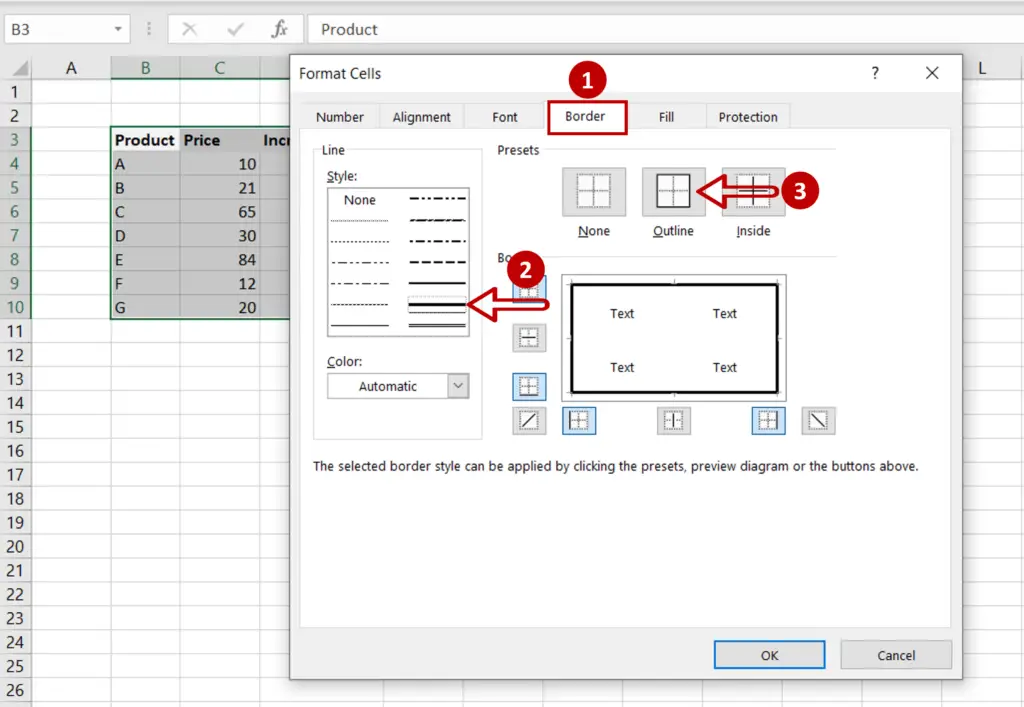
- Go to the Border tab
- Select a thick line under Style
- Select the Outline preset or click the outline border buttons or create the outline by clicking on the preview diagram
Step 4 – Check the result
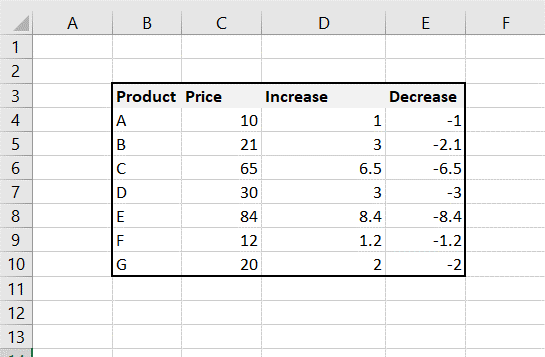
- A thick border outlines the selected area


