
How to alphabetize columns in Excel
 By
SpreadCheaters
By
SpreadCheaters
Microsoft Excel is one of the world’s best software to store data in different types. As it is famous in numeric calculation it can also store alphabetic data. Microsoft Excel has the capability to alphabetize the data in ascending and descending order.
In this tutorial we will learn how to arrange the column data in alphabetical order whether it is ascending or descending.
It has two methods;
Method 1 – Apply filter and alphabetize
In this method we will arrange data in ascending and descending order using filters. We can apply filters by using the short key CTRL + SHIFT + L or use the filter button in the data tab.
Step 1 – Apply short key and alphabetize
- Select the cell and press the short key.
- Dropdown icon will appear on all the columns of the first row.
- Click on ascending (Sort A to Z) or descending (Sort Z to A).
- As long as you press OK all the data will be alphabetized.
Method 2 – Use Sort button
In this method we can alphabetize the data in a more enhanced method. By using this method we can sort data in a more organised way with multiple conditions. If your data has headers check the check box at the right corner so that Excel would not apply sorting on that row.
If data does not contain a header then uncheck the box.
Step 1 – Select the data and sort
- Select the data .
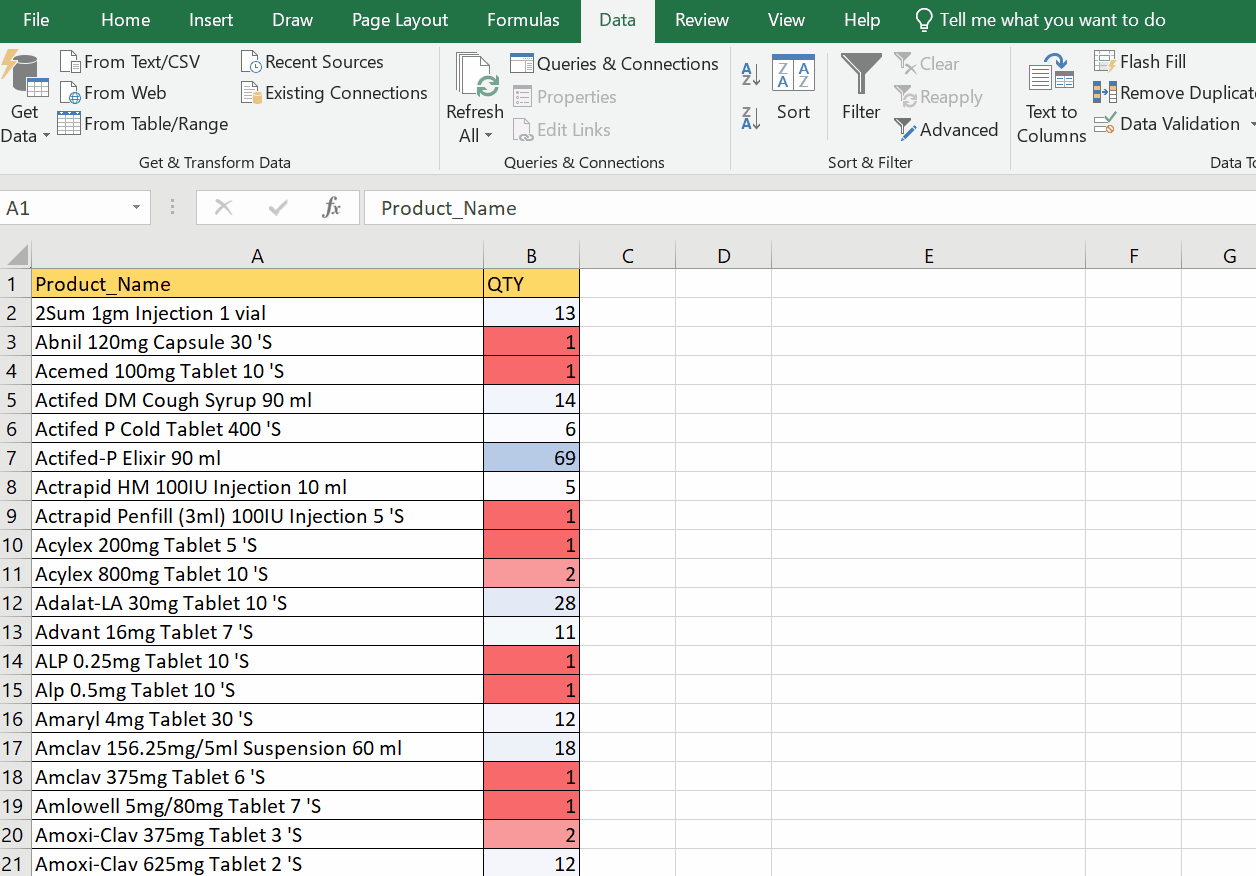
- Go to the DATA tab.
- Click on the Sort button.
- A dialog box will appear.
- In the column , select the name of the column you wish to alphabetize.
- In SORT ON , select the condition i.e if data has colours we can sort our data by referring to the colour.
- In the ORDER tab, we can select the alphabetic order whether ascending(A to Z) or descending(Z to A).
- Click OK.
- As soon as you press the ok button the data will be sorted.
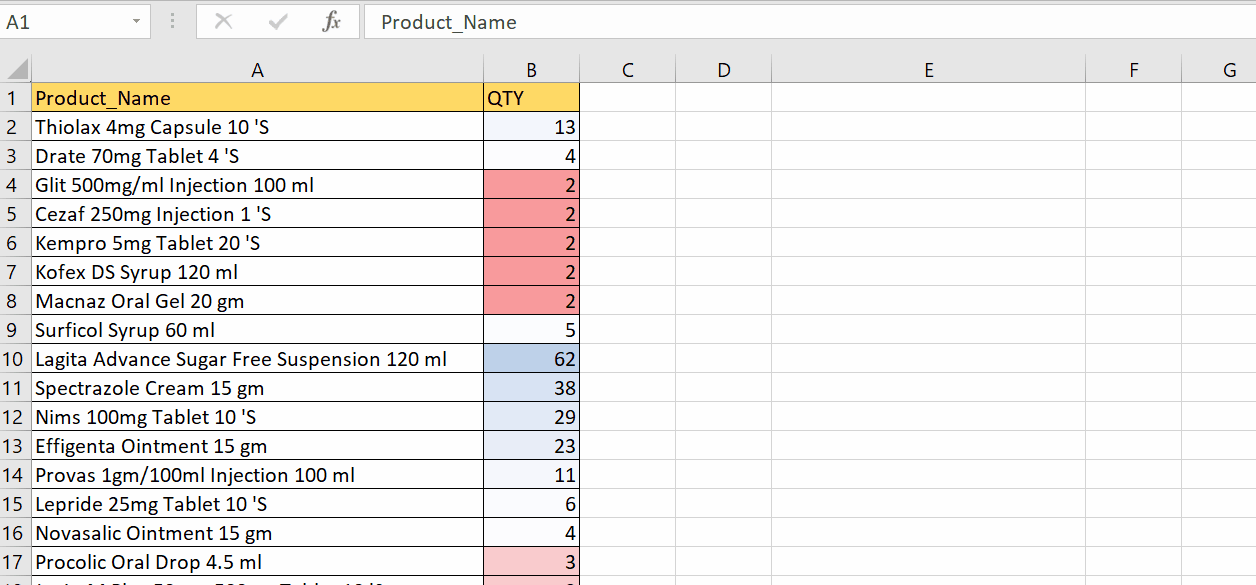
As shown in above animation we have alphabetized the data by different methods.


