
How to adjust margins in Microsoft Excel
 By
SpreadCheaters
By
SpreadCheaters
In this tutorial we will learn how to adjust margins in Microsoft Excel. Excel provides a convenient way to adjust margins, which can be accessed from the Page Layout tab on the ribbon menu. You can choose from a range of predefined margin options or customize your margins according to your specific needs. You can also adjust how the margins will look before printing by using the Print Preview feature.
In Excel, adjusting margins refers to changing the amount of space around the edges of a printed worksheet. The margins determine how close the text or other content appears to the edge of the printed page. Adjusting margins in Excel can be useful for fitting more content on a page, creating a professional-looking document, or ensuring that important information is not cut off during printing.
Step 1 – Go to the Page Layout Tab
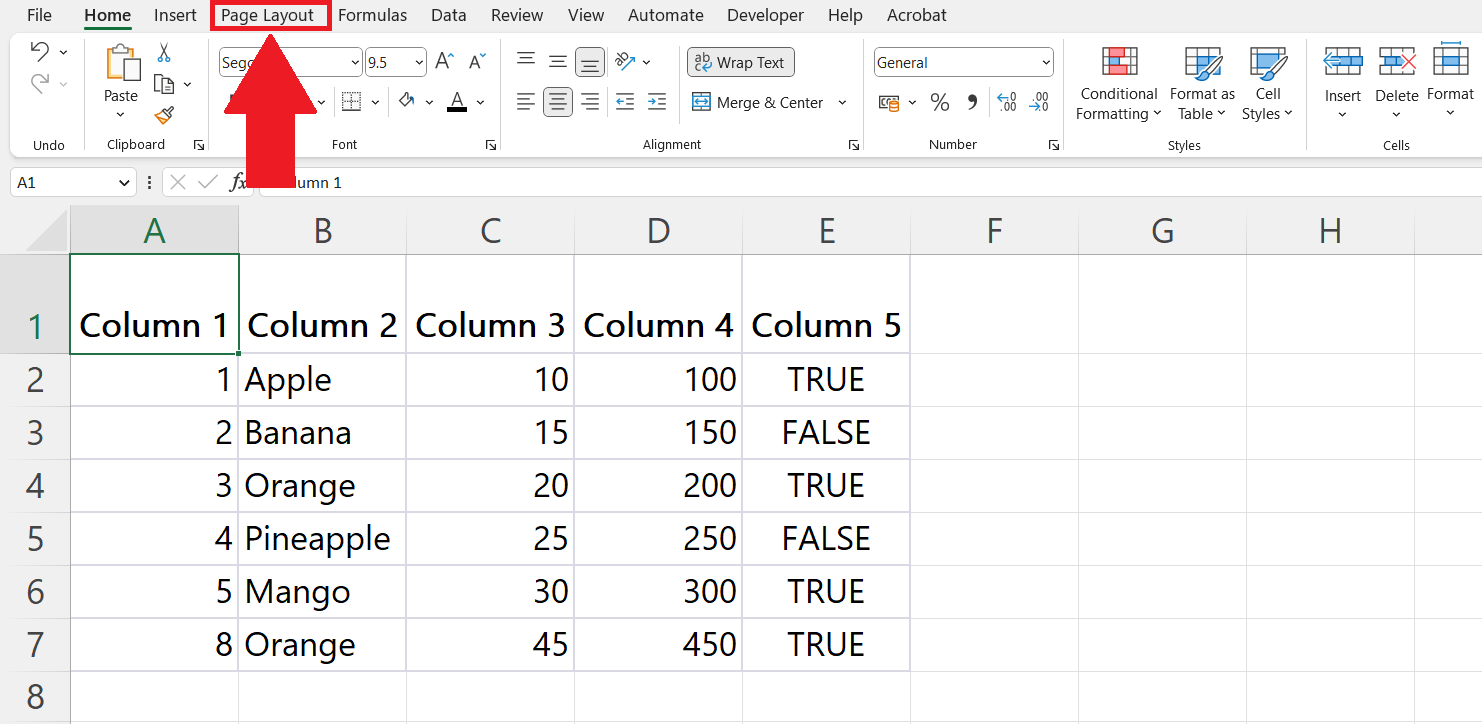
– Go to the Page Layout tab in the menu bar.
Step 2 – Click on the Margins Button
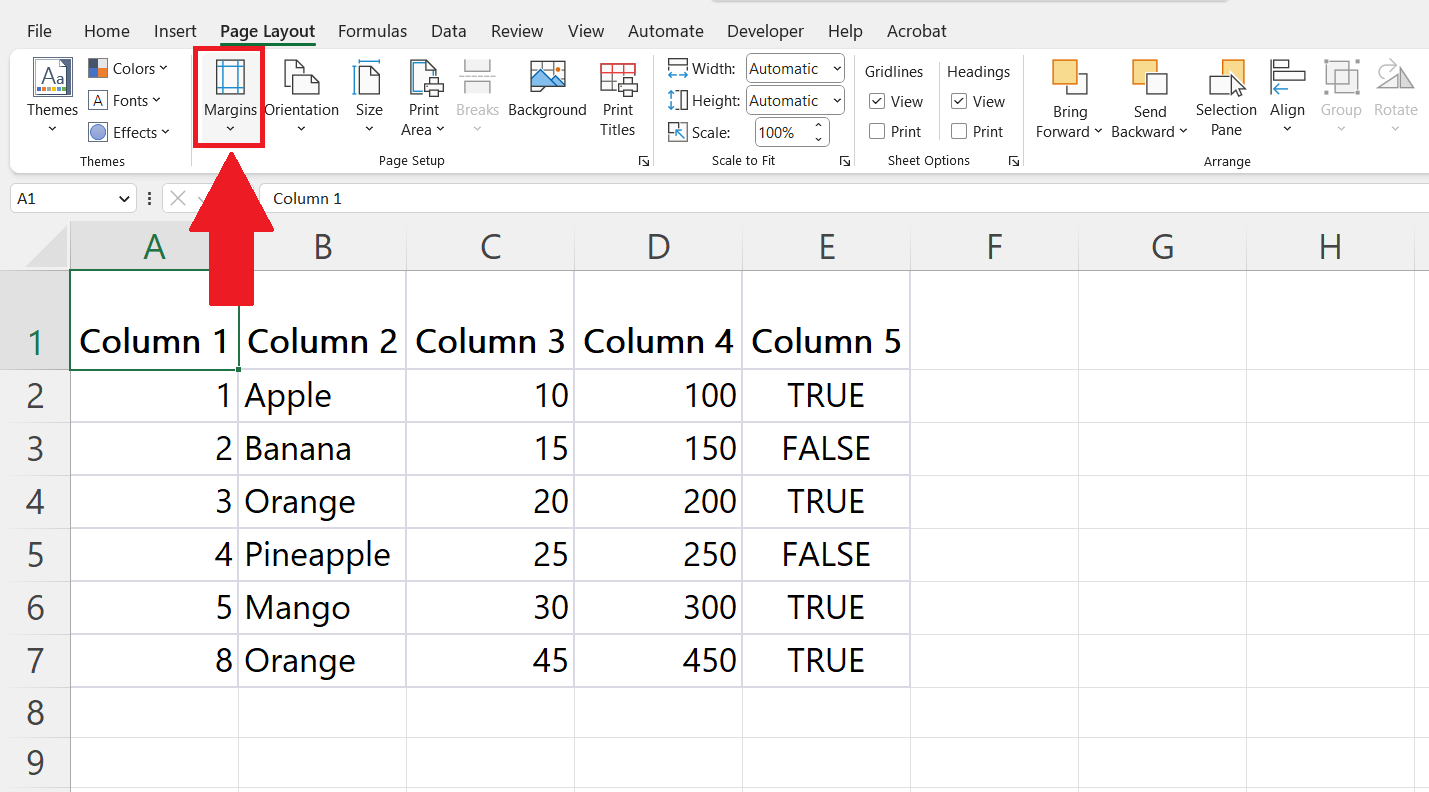
– Click on the Margins button in the Page Setup section.
– A drop-down menu will appear.
Step 3 – Click on the Customize Margins Option
– Click on the Customize Margins option in the drop-down menu.
– Page Setup dialog box will appear.
Step 4 – Enter the Desired Margin Size
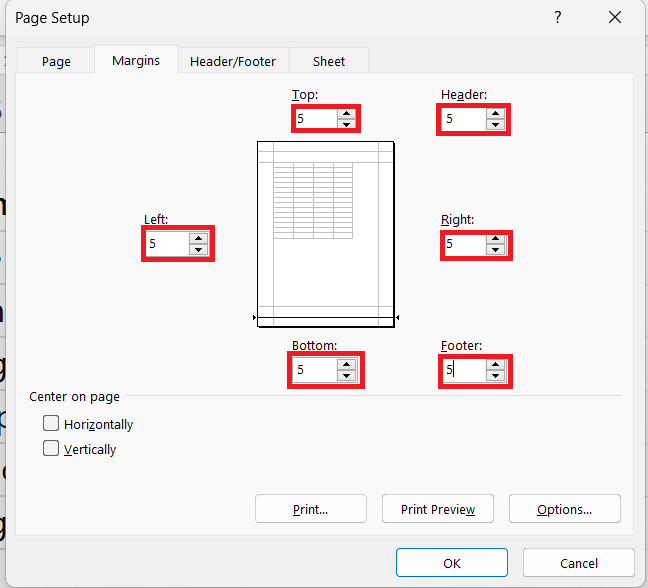
– In the “Page Setup” dialog box, you will see a set of four margin options: “Top”, “Bottom”, “Left”, and “Right”. Enter the desired margin size in inches or centimeters for each option. You can also adjust the “Header” and “Footer” margin sizes in the same way.
Step 5 – Click on OK

– Click on OK in the Page Setup dialog box.


