
How to adjust Line Spacing in Microsoft Excel
 By
SpreadCheaters
By
SpreadCheaters
Page last updated:
01/02/2023 |
Next review date:
01/02/2025
Microsoft Excel is a spreadsheet software that allows users to organize, format, and calculate data using various tools and functions. It is widely used for tasks such as budgeting, financial analysis, data visualization, and more. The program provides a user-friendly interface and supports multiple file formats, making it accessible for both personal and professional use.
In this tutorial we will learn how to change line spacing in a cell. Line spacing in a cell refers to the vertical distance between lines of text within a single cell in a spreadsheet. It determines the amount of white space above and below each line of text, and affects the overall appearance of the cell’s contents.
Method 1: Decrease spacing of text in a cell
Step 1 – Right click the cell and click on format cell
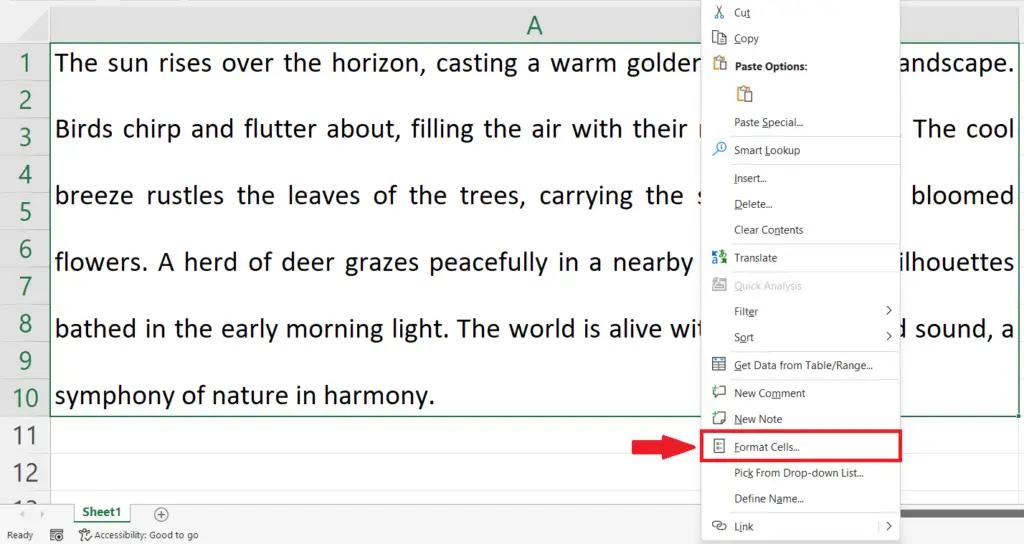
- Right click in the cell containing the text.
- A pop-up menu will appear.
- Click on on the Format option
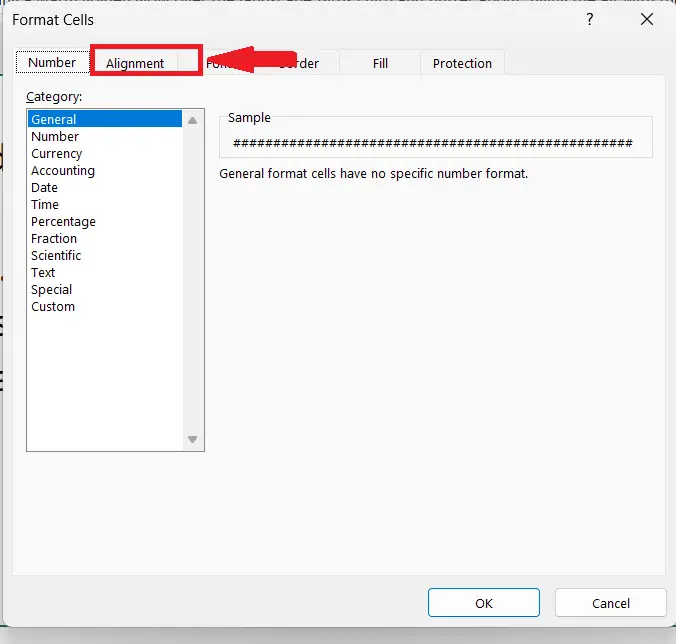
Step 2 – Go to Alignment
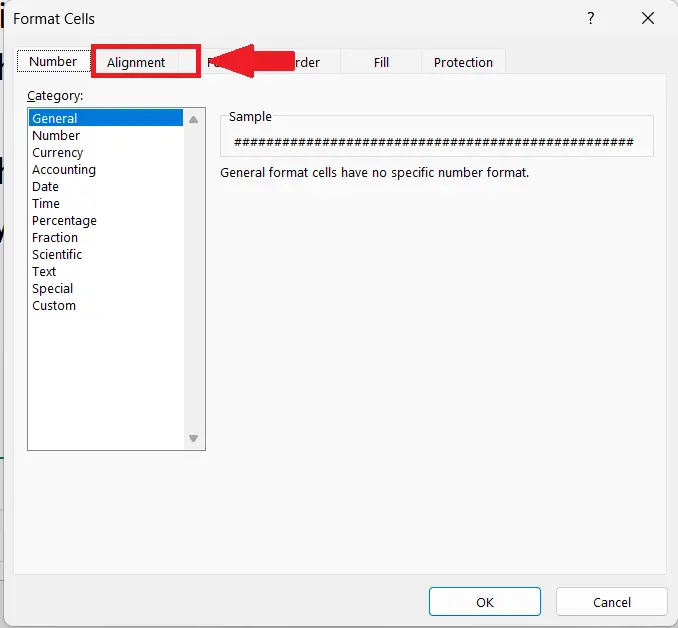
- Go to the Alignment option in the top of the Format cell Dialog box.
Step 3 – Change the vertical alignment
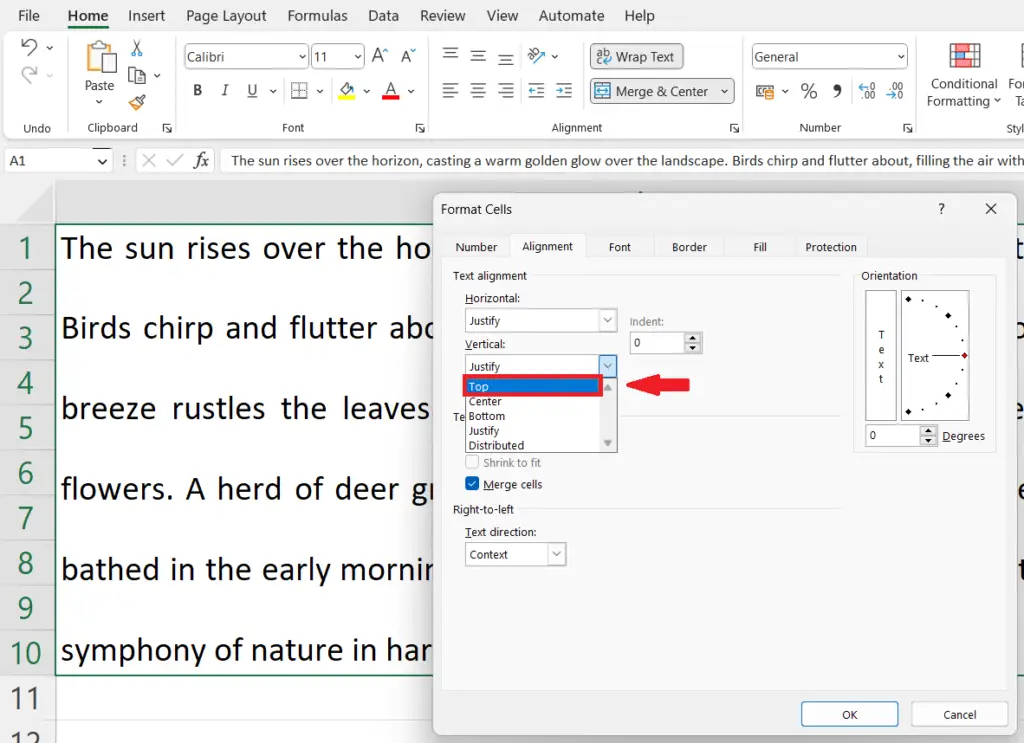
- Change the vertical alignment to top,bottom or center as per the requirement.
Step 4 – Click on Ok

- Click ok on the Format cells Dialog box.
- The line spacing of text will be decreased.
Method 2: Increase spacing of text in a cell
Step 1 – Right click on the cell and click on format cell
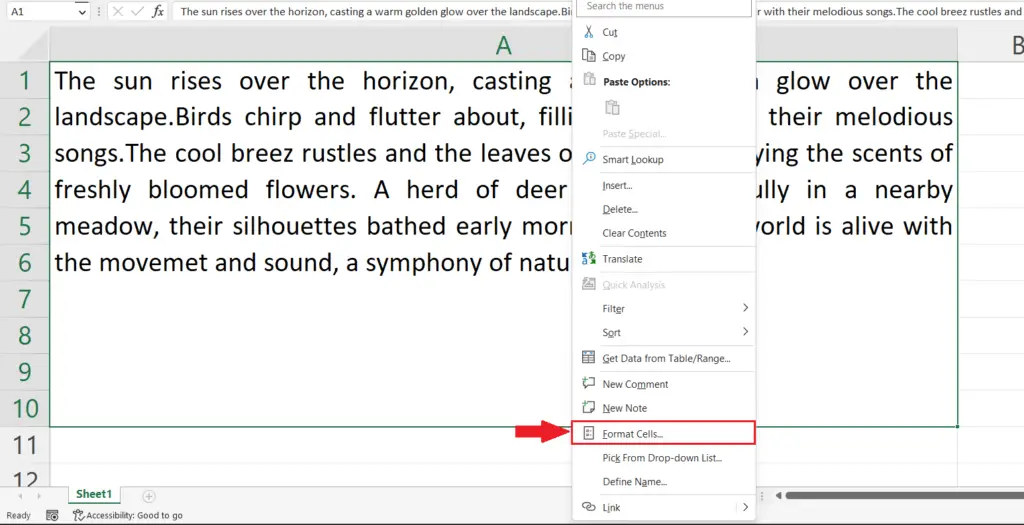
- Right click in the cell containing the text.
- A pop-up menu will appear.
- Click on on the Format Cells option
Step 2 – Go to Alignment
- Go to the Alignment option in the top of the Format cells Dialog box.
Step 3 – Change the vertical alignment
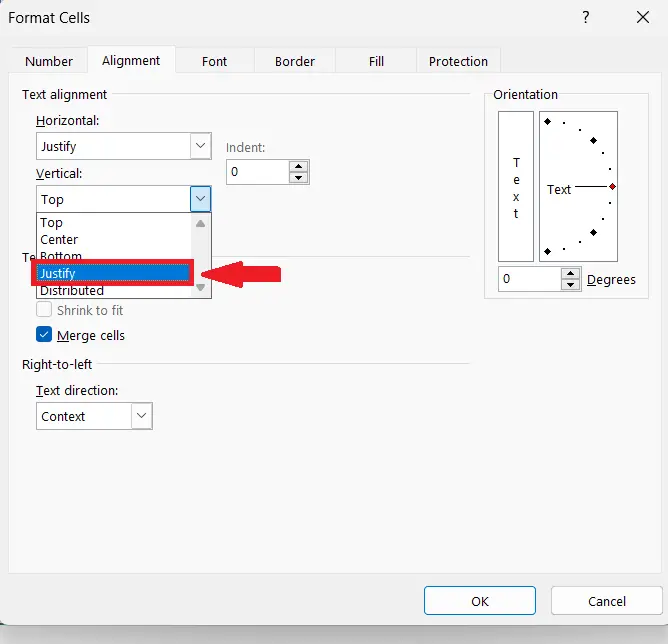
- Change the vertical alignment to “Justify” if you have empty white space in the cell and you want to fill it.Justify adjusts to fill all the space.
Step 4 – Click on Ok
- Click on Ok in the Format cells dialog box.
- The line spacing of the text will be increased.
Method 3: Use the Text Box to adjust line spacing in a cell
Step 1 – Cut all the text in the cell
- Double click on the cell and select all the text .
- Press Ctrl + X to cut the text.
Step 2 – Go to the Insert tab
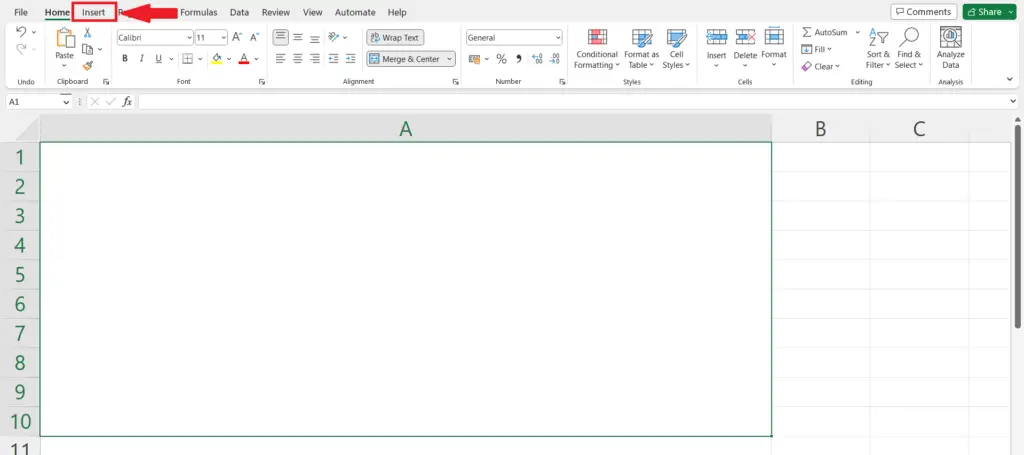
- Go to the Insert tab in the menu bar.
Step 3 – Select text box
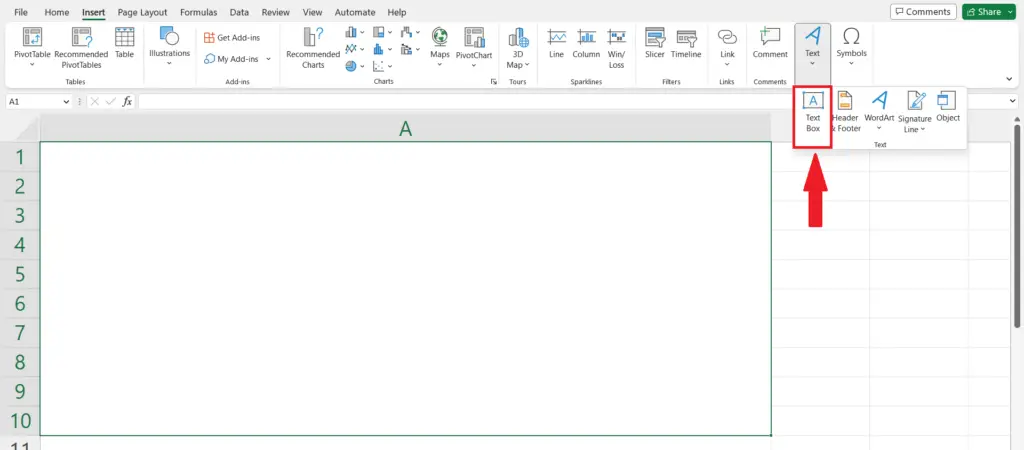
- Click on the Text option on the right end of the Tool bar .
- Select the Text Box.
Step 4 – Place it on the targeted cell

- Click on the targeted cell where you want the text to be.
- Adjust the size of the text box using selection squares at the edges.
Step 5 – Paste the text
- Press Ctrl + V to paste the text inside the Text box.
Step 6 – Right click and click on Paragraph
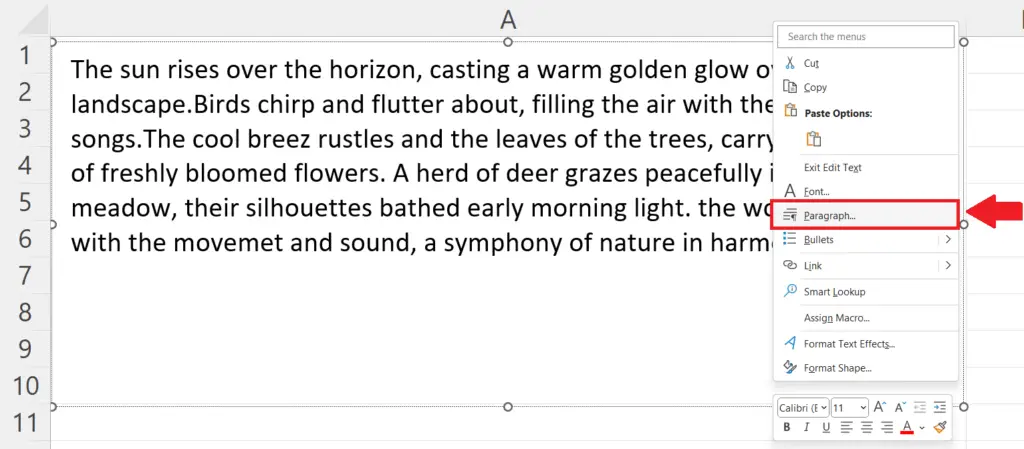
- Right click on the Text box.
- Click on the Paragraph option in the pop-up menu.
Step 7 – Adjust the Line spacing
- Adjust the line spacing using the given options as per the requirement and click on Ok.
- The Line spacing will be adjusted.


