
How to add years in Microsoft Excel
 By
SpreadCheaters
By
SpreadCheaters
In this tutorial we will learn how to add years in Microsoft Excel. Excel provides users with various options for adding years to a date, and one of the simplest methods is to use the DATE function. When a numeric value is added directly into a date in Excel, it is assumed to be an addition to the day by default. To add years in a date we use the DATE function. This function allows you to add a specific number of years to an existing date by specifying the year, month, and day as its arguments. The DATE function accepts 3 arguments i.e. YEAR, MONTH and DAY.

Adding years in Excel has a wide range of applications, including calculating ages, maturity dates of investments, and expiration dates of contracts or licenses. This feature can also be used to forecast future dates for financial or business planning purposes. By leveraging Excel’s powerful date and time functions, users can streamline their calculations and analysis, saving time and increasing productivity.
Step 1 – Select a Blank cell
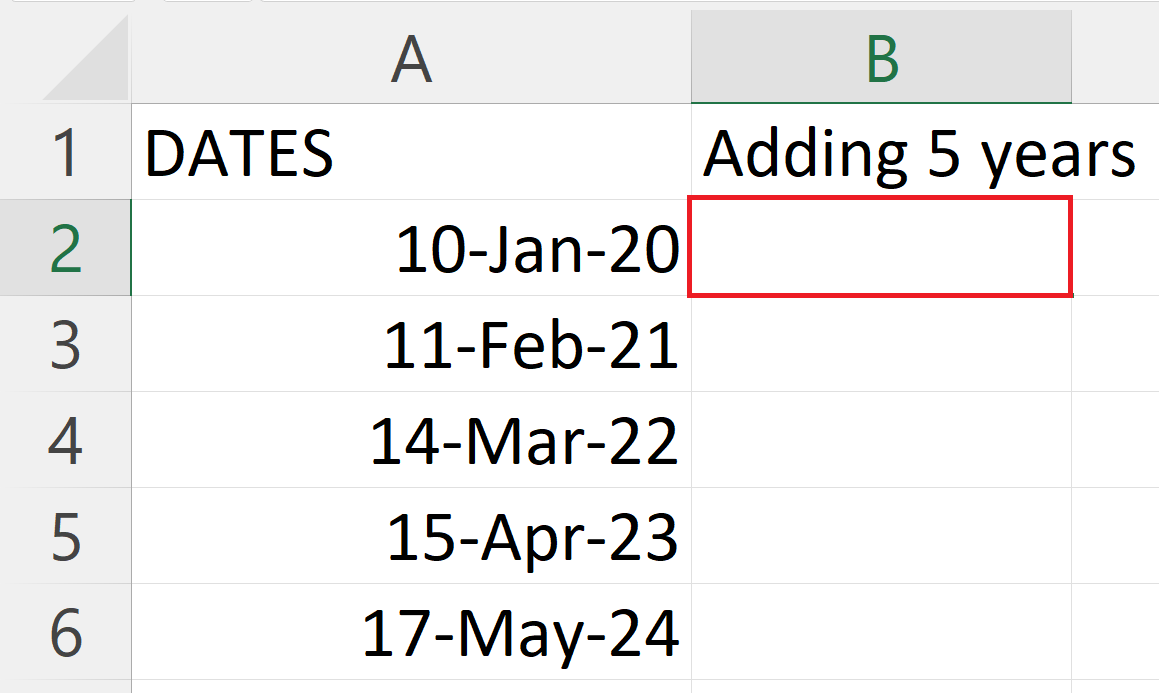
– Select a blank cell where you want to add years into a date.
Step 2 – Place an Equals Sign

– Place an Equals sign ( = ) in the blank cell.
Step 3 – Use the Date Function
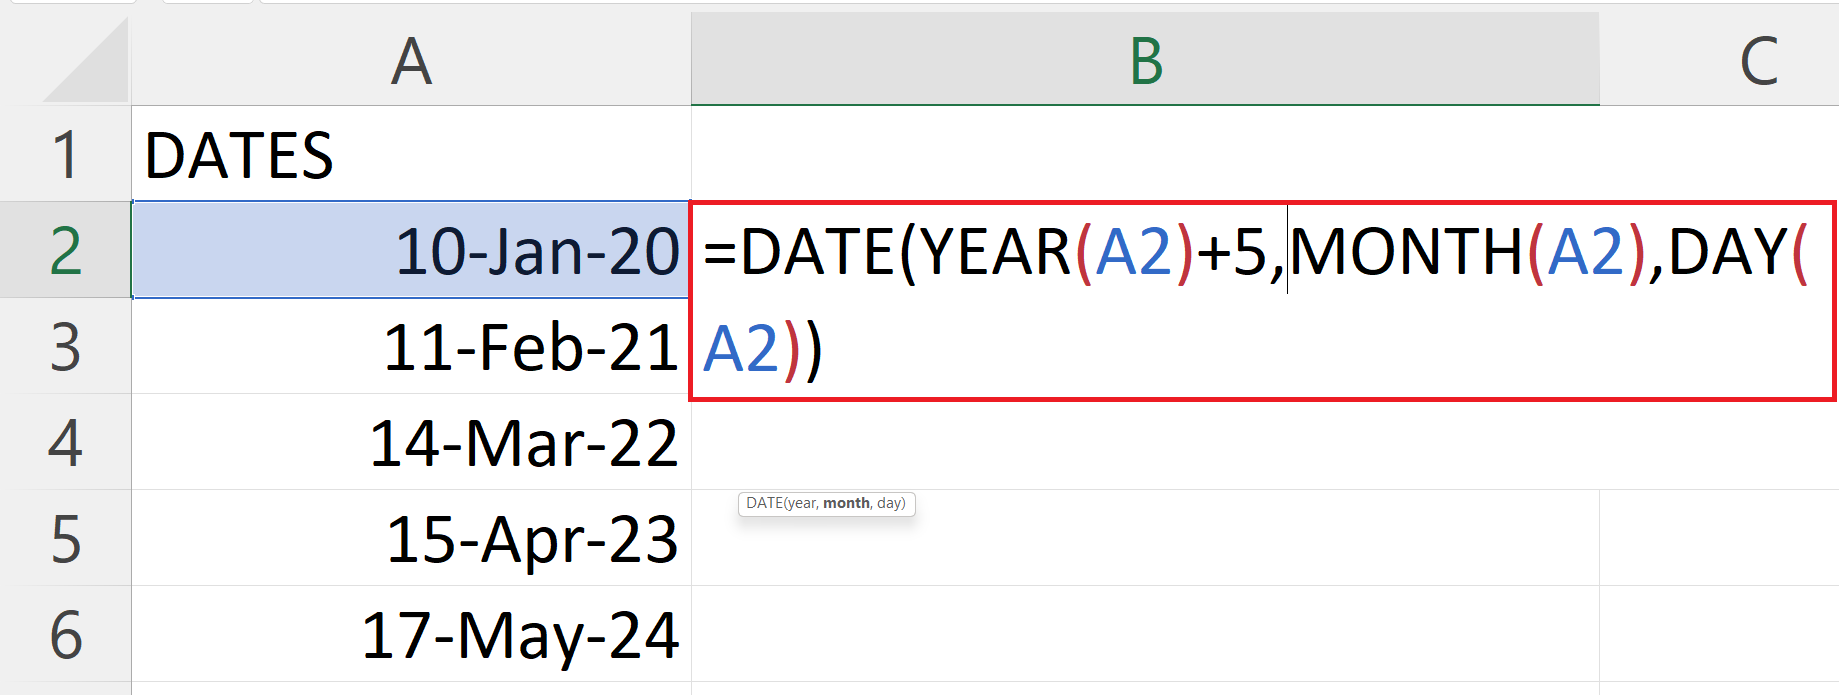
– The syntax for the Date function will be :
DATE(YEAR(A2)+5,MONTH(A2),DAY(A2))
– Where the A2 is the address of the cell containing the original data.
– The first argument i.e. YEAR(A2) + 5 is the sum of increment in years and the original years.
– The second argument i.e. MONTH(A2) represents the month.
– The third argument i.e. DAY(A2) represents the day.
Step 4 – Press the Enter Key
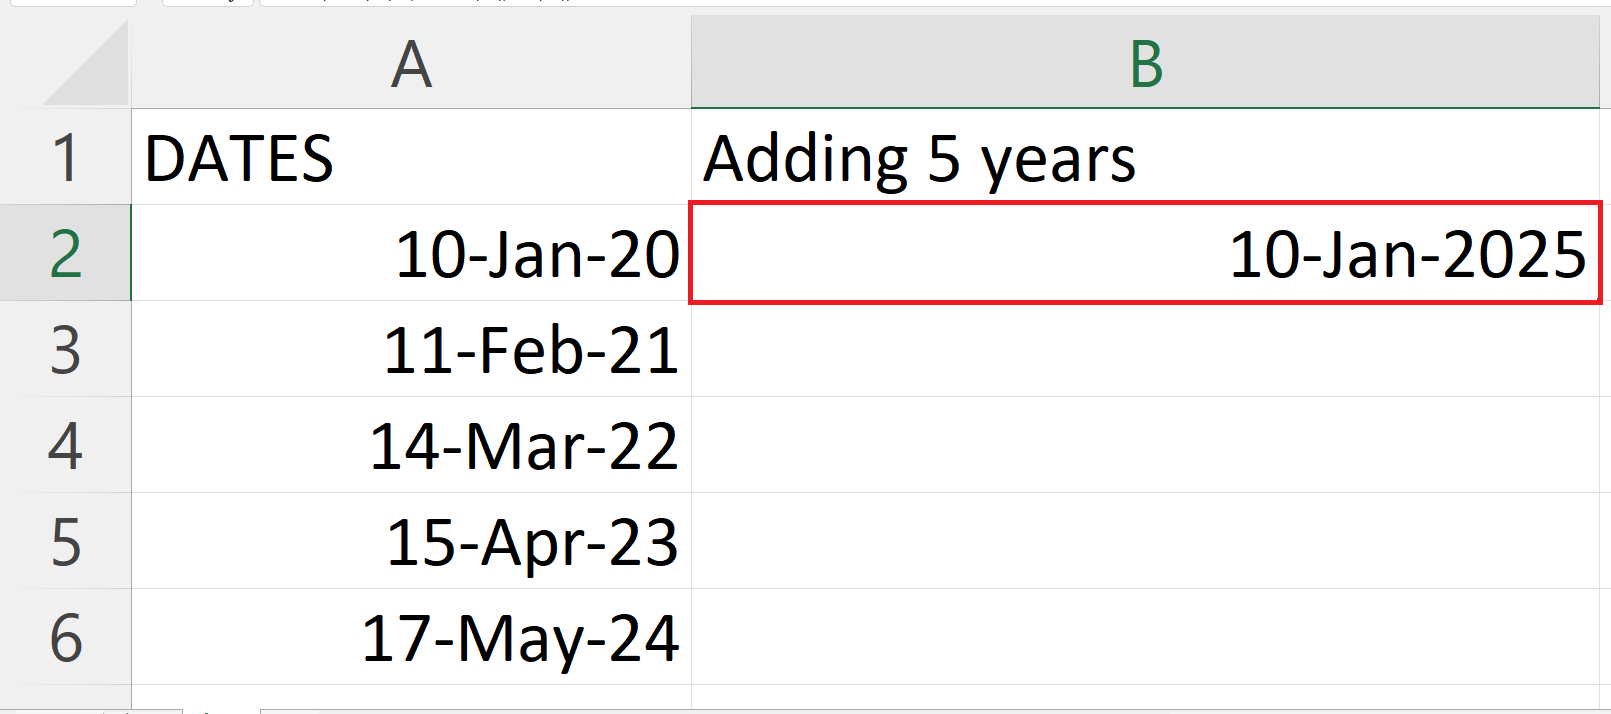
– Press the Enter key to print the date after adding years.
Step 5 – Adding Years to All the Adjacent Cells
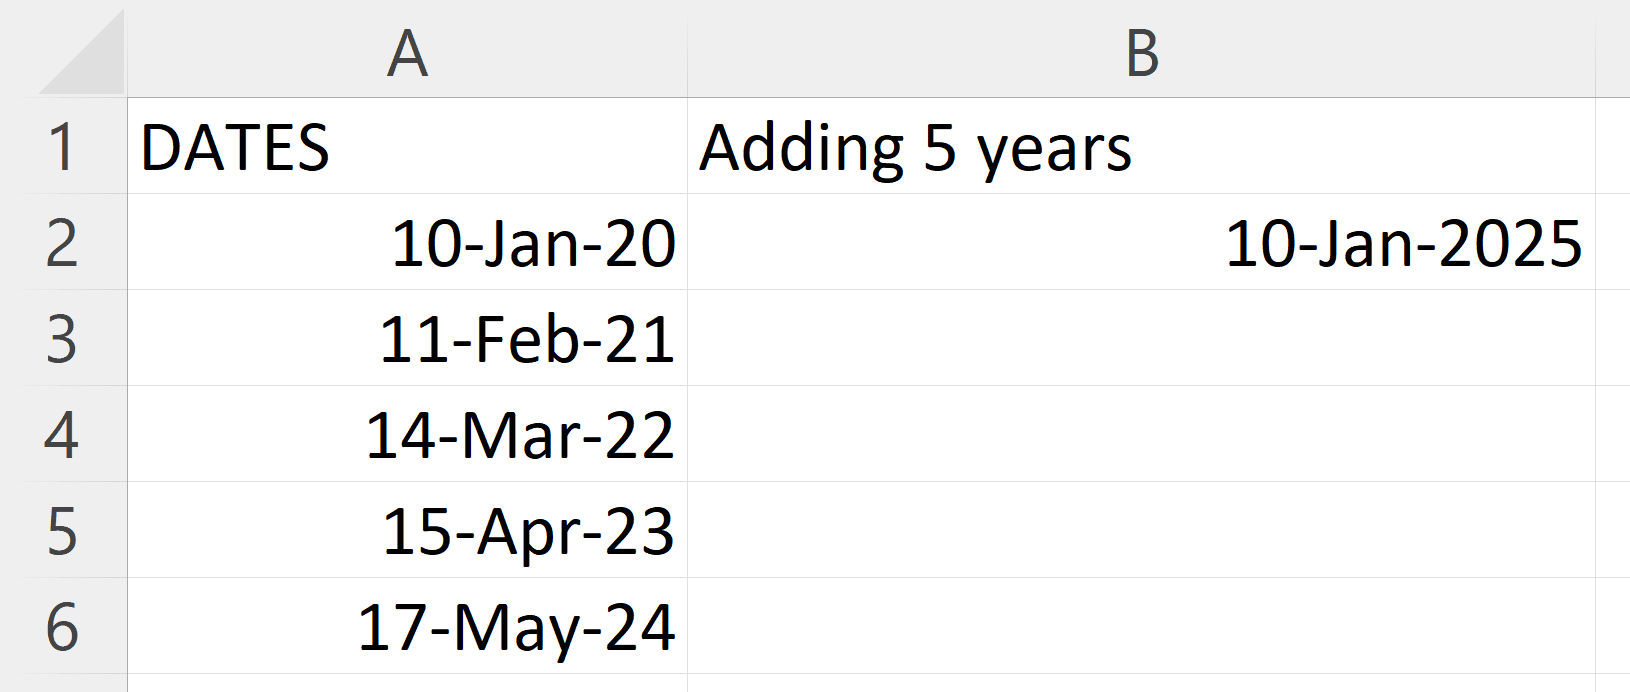
– Use the Fill feature to apply the DATE function to all the adjacent cells.


