
How to add the filename to the footer in Excel.
 By
SpreadCheaters
By
SpreadCheaters
Page last updated:
27/04/2023 |
Next review date:
27/04/2025
Microsoft Excel is a powerful tool for managing and analyzing data, and it’s important to keep track of your files for future reference. One way to do this is by adding the Filename to the Footer of your Excel spreadsheet.
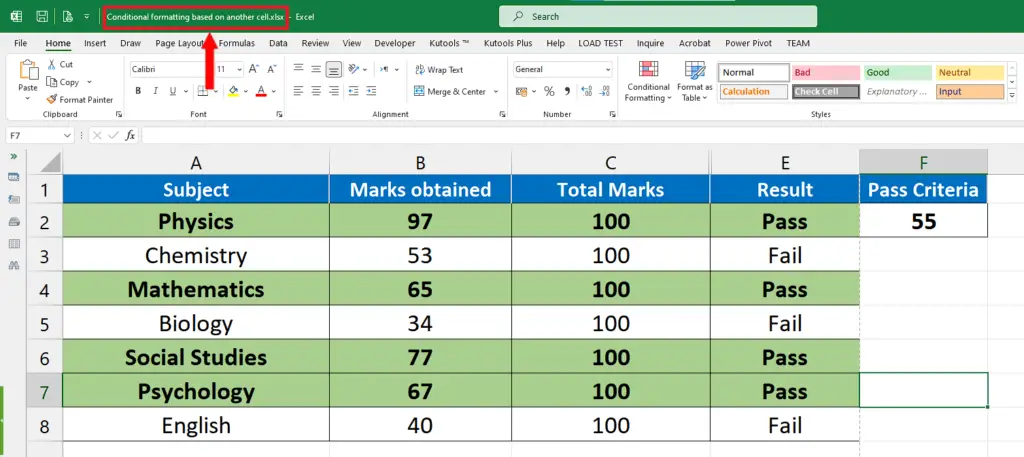
Here we have a dataset containing information about Subjects and the marks obtained in those Subjects. In this tutorial, we’ll learn how to add the Actual Excel File Name i.e. “Conditional formatting based on another cell” in the footer section of the file. So, follow along the steps shown below to achieve this goal.
Method – 1 Using the View Tab options
Step – 1 Locate the Page Layout Option in View Tab
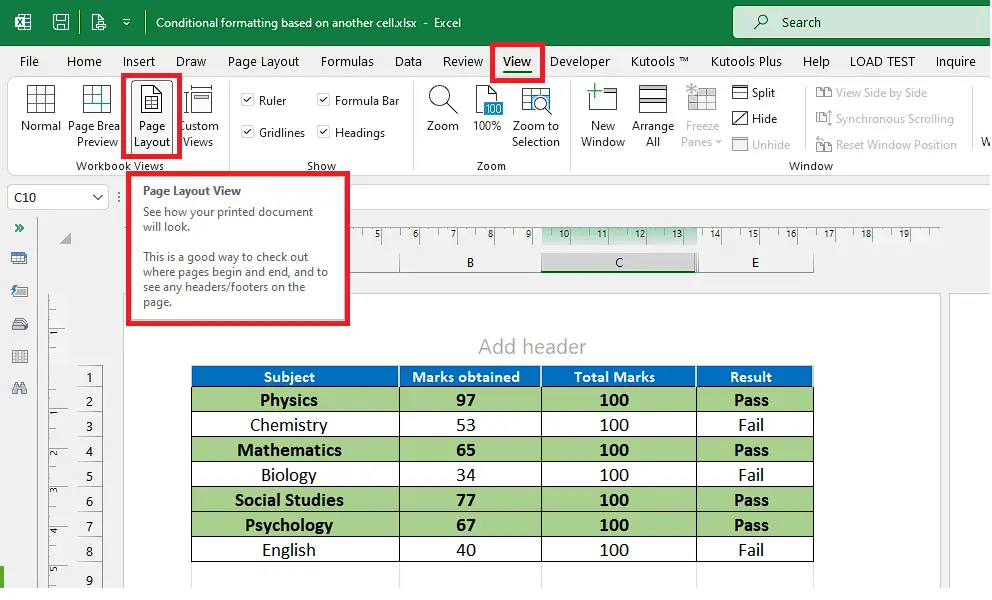
- Click on the View tab.
- Click on the Page Layout command in the Workbook Views group.
- This changes the layout of the excel spreadsheet.
Step – 2 Adding File Name in Footer manually by using code
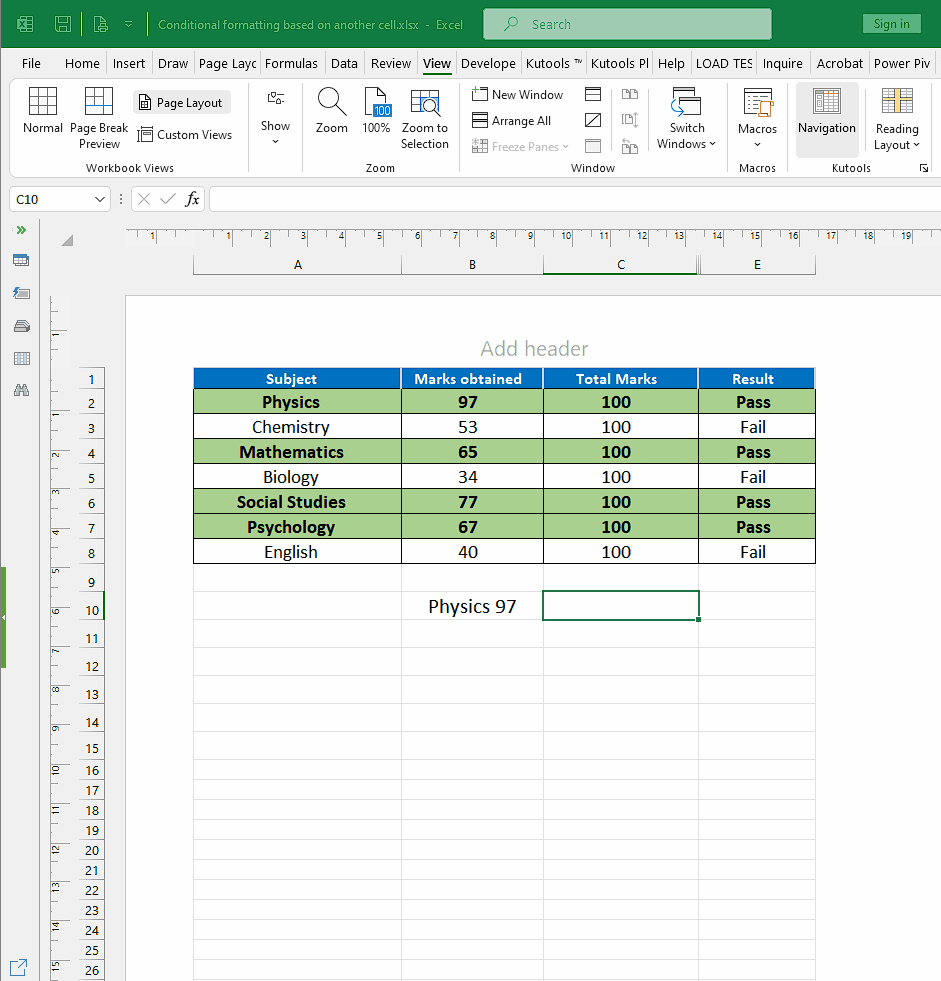
- Scroll down to the end of the first page.
- There you will see the Add footer option.
- To write the file name as footer, add the following code &[File] in the footer.
- This special code will add the Excel file name in the footer as shown above.
Method – 2 Using the Insert tab options
Step – 1 Locate Header and Footer option in Insert Tab
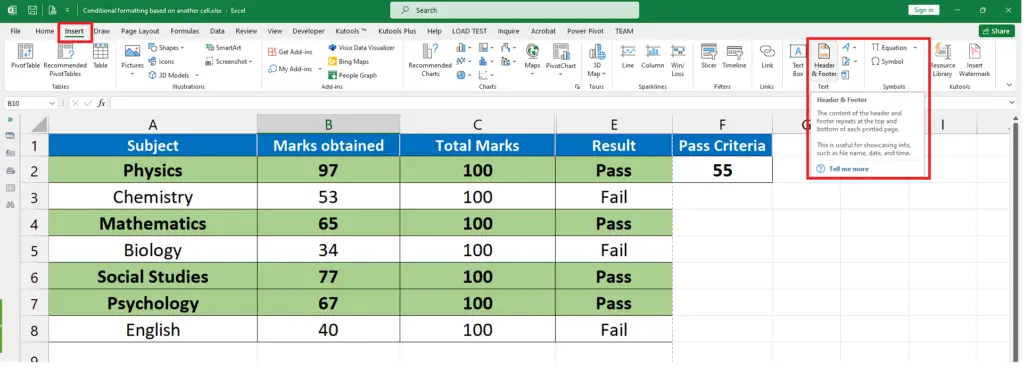
- Go to the Insert tab.
- Click on the Header & Footer command in the Text group.
Step – 2 Adding footer by writing code

- Click on the Header & Footer command will change the page layout and will take you to edit the Header first.
- Click on Go to Footer. This will take you to edit the footer section.
- To write the file name as footer, add the following code &[File] in the footer.
- This special code will add the Excel file name in the footer as shown above.
Method – 3 Using the PageLayout Tab options
Step – 1 Locate the Print Titles option in Page Layout Tab
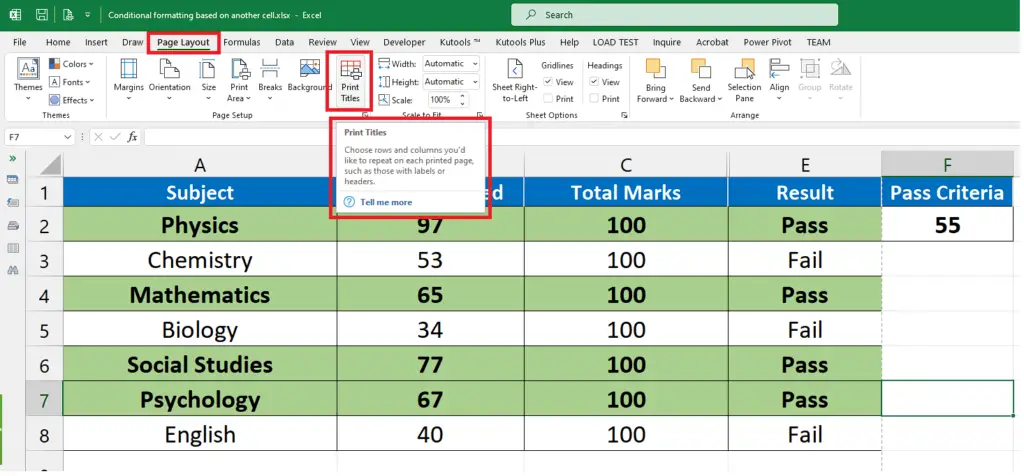
- Click on the Page Layout tab from the list of main tabs.
- Locate the Print Tiles action button in the Page Setup group.
Step – 2 Open the Page Setup dialog box
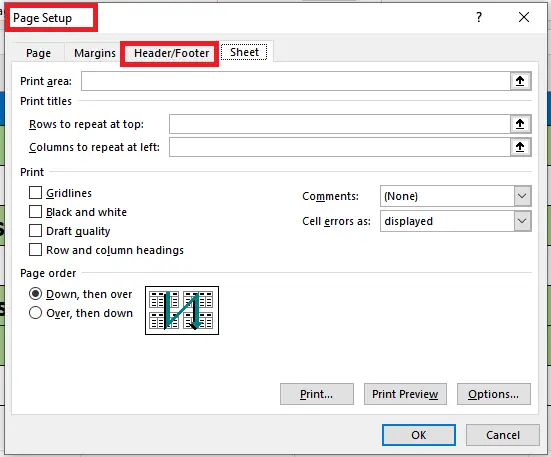
- Click on the Print Tiles action button to open the Page Setup dialog box, as shown above.
Step – 3 Choose the required options in Page Setup dialog box
- Click on the Header/Footer tab on the Page Setup dialog box.
- Then click on the drop down arrow in the Footer section.
- Choose the file name from the drop down list. This will add the file name in the footer section of the file.
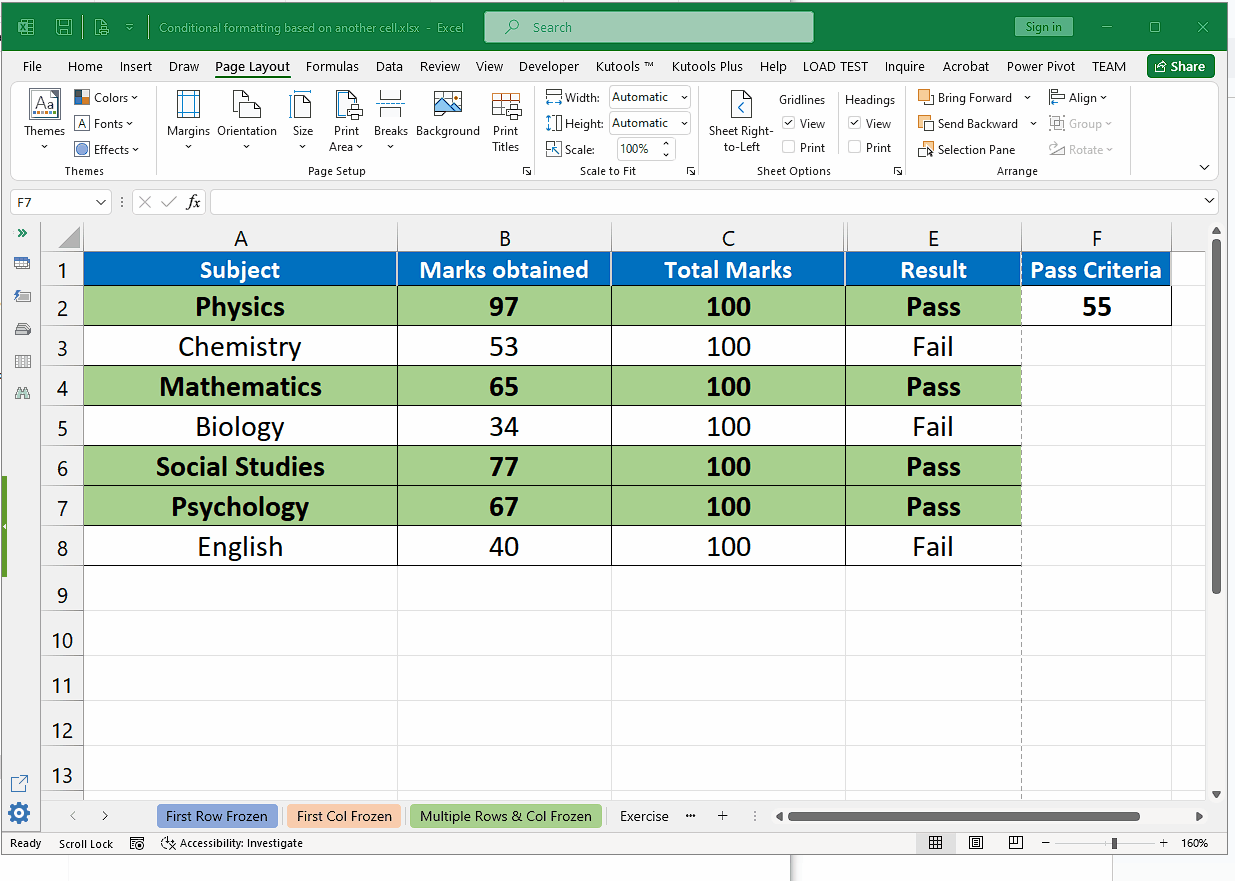
- Click on Print Preview to check the File Name in the footer section as shown above.


