
How to add outside borders in Excel
 By
SpreadCheaters
By
SpreadCheaters
Page last updated:
17/11/2022 |
Next review date:
17/11/2024
You can watch a video tutorial here.
Excel provides many options for formatting worksheets. One of the options is to create or remove a border for cells or a table. Borders help define the outline of a table and are a good option when formatting your sheet to make it look neater.
Option 1 – Use the preset option
Step 1 – Choose the button on the ribbon
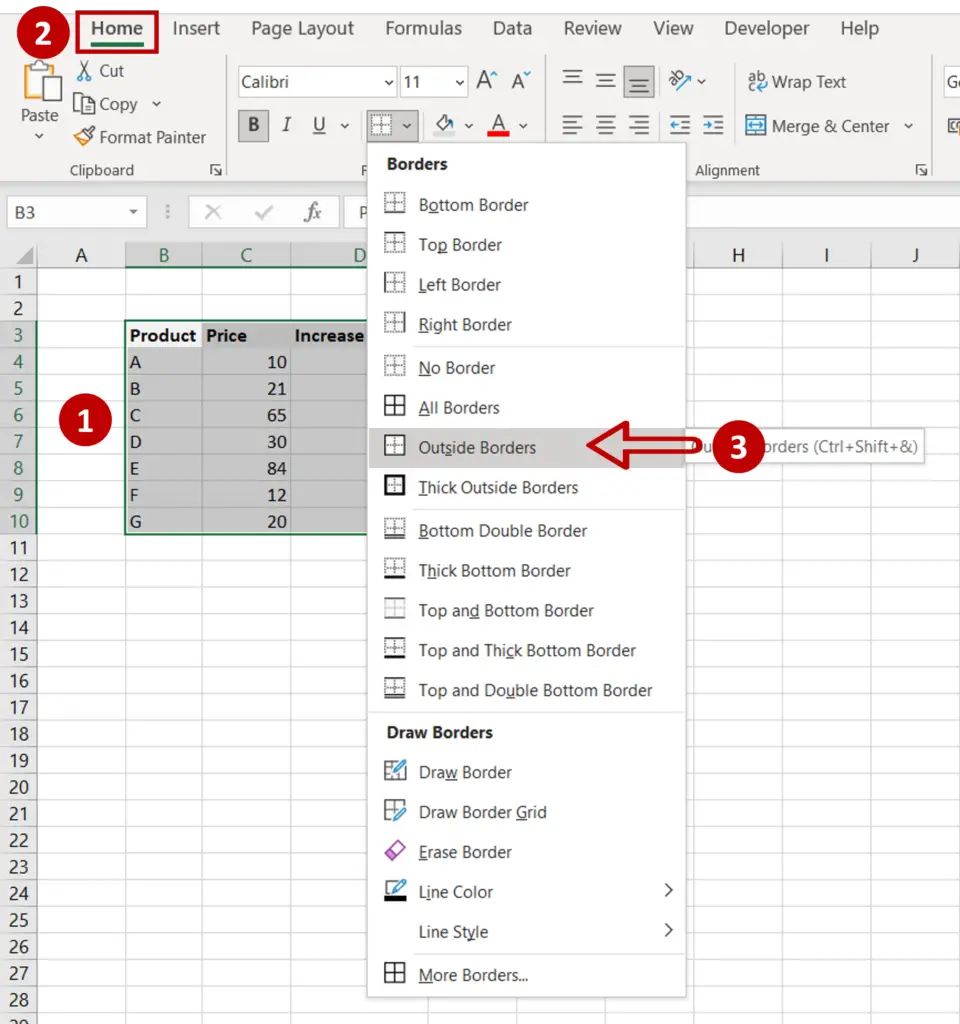
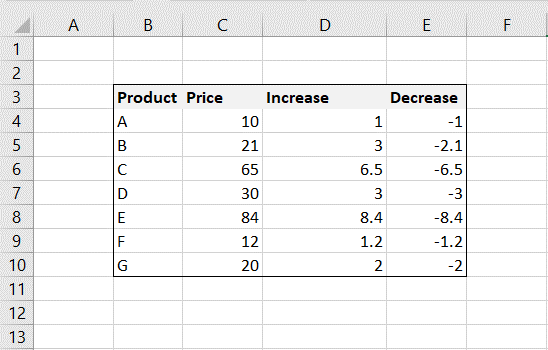
- Select the area for which the outside border is to be created
- On the Home menu, click the Borders button on the Font section
- On the drop-down menu, select the Outside Borders option
Step 2 – Check the result
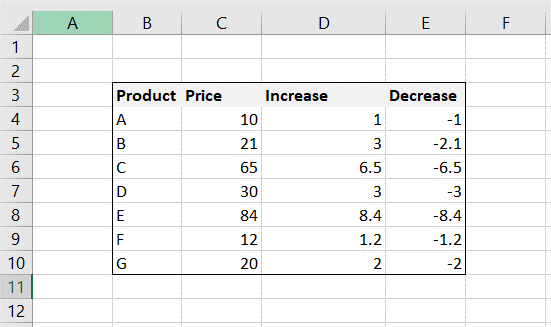
- A border is drawn around the selected area
Option 2 – Use the Format Cells option
Step 1 – Open the Format Cells window
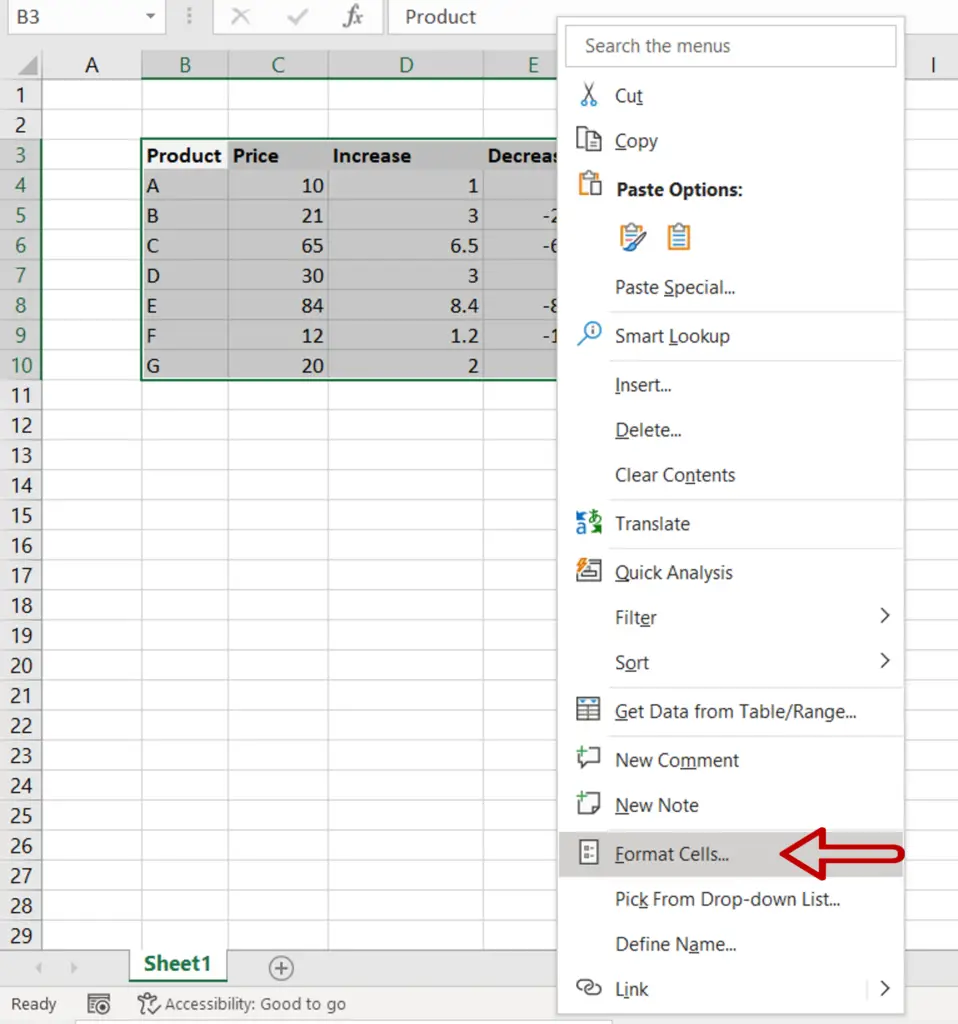
- Select the area for which the border has to be removed
- Right-click and select Format Cells from the context menu
OR
Go to Home > Number and click on the arrow to expand the menu
OR
Go to Home > Cells > Format > Format Cells
OR
Press Ctrl+1
Step 2 – Choose the border to be created
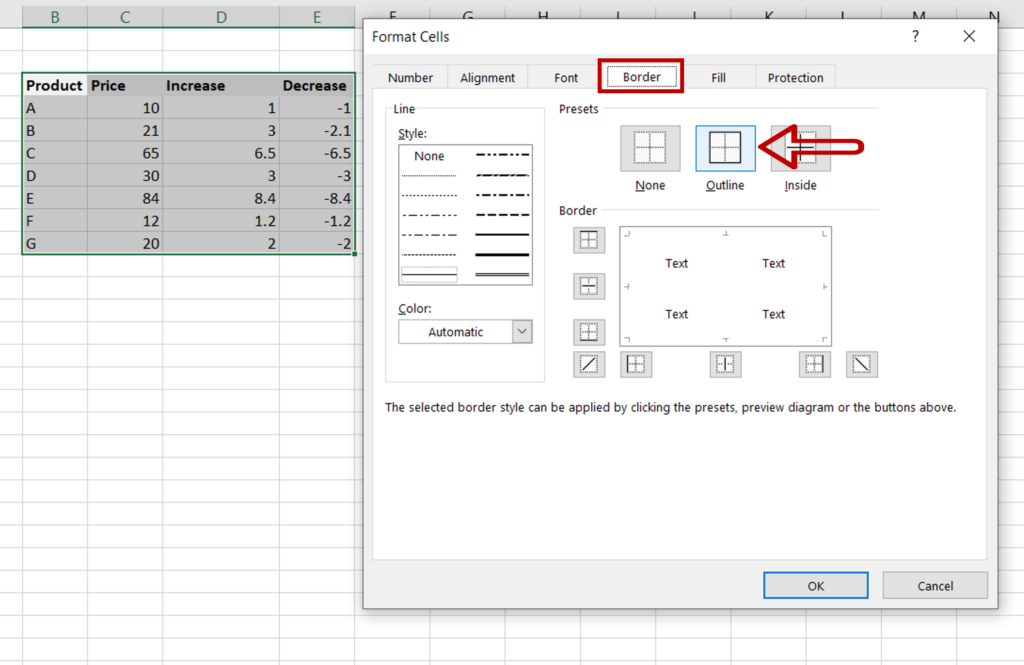
- Go to the Border tab
- Select the Outline preset or click the outline border buttons or create the outline by clicking on the preview diagram
- Click OK
Step 3 – Check the result
- A border outlines the selected area
Option 3 – Draw the border
Step 1 – Choose the button on the ribbon
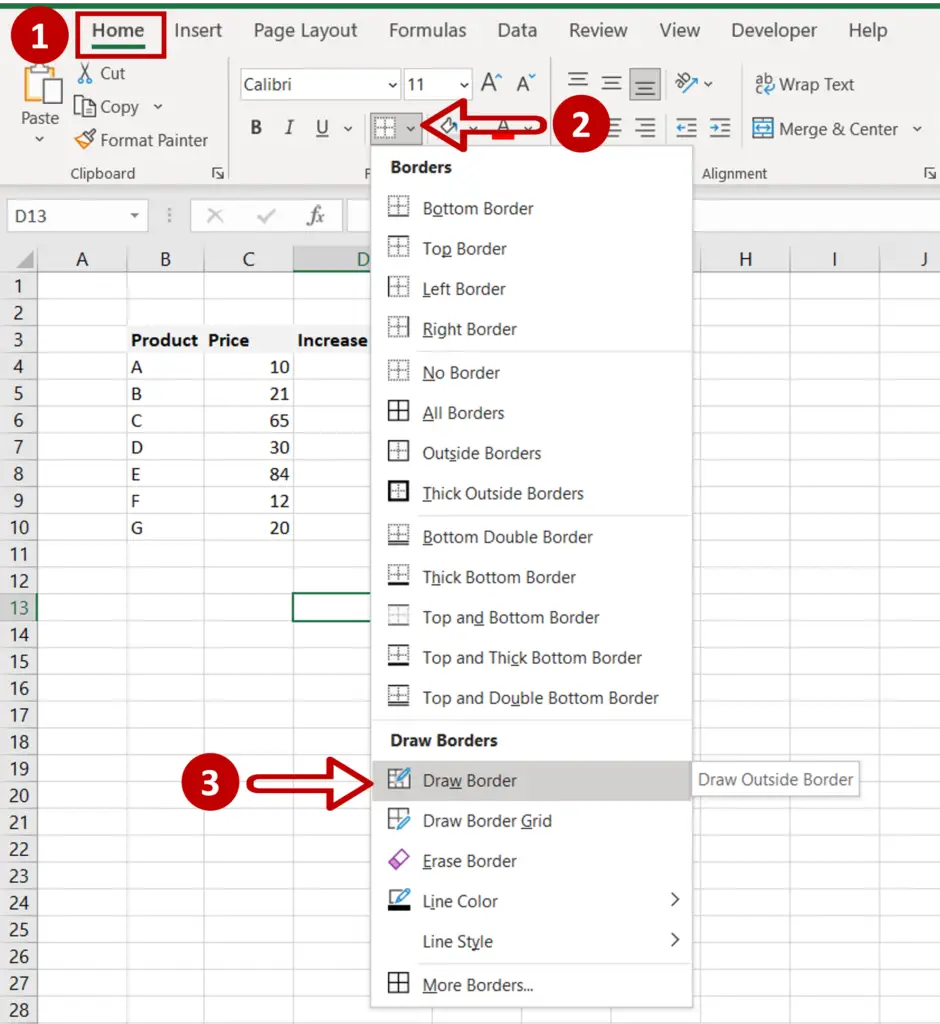
- Go to Home > Font
- Click on the Borders button to expand the drop-down menu
- Select the Draw Outside Border tool
Step 2 – Draw the border
- The pointer changes to a pen tool
- Starting from the upper left corner of the area to be outlined, drag the pen to the lower right corner
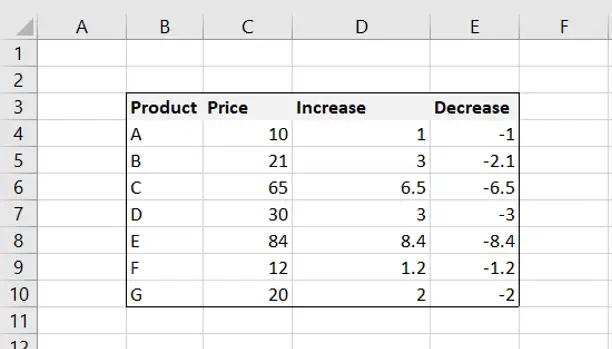
- A border is drawn around the selected area
- Press Escape to change the pen tool back to the pointer


